
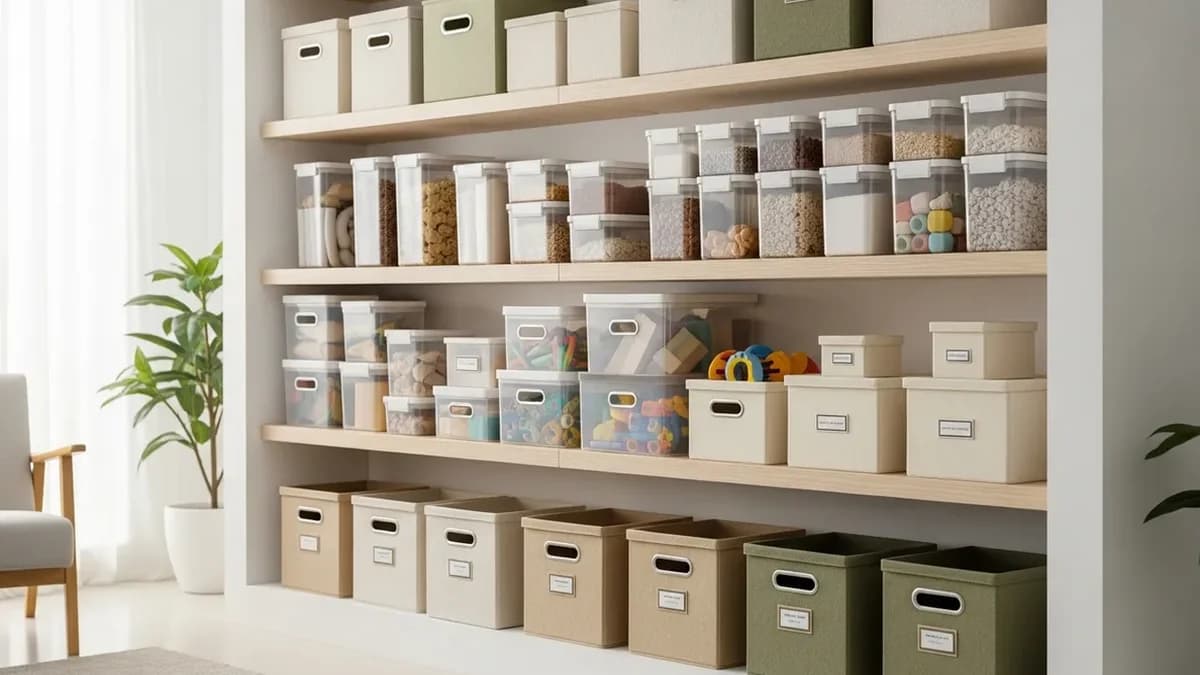
DIY Storage Box: Create Storage Boxes from Simple Materials
Making DIY storage boxes at home not only saves money, but also becomes a fun creative activity to fill your leisure time. With simple materials that you may already have at home, you can create storage boxes that are both functional and aesthetic.
From our team's experience serving thousands of Sesoris customers, the most common organization issue isn't lack of products, but lack of system.

This article presents several DIY storage box tutorials that you can follow step by step, from the simplest to the more creative. No special skills needed - just prepare the materials, follow the instructions, and enjoy the results.
Key Takeaways: > - Choose products with clear safety labels (food-grade, BPA-free) for daily use > - Investing slightly more in quality materials (glass, grade 304 stainless steel) saves long-term costs > - Match sizes to family needs, neither too large nor too small > - Local marketplaces like Tokopedia, Shopee, and Sesoris offer competitive prices with maintained quality
Why Make Storage Boxes Yourself?
Before diving into the tutorials, here are several reasons why DIY storage boxes are worth trying:
- Cost-effective - basic materials like cardboard and fabric scraps require little to no additional cost
- Custom sizes - you can make boxes with sizes that perfectly fit your needs and available space
- Creative expression - choose colors, patterns, and decorations according to your taste and room theme
- Environmentally friendly - reusing scrap materials reduces household waste
- Family activity - can be a fun activity with kids on weekends
- Personal satisfaction - there's a special pride in using something you made yourself
Of course, for long-term storage needs or heavy items, storage boxes purchased from stores are more durable. You can combine DIY boxes for light items and quality storage boxes from Sesoris for items that need extra protection.
Materials and Tools You Need to Prepare
Before starting your DIY project, make sure you've prepared the following basic materials and tools:
Main Materials
- Used cardboard (shoe boxes, package boxes, or instant noodle boxes)
- Flannel fabric, fabric scraps, or good quality used fabric
- Decorative wrapping paper or patterned paper
- Jute rope, burlap rope, or decorative ribbon
- Hot glue gun or white PVA glue
Supporting Tools
- Scissors and craft knife
- Ruler and pencil
- Hot glue gun and replacement sticks
- Brush (if using PVA glue)
- Needle and thread (for fabric-based projects)
- Stapler and double-sided tape as alternatives
Project 1 - Storage Box from Cardboard and Flannel Fabric
This is the easiest project and suitable for beginners. The result is a beautiful storage box that can be placed on a desk, bedroom shelf, or closet. For additional information, also see the guide from The Spruce.
Materials Needed
- 1 medium-sized used cardboard box (for example, a shoe box)
- Flannel fabric in 2-3 colors of your choice
- Hot glue gun
- Scissors and ruler
Steps to Make
- Prepare the cardboard - cut off the cardboard lid or fold it inward to reinforce the side walls
- Measure the flannel fabric - measure each side of the cardboard and add 2 cm on each edge for folding
- Attach fabric to the outside - starting from the widest side, attach flannel fabric using a hot glue gun. Neatly fold the edges at the corners
- Line the inside - use a different fabric color for the inside to make it look more attractive
- Make handles - cut two strips of thick flannel fabric and attach them to both sides as handles
- Add decoration - cut flannel fabric into flower, star, or initial shapes, then attach as decoration
Important tip: make sure the hot glue is completely dry before moving to the next step. Wet glue can cause the fabric to shift and result in uneven finishing.
Project 2 - Woven Jute Rope Storage Box
This project creates a natural and rustic-style storage box that's perfect for decorating living rooms or bedrooms. For additional information, also see the guide from Real Simple.
Materials Needed
- 1 thick cardboard as the basic frame
- Jute rope or burlap rope (approximately 15-20 meters long)
- Hot glue gun
- Fabric to line the inside
Steps to Make
- Prepare the cardboard frame - make sure the cardboard is sturdy and not dented. If needed, reinforce by attaching two layers of cardboard
- Start wrapping the rope from the base - apply glue to the bottom of the cardboard, then start wrapping jute rope in a spiral from the center outward
- Continue to the side walls - after the base is complete, continue wrapping upward following the cardboard walls. Apply glue every 3-4 wraps for strength
- Tidy up the top edge - on the last row, tuck the rope end under the previous wrap and seal with glue
- Line the inside - attach cotton or linen fabric to the inside to cover the cardboard and add a smooth finish
- Optional - make a lid - use a separate piece of cardboard that's also wrapped with jute rope
The result is a boho-style storage basket that looks expensive despite minimal production costs.
Project 3 - Storage Box from Used Newspaper
This project transforms used newspapers into unique storage boxes using a simple weaving technique.
Steps to Make
- Make newspaper tubes - roll newspaper sheets diagonally using a skewer as a guide, then seal the end with glue
- Prepare 20-30 tubes - the more tubes you have, the larger the box you can make
- Create the base weave - arrange 8 tubes in a crisscross pattern (4 vertical, 4 horizontal) and start weaving with additional tubes
- Form the walls - after the base is wide enough, bend the tubes upward and continue weaving upward
- Finishing - neaten the tube ends by folding them inward and gluing. Paint with acrylic paint or varnish for a neater look and durability
Cost Comparison: DIY vs Buying Storage Boxes
How much can you actually save by making storage boxes yourself? Here's the comparison:
| Aspect | DIY Storage Box | Plastic Storage Box | Premium Storage Box |
|---|---|---|---|
| Material Cost | $0.31 - $1.5 | $2 - $5 | $5 - $12 |
| Assembly Time | 1-3 hours | Ready to use | Ready to use |
| Durability | 6-12 months | 3-5 years | 5-10 years |
| Water Resistant | No | Yes | Yes |
| Load Capacity | Light (2-7 lbs) | Medium (11-22 lbs) | High (22-44 lbs) |
| Customization | Very high | Limited | Limited |
| Aesthetics | Unique and personal | Standard | Elegant |
From the table above, you can see that DIY storage boxes excel in cost and customization, while purchased storage boxes are superior in durability and capacity. Ideally, combine both according to your needs.
Tips to Make Your DIY Storage Box Last Longer
One weakness of homemade storage boxes is their shorter lifespan compared to factory-made products. However, there are several tricks to extend the life of your DIY box:
- Reinforce cardboard with double layers - attach two layers of cardboard together before covering with fabric. This significantly increases structural strength
- Use the right glue - hot glue provides the strongest bond for DIY projects. Avoid regular paper glue that peels easily
- Add a varnish layer - after the box is complete, spray with clear coat or coat with mod podge to protect from moisture
- Avoid overloading - DIY boxes are not designed to hold heavy loads. Use them for storing accessories, stationery, cosmetics, or other lightweight items
- Keep away from water - since the base material is cardboard, avoid placing DIY boxes in damp areas or near water sources
- Store away from direct sunlight - UV exposure can fade fabric colors and weaken adhesives
Creative Ideas for Decorating Storage Boxes
Once you've completed your basic storage box, it's time to get creative with decoration. Here are some ideas you can try:
Minimalist Theme
Use plain cotton fabric in white, gray, or cream colors. Add simple labels from brown cardboard with the box contents written on them. Perfect for workspaces and Scandinavian-style bedrooms.
Floral Theme
Line the box with patterned floral fabric or attach dried flowers to the sides. Add satin ribbon to the top as an accent. Perfect for bedrooms or dressing rooms.
Industrial Theme
Let the cardboard texture show, add jute rope accents and kraft paper labels. Use letter stamps to label each box. Great for creative workspaces.
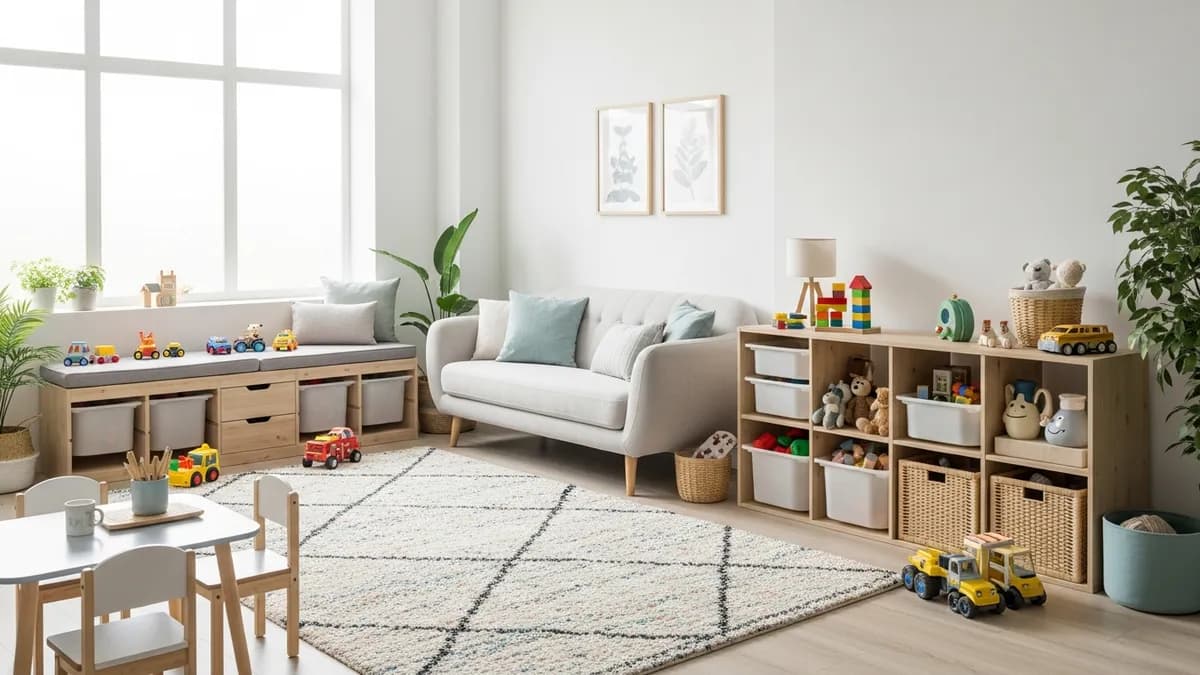
Kids Theme
Use colorful flannel fabric and attach animal shapes, letters, or numbers cut from felt. Make each box in a different color to help kids identify where to store toys, books, or art supplies.
Combining DIY and Professional Storage Boxes
The most effective home storage strategy usually combines DIY storage boxes for decorative needs and professional storage boxes for functional needs. For example, use beautiful DIY boxes that are visible on open shelves to store accessories or stationery, while quality storage boxes from Sesoris are used to store seasonal clothing or important documents inside closets.
With this approach, you get the best of both worlds - the personal touch of DIY creations and the long-term durability of quality products. Visit Sesoris' storage box collection to find options that complement your DIY creations.
Conclusion
Making DIY storage boxes is a fun and economical way to add storage solutions to your home. From simple cardboard lined with flannel fabric to artistic jute rope weaving, there are many creative possibilities you can explore.
Most importantly, start with the simplest project and increase complexity as you gain experience. Involve family members to make it a productive group activity. And for items that need extra protection, complete your storage collection with quality storage boxes that you can find at Sesoris.
Frequently Asked Questions (FAQ)
Here are answers to the most frequently asked reader questions on this topic.
Q: How long do quality home organization products typically last?
With proper routine care, food-grade plastic products last 3-5 years, while borosilicate glass and grade 304 stainless steel can last 10+ years. Key factors are consistent maintenance and avoiding extreme temperature exposure.
Q: Is this product food-safe?
Ensure the product is labeled "food-grade" or "BPA-free" before using it for food storage. Safe materials include borosilicate glass, grade 304 stainless steel, and certified food-grade plastic. Avoid plastic without food safety certification, especially for hot or oily foods.
Q: How do I clean and maintain it?
Wash with mild dish soap and warm water. Avoid abrasive sponges that can scratch the surface. For stubborn stains, use a baking soda and water paste as a natural cleaner. Dry completely before storing to prevent mold and bacteria.
Q: What is the price difference between local and imported products?
Local Indonesian products are typically 30-50% more affordable than imports of similar quality. For daily home organization needs, local products meet the standard. Consider imports only if you need specific features not available in the local market.
Q: Where should I buy products like this?
You can buy at offline stores like ACE Hardware, IKEA, or major hypermarkets, or via online marketplaces like Tokopedia, Shopee, and Sesoris. Check seller ratings, real product photos, and return policies before buying online.
Related Articles
Explore other guides from Sesoris to complement your knowledge:
About Tim Sesoris
The Sesoris editorial team consists of experienced writers in home organization, minimalist lifestyle, and Indonesian e-commerce. We test products, review market trends, and craft guides based on in-depth research and field experience. All recommendations are curated to give you accurate, practical, and relevant information for Indonesian households.
For questions or suggestions, contact us through the Sesoris contact page.
Weekly Home Tips
Get home organization ideas, product picks, and exclusive deals delivered weekly.
No spam. Unsubscribe anytime.


Explore More Articles
- IKEA Garage Storage Solutions: Complete Guide to Organizing Your Garage in 2026
- 35 Creative Wall Shelf Storage Ideas to Transform Your Home Organization in 2026
- Latest Minimalist Kitchen Set Models: Top 2026 Trends for Modern Homes
- 25+ IKEA Closet Organization Ideas to Transform Your Wardrobe Storage in 2026
- Enclosed Dish Racks: Dust-Free & Pest-Free Kitchen Storage
- Plate Rack Kitchen Set Lower Cabinet: Maximizing Storage Space
- Simple but Attractive Living Room Decor: 20 Affordable Ideas for 2026
- 25+ Creative Organization Ideas for Pantry: Transform Your Kitchen Storage in 2026