Inspiration
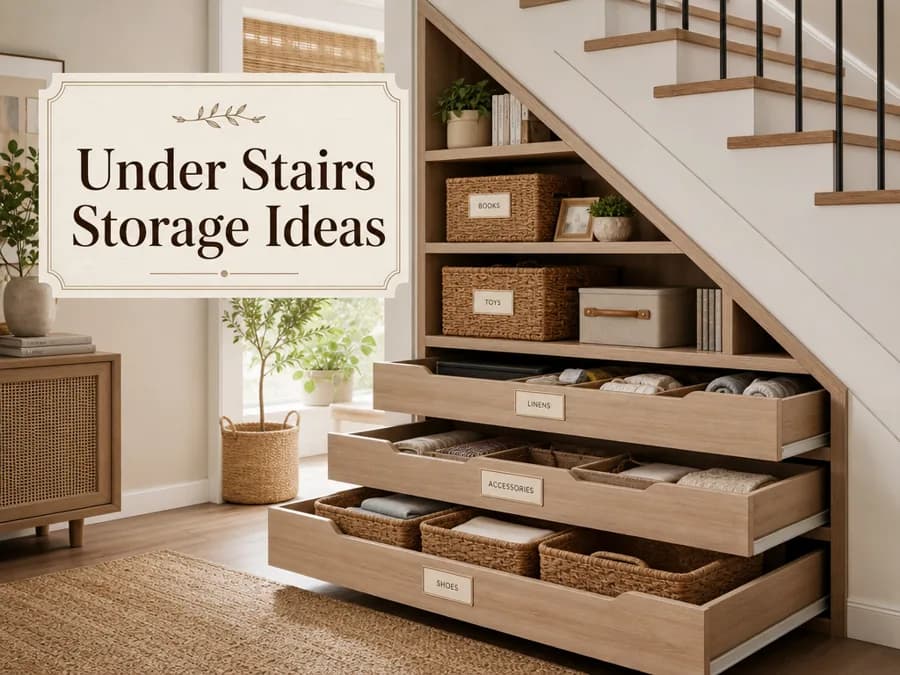
Under Stairs Storage Ideas: Smart Ways to Transform Awkward Space in 2026
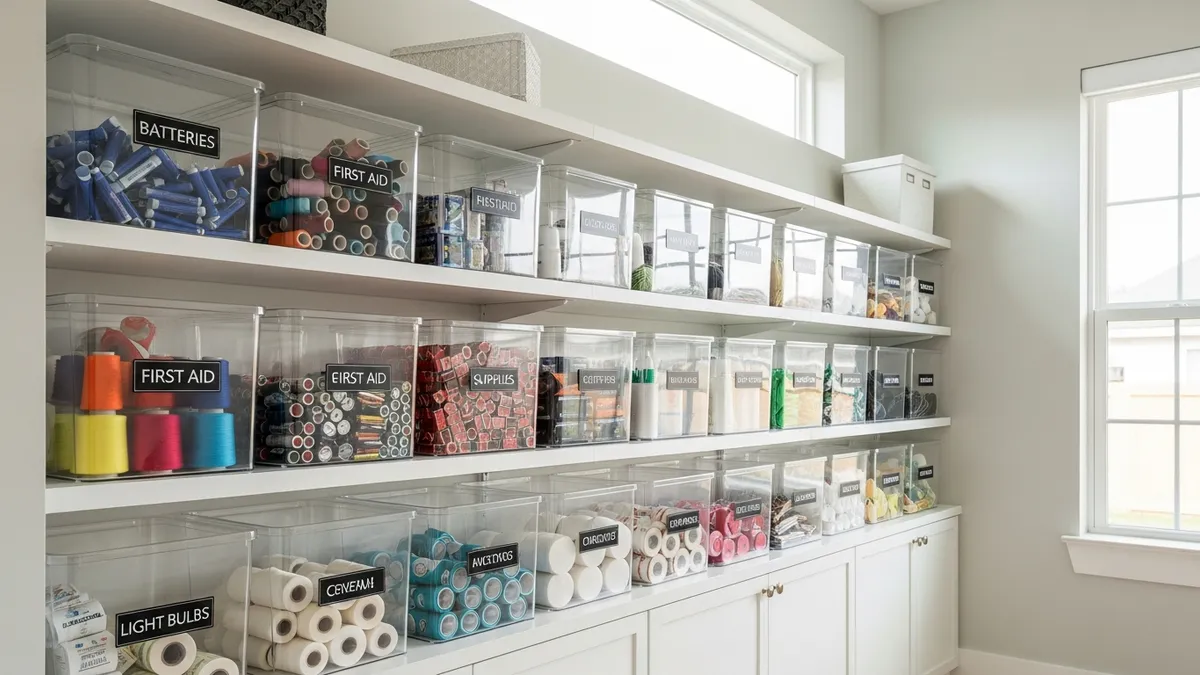
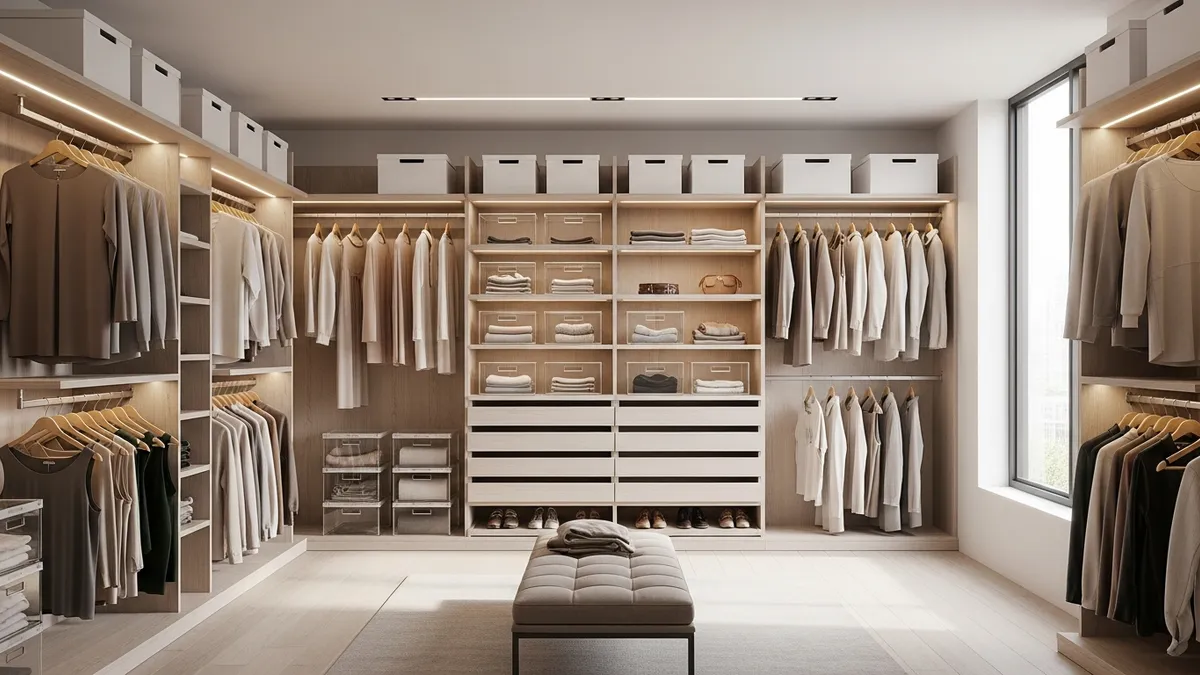
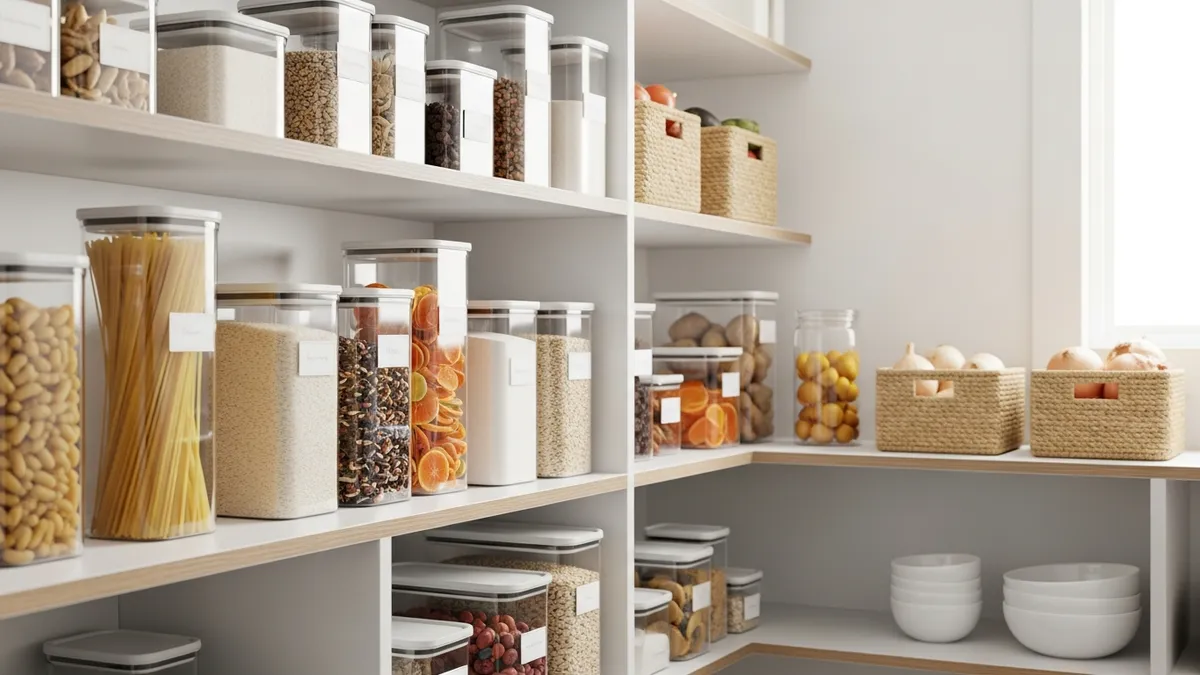
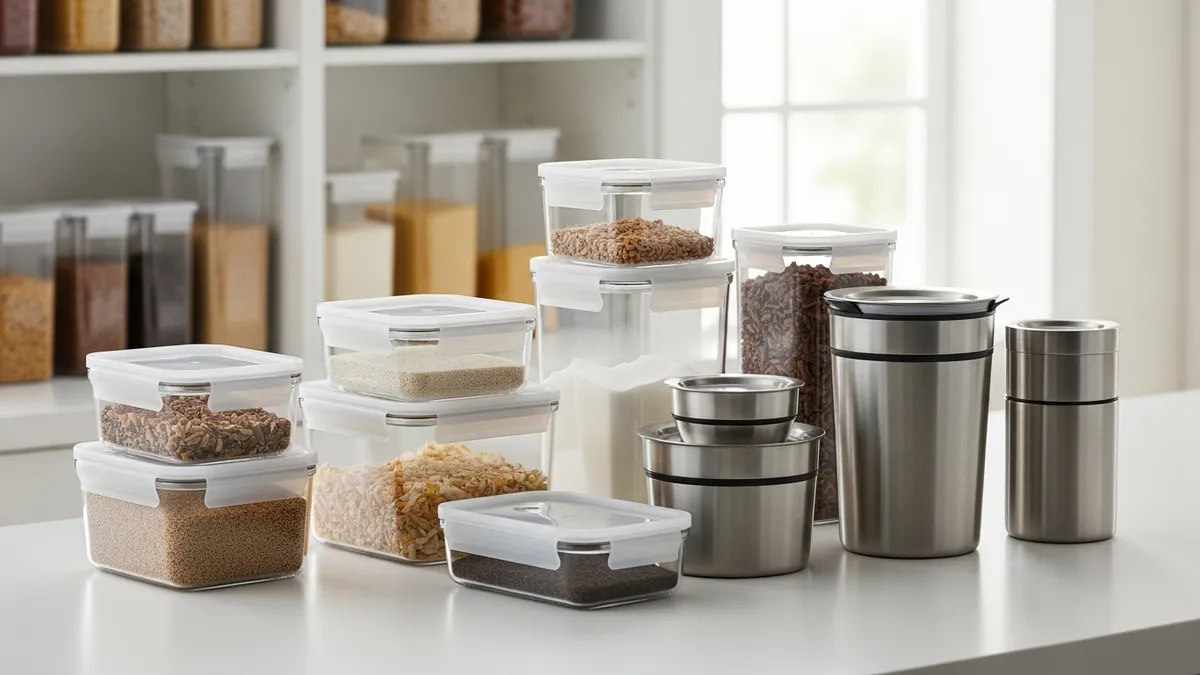
Explore under stairs storage ideas for drawers, shelves, pantry overflow, entryway gear, and hidden home organization with practical planning tips.
June 16, 202612 min read
Read