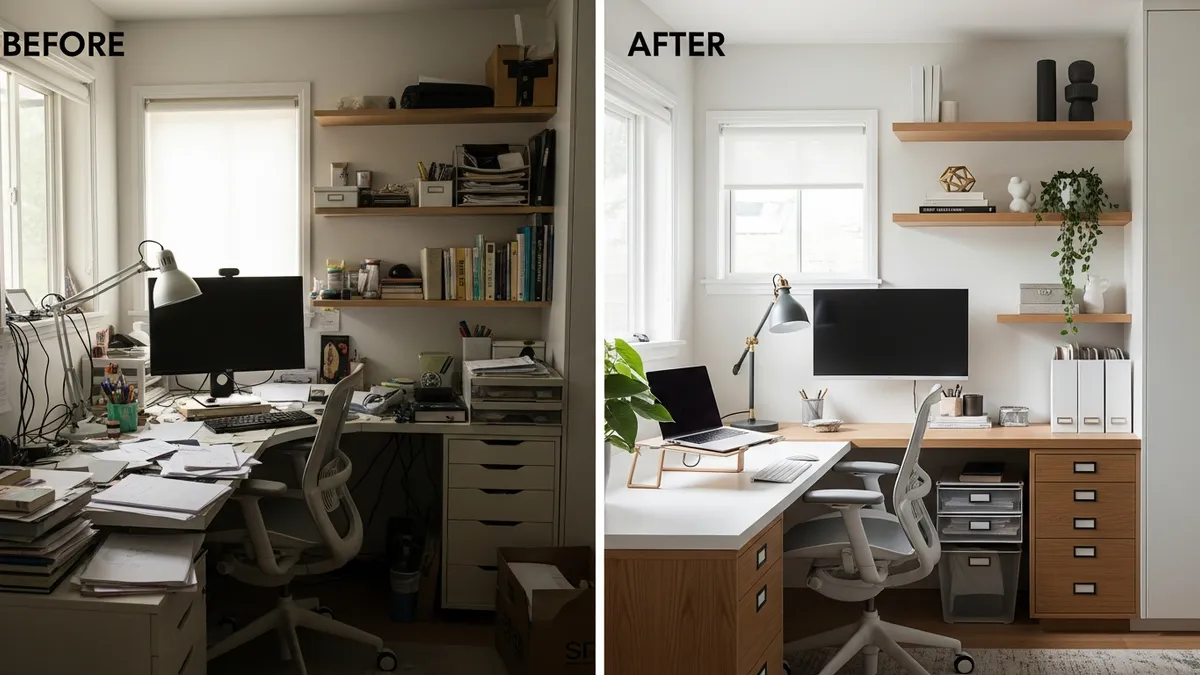
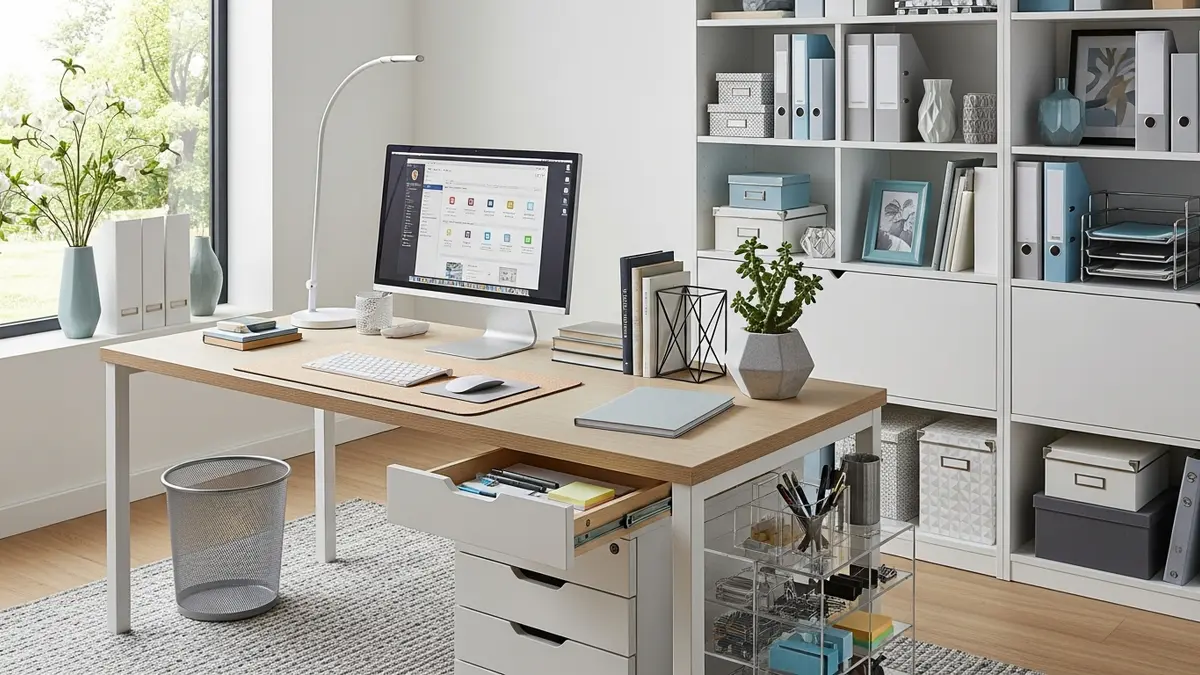
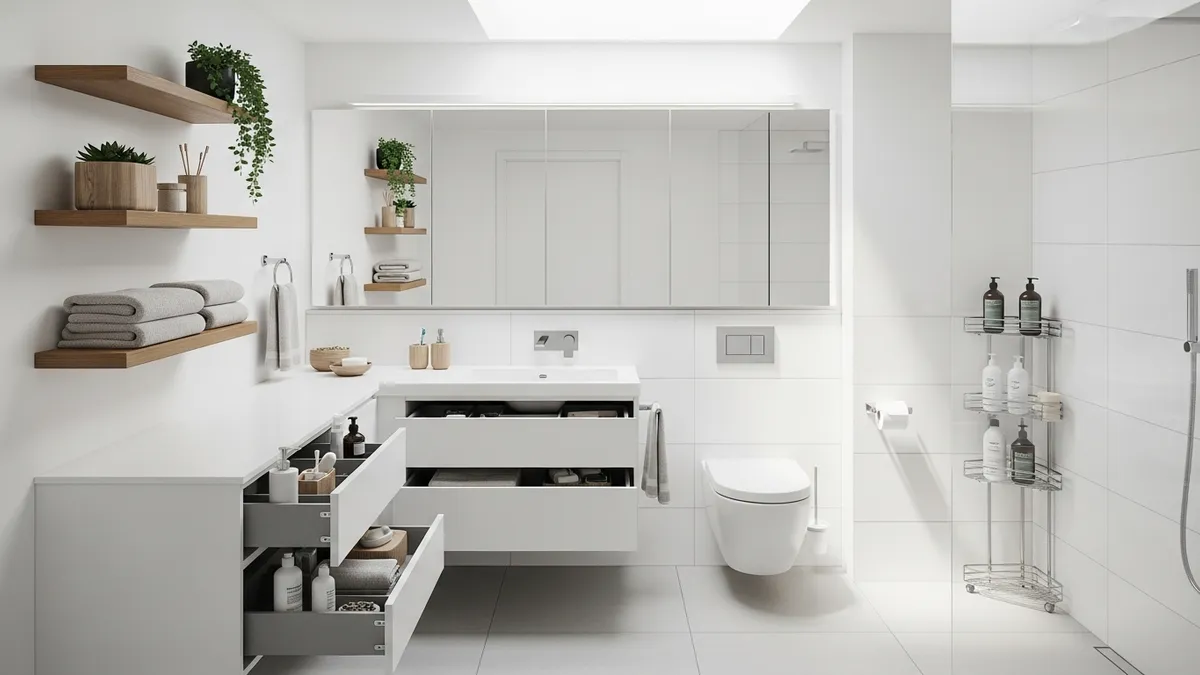
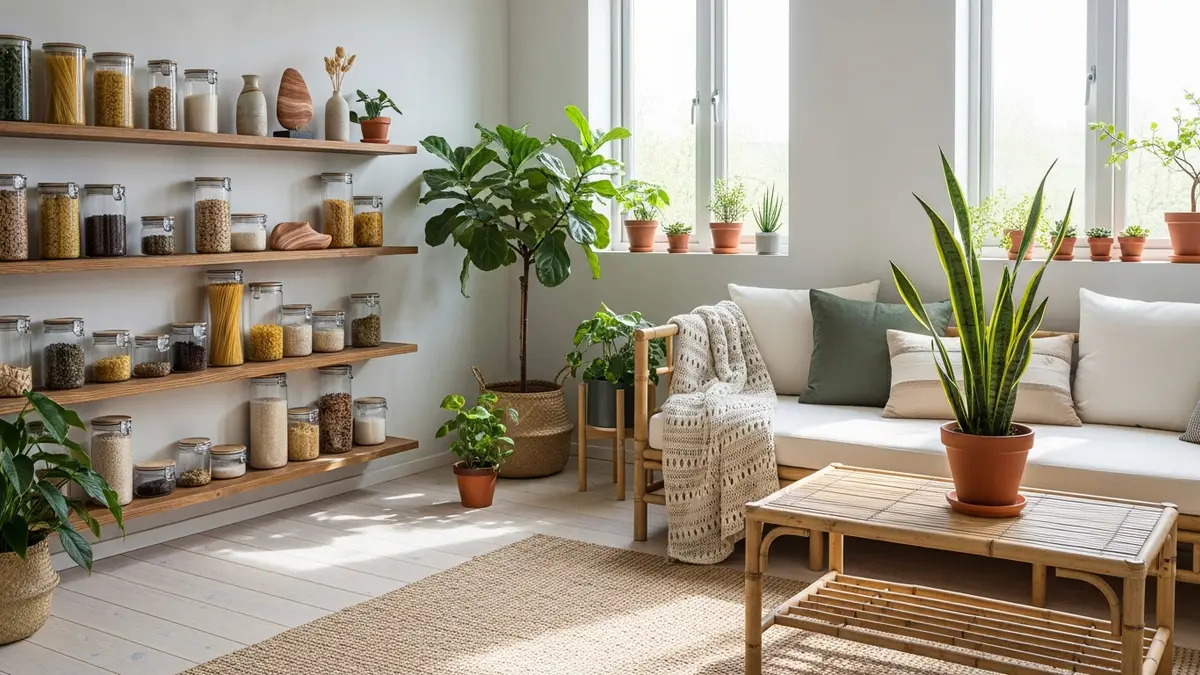
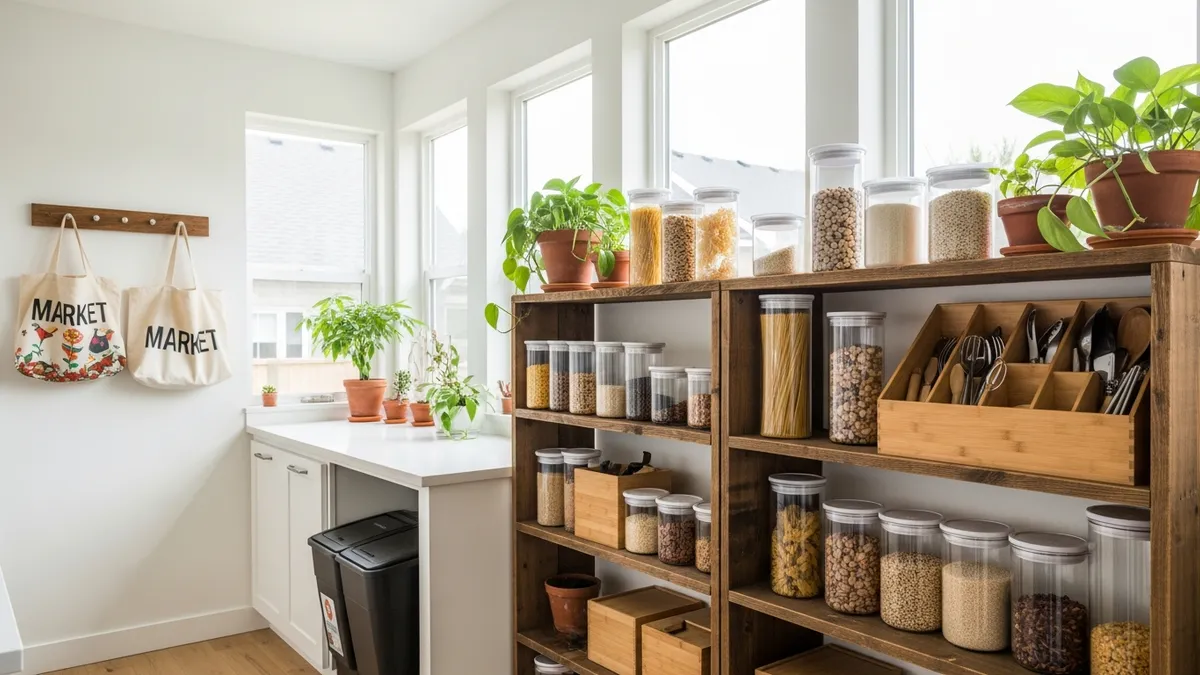
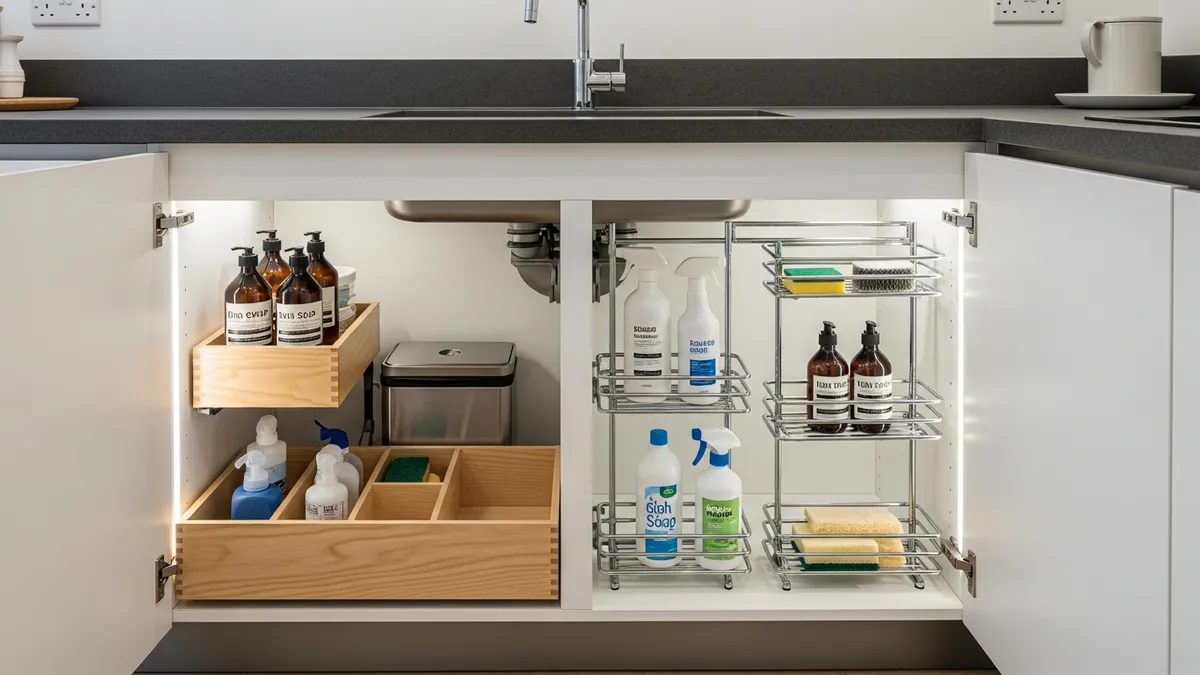
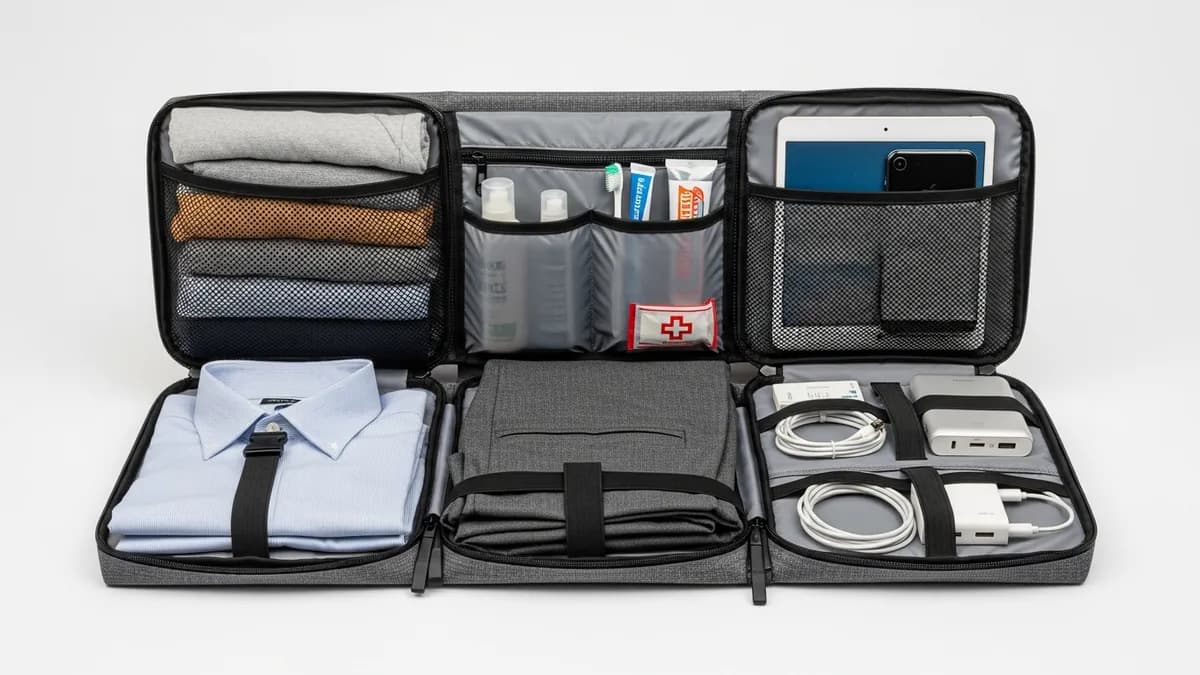
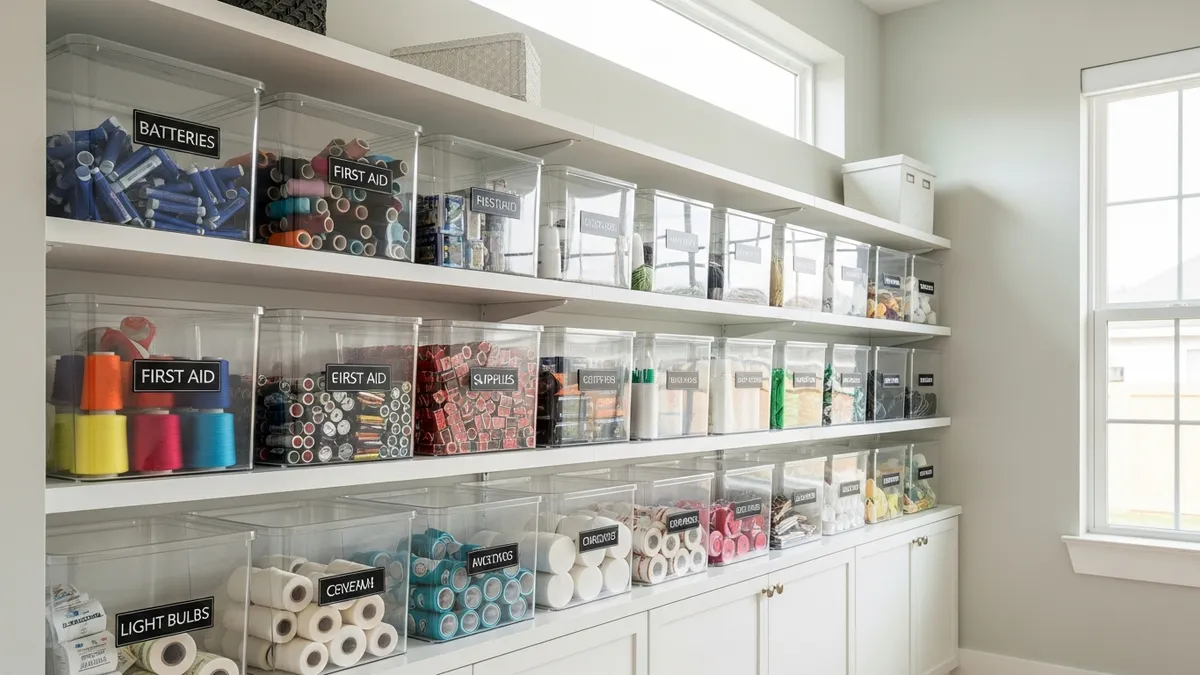
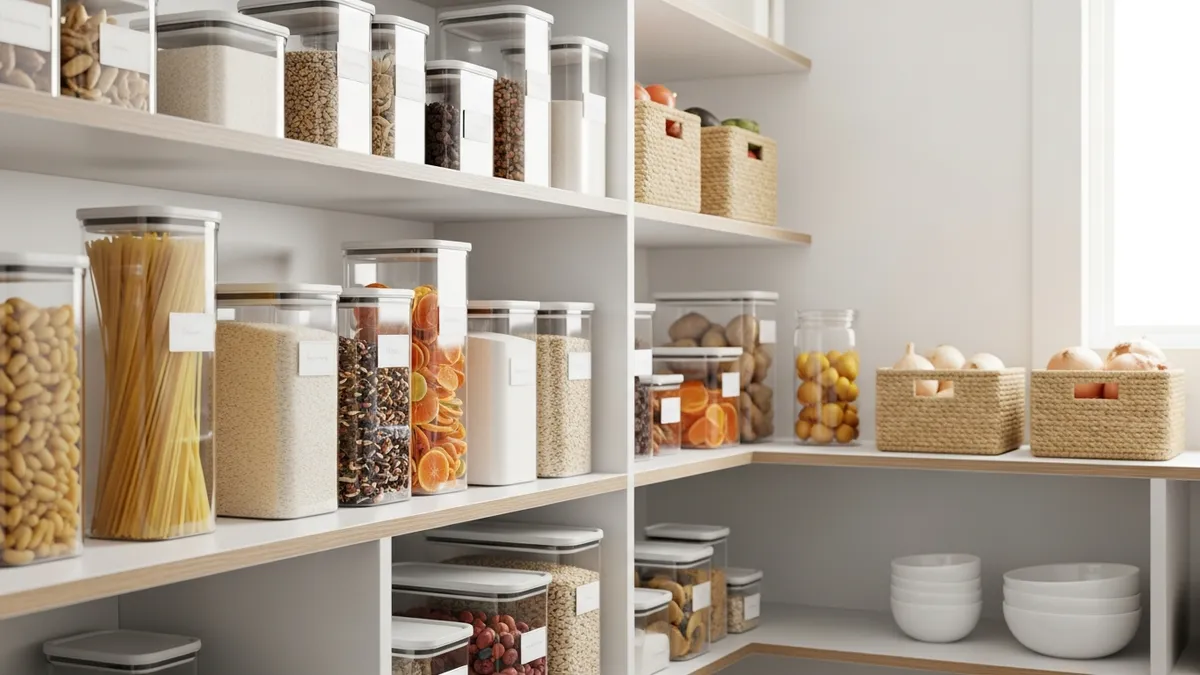
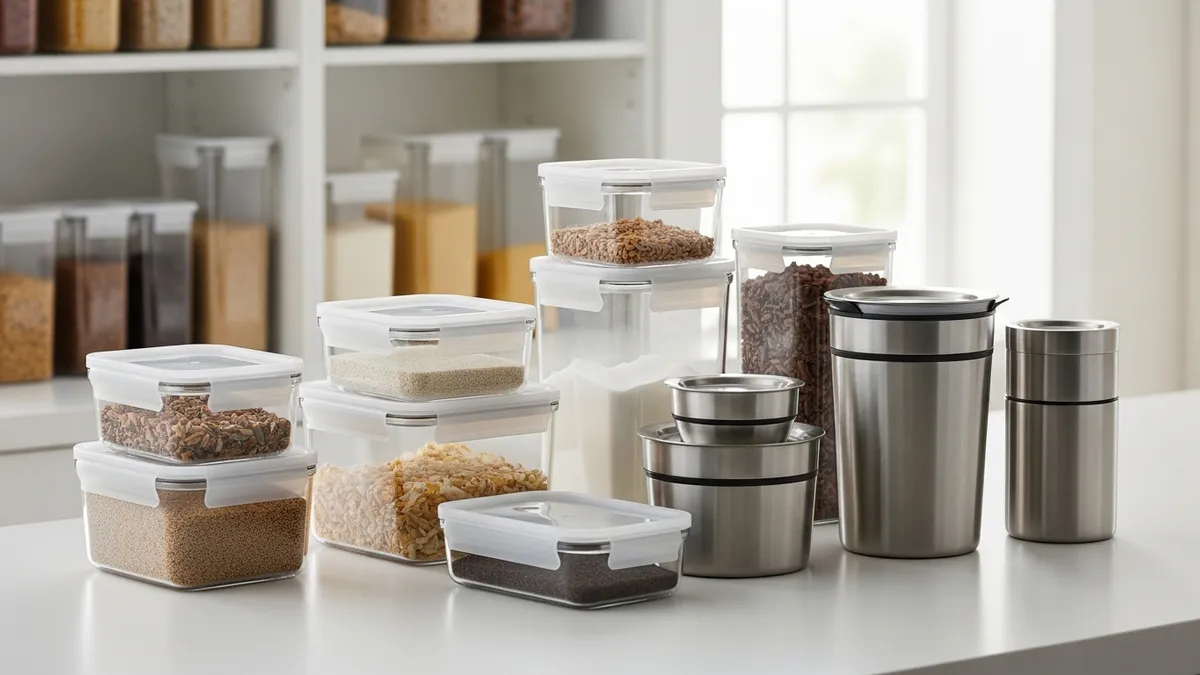
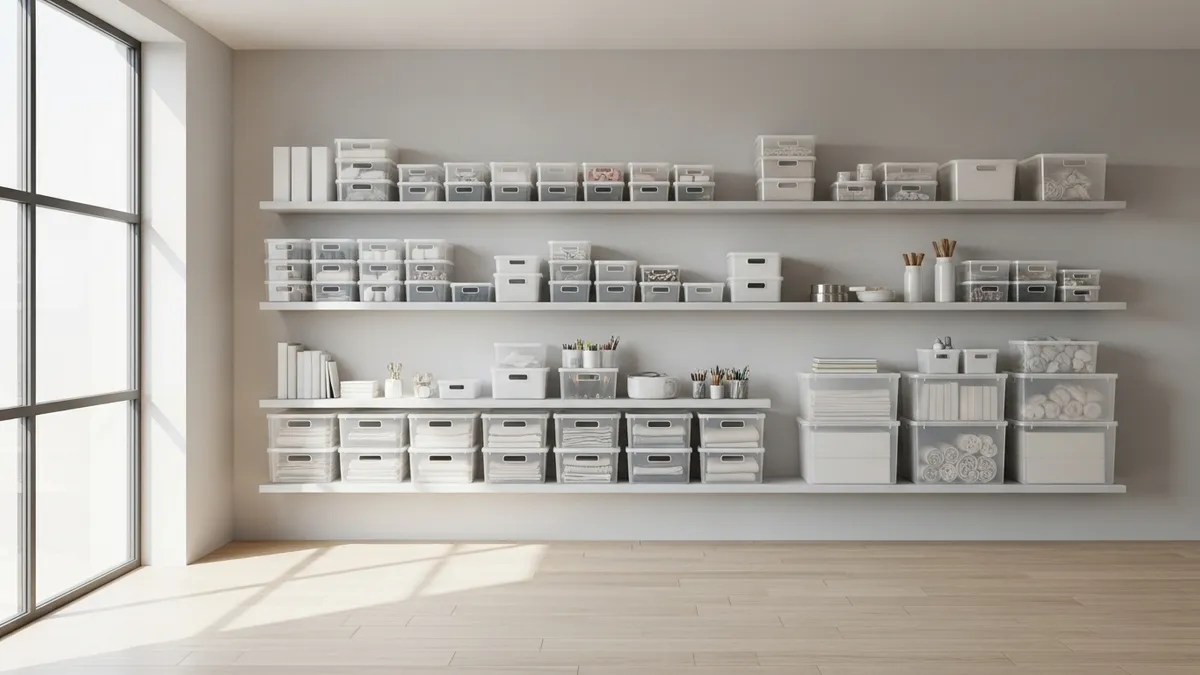
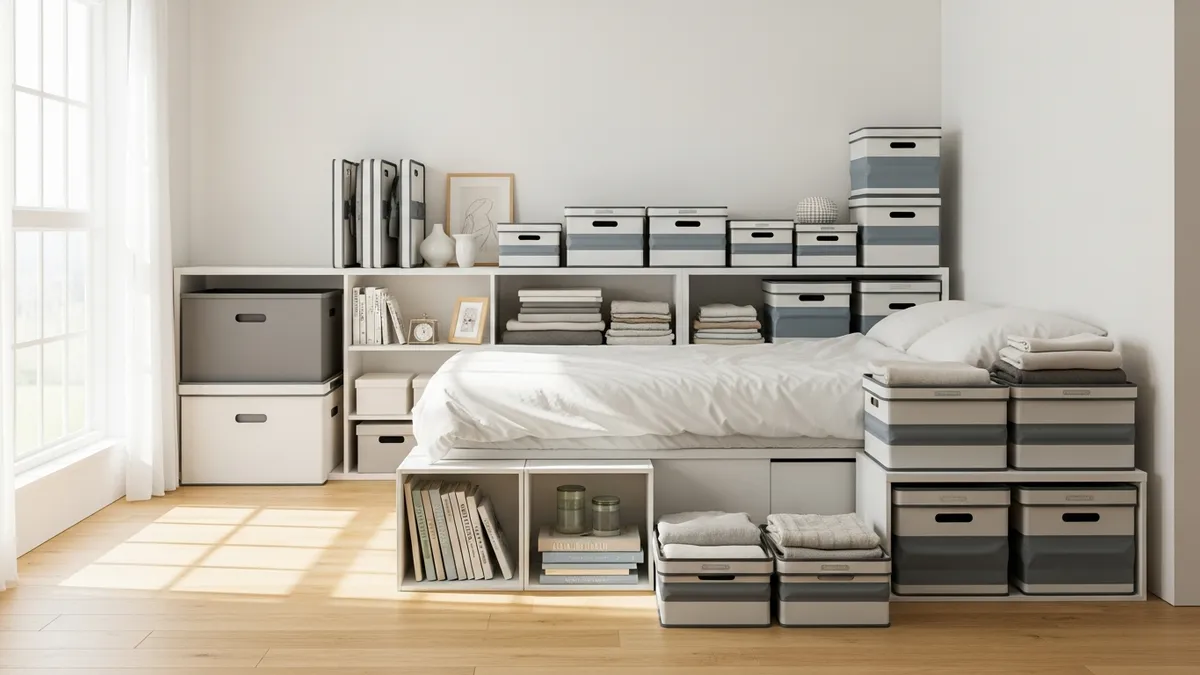
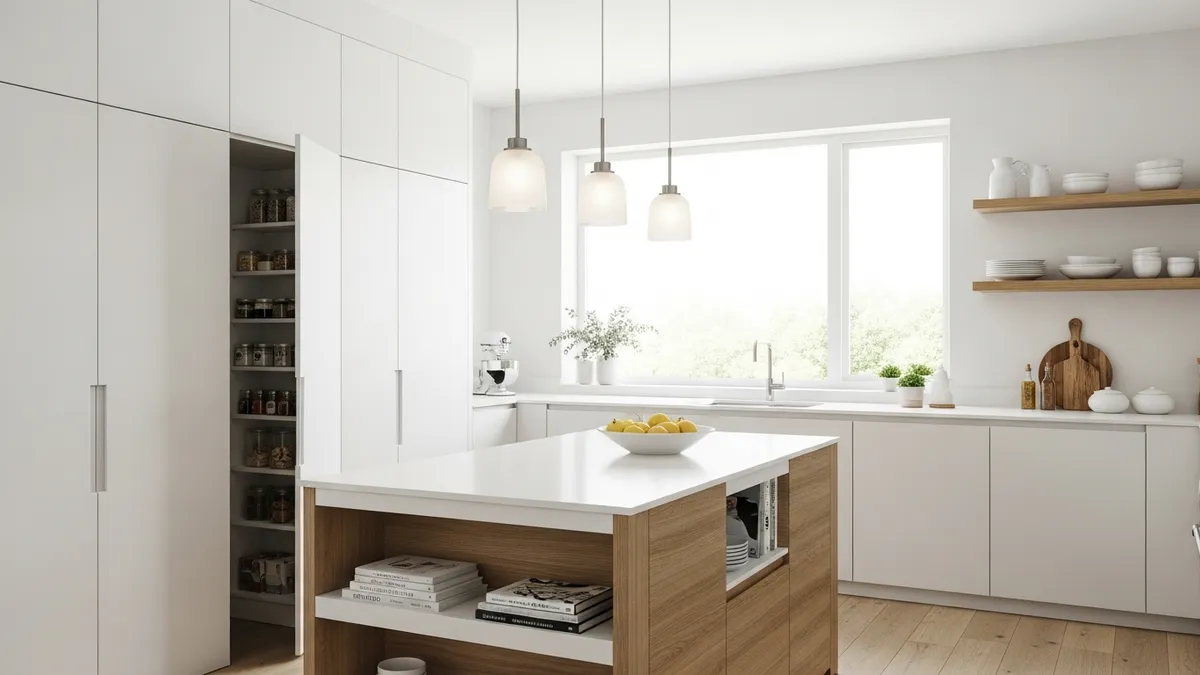
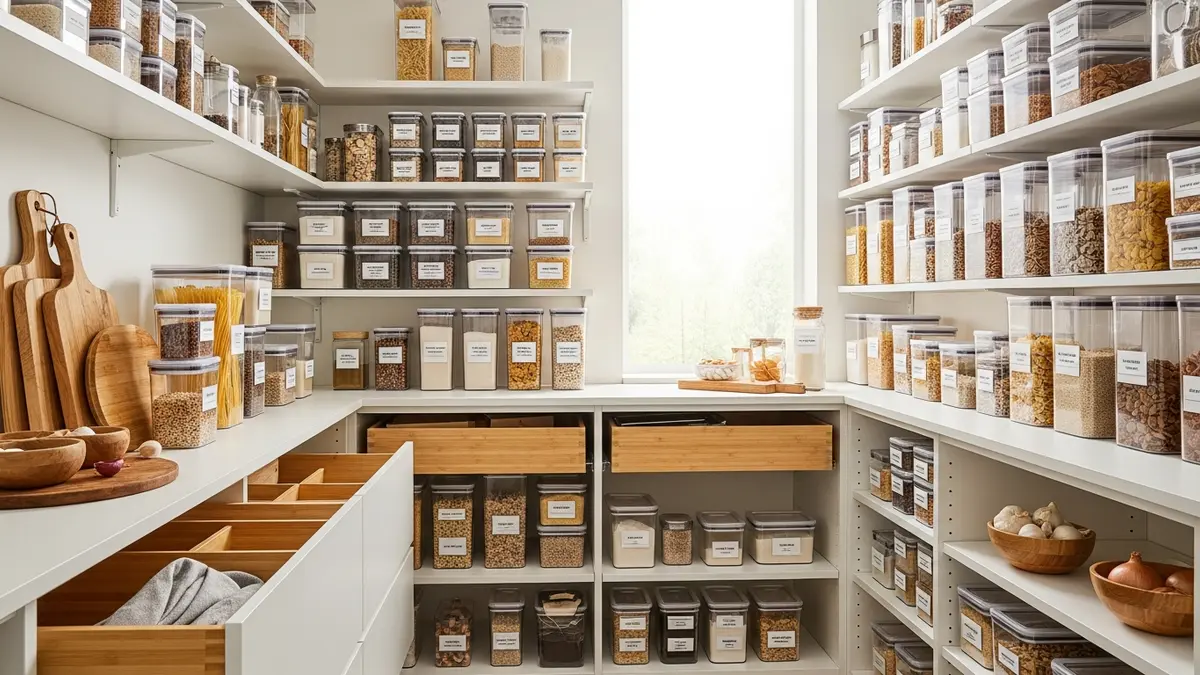
DIY Spice Rack Tutorial for Small Kitchens: Step-by-Step Guide 2026
Having a DIY spice rack in your small kitchen isn't just about aesthetics—it's also about maximizing space efficiency. According to a Tokopedia survey in 2026, 73% of Indonesian households struggle with storing kitchen spices due to limited space. By making your own spice rack, you can save up to 60% of cabinet space while creating a more organized cooking area.
This DIY project is perfect for beginners and requires a budget of only around $9-$18 USD, far more economical than buying ready-made spice racks which can cost $30-$72 USD. Let's learn how to make it step by step!
Why is a DIY Spice Rack Important for Your Small Kitchen in 2026?
Small kitchens require smart and efficient storage solutions. Homemade spice racks offer flexibility that ready-made products simply can't provide. You can customize the size, shape, and capacity to suit your kitchen's specific needs.
Benefits of Making Your Own Spice Rack
- Cost-effective: Save up to 70% compared to buying ready-made
- Custom sizing: Tailored to your kitchen dimensions
- Quality guaranteed: You control the materials and finishing
- Personal satisfaction: Proud of your own handiwork
- Eco-friendly: Uses recycled or locally-sourced materials
According to Kompas.com data from 2026, the DIY home organization trend has increased by 45% as Indonesians increasingly recognize the importance of personalizing their living spaces. Organizing a small kitchen effectively has become a top priority for modern households.
Preparing Materials and Tools for Your DIY Spice Rack
Before starting your project, make sure you have all the necessary materials and tools ready. Proper initial investment will result in a DIY spice rack that's durable and functional.
List of Required Materials
- Pine wood board 2x15x60 cm (2 pieces) - $5 USD
- Pine wood board 2x10x50 cm (3 pieces) - $3.60 USD
- Wood screws 3x25mm (20 pieces) - $0.90 USD
- Hanging brackets (2 pieces) - $1.50 USD
- Wood stain or wood paint - $2.10 USD
- Fine and coarse sandpaper - $0.60 USD
- Wood glue - $0.72 USD
Required Tools
- Electric drill with wood drill bits
- Wood saw or circular saw
- Measuring tape and pencil
- Level to ensure straightness
- Brush for finishing
Steps to Make Your DIY Spice Rack
Follow each step carefully to achieve a professional-quality homemade spice rack. The entire process takes approximately 4-6 hours including drying time.
Step 1: Measuring and Cutting the Wood
Start by measuring the kitchen wall area where the rack will be mounted. The standard effective size for small kitchens is 50cm (width) x 40cm (height) x 10cm (depth). Cut the boards to size with high precision using a saw.
- Side panels: 2 pieces measuring 2x10x40cm
- Top and bottom panels: 2 pieces measuring 2x10x46cm
- Middle shelves: 2 pieces measuring 2x8x46cm
Step 2: Sanding and Surface Preparation
Sand all wood surfaces starting with coarse sandpaper (grit 120) to fine sandpaper (grit 220). This step is important for optimal finishing and to prevent wood splinters that could hurt your hands.
Pro tip: Always sand in the direction of the wood grain for a smoother and more natural finish
Step 3: Assembling the Main Structure
Apply a thin layer of wood glue to all joints before screwing them together. Start with the main frame (top, bottom, and sides), ensuring all corners are perfectly perpendicular using a square.
Step 4: Installing the Middle Shelves
Divide the height of the rack into three equal sections for proper middle shelf placement. Standard-sized Indonesian spice jars average 8-12cm, so space between shelves should be at least 15cm for flexibility.
Step 5: Finishing and Wood Protection
Choose natural wood stain or food-safe water-based paint since it will be used to store kitchen spices. Apply 2 coats with 4 hours drying time between each coat.
Tips for Optimal Installation and Placement
The location where you mount your DIY spice rack significantly affects kitchen functionality. Choose an area that's easily accessible while cooking but protected from direct heat and oil splatters from the stove.
Ideal Locations for Your Spice Rack
- Wall beside the stove (minimum 50cm distance from flames)
- Area above counter at 120-140cm height from the floor
- Inside frequently-opened cabinets
- Empty wall near food prep area
According to Pinterest research on kitchen organization in 2026, placing spices within 1 meter radius of the stove can increase cooking efficiency by up to 35%. Integration with modern minimalist kitchen set inspiration will create perfect visual harmony.
Safe Installation Method
- Use strong brackets - minimum load capacity 10kg
- Find wall studs for solid anchor points
- Use a level to ensure the rack isn't tilted
- Test the load before filling completely with spice jars
Design Variations for Your Spice Rack Based on Different Needs
Every kitchen has unique characteristics, so DIY spice rack designs should be customized. Here are some variations you can consider based on your space and cooking needs.
Spice Rack Models Based on Kitchen Layout
For Galley Kitchens:
Create a vertical spice rack with a pull-out drawer system. Dimensions: 20cm (width) x 60cm (height) x 15cm (depth) with 4-5 shelf levels.
For L-Shaped Kitchens:
Utilize dead corner space with a corner spice rack. Triangular design with rotating mechanism for easy access to all spices.
For Studio/Apartment Kitchens:
Magnetic spice rack that can be moved around, perfect for mounting on your fridge or a special magnetic board. Spice jars with magnetic bottoms.
You can find current design references on Houzz which displays 200+ kitchen organization inspirations for Asian homes including Indonesia.
Advanced Upgrades and Customization
- LED strip lighting to illuminate spice jars (additional budget $4.50 USD)
- Sliding door to protect spices from dust ($6 USD)
- Pull-down mechanism for high-placed shelves ($9 USD)
- Smart labels with QR codes for recipes ($1.50 USD)
Maintenance and Care for Your DIY Spice Rack
A well-maintained homemade spice rack can last 10-15 years. Investing time in routine maintenance will keep your spice rack functional and looking great.
Weekly Maintenance Routine
- Dust with a microfiber cloth using dry wiping
- Check screw tightness especially in frequently-used areas
- Rotate spices to ensure FIFO (First In First Out) system
- Wipe with damp cloth for stubborn stains
Monthly Maintenance
- Deep clean with specialized wood cleaner
- Re-season wood with wood conditioner if needed
- Inspect brackets and replace if showing signs of wear
- Reorganize spices based on frequency of use
According to 2026 tips from Detik.com, a well-maintained kitchen organization system can increase property value by up to 8% and make your cooking process 40% more efficient.
Cost Estimate and ROI for Your DIY Spice Rack Project
Cost-benefit analysis shows that making your own spice rack provides significant return on investment, both financially and in terms of personal satisfaction.
Total Cost Breakdown
- Main materials (wood, screws, brackets): $10.80 USD
- Finishing (stain, sandpaper, glue): $3.42 USD
- Tool rental (if you don't own): $4.50 USD
- Miscellaneous: $1.50 USD
- Total investment: $20.22 USD
Comparison with Store-Bought Options
Quality equivalent spice racks available in Indonesian market 2026:
- Basic model: $27-$45 USD
- Premium model: $48-$90 USD
- Custom order: $72-$120 USD
Savings: 55-83% compared to store-bought options with quality you can control yourself. Plus, you gain valuable experience and DIY skills applicable to other home improvement projects.
FAQ: Questions About DIY Spice Racks
Q: Is pine wood suitable for humid kitchen environments?
Properly treated pine wood (wood stain + sealer) is sufficiently resistant to kitchen humidity. Ensure the installation area has good ventilation and avoid direct contact with water vapor.
Q: How long does it take to make a DIY spice rack?
Total time is approximately 6-8 hours including drying time. Can be completed over a weekend: first day for cutting and assembly, second day for finishing and installation.
Q: Can I use materials other than wood?
Absolutely! Alternative materials: metal (aluminum/stainless steel), food-grade HDPE plastic, or bamboo. Each material has different characteristics and construction techniques.
Q: What if I don't have woodworking skills?
Start with a simple design and ask for help at your local hardware store's cutting service. Many hardware stores offer wood cutting services to your specifications for a minimal fee of $0.30-$0.60 per cut.
Conclusion
Making a DIY spice rack for your small kitchen is a smart solution that combines creativity, space efficiency, and budget savings. With an investment of 6-8 hours and around $20 USD, you get a storage solution perfectly tailored to your kitchen's specific needs.
This project not only provides personal satisfaction but also increases your kitchen functionality by up to 60% and saves time on daily cooking. Remember, living a more organized life starts with the right organization system in every corner of your home.
Ready to start your DIY spice rack project? Visit Sesoris' complete collection for more home organization inspiration and find quality tools to help you create your dream kitchen in 2026!
Weekly Home Tips
Get home organization ideas, product picks, and exclusive deals delivered weekly.
No spam. Unsubscribe anytime.


