
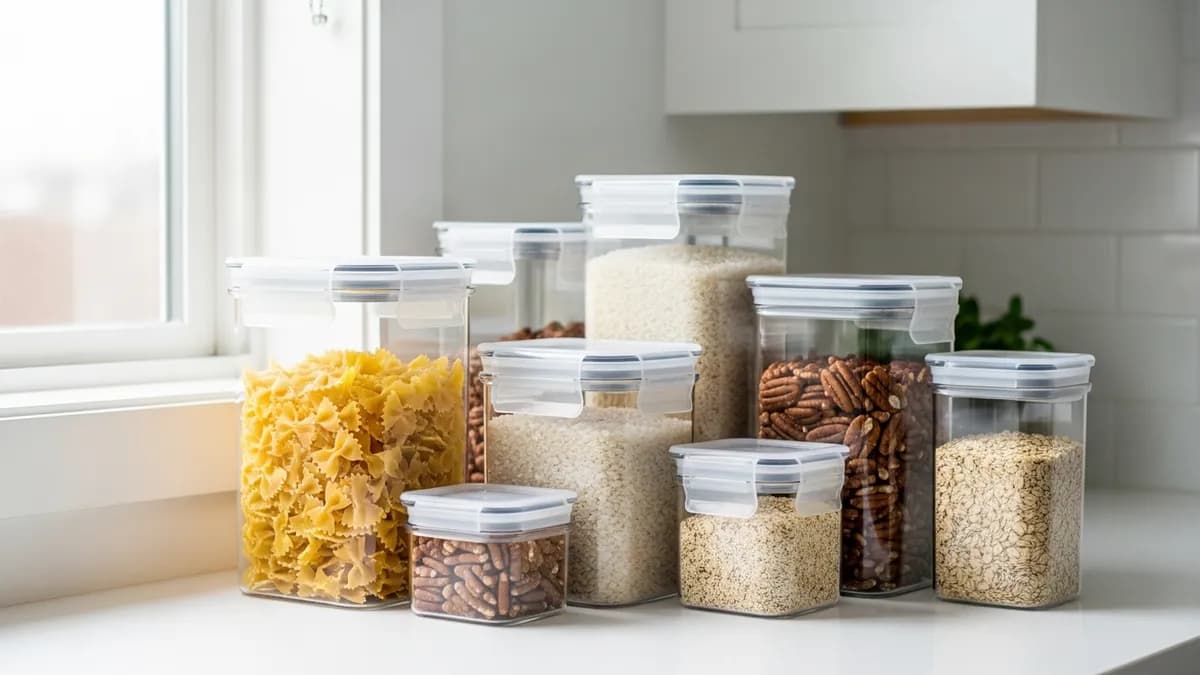
Food Storage Containers Airtight: Complete Tutorial Guide to Keeping Food Fresh in 2026
If you've ever opened your pantry to find stale cereal, clumpy flour, or soggy crackers, you already know how much of a difference food storage containers airtight seals can make. In 2026, more households than ever are investing in quality airtight containers - and for good reason. Studies show that improper food storage leads to roughly 30-40% of household food being wasted each year, costing the average family over $1,500 annually. Whether you're a meal-prep enthusiast, a busy parent, or simply someone who wants a cleaner, more organized kitchen, this complete tutorial guide will walk you through everything you need to know about choosing, using, and organizing airtight food storage containers for maximum freshness and efficiency.
What Are Airtight Food Storage Containers and Why Do They Matter?
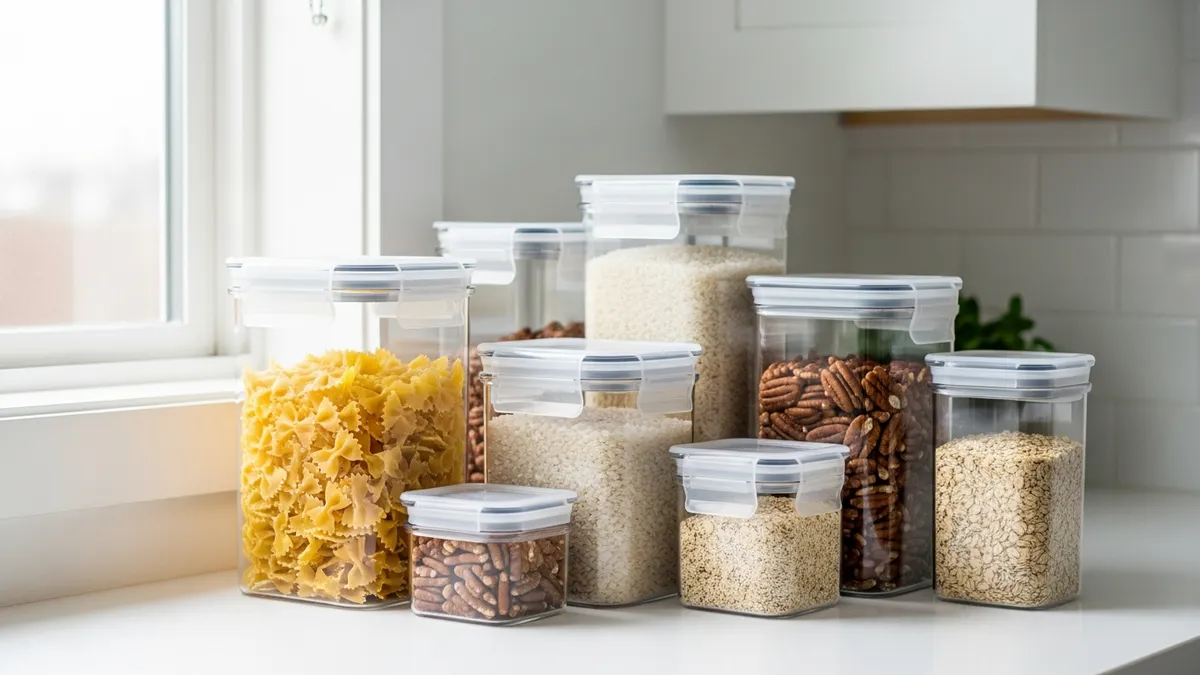
At their core, food storage containers airtight designs work by creating a hermetic seal - a complete barrier that prevents air, moisture, and contaminants from entering or escaping the container. This matters enormously for food preservation because oxygen and humidity are the two biggest culprits behind food spoilage, staleness, and mold growth.
According to The Spruce, airtight containers can extend the shelf life of dry goods like flour, sugar, and cereals by 2 to 4 times compared to their original packaging. For fresh produce and cooked meals stored in the refrigerator, a proper airtight seal can add 3 to 5 extra days of freshness.
Here's what a proper airtight seal actually does for your food:
- Prevents oxidation - slows down the chemical reactions that make fats go rancid and fruits turn brown
- Blocks moisture - keeps dry goods crispy and prevents wet foods from drying out
- Seals out odors - stops fridge odors from transferring between foods
- Keeps pests out - pantry moths, weevils, and ants cannot penetrate a properly sealed container
- Preserves nutrients - less exposure to air means more vitamins and minerals stay intact
- Reduces freezer burn - airtight seals protect frozen foods from dehydration and ice crystal formation
If you want to explore more about the science of food preservation, Wikipedia's article on food preservation offers a solid foundation. And for practical applications in your kitchen, check out our guide on best food storage solutions for your kitchen.
Types of Airtight Food Storage Containers: Which One Is Right for You?
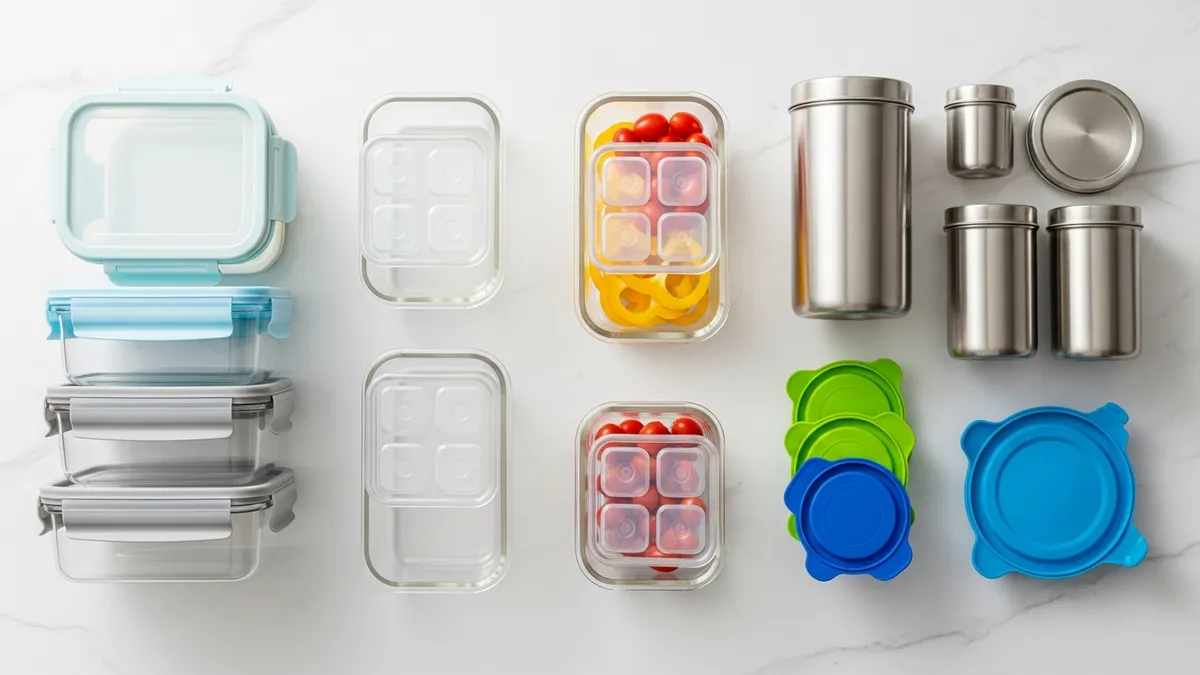
Not all food storage containers airtight options are created equal. The material, lid mechanism, and intended use all play a role in which type best fits your needs. Here's a breakdown of the four main categories available in 2026:
1. Plastic Airtight Containers
Plastic containers remain the most popular choice due to their lightweight nature, affordability (typically $9.99 - $35 for a set), and shatter resistance. Look for containers that are BPA-free and food-grade to avoid chemical leaching.
Best for: Dry pantry staples, meal prep, lunchboxes, bulk storage
Pros: Lightweight, affordable, stackable, comes in many sizes
Cons: Can stain, absorb odors over time, not ideal for high-heat use
Top pick in 2026: Look for containers with four-point locking lids and silicone gaskets - these provide the most reliable seal.
2. Glass Airtight Containers
Glass containers have surged in popularity among health-conscious consumers. They're non-porous (won't absorb odors or stains), oven-safe up to 400°F in most cases, and completely free of plastic chemicals. Sets typically range from $25 - $60.
Best for: Meal prep, leftovers, marinating, microwave use, fridge and freezer storage
Pros: Non-toxic, odor-resistant, microwave and oven safe, beautiful presentation
Cons: Heavier, breakable, more expensive
Explore our comprehensive best food storage containers glass guide for top recommendations.
3. Stainless Steel Airtight Containers
Stainless steel containers are incredibly durable and ideal for zero-waste households. While they're not microwave-safe, they excel in freezer storage, lunch carrying, and pantry organization. Prices range from $15 - $50 per set.
Best for: Snacks, dry goods, packed lunches, outdoor activities
Pros: Ultra-durable, rust-resistant, eco-friendly, lightweight yet strong
Cons: Not microwave-safe, contents not visible
4. Silicone Airtight Containers
Silicone bags and containers are the newest trend in 2026, offering flexibility, collapsibility for easy storage, and excellent sealing performance. They're also dishwasher-safe and can go from freezer to boiling water. Sets start at $12 - $40.
Best for: Sous vide cooking, marinating, snack storage, travel
Pros: Flexible, collapsible, dishwasher-safe, great for travel
Cons: Can be harder to clean thoroughly, may retain some odors
Step-by-Step Tutorial: How to Use Food Storage Containers Airtight Correctly
Using food storage containers airtight seems straightforward, but there are specific techniques that maximize their effectiveness. Follow this step-by-step tutorial to get the most out of your containers in 2026.
Step 1: Choose the Right Container Size
One of the most common mistakes people make is using containers that are too large for the food inside. Extra air space inside the container is just as problematic as no seal at all. Here's a quick sizing guide:
- Small containers (0.5-1 cup): Perfect for cut fruits, small portions of nuts, or single servings of leftovers
- Medium containers (2-4 cups): Great for soups, salads, grains, and sandwich fillings
- Large containers (6-12 cups): Ideal for dry pantry staples like flour, sugar, pasta, and cereals
- Extra-large containers (1 gallon+): Best for bulk items like rice, oats, pet treats, or coffee beans
Pro Tip: Fill containers as close to full as possible. Less empty space means less oxygen trapped inside, which significantly extends food freshness.
Step 2: Prepare Your Food Properly Before Sealing
The container is only as effective as what you put inside it. Before sealing:
- Cool hot foods completely before placing them in an airtight container - sealing warm food traps steam, creating condensation that promotes mold
- Pat dry produce and proteins - excess moisture is the enemy of freshness
- Remove original packaging - cardboard cereal boxes and paper bags are not airtight; always transfer to your containers
- Add a food-safe desiccant packet for ultra-dry goods like brown sugar, crackers, or coffee beans
- Label with the date - knowing when food was stored helps you track freshness
Step 3: Create a Proper Airtight Seal
Each lid type requires a slightly different technique:
For snap-lock / four-clip lids:
- Place food inside the container, leaving about ½ inch of headspace
- Center the lid on top of the container
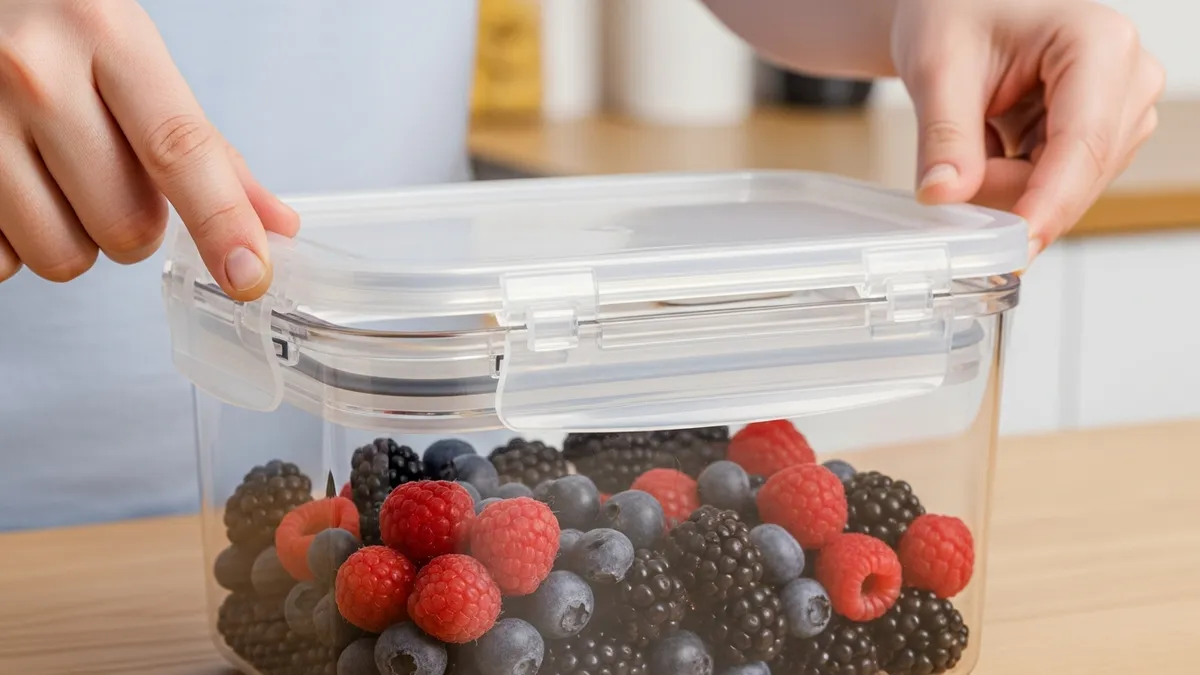
- Press down firmly on the center of the lid first
- Clip each of the four side locks one at a time, pressing firmly until you hear a click
- Test the seal by trying to lift just the lid - it should not come off without releasing the clips
For screw-top lids:
- Align the lid with the threads
- Turn clockwise slowly until resistance increases
- Give one final firm turn - you should feel the silicone gasket compress
- Do not over-tighten, which can damage the gasket over time
For push-button vacuum lids:
- Place the lid on top and press the sides down
- Press the center button repeatedly until resistance is felt
- The button should stay depressed when properly sealed
Step 4: Store in the Right Location
Even the best food storage containers airtight seals work harder when food is stored in the right environment:
- Pantry/cupboard: Keep away from heat sources (stoves, ovens) and direct sunlight, which accelerate spoilage even in sealed containers
- Refrigerator: Store on middle shelves where temperature is most consistent; avoid door shelves which have temperature fluctuations
- Freezer: Leave 10-15% headspace in containers - liquids and foods expand when frozen
- Countertop: Only for items you use daily (coffee, tea, cooking staples); keep out of direct sunlight
Step 5: Maintain Your Containers for Long-Term Performance
- Wash lids separately - silicone gaskets should be removed and cleaned individually to prevent mold buildup in the grooves
- Inspect gaskets monthly - look for cracks, tears, or hardening that compromise the seal
- Deep clean with baking soda paste monthly to remove odors from plastic containers
- Avoid harsh abrasives that can scratch surfaces and create bacteria-harboring grooves
- Replace gaskets when they lose elasticity - most are available for $1 - $3 each
How to Organize Airtight Food Storage Containers in Your Kitchen
Having the right containers is only half the battle - organizing them effectively is what truly transforms your kitchen. Good Housekeeping recommends a system-based approach to container organization that reduces retrieval time by up to 60%.
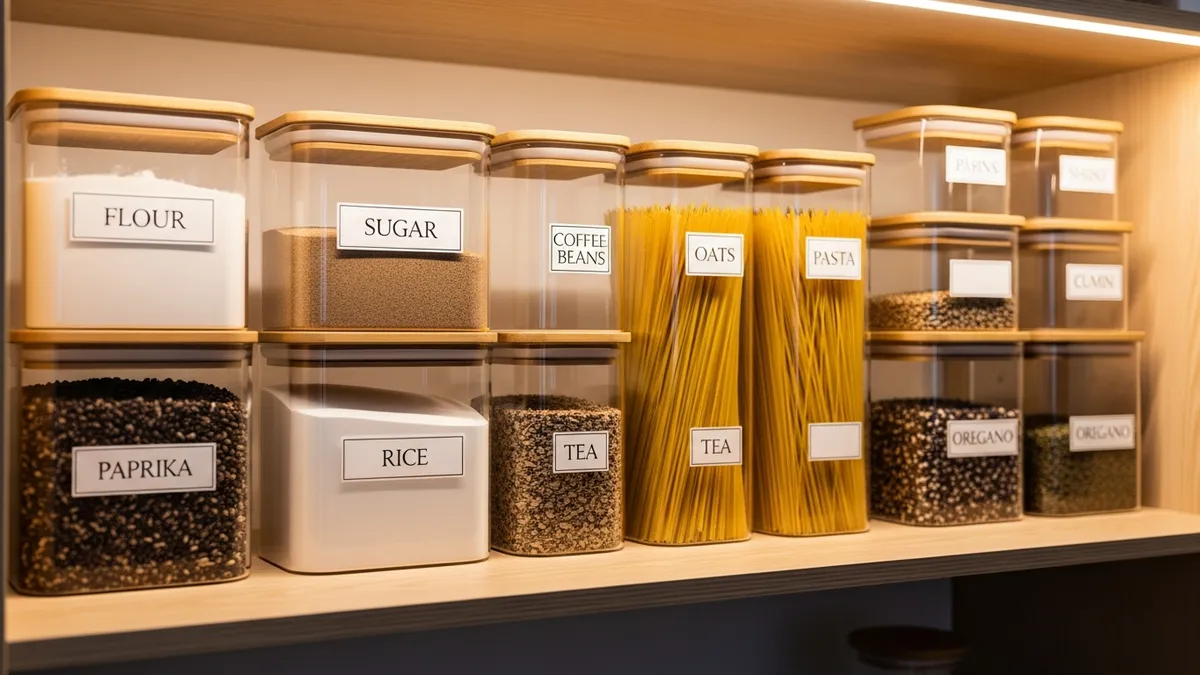
Pantry Organization with Airtight Containers
The pantry is where food storage containers airtight designs truly shine. Here's a proven organization system for 2026:
The Zone Method:
- Zone 1 - Eye level: Most-used items (coffee, tea, snacks, cooking oils, everyday grains)
- Zone 2 - Above eye level: Bulk storage and less-frequently used items (extra pasta, backup flour, specialty grains)
- Zone 3 - Below eye level: Heavy items and bulk bags (rice, large flour containers, pet food)
- Zone 4 - Door shelves: Spices, small packets, frequently grabbed snacks
Labeling System:
Invest in a label maker or use adhesive chalkboard labels - they're reusable and look incredibly clean. Include:
- Product name
- Date stored
- Expiration date
- Quantity (especially helpful for bulk items)
Matching Sets = Maximum Space Efficiency:
Using a matching set of containers (same brand, same shape) allows for up to 30% more storage capacity on shelves compared to mismatched containers, because they stack and nest perfectly. Sets like modular square containers are particularly efficient since they eliminate wasted corner space.
Explore our food storage containers for pantry guide for even more organization strategies.
Refrigerator Organization with Airtight Containers
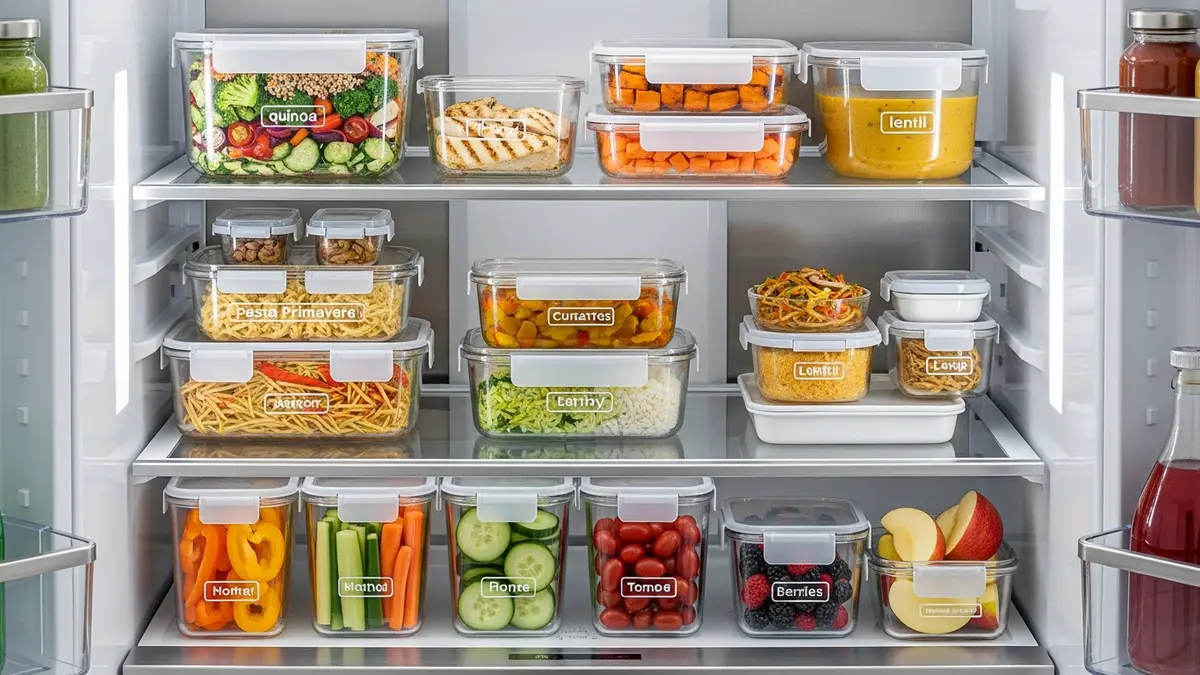
A well-organized fridge with airtight containers doesn't just look great - it helps you reduce food waste and save money. Here's a step-by-step fridge organization tutorial:
- Empty the fridge completely and wipe down all shelves
- Categorize your food into groups: proteins, dairy, produce, leftovers, condiments, beverages
- Assign dedicated shelves - proteins on the bottom shelf (to prevent cross-contamination), dairy in the middle, produce in crisper drawers
- Transfer all leftovers into labeled airtight glass containers (glass is preferred for fridge use as it doesn't absorb odors)
- Use a FIFO system (First In, First Out) - newer items go behind older ones so you always use older food first
- Do a weekly audit - every Sunday, check all containers, note what needs to be used soon, and plan meals accordingly
What Foods Benefit Most from Airtight Food Storage Containers?
Not every food needs an airtight container, but certain categories see dramatic freshness improvements when stored properly. Here's your comprehensive guide:
Dry Pantry Goods
These are the biggest beneficiaries of food storage containers airtight storage:
- Flour - extends from 6-8 months to up to 2 years in an airtight container
- Sugar - prevents hardening and clumping indefinitely
- Cereals and granola - maintains crunch for 3-4 weeks longer than keeping them in original bags
- Pasta and rice - keeps pests out and maintains quality for up to 3 years
- Coffee beans - fresh for 2-4 weeks in an airtight container (extends from just a few days in an open bag)
- Nuts and seeds - prevents rancidity, extending shelf life from weeks to 3-6 months
- Spices and herbs - maintains potency for 2-4 years vs. 6-12 months in original packaging
For dedicated rice storage solutions, check out our food storage containers for rice ultimate guide.
Refrigerated Foods
- Leftovers - airtight containers add 3-5 extra days of safe storage compared to loosely covered dishes
- Cut fruits and vegetables - extends freshness by 2-3 days
- Marinated proteins - airtight seals allow even marinating while preventing cross-contamination
- Cheese - reduces mold growth significantly when properly sealed
- Cooked grains and legumes - stays fresh for 5-7 days in the fridge
Freezer Foods
- Soups and stews - eliminates freezer burn for up to 3-6 months
- Frozen fruits and vegetables - maintains texture and prevents ice crystal formation
- Portioned proteins - airtight freezer containers keep meat fresh for 6-12 months
- Baked goods - prevents dehydration and maintains texture
How to Choose the Best Airtight Food Storage Containers: Key Buying Criteria
When shopping for food storage containers airtight options in 2026, use these criteria to make the right investment:
Material Safety
Always prioritize BPA-free, food-grade materials. In 2026, look for containers labeled:
- BPA-free (Bisphenol A)
- BPS-free (Bisphenol S)
- Phthalate-free
- FDA-approved food-grade materials
For plastic containers, check the recycling number on the bottom - #2, #4, and #5 plastics are generally considered the safest for food contact.
Seal Quality - The Most Critical Feature
The seal is everything in an airtight container. Look for:
- Silicone gaskets (better than rubber - lasts longer and stays flexible)
- Four-point locking mechanisms (more reliable than single-clip or push-on lids)
- Vacuum seal technology (premium option for maximum freshness)
- Lid integrity - press the lid and listen for the 'pop' sound when you release; this indicates a true airtight seal
Stackability and Storage Efficiency
- Choose square or rectangular containers over round ones - they use up to 25% more shelf space efficiently
- Look for containers that nest inside each other when empty to save cabinet space
- Modular systems that stack securely reduce the risk of containers tipping and creating kitchen chaos
Dishwasher Safety
Check that both the container and lid are dishwasher safe (top rack) - handwashing every single container is impractical for most households. Note: silicone gaskets should always be handwashed to extend their lifespan.
Price vs. Value
Here's a general price guide for quality airtight containers in 2026:
- Budget sets (4-10 pieces): $9.99 - $25 - Good for getting started; BPA-free plastic
- Mid-range sets (8-15 pieces): $25 - $60 - Better seals, mix of materials, longer-lasting
- Premium sets (6-12 pieces): $60 - $120 - Glass or high-grade plastic, vacuum-seal technology
- Individual specialty containers: $15 - $40 each - Large capacity, specialty items like cereal dispensers
Smart Buying Tip: Investing in a mid-range set of $35 - $50 with matching sizes gives you the best return on investment in terms of longevity, seal quality, and organization efficiency. Check our best sellers collection for top-rated options.
Common Mistakes to Avoid with Airtight Food Storage Containers
Even with quality containers, these common errors can compromise your food freshness:
Mistake #1: Sealing Warm or Hot Food
Placing warm food in an airtight container creates condensation when it cools, introducing moisture that rapidly accelerates mold growth. Always cool food to room temperature first - this typically takes 30-45 minutes for most cooked dishes.
Mistake #2: Ignoring the Gasket
The silicone gasket is the heart of the airtight seal, but it's also the most neglected part. Food debris trapped in gasket grooves creates bacteria and weakens the seal. Remove and clean gaskets every 2-3 washes.
Mistake #3: Using One Giant Container for Multiple Items
Storing mixed leftovers in one large container reduces freshness for all contents. Different foods release different gases and have different moisture levels - keep them separated.
Mistake #4: Forgetting to Label
Without dates, you're essentially guessing freshness. A simple labeling system takes 10 seconds and can prevent foodborne illness.
Mistake #5: Washing Lids in the Dishwasher's Bottom Rack
High heat in the bottom rack warps plastic lids and degrades silicone gaskets faster. Always use the top rack for lids and containers.
Mistake #6: Storing Containers in Direct Sunlight
UV light degrades plastic over time, even in sealed containers. Store your pantry containers away from windows.
For more comprehensive organization tips, browse our all products collection and explore the new arrivals for the latest 2026 storage solutions.
FAQ: Frequently Asked Questions About Food Storage Containers Airtight
Q: How do I know if my food storage container is truly airtight?
The most reliable test is the water test: fill the container halfway with water, seal it completely, then turn it upside down and shake gently. No leaking means the seal is intact. Another quick check is to press down on the center of the sealed lid - it should be firm and not flex inward, indicating no air pressure differential.
Q: How long do silicone gaskets last in airtight containers?
With proper care, high-quality silicone gaskets last 3-5 years. Signs it's time to replace: visible cracks, a hard or stiff texture, visible warping, or if food is no longer staying fresh as long as it used to. Replacement gaskets typically cost $1 - $3 each and are available from most major container brands.
Q: Can I put airtight containers in the microwave?
It depends on the material. Glass airtight containers (without metal clips) are generally microwave-safe. BPA-free plastic containers labeled microwave-safe can be used, but always remove the lid first to allow steam to escape. Stainless steel containers are never microwave-safe. Always check manufacturer guidelines before microwaving.
Q: Are airtight containers safe for freezer storage?
Yes, but with important caveats. Leave 10-15% headspace in any container before freezing, as liquids and foods expand when frozen. Use containers specifically labeled freezer-safe - not all airtight containers can withstand freezer temperatures without cracking. Glass containers must cool before going into the freezer (no direct oven-to-freezer transfers unless labeled safe for it).
Q: What's the best way to remove odors from plastic airtight containers?
Make a paste of baking soda and water, apply it to the inside of the container, let it sit for 30 minutes, then wash normally. Alternatively, fill the container with crumpled newspaper, seal it, and leave overnight - the newspaper absorbs odors effectively. For stubborn smells, leave the container open in direct sunlight for a few hours.
Q: How many airtight containers does a typical household need?
For a family of 2-4 people with regular meal prep and pantry organization, a good starting point is:
- 4-6 small containers (under 2 cups)
- 4-6 medium containers (2-4 cups)
- 3-4 large containers (6-8 cups)
- 2-3 extra-large containers (1 gallon+)
That's roughly 13-19 containers total, which you can typically find in a single comprehensive set for $40 - $75.
Q: Which is better for food storage - glass or plastic airtight containers?
Both have their advantages. Glass is better for health-conscious users, microwave use, and preventing staining/odor absorption. Plastic is lighter, more affordable, and better for travel and packed lunches. Many households use both: glass for fridge and microwave use, plastic for pantry and packed meals. Read our detailed comparison in the airtight storage containers for food complete guide.
Conclusion
Mastering food storage containers airtight techniques is one of the most impactful upgrades you can make to your kitchen in 2026. From choosing the right material and seal type to organizing your pantry and fridge like a pro, every step in this tutorial brings you closer to a kitchen that works smarter - reducing food waste, saving money, and making meal prep feel effortless.
The key takeaways from this guide:
- Invest in quality airtight containers with silicone gaskets and four-point locking lids for maximum seal reliability
- Match container size to food quantity - minimize air space for best results
- Always cool food before sealing to prevent condensation and mold
- Label everything with dates - this simple habit dramatically reduces food waste
- Organize by zones in your pantry and use FIFO in your fridge
- Maintain your containers - clean gaskets regularly and inspect seals monthly
Whether you're just starting your food organization journey or looking to upgrade your current system, Sesoris has everything you need. Browse our complete food storage collection to find the perfect airtight containers for your kitchen, or check out our best sellers to see what thousands of organized households are loving in 2026. Your fresher, more organized kitchen is just a few containers away - organize your life with ease!
Weekly Home Tips
Get home organization ideas, product picks, and exclusive deals delivered weekly.
No spam. Unsubscribe anytime.



Explore More Articles
- How to Organize Your Closet: A Practical 2026 Guide
- 3 Tier Spice Rack: Complete 2026 Buying Guide
- Minimalist Kitchen Inspiration: 30+ Modern Ideas 2026
- How to Keep Your Kitchen Organized: Complete 2026 Guide
- Clothes Storage Organizer: The Complete 2026 Guide
- How to Organize a Tiny Kitchen: 20+ Smart Ideas for 2026
- Aluminum Kitchen Rack: Choose, Install & Care Guide 2026
- Dish Rack for Kitchen Cabinet: 2026 Buying Guide