Tutorial: Building a Mini Kitchen Island for Small Kitchens - A Step-by-Step Guide 2026
Having a mini kitchen island in a small kitchen is no longer an impossible dream in 2026. With increasingly limited residential space in Indonesia, many families need to be creative in maximizing kitchen functionality in spaces measuring 2x2 or 3x2 meters. A mini kitchen island can be a smart solution to add prep area, extra storage, and even a breakfast spot for the family. This tutorial will guide you through building a mini kitchen island with a budget starting from around $30 to $90.
According to a Kompas.com survey in 2026, 68% of Indonesian families live in homes with kitchens under 6 square meters. A mini kitchen island can increase kitchen efficiency by up to 40% by adding extra storage and workspace. Let's learn how to build one step by step!

Planning and Designing Your Mini Kitchen Island
The first step in building a mini kitchen island is careful planning. Measure your kitchen space carefully and determine the ideal dimensions for your island. For small kitchens, the optimal size is 80-120 cm long, 40-60 cm wide, and 85-90 cm tall according to ergonomic standards.
Determining the Island's Primary Function
Before you start building, determine the main function of your mini kitchen island:
- Prep and cutting area: Needs a flat, water-resistant surface
- Additional storage: Drawers, shelves, or closed cabinets
- Breakfast bar: Extra seating for quick meals
- Equipment storage: Knife rack, spice shelf, or pot storage
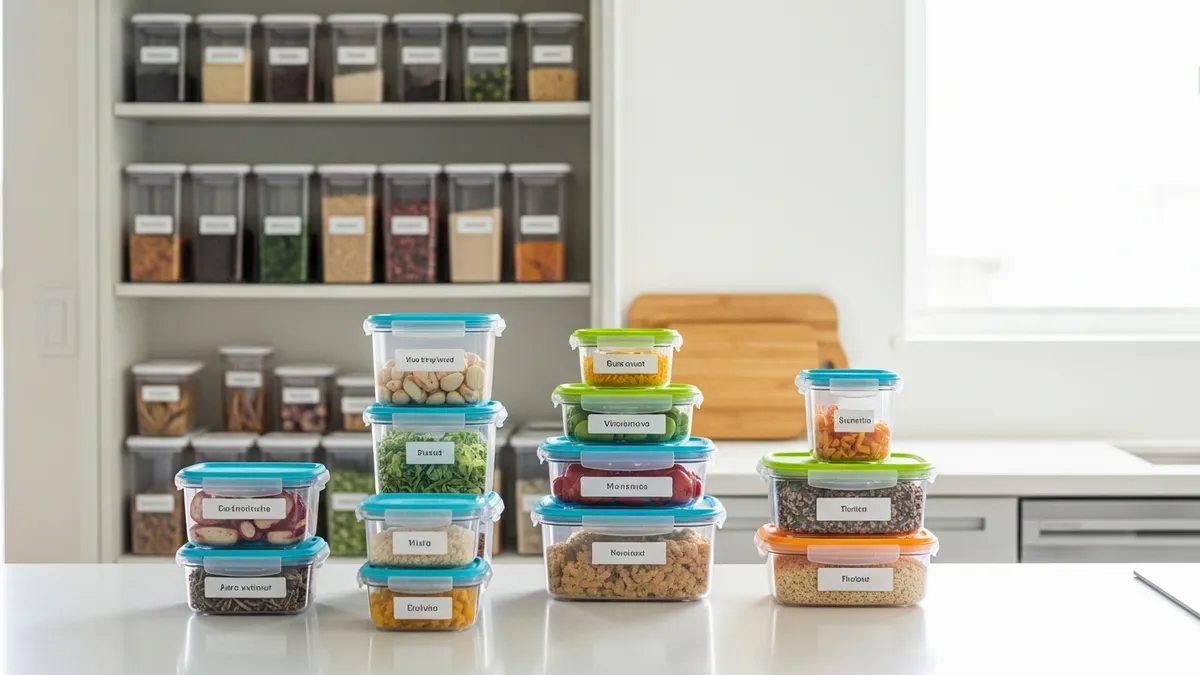
With proper planning, a mini kitchen island can save up to 30% of cooking time because all equipment is within reach. Tips from how to organize your kitchen neatly are also very helpful during this planning phase.
Preparing Tools and Materials Needed
To build a quality mini kitchen island, prepare the following tools and materials with an estimated budget of $50-$75:
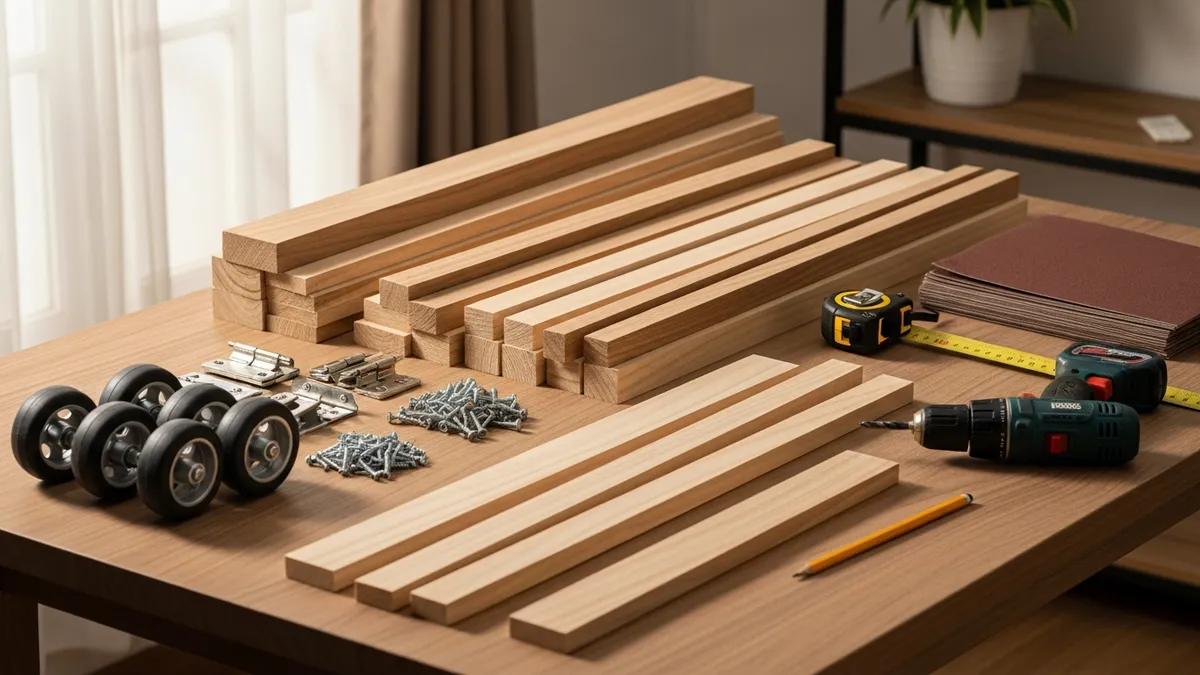
Main Materials List
- 18mm plywood boards (2 sheets 120x60 cm) - $25
- Wooden beams 4x6 cm (4 pieces @3 meters) - $12
- Quality casters/wheels (4 pieces, 2 with brakes) - $9
- Cabinet hinges and handles - $5
- Sliding drawer rails (2 pairs) - $6
- Wood screws and bolts - $3
- Paint or wood stain - $5
Required Tools
- Power drill with wood drill bits
- Circular saw or jigsaw
- Complete screwdriver set
- Measuring tape and pencil
- Coarse and fine sandpaper
- Paint brushes for finishing
Make sure all materials are high quality for durable results. You can get these materials from Tokopedia or your nearest building supply store with prices varying depending on quality.
Steps to Build Your Mini Kitchen Island
Step 1: Building the Basic Frame (Time: 2-3 hours)
Start by building the frame from wooden beams. Cut the wood according to your planned dimensions:
- 4 vertical posts 82 cm long (for final height of 90 cm with wheels)
- 4 horizontal beams top and bottom (matching island length)
- 4 side beams for island width
Assemble the frame using 6 cm wood screws. Make sure all corners are square and sturdy. Use a level to ensure the frame isn't tilted.
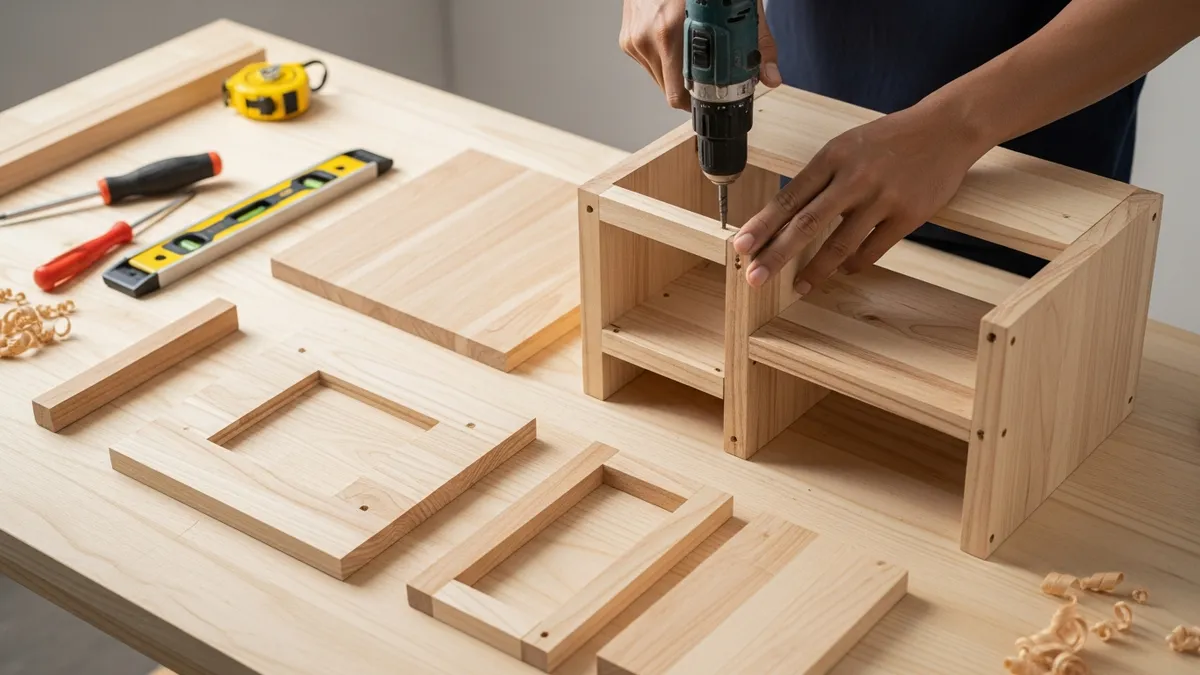
Step 2: Installing Side and Back Panels (Time: 1-2 hours)
Cut plywood for the side, back, and base panels. Size them according to the frame you've built:
- Side panels: 2 sheets sized height x width of island
- Back panel: 1 sheet sized height x length of island
- Base panel: 1 sheet matching island base size
Install panels using screws from inside the frame so they're not visible from outside. Space screws 15-20 cm apart for optimal strength.
Step 3: Making and Installing the Top Counter (Time: 2 hours)
The top counter is the most important part since it will be your work surface. Use thick plywood or a combination of plywood with a cutting board for the cutting area.
- Cut plywood to match the island top size plus 2-3 cm overhang on all sides
- Sand until smooth, starting with coarse sandpaper and finishing with fine
- Apply wood sealer and paint/stain according to your preference
- Install with screws from underneath the frame
Pro Tip: For a professional look, add edge banding around the top counter to make it look like a real kitchen set.
Step 4: Making Storage and Drawers (Time: 3-4 hours)
This is the part that makes your mini kitchen island truly functional. Create a storage combination according to your needs:
For Large Drawers:
- Cut wood for drawer sides (front, back, 2 sides)
- Assemble with wood glue and small screws
- Install drawer base from thin plywood
- Mount sliding rails on island body and drawer
For Closed Cabinets:
- Build door frame from wooden beams
- Cover with thin plywood
- Install hinges and handle
- Adjust door gaps for a neat appearance
By following refrigerator organizer guide, you can apply the same organizational principles to the storage in your kitchen island.
Finishing and Wheel Installation
Proper Finishing Process
Finishing determines the final look and durability of your mini kitchen island. Follow these steps:
- Surface preparation: Sand the entire surface with 220-grit sandpaper
- Wood sealer application: Let dry for 4-6 hours
- First coat of paint: Use quality brushes or a spray gun
- Fine sanding: After drying, lightly sand with 400-grit sandpaper
- Second coat: For even and long-lasting results
Popular color choices for kitchen islands in 2026 include white glossy, natural wood, or sage green following current minimalist kitchen design trends.
Proper Wheel Installation
Wheels make your mini kitchen island movable as needed. Install wheels carefully:
- Mount 2 wheels with brakes on one side for stability
- Use bolts long enough to penetrate at least 2/3 of the wood thickness
- Test wheel rotation and brake function before use
- Ensure final height matches standard counter height of 90 cm
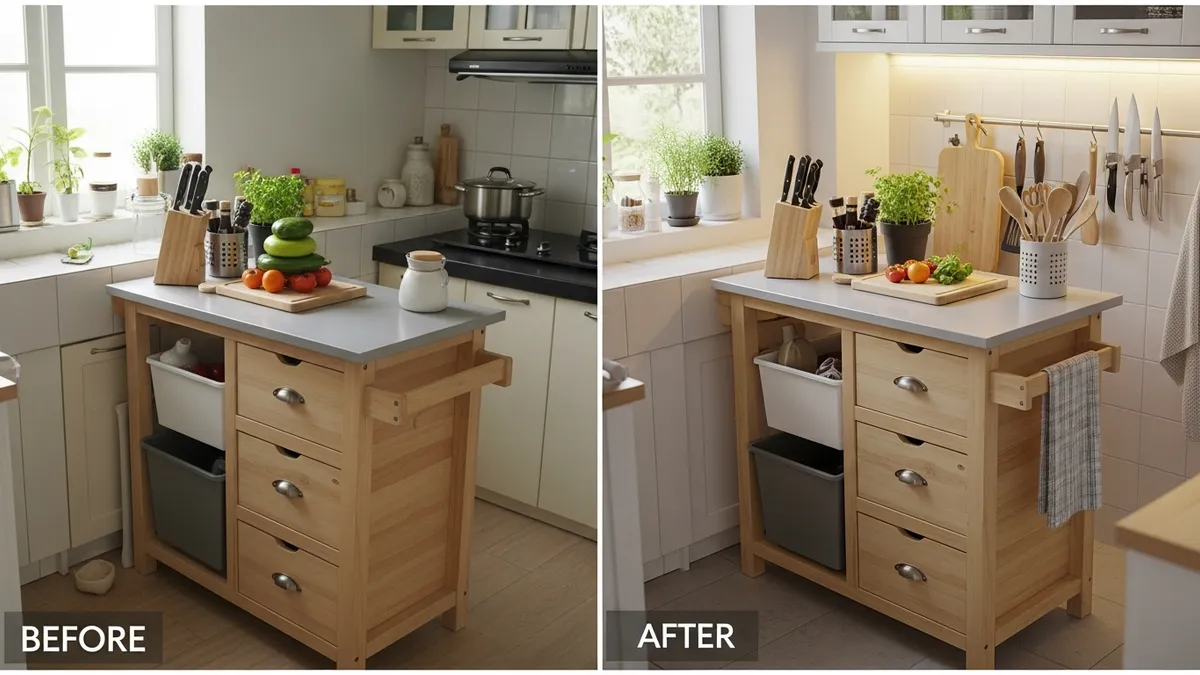
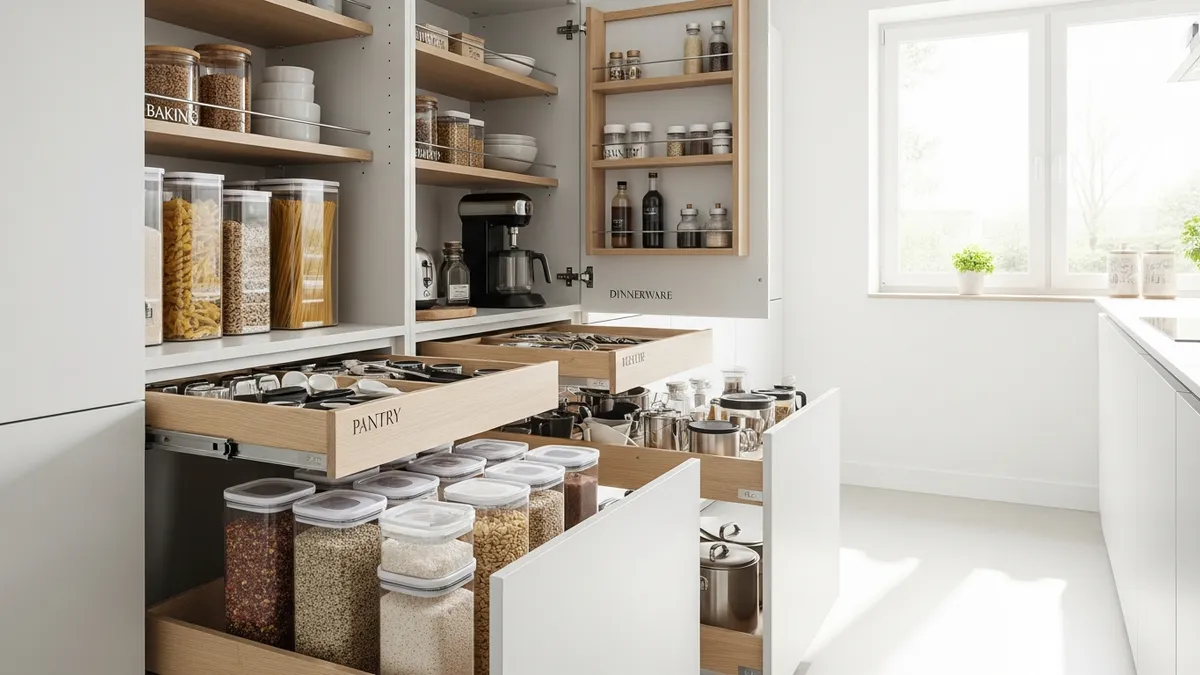
Optimizing Storage and Organization
After your mini kitchen island is complete, optimize its function with proper organizational systems:
Efficient Storage Zones
Top Zone (Counter Level):
- Removable cutting board
- Magnetic knife strip on the side
- Small appliances like a mini blender
Middle Zone (Drawers and Cabinets):
- Drawers for daily cooking tools
- Cabinet for pots and pans
- Pull-out shelves for easy access
Bottom Zone:
- Storage for heavy items
- Hidden pull-out trash bin
- Space for backup small appliances
With this system, your mini kitchen island can store up to 60% more items than a regular shelf. This concept aligns with modern home organizer principles.
Maintenance and Long-Term Care
A homemade mini kitchen island requires regular maintenance to last long:
Daily Care
- Wipe counter with a damp cloth after use
- Avoid placing hot items directly on the surface
- Dry areas that get wet to prevent mold
Monthly Maintenance
- Check that screws and joints are tight
- Clean drawer rails with a small brush
- Lubricate wheels and hinges if needed
Annual Care
- Re-finish the surface if it starts looking dull
- Replace worn-out hardware like handles or hinges
- Evaluate and upgrade storage based on new needs
Modification and Upgrade Inspiration
Your mini kitchen island can continuously evolve as your family's needs change:
Electrical Feature Additions
- Electrical outlets: For blenders and small appliances
- USB charging ports: For gadgets while cooking
- LED strip lighting: Under-counter lighting
Advanced Storage Upgrades
- Pull-out spice rack: Convenient spice storage
- Integrated knife block: Knife slots in drawers
- Side towel bar: Towel hanging space
- Utensil hooks: For spatulas and ladles
These upgrade ideas can be implemented gradually according to your budget and needs. Comprehensive references about kitchen organization can be found in the article about organizing a small kitchen effectively.
Cost Estimate and ROI
Total Building Cost:
- Basic materials: $50-$75
- Tools (if purchasing): $30-$50
- Finishing materials: $9-$15
- Total: $90-$140
Compare this with ready-made mini kitchen islands on Shopee which range from $150-$300 for equivalent quality. By building it yourself, you save 40-60% on cost plus gain the satisfaction of personal achievement.
FAQ: Questions About DIY Mini Kitchen Islands
Q: How long does it take to build a mini kitchen island?
For beginners, total time is approximately 12-15 hours which can be spread over 3-4 days. If you're experienced with DIY, it can be done in 8-10 hours of effective work.
Q: Is a mini kitchen island suitable for all kitchen types?
A mini kitchen island is ideal for kitchens at least 2.5 x 2.5 meters with L or U-shaped layouts. For smaller kitchens, consider a kitchen trolley that's more compact.
Q: What's the most durable material for the top counter?
For DIY projects, 18mm plywood with polyurethane finishing is the best choice. With a larger budget, you can upgrade to solid wood or even add an integrated cutting board.
Q: What if I don't have woodworking skills?
You can order wood pieces cut to size from a carpenter, then focus on assembly and finishing. Or try the DIY spice rack tutorial first as a small practice project.
Conclusion
Building a mini kitchen island for a small kitchen is a very rewarding DIY project in 2026. By following this step-by-step tutorial, you can save up to 60% compared to buying ready-made options while getting an island that perfectly fits your needs and kitchen size.
A mini kitchen island not only adds storage and workspace, but also increases the overall aesthetic value and functionality of your kitchen. With proper maintenance, this investment of time and money will provide long-term benefits for your family.
Ready to start your mini kitchen island project? Visit Sesoris to get storage solutions and organizers that can complement your homemade kitchen island. With our tagline "Living More Organized," we're ready to help you create your dream kitchen that's neat and functional!
Weekly Home Tips
Get home organization ideas, product picks, and exclusive deals delivered weekly.
No spam. Unsubscribe anytime.