
Home Decluttering Guide for Beginners
Decluttering your home usually fails on day two, not day one. The initial burst of motivation is huge: closets get emptied, drawers get dumped onto the bed, and then your energy runs out before anything makes it back in. By nightfall the house is messier than when you started, and that pile can sit there for weeks.
This guide breaks the work into 15 to 45 minute sessions, starting with the areas where results show up fastest. Inside you'll find: which areas to tackle in what order with time estimates, a sorting method that won't drain you emotionally, how to decide on items that feel too good to toss, where to actually send your stuff, and a schedule that keeps clutter from creeping back.
Table of Contents
- Start with Quick-Win Zones - A Sorting Method That Won't Wear You Out - How to Decide on Items That Feel Too Good to Toss - Where to Send Your Stuff - Keeping Clutter from Coming Back - A Decluttering Schedule for Busy People - Frequently Asked Questions - Conclusion
Start with Quick-Win Zones
Your brain needs proof that the effort is paying off before it agrees to keep going. That's why your first area should be small, straightforward, and free of emotionally loaded items. The results stay visible every day, and that's what makes the next session feel easy.
Rough time estimates per area: a nightstand drawer takes 15 minutes, a dining table or TV console buried under transit items takes 20 minutes, the kitchen junk drawer (scissors, tape, screwdrivers, rubber bands, that one orphaned pot lid) takes 30 minutes, the medicine cabinet takes 20 minutes because most of what's in there is expired, the shoe rack by the door takes 30 minutes, and the cabinet under the sink takes 40 minutes thanks to the pile of cleaning bottles and plastic bags.
What NOT to pick as your first area: the bedroom closet, the garage or storage room, boxes of documents, and old photo boxes. Those four eat up hours and are full of emotional decisions. Save them for week four and beyond, once your decision-making muscle is trained.
Here's how it works: empty the entire contents of one drawer onto a tray, wipe the inside clean, then put back only the items that pass the cut. Working drawer by drawer, not room by room, means the job always gets finished before your energy does. You can pair this principle with the habits in our practical home organizing tips.
Pro tip: Set a 20 minute timer and stop when it goes off, even if you're on a roll. A short session you actually finish is worth far more than a three hour marathon that ends with a pile on the bedroom floor.
A Sorting Method That Won't Wear You Out
Decluttering fatigue comes from the number of decisions, not the weight of the stuff. The fix: decide where things will go before you start, so you're just placing items instead of re-thinking every single one you pick up.
Set up four containers before you open a single drawer. KEEP for items that actually belong in that area. RELOCATE for things that belong in another room and drifted over. RELEASE for usable items you'll donate or sell. TRASH for things that are genuinely broken. Then add a fifth bag labeled MAYBE.
The MAYBE bag saves your momentum. Any time you freeze on an item for more than ten seconds, drop it in and move on. When the session ends, seal the bag, write the date on it, put it on a high shelf, and open it three months later. Anything you never went looking for in three months is almost certainly something you don't need.
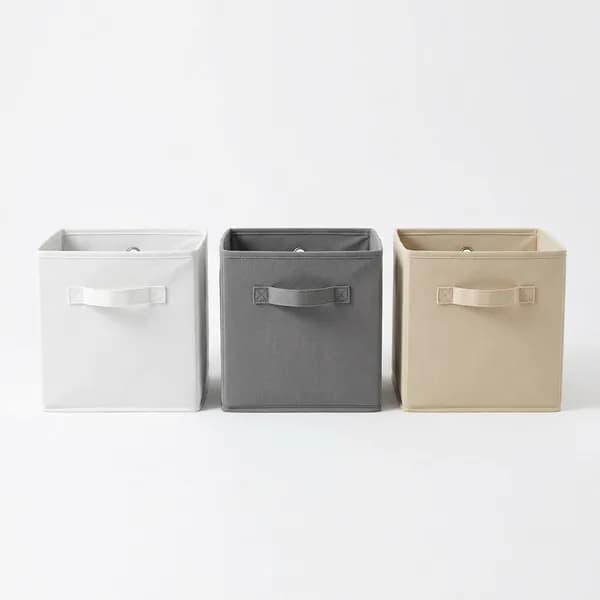
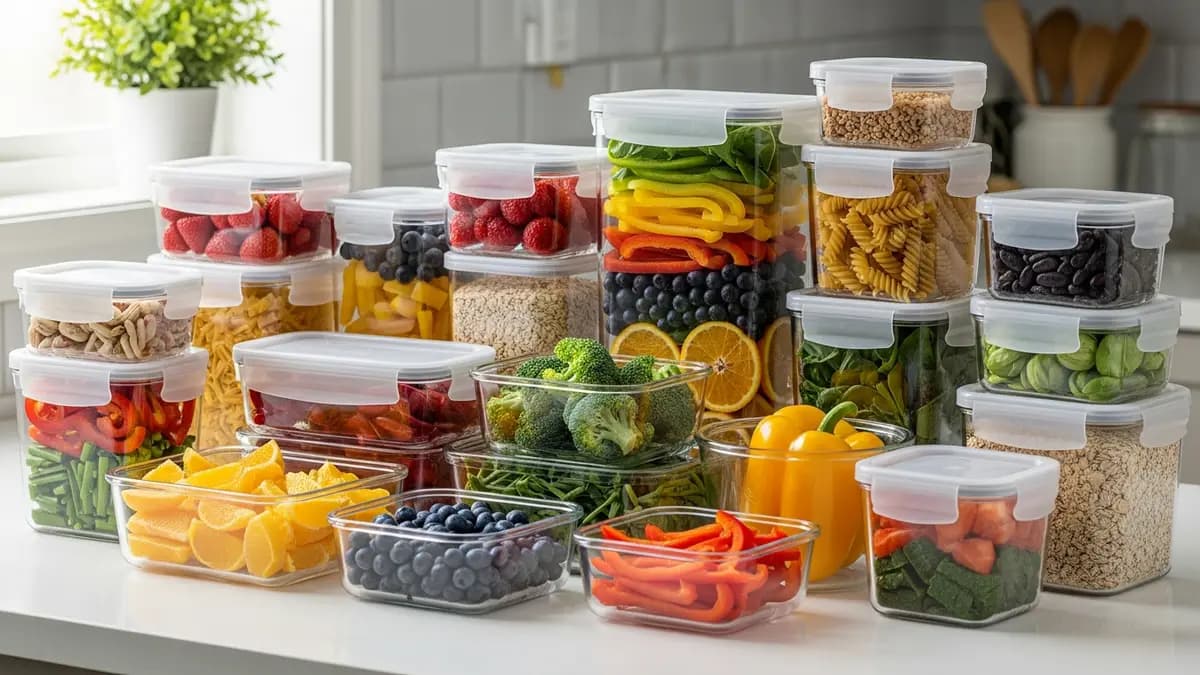
One important rule: don't shop for containers before you sort. Buying organizers up front is the fastest way to add stuff without subtracting any mess. During the sorting phase, old shipping boxes and shopping bags are plenty. Once you know how much you're keeping and how big your shelves are, then buy containers that fit, like Foldable Storage Bins that collapse flat when empty.
How to Decide on Items That Feel Too Good to Toss
The hardest part isn't broken stuff. It's the things that are still perfectly good but never get used. The blender you've used twice, the expensive shoes that give you blisters, the stack of company event t-shirts, the bag someone gave you as a gift. For this category, the guilt weighs more than the object.
Use four quick questions. When did I last use this? If it disappeared today, would I buy it again? If I turn out to need it later, how much would a replacement cost in money and effort? And finally, am I keeping this because I truly love it, or because I hate that I already paid for it? That last question is usually the eye-opener.
The money you spent doesn't come back just because you keep the item. What you're paying for now is space, and in a small home or studio apartment, space is the most expensive thing you own.
For sentimental items, designate one fixed-size box, such as a 20-quart bin. All your keepsakes have to fit inside it; when it's full and a new candidate shows up, something has to leave. For items whose value lives in the story rather than the object (a small trophy, a concert tee, your kid's drawings), take a photo first, then let the object go.
For clothes you're keeping because they might fit again someday, set an honest deadline: store them separately in a dated bag and review in six months. A step-by-step approach for your closet is covered in our complete wardrobe organization guide. As for gifts, the giver's intention was delivered the moment they gave it. Storing it in the garage for five years honors no one.
Where to Send Your Stuff
A RELEASE pile that never leaves the house just becomes new clutter by the front door. Use the seven day rule: anything that goes into a donate or sell bag has to be out of the house within a week.
For donations, the most practical destinations are local thrift stores, shelters, places of worship, community centers, and charities in your area. Call ahead before dropping things off, since not every organization accepts every type of item, especially large furniture. Only send what's genuinely usable: wash clothing first, and make sure electronics actually power on.
For selling, the fastest channels are Facebook Marketplace, neighborhood groups and apps like Nextdoor, and online resale platforms. Be realistic about value: for low-priced items, the time spent photographing and answering messages often outweighs what you'll make, so giving them to a neighbor for free is more efficient. Electronics, strollers, bikes, and furniture are worth listing properly.
Cardboard, newspapers, plastic bottles, cans, and scrap metal go into curbside recycling or your local recycling center. For dead batteries, broken chargers, and old phones, look for e-waste drop-off points, municipal collection events, or manufacturer and retailer take-back programs. Everything else, the stuff that's truly broken and worthless, just throw away. Keeping broken items for spare parts is only a way of postponing the decision.
Pro tip: The moment a RELEASE bag is full, move it straight to your car trunk or right next to the front door, never to the garage. Things that enter the garage have a habit of moving in permanently.
Keeping Clutter from Coming Back
Decluttering once solves nothing if stuff flows in faster than it flows out. Once the house feels lighter, your focus shifts to the entry points.
Apply the one in, one out rule to the categories that balloon most easily: clothes, shoes, water bottles, food containers, kids' toys. The rule works because you feel the space limit while you're shopping, not after the closet is already full.
Create a transit zone by the door: one tray for keys and wallet, one basket for bags, one spot for unopened packages. Keys that have an address never end up on the dining table. For tight spaces, a magnetic wall-mounted key holder uses wall space without eating any floor.
Do a ten minute reset every night: walk through the house with one basket, collect anything that's out of place, and return it to its home. Ten minutes a day prevents a three hour job on the weekend. Also control the stuff that arrives uninvited: break down shipping boxes immediately, toss flyers and receipts on the spot. For more small-space storage ideas, see the 2026 home organization trends.
A Decluttering Schedule for Busy People
Three 20 minute sessions a week deliver more than an eight hour plan once a month that keeps getting postponed. Here's a sample eight week plan: week 1, all drawers and flat surfaces; week 2, the kitchen, starting with the utensil drawer and then food containers; week 3, the bathroom and medicine cabinet; weeks 4 and 5, the closet by category (tops, bottoms, then bags and shoes); week 6, documents, cables, and electronics; week 7, toys and hobby gear; week 8, the garage or storage room, plus opening the MAYBE bag.
After that, your home never needs a big project again. Just three routines: a ten minute reset each night, a 30 minute monthly review of whichever area gets messy fastest, and a deep declutter twice a year. Spring cleaning and the weeks before the holidays are natural moments for those two big rounds.
A note for humid climates and basements: never store items in cardboard boxes placed directly on a garage or basement floor. Moisture rises from the floor and invites mold and pests. Use lidded plastic bins, or set boxes on a pallet or shelf at least 4 inches off the ground.
Frequently Asked Questions
How long does it take a beginner to declutter a whole house?
Don't aim for the whole house in one weekend. A realistic plan is eight weeks of 20 to 45 minute sessions, three times a week. That's about 12 to 18 hours total, but broken into pieces small enough that the house never gets left half-done.
Which room should I start with if my place is small and everything feels full?
Start with the flat surfaces you see every day: the dining table, nightstands, and TV console. Those areas finish fastest and instantly change how the whole room feels. Save the garage and closet for later, once you're comfortable making decisions.
What if other family members refuse to join in?
Only work on your own belongings and shared areas that are clearly full of trash. Never throw out someone else's things without permission. Usually, after watching a tidy area stay tidy for a few weeks, the rest of the family joins in on their own.
Should I buy storage boxes before I start?
No. While sorting, old shipping boxes are all you need. Buy containers after you know how much is left, and measure your shelf depth first. Oversized bins sit half empty, undersized ones let things spill over again.
What used items should I avoid donating?
Underwear, torn or moldy clothing, expired medications, moldy mattresses and pillows, and dead electronics. Handing those over just shifts the burden to the recipient. Recycle them or dispose of them properly by type.
How do I keep the MAYBE box from becoming a new junk pile?
Seal the box, write the date on the outside, put it on a high shelf, and open it three months later. If you went looking for something inside during that time, keep that item. Release the rest without re-opening the debate, because going through it again only reignites the same doubts.
Conclusion
The key to decluttering for beginners is the size of the job, not the strength of your willpower. Start with drawers and tabletops that finish in 15 to 30 minutes, set up four containers plus a MAYBE bag before you sort, run the four quick questions on anything that feels too good to toss, and make sure released items actually leave the house within seven days.
What keeps a home tidy isn't expensive organizers. It's three small habits: one in, one out; a transit zone by the door; and a ten minute reset every night. Only after you own less, and every category has a home, do storage containers become genuinely useful.
Weekly Home Tips
Get home organization ideas, product picks, and exclusive deals delivered weekly.
No spam. Unsubscribe anytime.

Explore More Articles
- Under Bed Storage: Maximize Your Bed's Hidden Storage Space
- IKEA Laundry Room Organization: Smart Ideas
- Foldable Storage Box Guide: Space-Saving Solutions 2026
- Entryway Closet Organization: 25+ Smart Ideas to Transform Your Home's First Impression in 2026
- DIY Storage Box Ideas from Simple Materials
- Dish Rack Above Sink: Ultimate Guide to Kitchen Space Organization
- Complete Guide to Home Office Organization for Maximum Productivity in 2026
- Small Kitchen Cabinet Ideas: 2026 Design and Storage Guide