
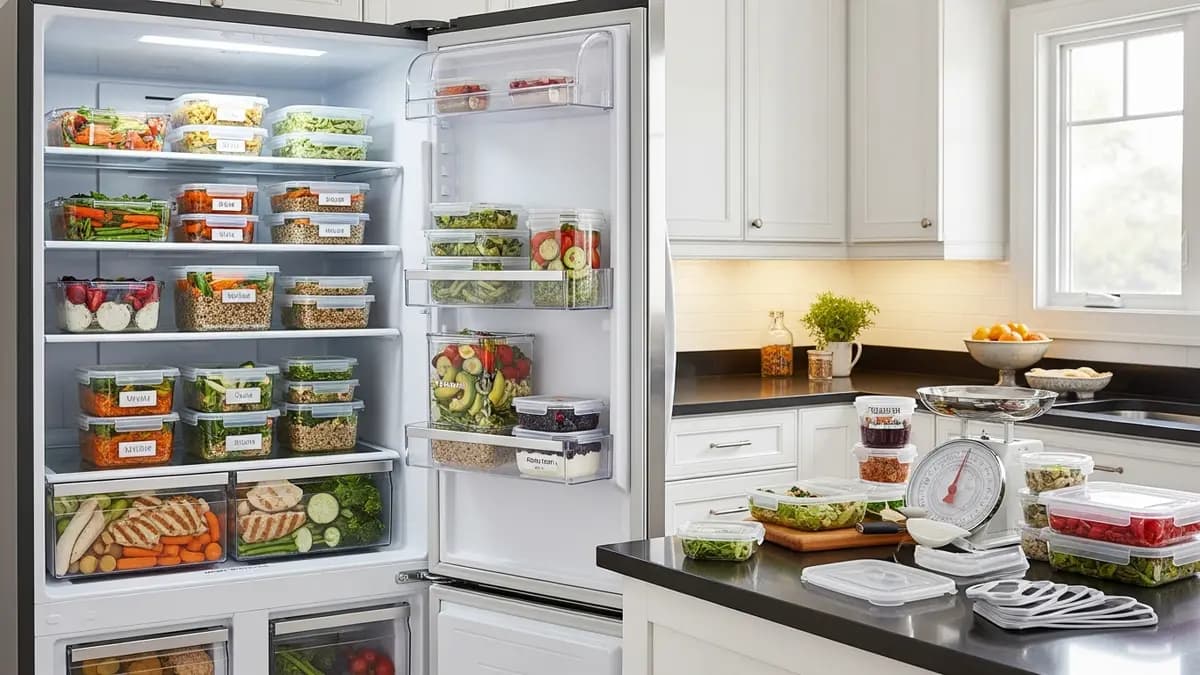
Meal Prep Containers for Beginners: Safe and Simple
This meal prep container guide for beginners helps you choose the right containers, portion your meals, store food safely, and make your weekly cooking routine feel lighter. The main goal is not buying the most expensive containers. It is building a system that fits your fridge, your meal schedule, and your family's habits.
Many beginners fail at meal prep because they cook way too much right away. Three days later, they are bored of the food, the fridge is stuffed, and the containers have lost their lids. So here is the bottom line: start small. Two main dishes and two well-chosen container types often work better than 20 containers with no plan.
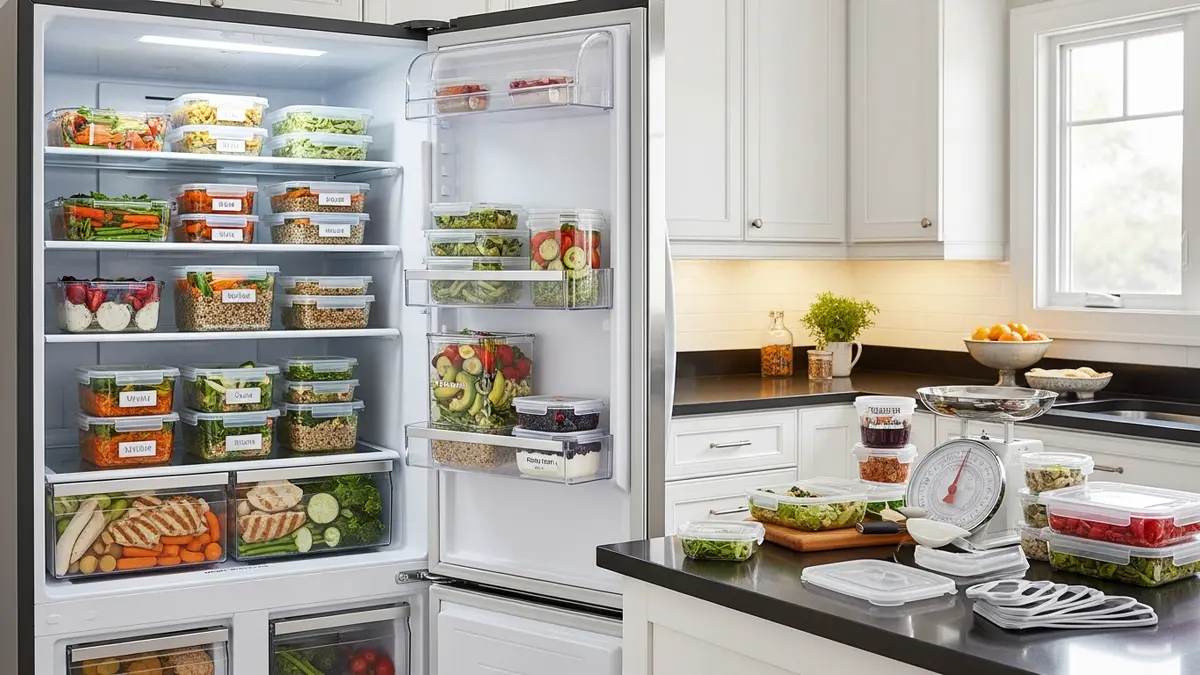
Key Takeaways: > - Start with 2-3 days of meal prep, not a full week right away > - Choose food-grade containers that seal tightly and stack easily > - Keep wet foods, dry foods, and sauces separate > - Date-label everything so fridge rotation stays clear > - Prioritize safe temperatures and your family's eating habits
What Are Meal Prep Containers and Why Beginners Need Them
Meal prep containers are the vessels you use to prepare, store, carry, and reheat portioned meals. For beginners, a container is more than a food box. It is a system that helps you eat more consistently, cut impulse spending, and keep your fridge easy to read at a glance.
In my view, the biggest benefit of meal prep containers is eliminating small daily decisions. When lunch is already portioned, you never have to re-decide what to cook, what to grab, or what to order. Remote workers, students, and small families feel this difference the most.
The <a href='https://www.cdc.gov/food-safety/prevention/index.html'>CDC's guidance on preventing food poisoning</a> stresses the importance of safe food storage and handling habits. For meal prep, that means your containers should help food get into the fridge quickly, seal tightly, and reheat without cross-contamination.
Do not start by buying the biggest set. Start from your actual meal needs: breakfast, lunch, dinner, or snacks. If your only goal is packing work lunches, 5-6 medium containers are enough for the first week.
Choosing a Material: Plastic, Glass, or Stainless Steel
The three most common materials are plastic, glass, and stainless steel. Plastic is light and cheap, great for daily packed meals. Glass is heavier but resists odors, reheats nicely, and looks tidy in the fridge. Stainless steel is tough and long-lasting, but it is not transparent and usually not microwave-safe.
I am not anti-plastic. Many people assume glass is always better, but quality plastic remains practical for school lunches or travel. What matters is choosing food-grade plastic with no harsh odor, and using it according to the instructions.

Glass suits strongly seasoned foods like curries, braised chicken, stews, or tomato sauce. Plastic suits salads, cut fruit, rice, or dry sides. Stainless steel suits dry packed lunches and foods that do not need microwave reheating.
If your budget is tight, combine materials. Use 2-3 glass containers for saucy, seasoned dishes, then add stackable plastic containers for lighter portions. That is more realistic than forcing one material to cover every need.
The Most Useful Meal Prep Container Sizes
Container size should follow your portions, not just how the set looks online. For main meals, roughly 24-34 oz (700-1000 ml) is usually comfortable. For sides or vegetables, 10-17 oz (300-500 ml) is enough. For sauces, dressings, and toppings, use small 2-5 oz cups.
Beginners often buy containers that are too big. The food looks sparse, portions creep up, and the fridge fills fast. Containers that are too small, on the other hand, cram your rice, protein, and vegetables together in an unappetizing jumble.
Use a three-tier principle: large for main portions, medium for extra sides, small for sauces. If your fridge is tight, choose square or rectangular shapes, which stack far better than round containers.
For families, do not just count heads. Think about menu variety. A family of four might need 8 containers if you are only prepping two days of lunches, not 28 containers for an entire week.
A No-Fuss Portioning System for Beginners
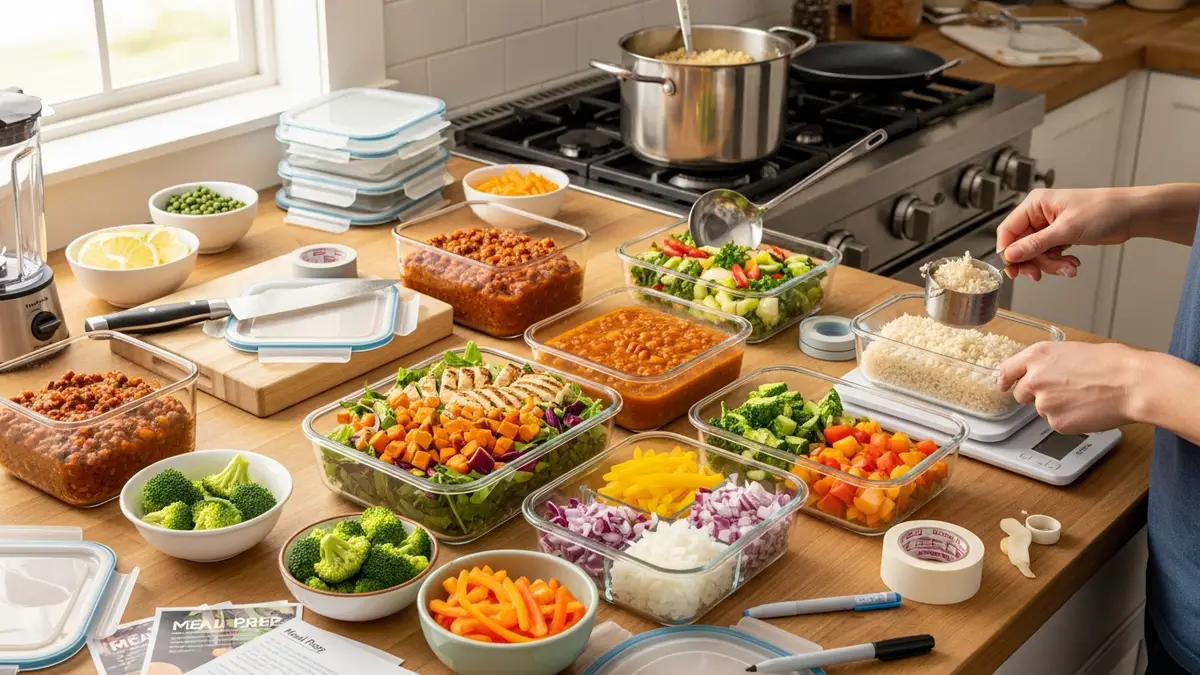
Start with a pattern of 2 proteins, 2 carbs, and 3 vegetables. For example, roast chicken and eggs, brown rice and potatoes, then green beans, carrots, and broccoli. From this combination you can build several portion variations without feeling like you are eating the same meal on repeat.
Do not season every dish heavily. One neutrally seasoned protein is far more flexible. Simple roast chicken can become a rice bowl, a salad, or a sandwich filling. This small trick keeps meal prep from getting boring fast.
In my experience, beginners should only prep for the first 2-3 days. Once the rhythm is established, move up to 4-5 days. Being too ambitious at the start usually just means wasted food.
Label everything with the cooking date and dish type. A simple label like Monday - chicken - rice is enough. If a family member has allergies or special preferences, add color-coded lids.
How to Store Meal Prep in the Fridge Safely
Food safety starts with temperature and time. After cooking, let the food cool briefly until the steam subsides, then seal it in a container and refrigerate. Never leave cooked food sitting at room temperature for too long.
The CDC outlines the core food safety principles: clean, separate, cook, and chill. For beginners, separating and chilling are usually the most relevant. Keep raw foods away from cooked foods, and avoid packing hot containers too tightly together in the fridge.
Organize your fridge shelves by zone. Top shelf for ready-to-eat foods, middle shelf for daily meal prep, bottom shelf for tightly sealed raw ingredients. Sauces and toppings can go in the door if they are shelf-stable, but check the packaging instructions.
If food will be stored longer, use the freezer. Choose freezer-safe containers and leave a little headroom, since food expands as it freezes. Add a date label so nothing gets forgotten.
Compartment Containers, Open Containers, or Separate Cups
Compartment containers work for foods that must stay separated, like rice, protein, and vegetables. Open containers are more flexible for soups, pasta, stir-fries, or dishes with changing portions. Small cups are handy for sauces, dressings, nuts, or crunchy toppings.
Many beginners assume all meal prep requires compartment containers. In reality, open containers are often easier to wash and more versatile. If your meals are mostly rice bowls, pasta, soups, or home-style dishes, open containers may serve you better.
Use compartment containers only when texture matters. Crispy chicken, for example, should not sit in sauce. Salads also stay better when the dressing is separated until mealtime.
One system I love: an open main container plus a small cup for sauce. The container stays flexible and the food never turns soggy.
Washing, Drying, and Storing Your Containers
Meal prep falls apart when clean containers are hard to find. After use, rinse right away, especially after oily or heavily seasoned foods. Wash lids and rubber seals carefully, since those areas trap odors the most.
Dry before stacking. Containers stacked while still wet develop a musty smell. Store lids vertically in a small rack or dedicated box. Never let lids scatter, because a container without its lid ends up never being used.
For stubborn seasoning stains, soak in warm soapy water. Avoid scrubbing plastic too hard, since scratches hold onto odors. If a container is cracked, warped, or no longer seals, retire it to non-food storage duty.
Honestly, the best system is not the prettiest one. The best system is the one that lets you wash, dry, grab, and return containers without thinking twice.
A Realistic 7-Day Meal Prep Setup Example
For beginners, I recommend a setup of 10-12 containers: 5 main meal containers, 3 side or vegetable containers, 3 sauce cups, and 1 backup container. That covers work or school lunches without overloading the fridge.
Sample schedule: Sunday afternoon, cook your main protein and carbs. Monday through Wednesday, eat from that batch. Wednesday evening, cook a fresh vegetable or second protein. Thursday and Friday, enjoy new combinations. This keeps food fresher and saves you from two massive cooking sessions.
A simple table: | Need | Starting Count | Notes | | --- | --- | --- | | Main meals | 5 containers | Choose 24-34 oz | | Sides/vegetables | 3 containers | 10-17 oz size | | Sauces/toppings | 3 small cups | 2-5 oz | | Backup | 1-2 containers | For leftovers |
If you live in a shared apartment or dorm, cut back to 6-8 containers. Shared fridges are usually tight, so slim, stackable containers matter more than a big set.
Beginner Mistakes When Buying Meal Prep Containers
Mistake one: buying too many different sizes. Lids become impossible to match and the shelf turns chaotic. Stick to 2-3 core sizes. Mistake two: not checking whether the container is microwave, freezer, or dishwasher safe for your needs.
Mistake three: choosing round shapes for everything. Round containers are easy to wash, but they waste fridge space. Square shapes stack far more efficiently. Mistake four: ignoring the lid. A loose lid means leaks and fridge odors mixing together.
Mistake five: cooking too many wet dishes. Wet dishes change texture quickly in storage. Mix in dry dishes, separate the sauces, and choose vegetables that hold up well.
Meal prep should make life easier, not add pressure. If your system turns Sunday afternoon into a five-hour kitchen shift, simplify it. Two consistent dishes beat seven dishes that make you quit.
FAQ: Meal Prep Containers for Beginners
How many meal prep containers does a beginner need?
Start with 6-10 core containers. Add more once you understand your eating pattern and fridge capacity.
Are glass or plastic containers better?
Glass is better for seasoned foods and reheating. Plastic is lighter for daily packed meals. A combination of both is the most realistic choice.
Are compartment containers a must?
No. Compartment containers help separate textures, but open containers are more flexible and easier to wash.
How do I keep prepped meals from getting boring?
Use a neutral protein, keep sauces separate, and vary your carbs or vegetables mid-week.
When should food go into the fridge?
Once the steam subsides, seal the food in a container and refrigerate. Never leave cooked food at room temperature for too long.
Can every container go in the freezer?
No. Check for a freezer-safe label or the product instructions. Leave headroom when freezing, since food expands.
How do I store lids so they never go missing?
Store lids vertically in one dedicated box and limit your container sizes so there are fewer lid pairings to manage.
Conclusion
Meal prep containers for beginners really come down to this: pick a few core sizes, match the material to your needs, keep sauces separate, add date labels, and start with just 2-3 days. A small, consistent system will outlast a big container haul with no plan.
If you want to build a tidier kitchen and fridge, start with containers that stack easily and are easy to read at a glance. For more practical home storage inspiration, visit Sesoris.
Weekly Home Tips
Get home organization ideas, product picks, and exclusive deals delivered weekly.
No spam. Unsubscribe anytime.
Explore More Articles
- 25+ IKEA Closet Organization Ideas to Transform Your Wardrobe Storage in 2026
- Wooden Dish Racks: Natural Aesthetic Beauty for Your Kitchen
- Mini Bar for Small Kitchens: 15 Creative Ideas to Maximize Space
- Glass Containers with Glass Lids for Food Storage: Complete Tutorial Guide 2026
- Kitchen Food Storage Containers: The Ultimate 2026 Guide to Fresh, Organized Kitchens
- Best Storage Solutions in Garage: 30+ Smart Ideas to Transform Your Space in 2026
- Storage Containers for Dog Food: Complete 2026 Guide to Keeping Your Pet's Kibble Fresh
- Best Storage for Clothes: 25+ Smart Solutions to Organize Your Wardrobe in 2026