
Microwave Wall Shelf Ideas: 11 Safe Ways to Free Up Your Counter
Microwave wall shelf ideas for small kitchens: 11 layouts, the right height and depth, which brackets and fasteners to use, and safe options for renters.
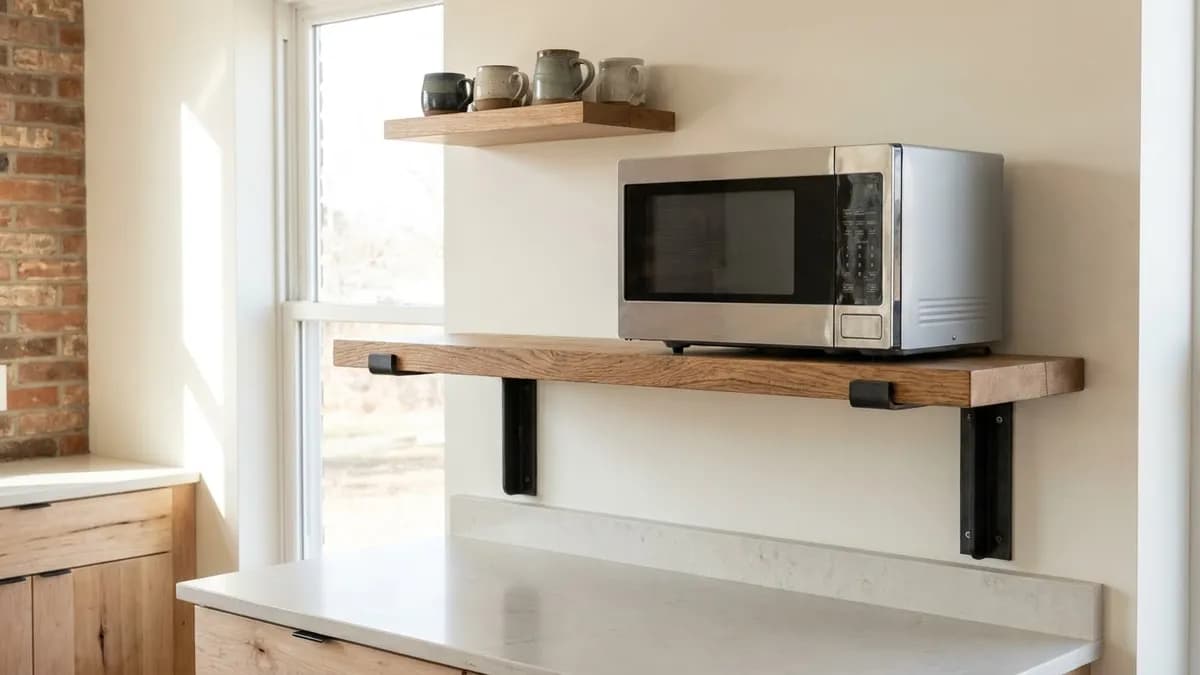
The best microwave wall shelf ideas lift the oven off the counter onto a deep, bracket-supported shelf fixed into wall studs, at a height everyone in the house can reach safely. A single heavy-duty shelf suits most small kitchens, while a shelf unit or a recessed niche works when the wall is busy. Measure the microwave first, including vent space, and treat the shelf as a load-bearing fixture, not a decoration.
This guide covers 11 shelf ideas, the right height and depth, how to choose brackets and fasteners, and what to do when you rent. If you are reworking the whole wall, our kitchen wall shelf ideas cover plates, jars and décor, and this article stays focused on the one appliance that makes a shelf work hard.
Why Put a Microwave on a Wall Shelf
Counter space is the scarcest thing in a small kitchen, and a countertop microwave sits on some of the most useful part of it. A wall shelf gives that area back for prep, a dish rack or a coffee setup. If your counters feel crowded, our small kitchen organization ideas show how much a single cleared zone can change the way a room works.
A shelf also costs far less than the alternatives. An over-the-range unit needs a suitable cabinet layout, ducting or recirculation, and usually an installer. Built-in trim kits only fit certain models. A sturdy shelf works with the microwave you already own and can move with you to the next house, with little more than a patched wall left behind.
The trade-off is real, though. A microwave is heavy for its size, it gets warm, and you lift hot food out of it. A flimsy decorative shelf is the wrong tool for this job. Everything below assumes that the shelf, its brackets and its fasteners are all chosen for the actual weight of your oven.
How High Should a Microwave Shelf Be
Height is the decision that matters most, because a shelf set too high means reaching up for hot liquids. Kitchen planning guidance published by a National Kitchen & Bath Association chapter says the bottom of the microwave should be placed based on the user's height, but not above 54 inches or below 15 inches from the finished floor. These are design guidelines rather than building code, so your manual still comes first.
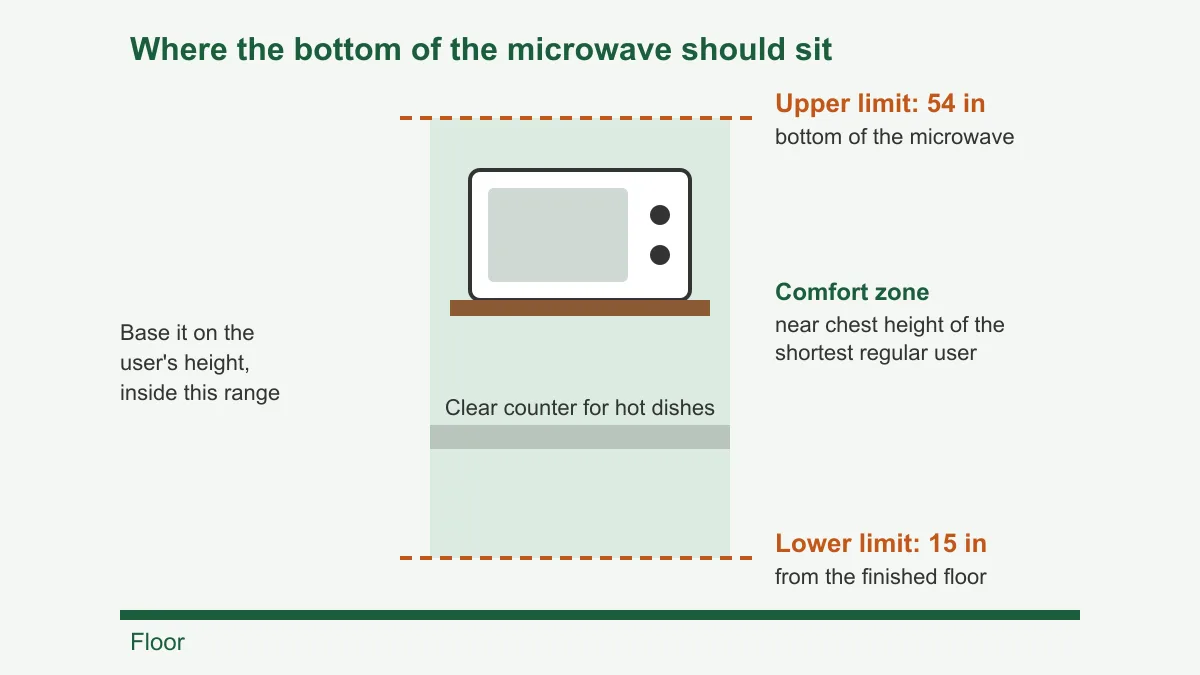
Within that range, go by the shortest regular user. Stand in front of the wall, hold a full mug at chest height, and mark where the oven floor would feel comfortable. If children use the microwave, a lower position is generally safer, because nobody should be lifting a hot bowl from above their own eye line.
The same guidance calls for at least 15 inches of landing space above, below or next to the handle side of the microwave. In plain terms, you need somewhere to set a hot dish down immediately. A shelf directly over a clear stretch of counter gives you that, while a shelf over a trash can or a stool does not.
Measure Before You Buy Anything
Four measurements settle most of the decisions in this guide. Take them before you pick a shelf, because a shelf that is an inch too shallow cannot be fixed later.
- Width and height. Measure the oven's outer body, then check the door swing. Most doors hinge on the left and need room to open fully.
- Depth with the door open. The shelf must support all of the oven's feet, and the door handle should clear anything nearby.
- Weight. Find it in the manual or on the product page. Do not guess, because bracket and anchor ratings are only useful against a real number.
- Vent locations. Check the back, sides and top of the oven, then read the clearance figures in the manual. Requirements differ by model, so follow your own manual rather than a number you saw online.
Plan for the plug too. The cord has to reach an outlet without stretching, and a microwave should plug directly into a wall outlet rather than a light-duty extension. Our desk cable management ideas include simple clips that keep a cord tidy along a wall.
11 Microwave Wall Shelf Ideas That Actually Work
Each idea below suits a different wall, budget and kitchen layout. Start with the wall you have, not the look you like, because the structure behind the drywall decides what is possible.
- Solid wood shelf on steel brackets. The classic option. A thick hardwood board on two or three heavy brackets looks warm and holds well when screwed into studs.
- Corner-adjacent shelf. Corners are often dead space. A shelf running along one wall into the corner uses that area, and it keeps the microwave away from the main prep zone.
- Full-width shelf with a mug row. Run one long board across the wall and let the microwave share it with mugs or jars. A longer board can reach more studs, which spreads the load.
- Two-tier shelf. Mount a light shelf above the microwave for spices or cups. Keep it far enough up to respect the vent clearance in your manual. For styling, see our kitchen floating shelf ideas.
- Wall-mounted metal shelf unit. A welded frame with shelves above and below suits narrow walls. Plates can sit on the lower tier, as long as the frame is rated for the total load.
- Beside-the-fridge shelf. The side of a refrigerator is not a mounting surface, but the wall next to it often is. A shallow run of space there can hold a compact oven neatly.
- Recessed niche. If you are remodeling, a framed niche sets the oven back into the wall. Plan it with a contractor, since wiring, ventilation and structure all matter. Our recessed wall shelf ideas explain how niches are framed.
- Coffee and snack station. Group the microwave with mugs, tea and snacks on one wall. This keeps traffic away from the stove. Our coffee station organization guide shows how to lay out that zone.
- Rail-supported shelf. A horizontal rail or standard-and-bracket system screwed into several studs carries shelves at adjustable heights, which is handy when the household changes.
- Under-cabinet shelf extension. If upper cabinets stop short of the wall end, a matching shelf can continue the line. The microwave then looks planned rather than added later.
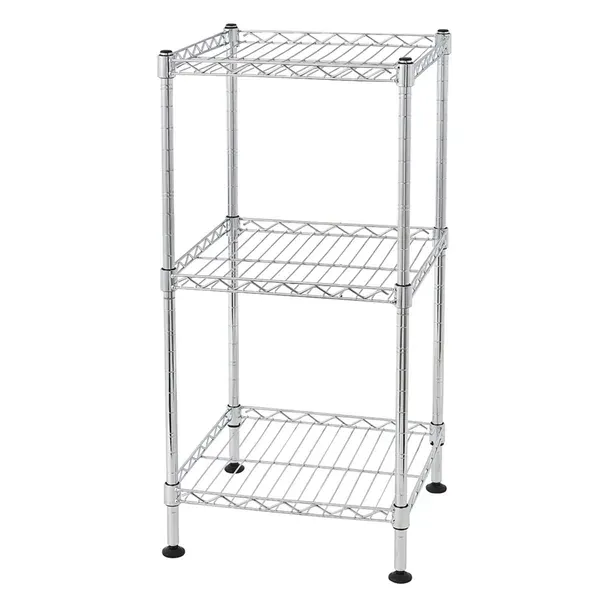
- Freestanding wire rack instead. When you cannot drill, skip the wall. A 3-tier wire shelving rack can carry light kitchen items beside the oven and free up counter space, but check its load rating and depth before placing any appliance on it.
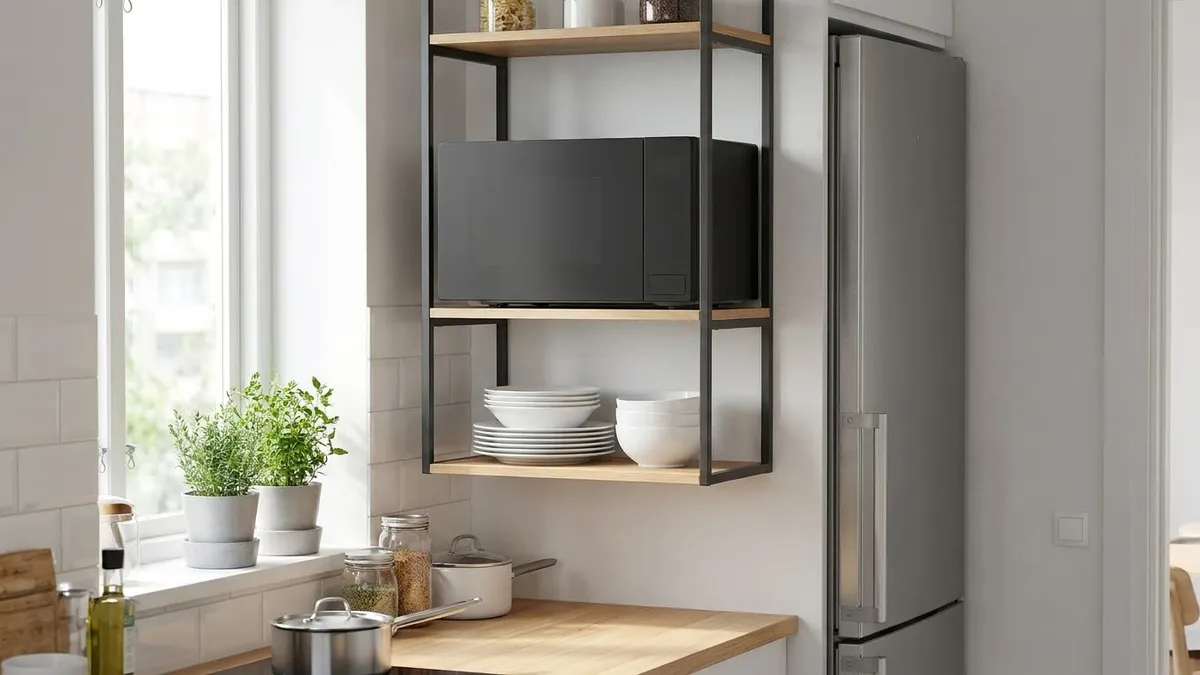
Comparing Your Main Options
Use this table to narrow the list quickly. It compares the options by effort and fit, not by a fixed price, because lumber, brackets and labor vary widely by region and store.
| Option | Best for | Drilling needed | Main watch-out |
|---|---|---|---|
| Wood shelf on brackets | Most homeowners | Yes, into studs | Needs real stud locations |
| Full-width shelf | Long clear walls | Yes, into several studs | Harder to level alone |
| Metal shelf unit | Narrow walls | Yes | Check rated load of the whole frame |
| Rail and bracket system | Changing households | Yes, into several studs | Use brackets rated for the load |
| Recessed niche | Remodels | Major work | Needs a contractor and planning |
| Freestanding rack | Renters | No | Stability and depth limits |
Brackets, Fasteners and Wall Types
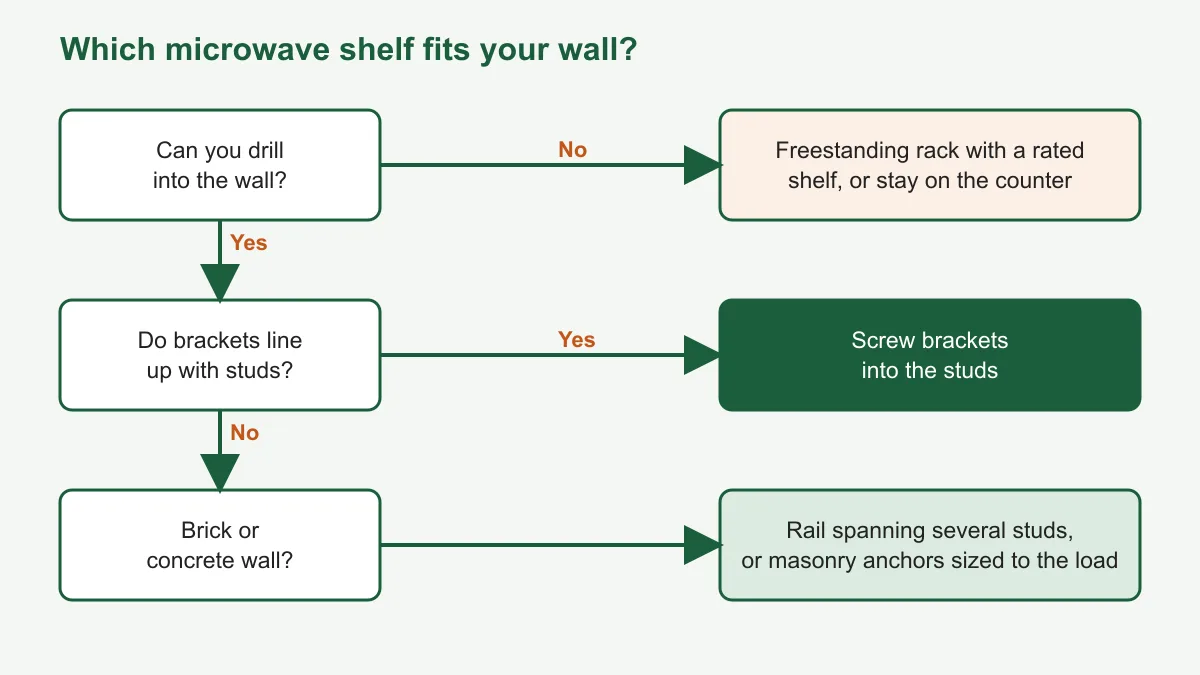
Wall strength matters more than shelf thickness. According to Wikipedia's wall stud entry, studs in US and Canadian framing are usually placed 16 inches apart, measured center to center, and 24-inch spacing is also used. Find the studs with a stud finder, confirm with a small test hole in a hidden spot, and plan your bracket positions around them.
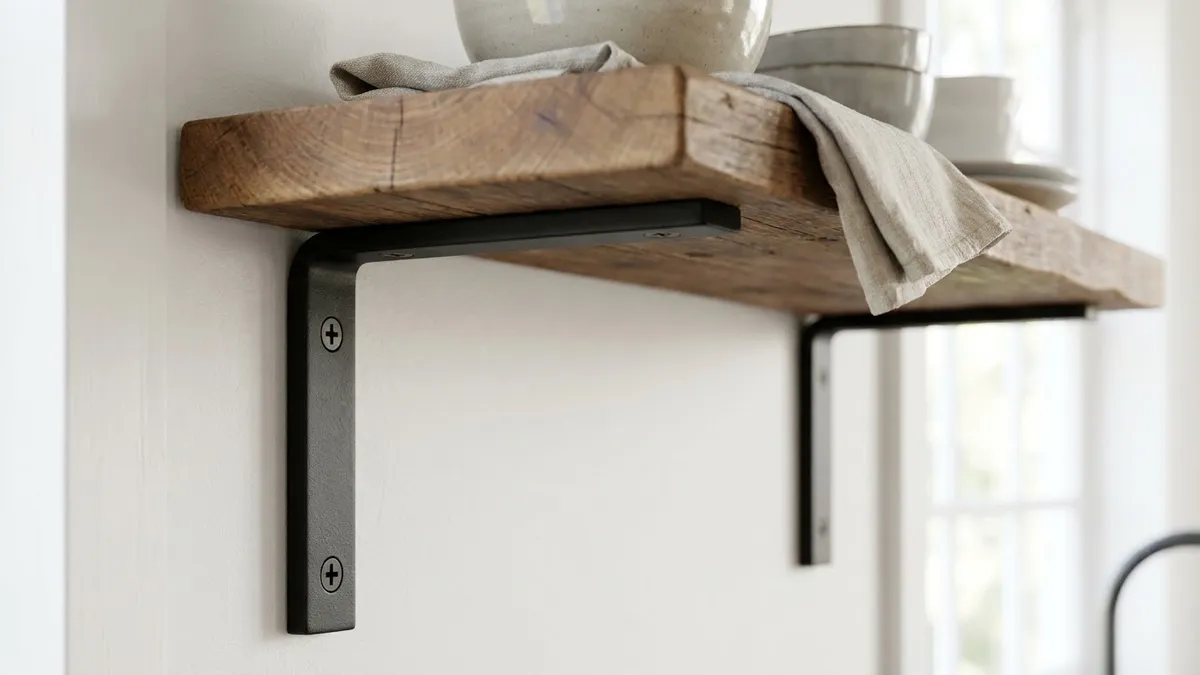
Do not hang a microwave from drywall anchors alone. Anchors are designed for light loads within a stated rating, and a microwave adds weight plus the pull of a door opening at the front edge. That front-edge leverage is why bracket arm length matters: the arm should support most of the shelf depth.
| Wall type | Recommended fixing | Avoid |
|---|---|---|
| Drywall over wood studs | Screws through brackets into studs | Anchors alone for this load |
| Drywall over metal studs | Fasteners made for metal framing, or a rail spanning studs | Standard wood screws |
| Brick or concrete | Masonry anchors, sized to the load | Drilling into mortar joints without checking |
| Tile over a backing wall | Tile bit, then fix into the structure behind | Fixing into tile alone |
Add up the whole load before you buy: the oven, the heaviest dish you will heat, and anything else on the shelf. Compare that total with the lowest rating in the system, whether that is the bracket, the fastener or the shelf board. If a manufacturer gives no rating, choose a product that does.
Safe Installation, Step by Step
Take your time here, because a level, well-fixed shelf is what makes all of the ideas above safe. Two people make this job far easier, especially when lifting the oven into place.
- Mark the height. Use painter's tape on the wall, then stand in front of it and test the reach with a mug.
- Locate the studs. Mark each one and check for pipes or wiring behind the wall before drilling.
- Fix the brackets. Drill pilot holes, then screw each bracket into a stud. Check level after each one.
- Attach the shelf. Screw the board to the brackets so that it cannot slide forward.
- Test the load. Press firmly on the front edge. Nothing should flex, creak or shift before the oven goes up.
- Lift and position. Place the oven so that all of its feet sit fully on the shelf, with the vent space your manual requires.
- Add a front lip if needed. A small retaining strip can stop the oven from creeping forward when the door opens.
If you are unsure about the wall, the wiring or the load, ask a handyman or an electrician. That is a small cost compared with a fall, and it is the right call if the outlet needs moving. Never cut into a wall if you do not know what is behind it.
Using a Shelf-Mounted Microwave Safely
Height changes how you handle hot food. The FDA's microwave oven guidance tells consumers to follow the manufacturer's manual and not to run an oven if the door does not close firmly or is bent, warped or damaged. Check the door after moving the oven, since a knock during installation can affect it.
The FDA also warns that superheated water may not appear to be boiling, and that you should not heat liquids for longer than the manual recommends. This matters even more on a raised shelf, because any spill travels toward your body. Lift mugs out with both hands, and keep a heat-safe spot ready on the counter below.
Keep the area around the vents clear, too. Do not stack cookbooks, towels or paper goods on top of the oven, and never tuck it into a closed cabinet that was not designed for it. Wipe the shelf regularly, since steam and food splatter can stain unsealed wood over time.
Styling the Wall Around the Shelf
A microwave is a boxy object, so simple surroundings work best. Pick one or two materials and repeat them, for example the same wood tone on the shelf and the cutting boards. Our hanging kitchen shelf guide has more ideas for mixing open storage with appliances on one wall.
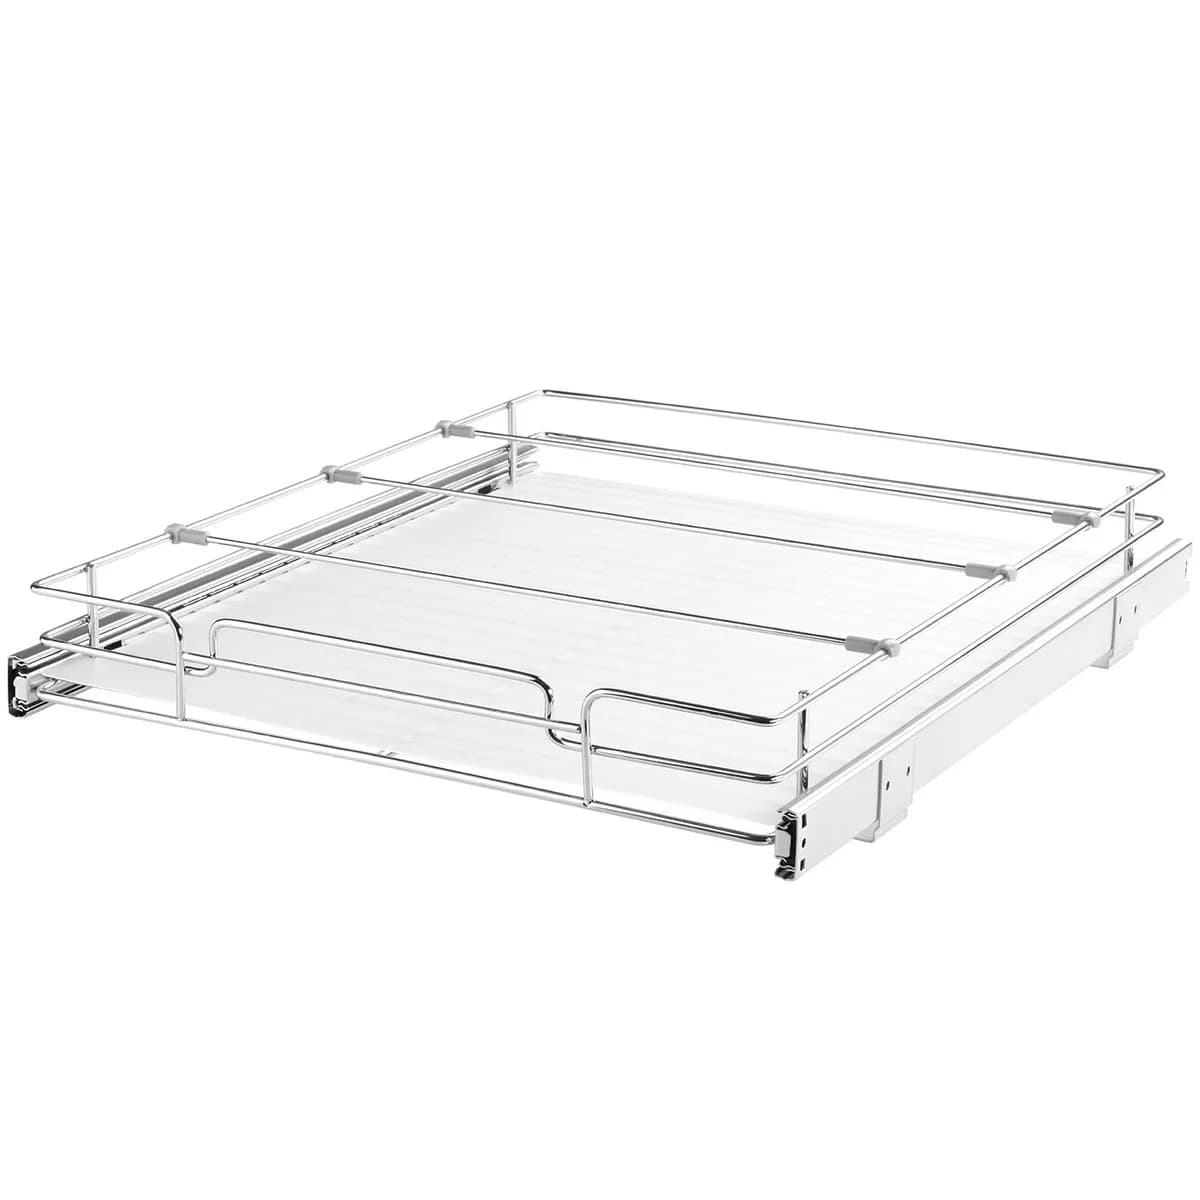
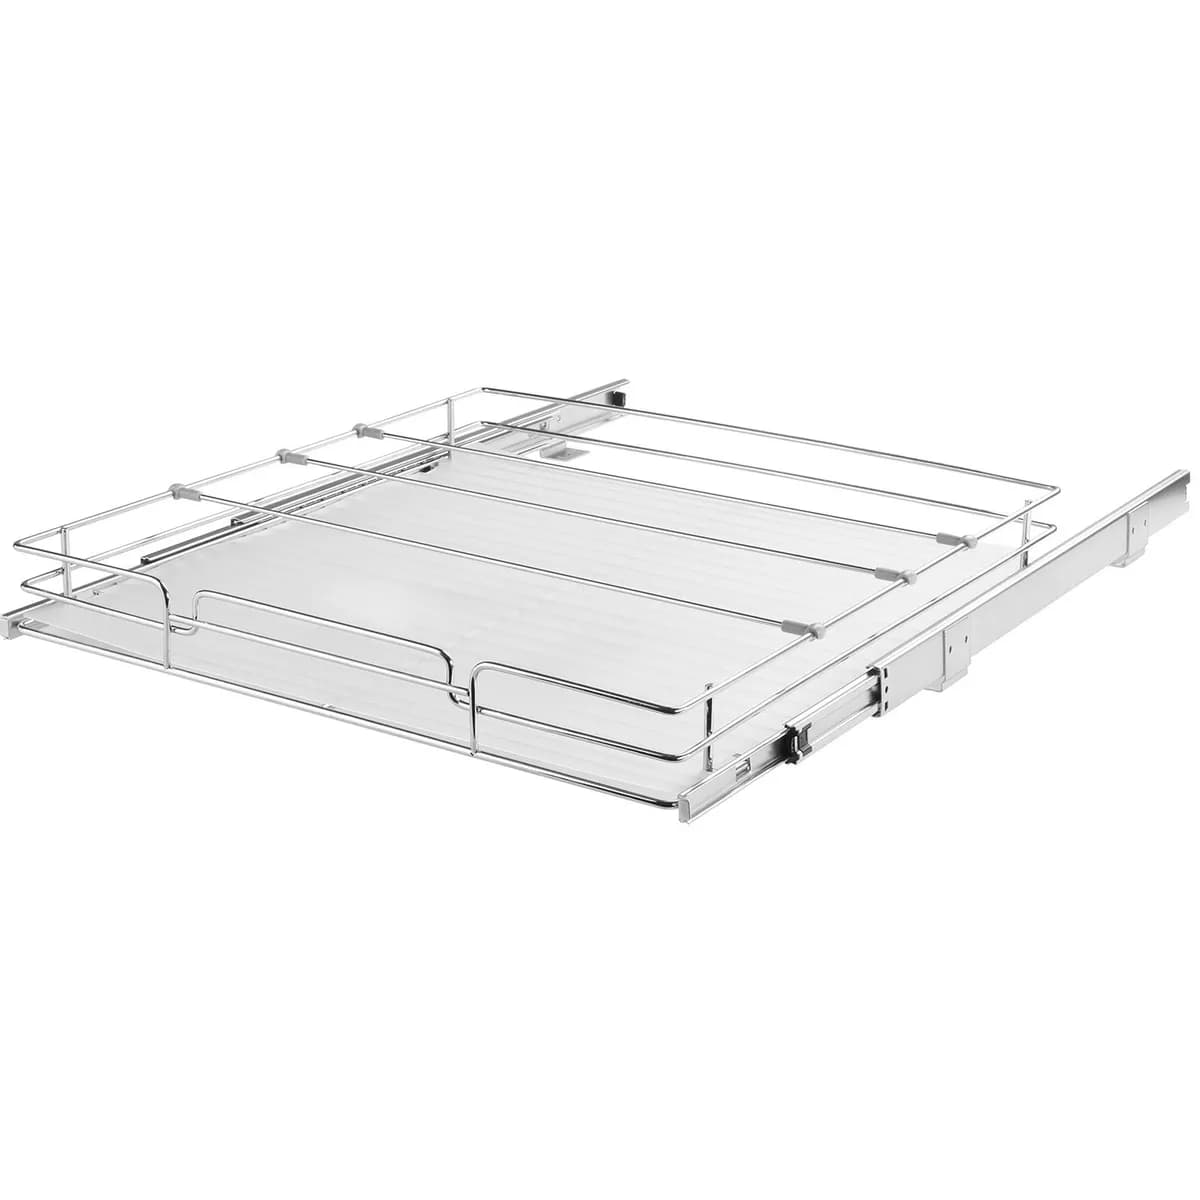
Keep the display light. A few ribbed glass jars with wooden lids on a nearby shelf look calm and put dry goods within reach. If your cabinets below are still chaotic, an expandable cabinet shelf doubles the usable height inside and helps the whole kitchen feel more ordered.
The space you freed up on the counter deserves a plan as well. Give it one clear job, such as prep or a dish rack, or the clutter will quickly return. Our guide to kitchen counter organization ideas covers what to keep out and what to put away, and small kitchen organization tips help you keep those habits going.
What to Do When You Rent
Renters have fewer options, but you still have some. Start by reading your lease, because many allow small holes while others require written permission. If drilling is allowed, ask whether you need to patch the wall when you leave, and keep the shelf hardware so that you can take it with you.
When drilling is off the table, do not use adhesive strips or peel-and-stick hooks for a microwave. Those products are not intended for this kind of load. Use a stable freestanding rack with a rated shelf instead, or a small cart with locking wheels, and place it against a wall so that it cannot tip.
Another option is simply to clear the counter around the oven. Our kitchen countertop organizer ideas show how to win back space without touching the walls. Sometimes moving the toaster and a utensil crock does as much as a new shelf.
Common Mistakes to Avoid
Most failed microwave shelves come down to the same small group of errors. Check your plan against this list before you start drilling.
- Choosing a decorative floating shelf. Hidden brackets are often rated for books and plants, not appliances. Our floating shelf ideas are better suited to lighter items.
- Measuring the oven but not the door. A door that hits a wall or a cabinet makes daily use annoying.
- Ignoring the vents. Blocked airflow can cause problems. Follow the clearance figures in your manual.
- Mounting too high. Comfortable reach matters more than a tidy line with your upper cabinets.
- Forgetting the landing space. You need a safe spot to set hot food down right away.
- Overloading the shelf. The microwave is only part of the load, so count everything else on the board.
Frequently Asked Questions
Can you put a microwave on a wall shelf?
Yes, as long as the shelf, brackets and fasteners are rated for the oven's weight and fixed into wall studs or masonry. Check your manual for vent clearance, and make sure the shelf supports all of the oven's feet.
How high should a microwave shelf be?
Guidance from a National Kitchen & Bath Association chapter says the bottom of the microwave should be based on the user's height, and not above 54 inches or below 15 inches from the floor. Choose a height that suits the shortest regular user.
How deep should a microwave shelf be?
There is no single number, because ovens differ. Measure your own microwave and choose a shelf deep enough to carry all of its feet, with the vent space your manual asks for and bracket arms that support most of the depth.
Can drywall anchors hold a microwave shelf?
Anchors alone are not a good choice for this load. A microwave is heavy and the door pulls on the front edge of the shelf. Screw brackets into studs, or use a rail that spans several studs, and compare the load with each product's rating.
Does a microwave need space around it on a shelf?
Yes, most models need some airflow, though the amount varies. Your manual lists the clearance for the back, sides and top. Keep those areas open, and do not stack towels, books or paper goods on the oven.
Is a floating shelf strong enough for a microwave?
Most decorative floating shelves are not. Some heavy-duty models carry a stated load, so read the rating and compare it with your oven's weight plus anything else on the shelf. A visible bracket is usually the simpler, safer option.
Where should a microwave go in a small kitchen with no counter space?
A wall shelf above a clear stretch of counter is usually the best fit, because you still have somewhere to set hot dishes down. A corner wall or the wall beside the refrigerator can also work if an outlet is close by.
What can renters use instead of a wall-mounted shelf?
Use a stable freestanding rack or a cart with locking wheels, with a shelf rated for the oven's weight. Check your lease before drilling, and avoid adhesive hooks or strips, which are not meant for this kind of load.
Final Thoughts
A good microwave shelf is simple: the right height, a real fixing into the wall, and enough room around the oven. Measure first, follow your manual and choose hardware with a stated rating. In return you get back a stretch of counter you can use every day, and a kitchen that feels bigger than it did before.
Liked this guide?
Get new organizing guides and the occasional new product by email. No spam, unsubscribe anytime.
Related articles
Explore more articles
- Bathroom Closet Organization Systems: How to Set Up Zones, Shelves, and Bins
- Organization and Cleaning: Complete Tutorial Guide to Transform Your Home in 2026
- 25 Brilliant Living Room Storage Ideas to Transform Your Space in 2026
- Mini Aluminum Dish Racks: Perfect Space-Saving Solutions 2026
- 35 Creative Wall Shelf Storage Ideas to Transform Your Home Organization in 2026
- Small Kitchen Cabinet Ideas: 2026 Design and Storage Guide
- Best Garage Storage Solutions: Practical Guide
- 25 Creative Storage Ideas for Small Space: Transform Your Tiny Home in 2026