

DIY Shelf Brackets: Complete 2026 Guide to Building Strong, Stylish Shelves on Any Budget
If you have been eyeing those gorgeous open shelves on home design feeds and wondering how to pull them off yourself, you are in the right place. DIY shelf brackets are one of the most rewarding weekend projects a homeowner can tackle in 2026. They are affordable, highly customizable, and can completely transform a blank wall into a functional, beautiful storage display. Whether you are outfitting a kitchen, a home office, a bedroom, or a living room, understanding how to choose, build, and install shelf brackets makes all the difference between shelves that look polished and ones that wobble after a week. In this complete tutorial guide, I am walking you through everything you need to know about DIY shelf brackets from material options and bracket types to step-by-step installation and styling tips.
Why DIY Shelf Brackets Are Worth the Effort in 2026
Open shelving has never been more popular, and for good reason. According to Houzz, open shelving consistently ranks among the top kitchen and living room trends because it creates a sense of openness, allows for personal expression, and maximizes wall space that would otherwise go unused. But the real beauty of DIY shelf brackets is the control they give you over cost, style, and sizing.
Store-bought shelving systems are often limited to standard widths and finishes. When you build your own, you can cut shelves to exactly 36 inches, 48 inches, or any custom width that fits your wall perfectly. You can also choose brackets that match your home's aesthetic precisely, whether that is an industrial black iron pipe look, a minimalist floating style, or a warm rustic wooden corbel.
Beyond aesthetics, the savings are real. A single decorative shelf with brackets from a home décor retailer can easily cost US$80 to US$200. Building the same shelf yourself with purchased lumber and brackets often runs US$25 to US$60 depending on materials, without sacrificing quality.
For more inspiration on how shelves can transform your living spaces, check out our guide to 35+ Best Floating Shelf Ideas to Transform Every Room in Your Home in 2026.
Types of DIY Shelf Brackets: Which Style Is Right for You?
Choosing the right bracket type is the first decision you will make, and it affects both the structural integrity and the visual style of your finished shelf. Here is a breakdown of the most popular bracket styles for DIY projects in 2026.
L-Shaped Metal Brackets
The classic L-bracket is the most widely available and easiest to install. These are typically made from steel or iron and come in lengths ranging from 6 inches to 18 inches or more. They are strong, reliable, and inexpensive, often priced between US$3 and US$15 per bracket depending on size and finish. Matte black, brushed nickel, and raw steel are among the most popular finishes right now.
- Best for: Kitchens, garages, laundry rooms, and utility spaces
- Weight capacity: Typically 50 to 100 pounds per bracket pair when mounted into studs
- Aesthetic: Clean and utilitarian, works especially well in farmhouse and industrial-style homes
Floating Bracket Systems (Hidden Brackets)
Floating shelf brackets are rods or rails that slide into a drilled-out hole in the back of the shelf board. Once installed, the hardware is completely hidden, giving the illusion that the shelf is floating on the wall. These are a bit more involved to install but deliver a sleek, modern look.
- Best for: Living rooms, bedrooms, and minimalist spaces
- Weight capacity: Usually 30 to 75 pounds per bracket when properly anchored into studs
- Aesthetic: Ultra-clean, modern, and designer-looking
Pipe Brackets
Using plumbing pipes as shelf brackets has been a beloved DIY trend for years, and it remains strong going into 2026. Black iron pipe flanges and pipe segments create a raw industrial bracket that pairs beautifully with reclaimed wood or butcher block shelves. You can find pipe bracket kits at most home improvement stores.
- Best for: Home offices, craft rooms, garage workshops, and industrial-style kitchens
- Weight capacity: Very high when properly anchored, often 75 pounds or more per bracket
- Aesthetic: Industrial, rugged, and full of character
Wooden Corbels
Corbels are decorative brackets typically carved or shaped from wood. They are popular in cottage-style, French country, and farmhouse-inspired homes. You can purchase pre-made corbels and paint or stain them, or carve your own if you are handy with woodworking tools.
- Best for: Living rooms, dining rooms, and entryways where a decorative element is desired
- Weight capacity: Varies widely based on wood type and mounting; generally 30 to 60 pounds per bracket
- Aesthetic: Warm, classic, and architecturally detailed
Hairpin Brackets
Hairpin brackets use thin steel rods bent into an angled support, the same design seen on mid-century modern furniture legs. They offer a light, airy look while still providing solid support.
- Best for: Bedroom nightstands, small display shelves, and modern or mid-century interiors
- Weight capacity: Typically 30 to 50 pounds per bracket pair
- Aesthetic: Retro-modern, minimalist, and chic
Tools and Materials You Need Before You Start
Getting your supplies together before you begin is the single best way to avoid frustration mid-project. Here is everything you will need for a standard DIY shelf bracket installation.
Essential Tools
- Stud finder - This is non-negotiable. Mounting brackets into wall studs is what gives your shelves their holding power. Studs in American homes are typically spaced 16 inches apart on center.
- Power drill with assorted bits - You will need a standard drill bit for pilot holes and a screwdriver bit for driving screws.
- Level - A 24-inch or 48-inch bubble level ensures your brackets and shelf board are perfectly horizontal. Even a slight tilt becomes very noticeable once items are placed on the shelf.
- Measuring tape - Accurate measurements are everything in shelf installation.
- Pencil - For marking stud locations and bracket positions on the wall.
- Sandpaper (120-grit and 220-grit) - For smoothing your shelf board before finishing.
Materials
- Shelf board - Common choices include solid pine (affordable and easy to work with), poplar (smooth grain, great for painting), or hardwood like oak or walnut for a premium finish. Standard shelf boards are sold in widths of 8 inches, 10 inches, and 12 inches.
- Shelf brackets - Choose your preferred style and purchase at least two per shelf, with a third bracket for any shelf longer than 36 inches.
- Lag screws or wood screws - Use 3-inch or 3.5-inch screws to drive brackets into studs for maximum holding strength.
- Wall anchors - Only use heavy-duty toggle anchors rated for the load if you absolutely cannot hit a stud. For safety, always prefer stud mounting for heavy loads.
- Wood stain, paint, or polyurethane - For finishing your shelf board to your desired look.
According to The Spruce, one of the most common mistakes in DIY shelf installation is skipping the stud finder and relying only on wall anchors, which drastically reduces weight capacity and long-term stability.
Step-by-Step: How to Install DIY Shelf Brackets
Now let's get into the actual installation process. I recommend reading through all the steps before you pick up a single tool.
Step 1: Plan Your Shelf Placement
Decide on the height and width of your shelf. Standard shelf heights in living areas are typically 60 to 72 inches from the floor for display shelves, while kitchen shelves work well at 18 to 24 inches above the countertop. Use your pencil and measuring tape to mark the desired height across the wall.
Step 2: Locate Wall Studs
Run your stud finder across the wall at your marked height and mark every stud location with a small pencil dot. Most American wood-frame walls have studs at 16 inches on center. This means if you find one stud, the next one is 16 inches to the left or right.
Step 3: Mark Bracket Positions
Position your brackets so that at least one mounting hole on each bracket lines up with a stud. For a 36-inch shelf, two brackets work well, spaced roughly 6 to 8 inches in from each end. For a 48-inch shelf or longer, add a center bracket for additional support.
Step 4: Drill Pilot Holes
Using a drill bit slightly smaller than your screw diameter, drill pilot holes at each marked bracket position. Pilot holes prevent wood studs from splitting and make driving screws much easier.
Step 5: Mount the Brackets
Hold each bracket against the wall, align the holes with your pilot holes, and drive the screws in firmly. Do not fully tighten any bracket until all brackets are loosely in place. This gives you flexibility to make small adjustments.
Step 6: Check for Level
Place your level across the tops of all the brackets before final tightening. Adjust as needed, then fully tighten all screws.
Step 7: Prepare and Place the Shelf Board
Sand your shelf board smooth, starting with 120-grit sandpaper and finishing with 220-grit. Apply your chosen finish, whether paint, stain, or a clear coat of polyurethane, and let it dry completely according to the product instructions. Once dry, set the board on top of the brackets.
Step 8: Secure the Board to the Brackets
Many brackets have pre-drilled holes on the top flange for screwing up into the shelf board. Drive short screws through these holes to prevent the shelf from shifting. Use screws that are no longer than three-quarters of your board's thickness to avoid punching through the top surface.
Pro Tip: Always do a weight test with both hands before loading your shelf with items. Apply steady downward pressure and watch for any flex or movement in the brackets. If there is wobble, check that all screws are fully tightened and that you are hitting solid studs.
How to Build Your Own Wooden Shelf Brackets from Scratch
If you want to go fully custom and build DIY shelf brackets entirely from wood, it is more achievable than you might think. Wooden brackets, also called corbels, add warmth and character that metal simply cannot replicate.
What you will need:
- 1x4 or 2x4 lumber (pine, poplar, or hardwood of your choice)
- Jigsaw or band saw for shaping
- Wood glue
- Clamps
- Sandpaper
- Paint or stain
Basic method for a simple right-angle wooden bracket:
- Cut two pieces of 2x4 lumber: one vertical piece at your desired bracket height (for example, 10 inches) and one horizontal piece at your desired shelf depth (for example, 8 inches).
- Cut a diagonal brace piece from the same lumber to connect the back corner where the two pieces meet. This brace is what gives the bracket its strength.
- Apply wood glue at all joining surfaces and clamp until fully cured (typically 24 hours for most wood glues).
- Reinforce the joints with wood screws driven from the back faces.
- Sand smooth, then paint or stain to your desired finish.
- Mount to the wall using the same stud-finding and pilot hole process described above.
Wooden corbels look especially stunning in kitchens and dining areas. For more kitchen shelf inspiration, browse our 30+ Kitchen Wall Shelf Ideas for a Tidy, Stylish Kitchen.
Styling Your Shelves After Installing DIY Shelf Brackets
Installation is only half the story. Once your brackets and boards are up, how you style the shelves determines whether the finished result looks like a Pinterest board or a cluttered storage rack.
Here are my top styling principles for open shelves:
- Use the rule of three - Group items in odd numbers, especially threes, for a visually balanced look. A plant, a candle, and a small basket read as intentional and curated.
- Vary heights - Mix tall items like vases or bottles with shorter items like stacked books or small bowls to create visual rhythm.
- Leave breathing room - Resist the urge to fill every inch. Negative space makes shelves feel intentional rather than cluttered.
- Layer textures - Combine wood, ceramic, metal, and fabric textures to add depth and interest.
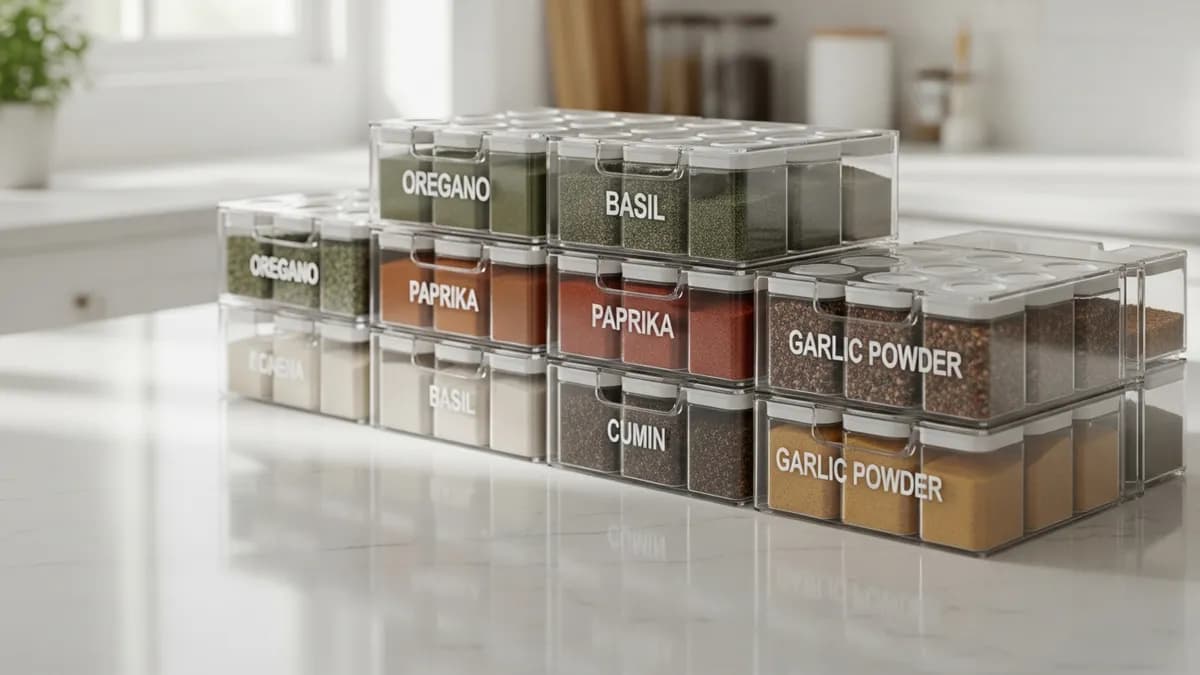
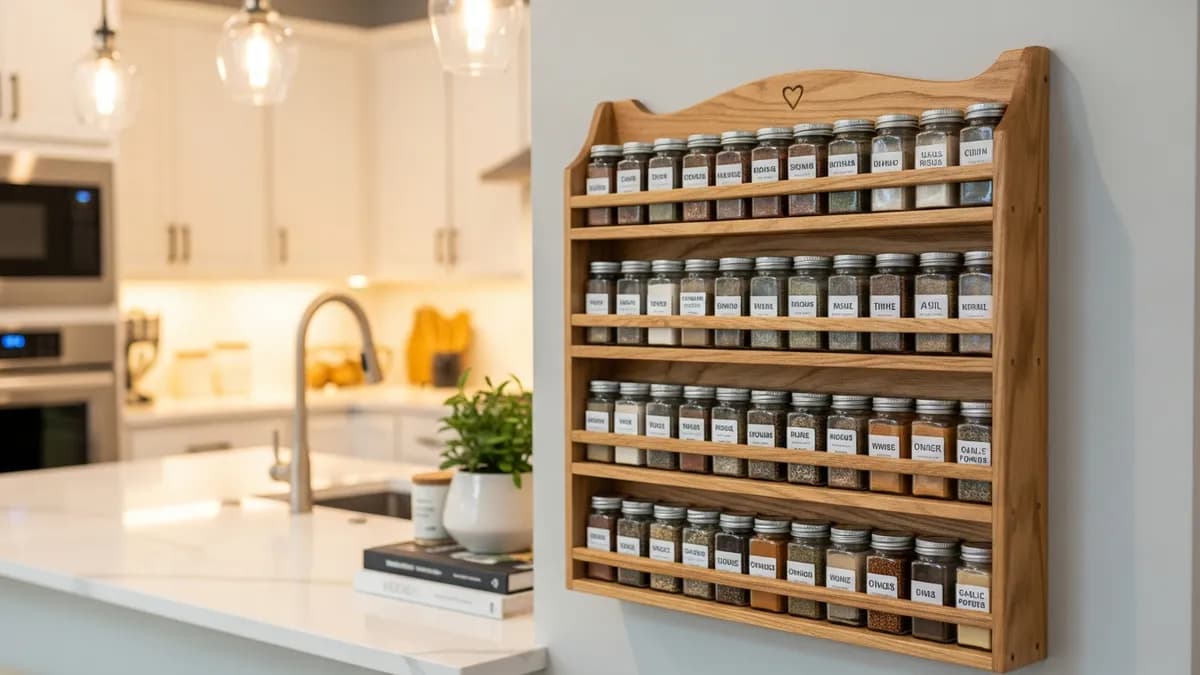
- Keep functional items organized - If your shelves are holding kitchen essentials, use cohesive containers and labels. Check out our Spice Rack Organization: The Complete 2026 Guide for ideas on keeping edible items tidy on open shelves.
According to Architectural Digest, the most visually compelling open shelves balance decorative and functional items in roughly equal measure, rather than tipping fully toward one or the other.
Common Mistakes to Avoid with DIY Shelf Brackets
Even experienced DIYers run into trouble with shelf brackets. Here are the most common pitfalls and how to sidestep them.
1. Not hitting studs
This is the number one cause of shelf failures. Wall anchors alone are rarely sufficient for shelves that will hold books, kitchen items, or décor. Always prioritize stud mounting.
2. Using brackets that are too short for the shelf depth
A general rule of thumb: your bracket should be at least two-thirds as long as your shelf is deep. So for a 12-inch deep shelf, use brackets that are at least 8 inches long.
3. Spacing brackets too far apart
For shelves made from 3/4-inch thick boards, place brackets no more than 32 inches apart. Thinner boards or heavy loads require even closer spacing to prevent sagging.
4. Skipping the level check
Even a quarter-inch tilt becomes very visible on a loaded shelf. Always check level before final tightening.
5. Not pre-finishing the shelf board
It is much easier to stain or paint the board before it is on the wall. Finishing in place risks drips on your wall paint and makes sanding awkward.
Budget Breakdown: What DIY Shelf Brackets Actually Cost in 2026
One of the most common questions I get is whether DIY shelf brackets are truly more affordable than buying a ready-made shelving unit. Here is an honest breakdown for a single 36-inch shelf with two L-brackets.
Materials list:
- 1x10x4 foot pine board: approximately US$12 to US$18
- Two standard 8-inch L-brackets (matte black): approximately US$8 to US$16 total
- Screws and wall anchors (if needed): approximately US$4 to US$8
- Sandpaper, stain, or paint (if not already owned): approximately US$8 to US$20
Total estimated cost per shelf: US$32 to US$62
Compare that to a comparable pre-made floating shelf from a home goods store, which typically runs US$70 to US$150 or more for a similar size and finish. For a home with multiple shelves, those savings add up fast.
Related Products from Sesoris
If you want to turn this guide into a real setup, start with Stainless Steel 2-Tier Dish Rack and Portable Blender. For broader options, browse the Kitchen & Dining collection so the article journey does not stop at reading only.
Our practical rule: choose one product that solves the main clutter problem first, then add supporting organizers only when the daily workflow is already clear. This keeps the shopping path useful, not pushy.
FAQ: Frequently Asked Questions About DIY Shelf Brackets
Q: How much weight can DIY shelf brackets hold?
The weight capacity depends on bracket type, bracket size, and most critically how they are mounted. Brackets driven into wall studs with 3-inch lag screws can typically hold 50 to 100 pounds per bracket pair. Brackets mounted only into drywall with standard anchors are far weaker and should only be trusted with light decorative items. Always check the manufacturer's specified load rating for any bracket you purchase.
Q: How far apart should I space my DIY shelf brackets?
For 3/4-inch thick wood shelves, space brackets no more than 24 to 32 inches apart. For heavier loads like books, tighten the spacing to 16 to 24 inches. If your shelf spans more than 36 inches, always add at least one center bracket.
Q: Can I install shelf brackets without finding studs?
Technically yes, using heavy-duty toggle bolts rated for the load. However, for shelves holding any meaningful weight, stud mounting is always safer and more secure. If you genuinely cannot hit a stud at your desired location, use multiple heavy-duty drywall anchors rated for at least 50 pounds each, and keep the shelf load light.
Q: What is the easiest type of DIY shelf bracket for beginners?
Standard L-shaped metal brackets are the most beginner-friendly option. They require only basic tools, are widely available at home improvement stores, and the installation process is straightforward. Floating hidden brackets involve more precise work and are better suited to intermediate DIYers.
Q: How do I make sure my shelf does not sag over time?
Use the right bracket size for your shelf depth, space brackets appropriately (no more than 32 inches apart for 3/4-inch boards), mount into studs rather than just drywall, and choose a shelf board that is at least 3/4 inch thick. Hardwoods like oak and maple resist sagging better than softwoods like pine under heavy loads.
Q: Can I use DIY shelf brackets in a rental apartment?
Yes, but check your lease first. Most landlords permit small screw holes that are patched before move-out. If drilling is restricted, look into tension-rod shelving systems or freestanding shelving alternatives that do not require wall mounting.
Conclusion
Building and installing DIY shelf brackets is one of the most satisfying and practical home improvement projects you can take on in 2026. It gives you complete control over size, style, material, and cost, and the results can genuinely look just as polished as anything you would find in a high-end home décor store. From choosing the right bracket type and gathering your tools, to installing with confidence and styling your new shelves beautifully, every step in this process is achievable at any skill level with a little patience and planning.
Whether you go with sleek hidden floating brackets for a modern bedroom, rugged pipe brackets for a home office, or hand-carved wooden corbels for a farmhouse kitchen, DIY shelf brackets are an investment that pays off every single day in added storage, organization, and style.
Ready to take your home organization to the next level? Browse our Best Sellers at Sesoris for home organization essentials that complement your new shelves beautifully, and explore our full Collections for smart storage solutions that help you truly Live More Organized.
Weekly Home Tips
Get home organization ideas, product picks, and exclusive deals delivered weekly.
No spam. Unsubscribe anytime.
Explore More Articles
- 30+ Brilliant Small Space Kitchen Storage Ideas to Maximize Every Inch in 2026
- 25+ Best Small Coat Closet Organization Ideas to Maximize Your Space in 2026
- 30+ Best Pantry Closet Organization Ideas to Transform Your Food Storage in 2026
- 3-Tier Spice Rack Review: Is It Worth It in 2026?
- How to Organize a Small Apartment Kitchen
- 30+ Stunning Living Room Wall Shelf Decor Ideas to Transform Your Space in 2026
- How to Speed Clean Your House in 30 Minutes
- Laundry Room Organization: Simple Guide for Small Homes