
How to Build DIY Closet Shelves: Step-by-Step Tutorial for a More Organized Home in 2026
Learn how to build DIY closet shelves from scratch in 2026. Step-by-step tutorial, material tips, and budget-friendly ideas to maximize your storage space.

If your closet has turned into a black hole where things disappear and chaos reigns, it might be time to take matters into your own hands. Building DIY closet shelves is one of the most rewarding home improvement projects you can tackle in 2026. Not only does it give you a fully customized storage solution, but it also costs a fraction of what you'd pay for a professionally installed closet system. Whether you're working with a tiny reach-in closet or a spacious walk-in, this step-by-step tutorial will walk you through everything you need to plan, build, and finish your own closet shelves from scratch.
Why Building DIY Closet Shelves Is Worth It in 2026
Custom closet systems from professional installers can cost anywhere from a few hundred to several thousand dollars depending on the size and materials. When you build your own DIY closet shelves, you can dramatically cut that cost by choosing your own lumber, hardware, and finishes. Beyond the savings, a DIY approach gives you total creative control over shelf height, spacing, and layout so every inch of your closet works exactly the way you need it to.
In 2026, more American homeowners are embracing the DIY home improvement mindset as a way to personalize their spaces without blowing their budgets. According to The Spruce, a well-organized closet can make your daily routine faster and significantly reduce household stress. When your closet actually fits your wardrobe and lifestyle, getting dressed in the morning becomes something you look forward to rather than dread.
There are a few other reasons to go the DIY route:
- You can choose materials that match your existing home decor
- You can add specialized features like shoe cubbies, pull-out drawers, or adjustable shelving
- You can repair or modify shelves any time without calling a contractor
- It is a deeply satisfying weekend project with a highly visible, lasting result
Tools and Materials You Need for DIY Closet Shelves
Before you swing a hammer or fire up a drill, gather everything you need. Running back and forth to the hardware store mid-project is frustrating and wastes time. Here is a complete list of what you will need for a basic DIY closet shelf build.
Essential Tools
- Measuring tape
- Pencil or chalk line
- Level (a 4-foot level is ideal)
- Stud finder
- Circular saw or miter saw (or ask the hardware store to cut boards to length)
- Power drill with drill bits
- Screwdriver
- Sandpaper (120-grit and 220-grit)
- Safety goggles and dust mask
- Clamps
Materials
- Plywood sheets (3/4 inch thick is the standard for sturdy shelves)
- Solid lumber boards (1x10 or 1x12 pine works well for most closets)
- Shelf brackets or cleats (1x2 or 1x3 pine strips work great as cleats)
- Wood screws (1-1/4 inch and 2-1/2 inch lengths)
- Wall anchors (for spots where you cannot hit a stud)
- Wood filler or spackle
- Sandable wood primer
- Paint or wood stain in your chosen finish
- Polyurethane or sealer if you are staining the wood
Pro tip: Always buy about 10 to 15 percent more material than you calculate you need. Measurement errors and minor cuts happen, and having extra on hand saves an extra trip to the store.
Step 1: Plan Your DIY Closet Shelves Layout
Good planning is the difference between a closet that transforms your life and one that just adds more frustration. Spend at least 30 minutes mapping out your design before you buy a single board.
Measure Your Closet
Measure the width, height, and depth of your closet carefully. Standard reach-in closets are typically around 24 inches deep, while walk-in closets vary widely. Write every measurement down and double-check each one.
Decide on Shelf Spacing
Think about what you are storing on each shelf. Here are some general spacing guidelines that work well for most households:
- Folded clothes: 12 to 14 inches between shelves
- Shoes: 6 to 8 inches between shelves
- Handbags and bulkier items: 14 to 18 inches between shelves
- Sweaters and jeans: 12 to 15 inches between shelves
- Double hang section for shirts and jackets: reserve at least 40 inches of vertical height
Sketch your layout on paper or use a free tool like a basic graph paper template. Mark where each shelf will sit, where the hanging rod will go, and where any special sections like shoe cubbies or drawers will be placed.
Locate Your Wall Studs
This step is non-negotiable. Shelves loaded with clothes, shoes, and accessories can get very heavy. Use your stud finder to locate every stud in the closet walls and mark them with a pencil. Whenever possible, drive your screws into studs rather than relying on wall anchors alone.
Step 2: Cut Your Boards to Size
Once your layout is finalized, it is time to cut your lumber. If you do not own a saw or feel uncomfortable making precise cuts, most major hardware stores like Home Depot and Lowe's offer a board cutting service. Simply bring your cut list and they will cut everything to length for a small fee.
If you are cutting boards yourself:
- Clamp the board securely to your workbench before every cut
- Measure twice and cut once, as the old saying goes
- Use a straight edge or a speed square as a guide for cleaner cuts
- Wear your safety goggles and dust mask every time the saw is running
After cutting, lightly sand all edges and surfaces with 120-grit sandpaper, then finish with 220-grit for a smooth surface that will accept paint or stain evenly.
Step 3: Install Your Shelf Cleats and Brackets
Cleats are horizontal strips of wood attached to the wall that your shelves rest on. They are one of the simplest and most reliable ways to support DIY closet shelves.
How to Install Cleats
- Hold your first cleat against the wall at the desired shelf height and use your level to make sure it is perfectly horizontal
- Mark the screw hole locations on the wall with a pencil
- Pre-drill pilot holes to prevent the wood from splitting
- Drive screws through the cleat and into the wall studs at every available stud location
- Where there is no stud, use a heavy-duty wall anchor rated for at least 50 pounds
- Repeat for every shelf level in your layout
For shelves wider than 36 inches, add a center support cleat or a vertical divider panel to prevent the shelf from sagging under weight over time. This is especially important if you plan to stack heavy folded clothes or store bins on the shelf.
A 3/4-inch plywood shelf that is 36 inches wide and unsupported in the center will eventually bow under heavy loads. Always support long spans at the midpoint.
Step 4: Sand, Prime, and Paint Your Shelves
This is the step where your project goes from looking like rough lumber to looking like a finished, professional installation. Do not skip the prep work here.
- Fill any knots, screw holes, or imperfections with wood filler and let it dry completely
- Sand the filled areas smooth once dry
- Apply one coat of sandable wood primer to all surfaces and edges
- Let the primer dry according to the manufacturer's instructions
- Lightly sand again with 220-grit paper once the primer is dry
- Apply your first coat of paint or stain
- Let dry fully, then apply a second coat for a smooth, even finish
White paint is the most popular choice for closet shelves because it keeps the space feeling bright and open. If you prefer a warmer look, a light gray or a natural wood stain with a clear polyurethane topcoat both look beautiful and are easy to clean.
Step 5: Set Shelves in Place and Finish the Installation
Once your paint or stain is fully cured (usually 24 hours for paint), it is time to set your shelves.
- Lay each shelf on top of its cleats and check for level one more time
- From underneath, drive a few screws up through the cleat and into the shelf to lock it in place if desired, though many builders simply let the shelves rest on the cleats
- Install your closet rod brackets at the desired height and attach your hanging rod
- Step back and do a final inspection, looking for any gaps, wobbles, or misaligned pieces
- Touch up any paint scuffs or nail holes and let dry
How to Organize Your New DIY Closet Shelves
Building the shelves is only half the story. Now comes the fun part: making it look like a magazine cover. A well-organized closet not only looks great but also saves you time every single morning.
Start with a Declutter
Before you load anything onto your brand-new DIY closet shelves, take everything out of your closet and sort it ruthlessly. Donate, toss, or relocate anything you have not used in the past year. This is the perfect moment for a fresh start.
Organize by Category and Frequency
Place the items you reach for every day at eye level and within easy reach. Store seasonal or rarely used items on higher shelves or in labeled bins. According to Houzz, organizing by category (all shirts together, all pants together, and so on) is the method that most people find easiest to maintain long term.
Use Storage Products to Maximize Every Inch
Even the best DIY closet shelves benefit from the right storage accessories. Here are some products that make a real difference:
- Clear stackable bins for folded items, so you can see everything at a glance
- Divided shoe cubbies or angled shoe racks to make the most of lower shelves
- Labeled fabric storage boxes for seasonal items or accessories
- Slim velvet hangers instead of bulky plastic ones to fit more clothes on the rod
- Small drawer units or rolling carts that fit under hanging sections
You can find a great selection of closet storage organizers at Sesoris designed to work perfectly with custom-built shelving systems like yours.
Label Everything
Labels are the secret weapon of a truly organized closet. When everything has a designated, labeled spot, it is easy to put things back in the right place and easy for everyone in your household to find what they need. Check out the Sesoris best sellers for label organizers and storage bin labels that pair perfectly with your new setup.
Common DIY Closet Shelf Mistakes to Avoid
Even experienced DIYers make mistakes on closet projects. Here are the most common pitfalls and how to sidestep them.
Not Accounting for Shelf Depth
Standard closet shelves are 12 inches deep for most clothing storage. However, if you need to store folded jeans, sweaters, or large bins, 16-inch deep shelves give you much more usable space. Always think about what specifically will sit on each shelf before you cut your boards.
Skipping the Level Check
Even a slightly unlevel shelf looks obviously off once it is loaded with items. Check for level at every single step: when marking your cleat positions, when the cleats are installed, and again once the shelf is in place.
Using Screws That Are Too Short
When attaching cleats to the wall, you need screws long enough to pass through the cleat, through the drywall, and at least 1 inch into the stud. For a 3/4-inch cleat attached to 1/2-inch drywall, you need screws that are at least 2-1/4 inches long. Too-short screws will pull out under load.
Overloading Unsupported Spans
As mentioned earlier, any shelf wider than 36 inches needs a center support. Neglecting this leads to sagging shelves within months, especially with heavier items like books, shoes, or heavy folded clothes.
Rushing the Paint or Stain
Applying a second coat before the first is fully dry causes streaks, bubbling, and an uneven finish. Follow the drying time on your paint or stain can to the letter, even if it means waiting an extra few hours.
Budget Breakdown for a Basic DIY Closet Shelf Build
One of the biggest reasons people choose to build their own DIY closet shelves is cost savings. Here is a realistic general breakdown for a standard reach-in closet project. Note that prices vary by region and by the specific materials you choose.
- Plywood or pine boards: US$40 to US$80 depending on quantity and wood type
- Shelf cleats or brackets: US$10 to US$25
- Screws, anchors, and hardware: US$10 to US$20
- Sandpaper, wood filler, and primer: US$10 to US$20
- Paint or stain and topcoat: US$20 to US$40
- Closet rod and rod brackets: US$10 to US$30
Total estimated range: US$100 to US$215 for a typical reach-in closet
Compare that to a professionally installed custom closet system that can easily run US$1,000 or more for a similar space, and the value of the DIY approach becomes immediately obvious. You can put the savings toward quality storage organizers and accessories from Sesoris to make your new closet even more functional.
You can also explore inspiration for creative closet builds on Pinterest to see hundreds of real-life DIY closet shelf projects in every style from rustic farmhouse to sleek modern minimalist.
Related Products from Sesoris
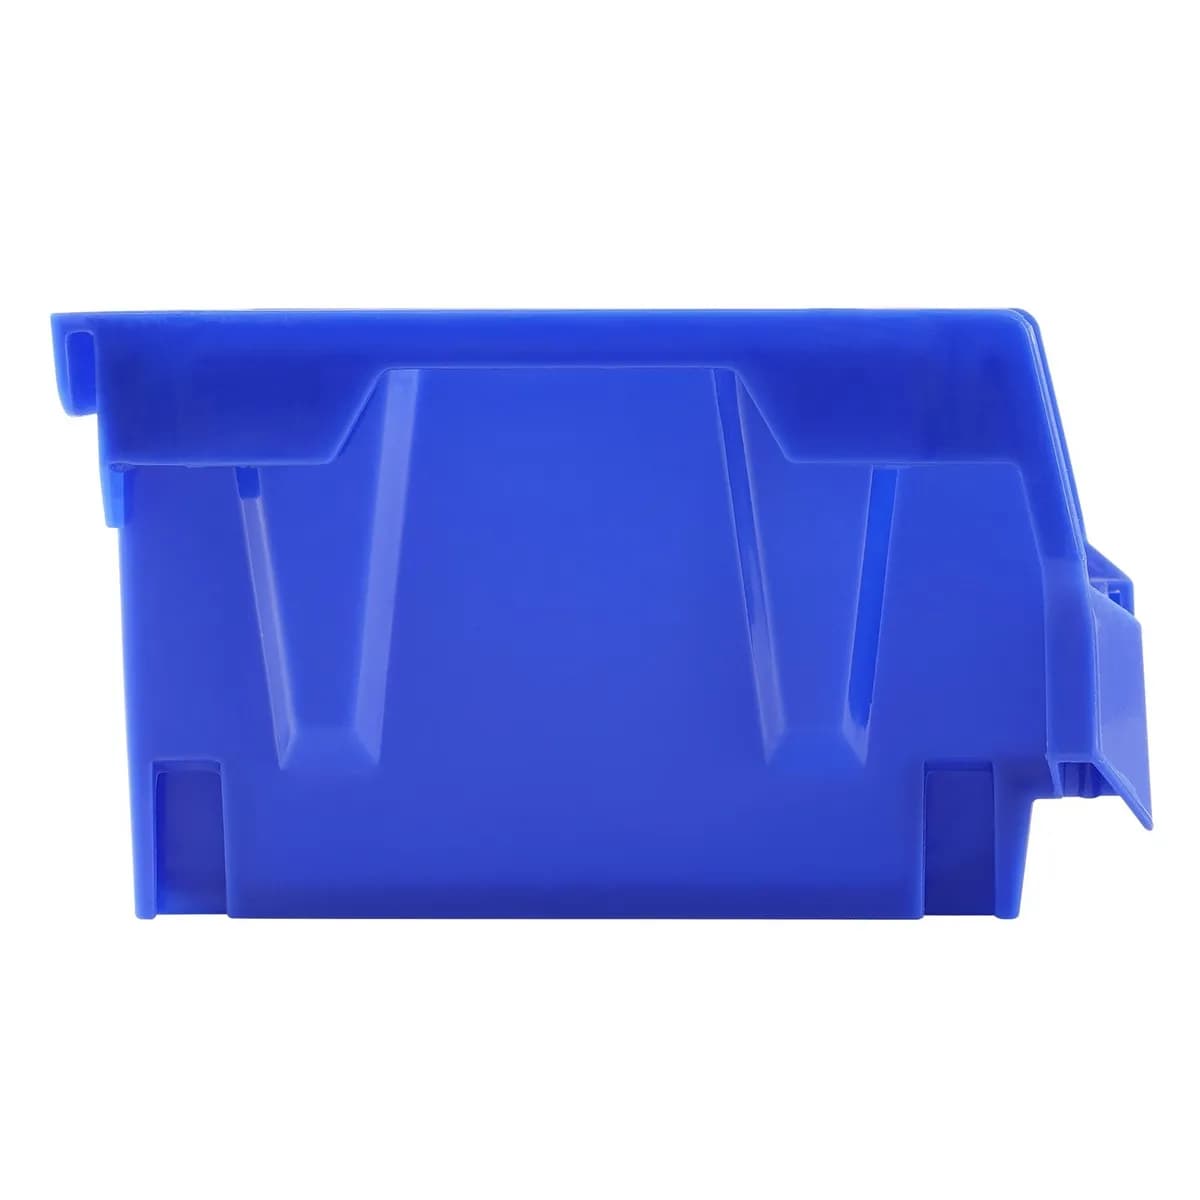
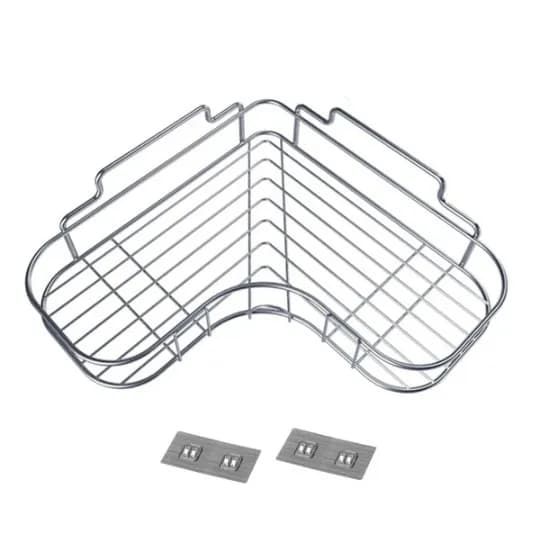
If you want to turn this guide into a real setup, start with Stackable Storage Bins, 24 Pack and Pull-Out Cabinet Organizer, 17 in. Wide. For broader options, browse the Home & Decor collection so the article journey does not stop at reading only.
Our practical rule: choose one product that solves the main clutter problem first, then add supporting organizers only when the daily workflow is already clear. This keeps the shopping path useful, not pushy.
FAQ: Frequently Asked Questions About DIY Closet Shelves
Q: What is the best wood to use for DIY closet shelves?
For most closet projects, 3/4-inch plywood or solid pine boards are the top choices. Plywood is strong, stable, and resists warping better than solid wood in many conditions. Pine is affordable, easy to work with, and takes paint beautifully. If budget allows, oak or maple offer a more premium look and feel.
Q: How deep should closet shelves be?
For clothing storage, 12 inches deep works well for most folded items. If you want to store larger folded items, bulkier accessories, or storage bins, 14 to 16 inches deep is better. Shoe shelves can be as shallow as 10 to 12 inches. Always measure your intended items first.
Q: How far apart should closet shelves be spaced?
It depends on what you are storing. For folded clothes, 12 to 14 inches of clearance between shelves is comfortable. For shoes, 6 to 8 inches works well. For tall boots or oversized items, 14 to 18 inches. Build your layout around your specific wardrobe and storage needs.
Q: Do I need a saw to build closet shelves?
Not necessarily. Many hardware stores will cut your boards to size for a small fee when you buy the lumber. This makes the project much more accessible even if you do not own or feel comfortable using a saw.
Q: Can I build DIY closet shelves if I am a total beginner?
Absolutely. A basic cleat-and-shelf system is one of the most beginner-friendly woodworking projects you can tackle. As long as you measure carefully, use a level at every step, and drive your screws into wall studs, you will get a result that looks and functions great.
Q: How do I prevent my shelves from sagging over time?
Use 3/4-inch thick wood rather than thinner options, keep spans under 36 inches between supports, add a center support cleat or vertical divider for wider sections, and avoid overloading any single shelf beyond what it is designed to hold.
Conclusion: Build Your Own DIY Closet Shelves and Live More Organized in 2026
There is something genuinely satisfying about opening a closet you built with your own hands and seeing everything perfectly in its place. DIY closet shelves give you the freedom to design a storage system that fits your actual life, your wardrobe, and your budget. In 2026, it has never been easier to find tutorials, materials, and inspiration to make this project a success. Follow the steps in this guide, take your time with each phase, and do not rush the finishing touches. The result will be a closet that not only looks great but also makes every single day a little bit smoother.
Ready to take your organization even further? Visit Sesoris to explore our full range of closet organizers, storage bins, labels, and home organization accessories that pair perfectly with your brand-new custom shelves. Check out our new arrivals for the latest storage solutions designed for the modern American home. Live more organized, starting today.
Liked this guide?
Get new organizing guides and the occasional new product by email. No spam, unsubscribe anytime.
Related articles
Explore more articles
- Lidded Box vs Open Basket Storage: Which Keeps Items Easier to Use?
- How to Organize a Linen Closet Step by Step: Complete Tutorial for a Tidy, Functional Space in 2026
- Sunday Reset Routine: The Lifestyle Habit That Transforms Your Entire Week in 2026
- Best Indoor Plant Pots and Planters: Complete 2026 Review & Buying Guide for a Greener Home
- How to Choose and Install Shelf on Wall Ideas That Actually Work in 2026
- 30+ Best Laundry Room Organization Ideas to Transform Your Space in 2026
- 25+ Best Kitchen Cupboards Organizer Ideas to Transform Your Storage Space in 2026
- Best Storage Food Containers: Complete 2026 Review & Buying Guide for a Fresher, More Organized Kitchen