
How to Organize Your Closet: A Practical 2026 Guide
Learn how to organize your closet step by step: declutter, zone, fold, and pick storage that lasts. Get a closet that stays tidy. Start today.
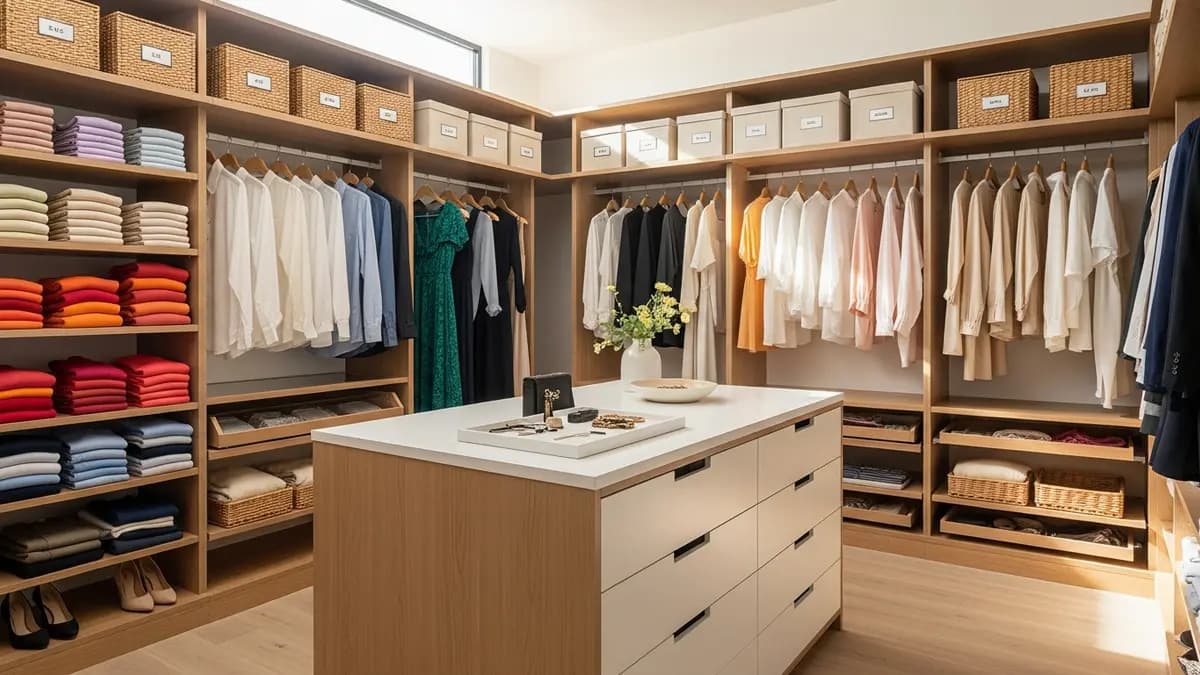
If you have ever opened your closet, stared at a wall of crumpled shirts, and quietly closed the door again, you are in good company. Learning how to organize your closet is not really about a magazine-perfect wardrobe. It is about getting dressed in five minutes instead of twenty, lowering the low-grade stress of a cluttered bedroom, and making the clothes you already own last longer. With the range of storage products available in 2026, a closet overhaul is a weekend project with results that actually hold. This complete tutorial walks you through every step, from the first sorting pile to the organizers worth buying, so your closet finally works as hard as you do.
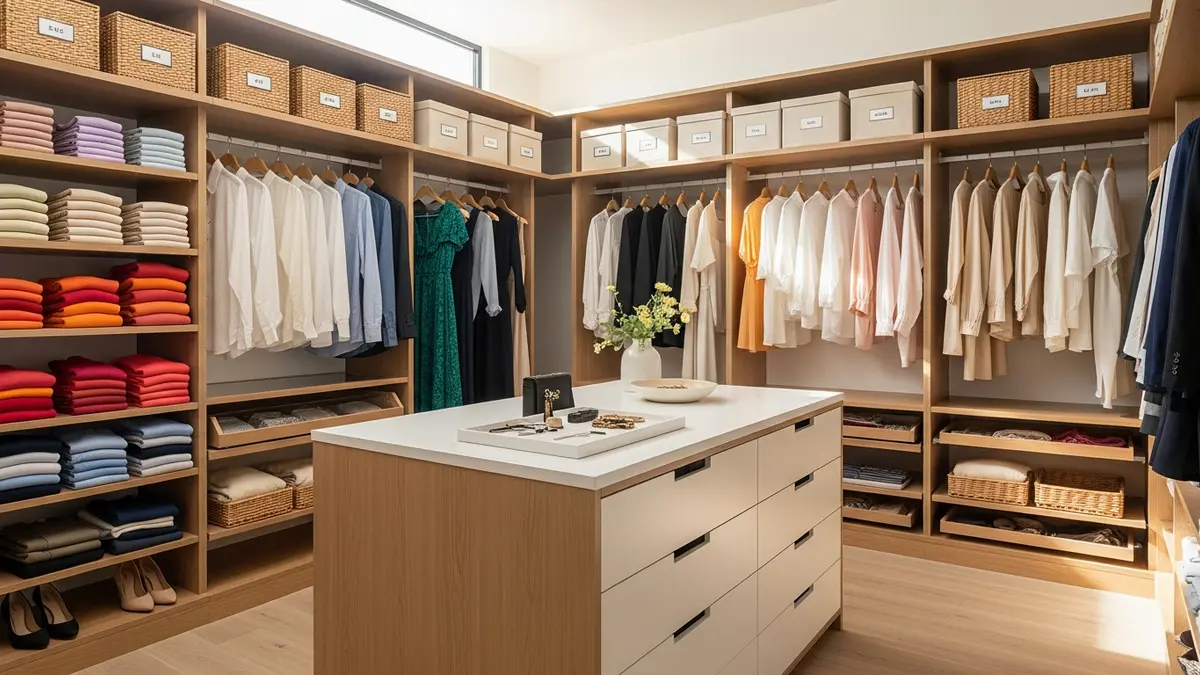
Why Learning How to Organize Your Closet the Right Way Matters
A disorganized closet is more than an eyesore. Clothes crammed onto a rod or stacked in leaning piles wrinkle faster and wear out sooner, and delicate knits stretch out of shape when they are stored badly. Home organization editors at The Spruce make the same point again and again: a structured storage system helps you find what you own quickly and cuts down on rebuying items you already had buried in the back.
There is a mental side to it too. A tidy, predictable space makes the start of the day calmer, and picking an outfit stops feeling like a negotiation with yourself. That is why a closet overhaul is worth treating as a real investment of time rather than a surface tidy-up you end up repeating every few weeks.
A well-planned closet also squeezes far more out of the square footage you already have, which matters most in small apartments and starter homes where the bedroom closet is barely wider than the bed. With the right strategy, even a modest reach-in closet can comfortably hold two full wardrobes without feeling stuffed.
Step 1: Empty the Closet Completely and Declutter
The first and most important move in how to organize your closet is taking everything out. It sounds like overkill, but it is the only way to see your full inventory and make honest decisions about it. Pull every hanger, every folded stack, and every shoebox onto the bed so the closet is genuinely empty before you start rebuilding.

How to Sort Clothes With the Three-Pile Method
Split everything into three groups:
- Keep: Pieces you actually wear, that fit well and are in good condition.
- Donate or resell: Items still in wearable shape that you have not touched in over a year.
- Toss or recycle: Anything torn, stretched out, permanently stained, or beyond repair.
As you sort, ask one question: have I worn this in the last 12 months? If the answer is no, it probably does not deserve prime closet real estate. Textile recycling programs at many national retailers will take worn-out pieces that a thrift store cannot resell, so almost nothing has to go in the trash.
Decluttering Tips for Sentimental Pieces
- Set aside genuinely sentimental clothing in one labeled memory box and store it outside the main closet, on a top shelf or under the bed.
- Photograph pieces before you donate them. The memory stays, the square footage comes back.
- If you cannot decide, try the item on. If it is uncomfortable or pairs with nothing else you own, that is your answer.
- Repeat this process roughly twice a year, usually at the spring and fall wardrobe changeovers.
For a deeper walkthrough of the sorting process, read our guide on how to declutter your home from top to bottom.
Step 2: Clean and Measure the Closet Before You Rebuild
With the closet empty, this is the easiest it will ever be to clean. Wipe down every shelf, the inside of the doors, the rod, and the floor with a damp cloth, then vacuum the corners and baseboards. Let everything dry completely before a single garment goes back in.
Next, measure the space in detail:
- Total interior width
- Floor to ceiling height
- Usable shelf depth
- Hanging clearance from the rod down to the shelf or floor
Save those numbers in your phone before you shop. Buying bins, drawer dividers, or add-on shelving without measurements is the fastest way to waste money and end up with a closet that feels more crowded than when you started. Most reach-in closets run about 24 inches deep, so a bin any deeper than that will hang off the shelf edge.
Step 3: Build Zones Inside the Closet by Category
The real secret behind how to organize your closet in a way that lasts is zoning, which simply means giving every category of clothing its own dedicated area instead of letting things land wherever there happens to be a gap.
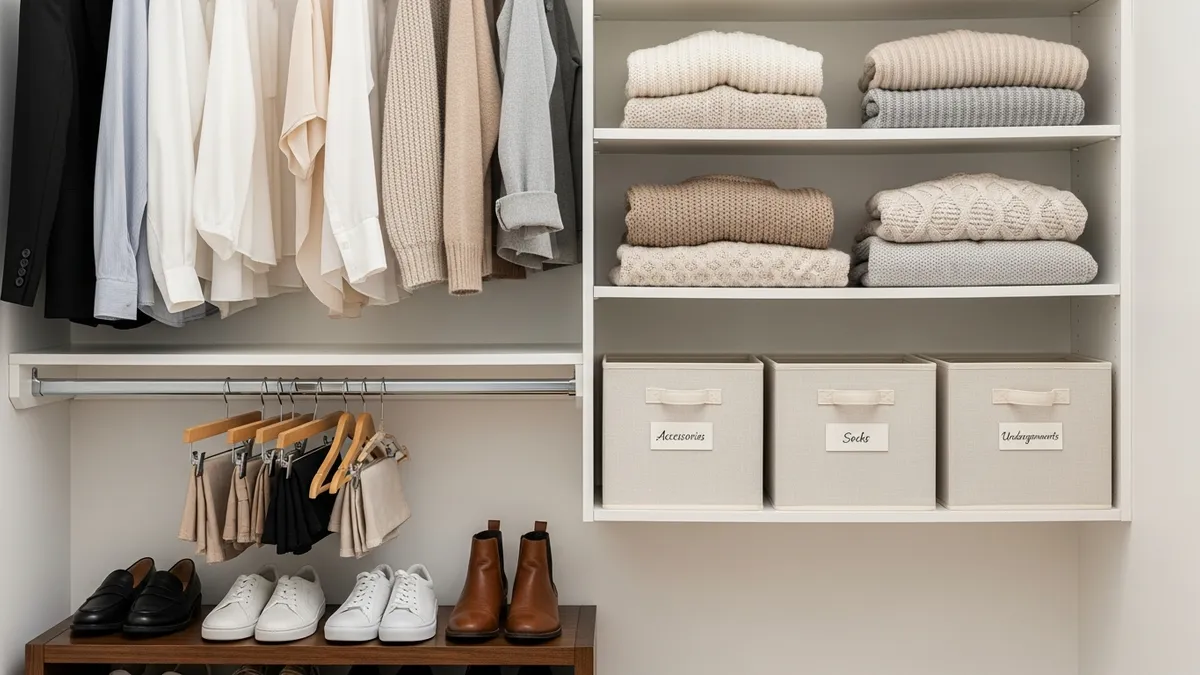
Recommended Zones for a Standard Reach-In Closet
Zone 1: Primary Hanging Section
Reserve this for anything that should never be folded: button-downs, blouses, dresses, blazers, and suits. Group by category first, then arrange by color from light to dark inside each group. It looks good, but more importantly it lets you spot a specific shirt in seconds instead of flipping through the entire rod.
Zone 2: Folded Shelves for Tees and Knits
T-shirts, socks, underwear, and jeans do better folded on a shelf or in a drawer. The KonMari style of vertical folding, where each piece is folded until it stands up on its own edge, works especially well here because you can see every item at once instead of excavating a stack.
Zone 3: Shoe Zone
Keep shoes on the closet floor in a rack or in clear labeled boxes. Pairs you rarely wear belong in closed boxes so they stay dust free. Our roundup of closet shoe storage ideas has more layouts if floor space is tight.
Zone 4: Accessory Storage
Belts, scarves, hats, and small bags need a home of their own or they end up draped over everything else. Use over-the-door hooks, a dedicated accessory hanger, or small labeled boxes on a shelf.
Zone 5: Seasonal and Rarely Used Items
Send seasonal gear such as heavy blankets, winter coats, and formalwear to the top shelf. Use storage bins with lids or a vacuum storage bag to compress bulky items and protect them from dust between seasons.
Step 4: Folding Techniques That Maximize Space
How you fold decides how much fits. These techniques make a measurable difference on a crowded shelf:
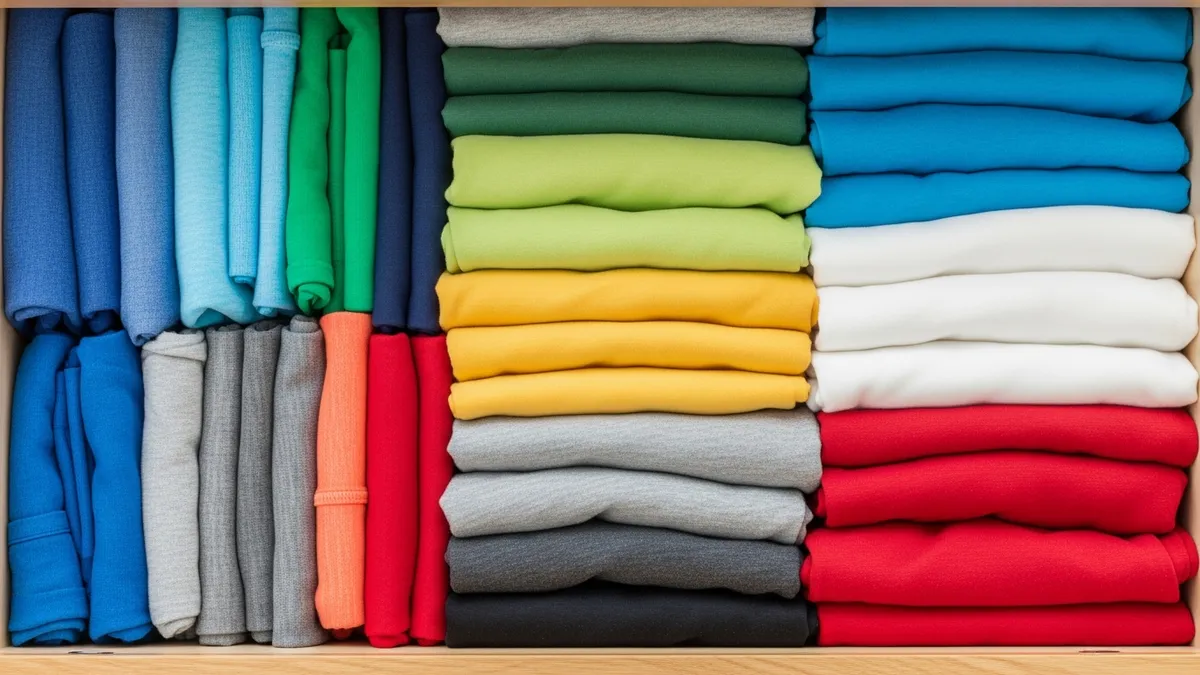
The Vertical Fold (KonMari Method)
Popularized by Marie Kondo, this approach changed how a lot of people think about drawers. Instead of stacking garments horizontally, you fold each piece until it stands upright, then file them side by side like folders in a cabinet.
Here is how to fold a T-shirt this way:
- Lay the shirt face up on a flat surface.
- Fold one side toward the center and tuck the sleeve in with it.
- Repeat on the other side.
- Fold the bottom hem up by about one third.
- Fold up again until the shirt holds its shape standing on edge.
- File it upright in a drawer or a shallow bin.
The payoff is that you see every shirt at a glance without wrecking a stack to reach the one on the bottom. Good Housekeeping regularly points to this method as one of the most efficient ways to get more usable room out of a drawer.
Folding Tips for Other Garment Types
- Jeans: Fold in half lengthwise, then in thirds, so the stack stands upright in a bin.
- Socks: Do not roll them or flip one cuff over the other. Fold flat in pairs and file them side by side so the elastic keeps its stretch.
- Underwear: Fold into small squares and file inside a drawer divider so nothing migrates across the drawer.
- Sweaters: Always fold, never hang. Knits stretch at the shoulders under their own weight on a hanger.
Step 5: Choose the Right Organizers for Your Closet
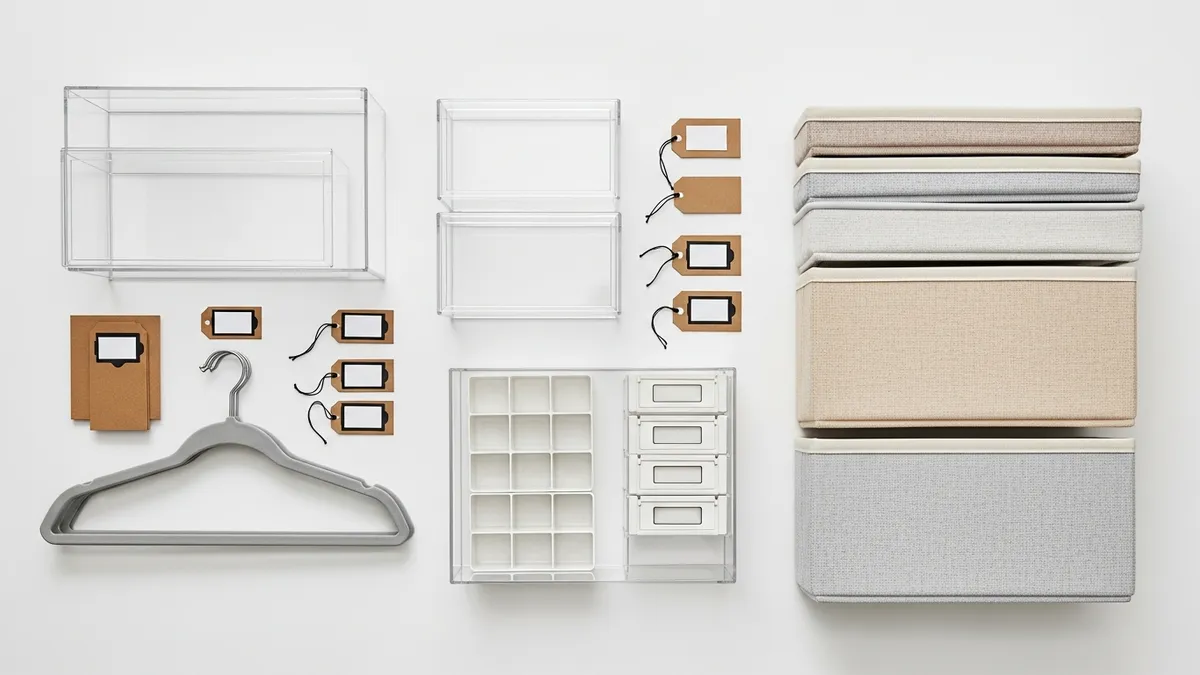
A good system needs the right hardware behind it. These are the organizer categories that earn their spot:
Which Hangers to Use
One of the simplest high-impact upgrades is switching every hanger in the closet to a single matching type. Slim velvet hangers are the usual recommendation because:
- They are far thinner than bulky plastic or wooden hangers, which can nearly double how much fits on one rod.
- The flocked surface grips fabric, so wide necklines and camisoles stop sliding onto the floor.
- A single uniform color instantly makes the whole rod look calmer and more intentional.
Velvet hangers are also one of the cheaper upgrades in this guide. A multipack of 30 to 50 usually runs somewhere in the range of US$20 to US$40 depending on brand and hardware, and one pack is often enough for an entire reach-in closet.
Storage Bins and Baskets
Clear bins and labeled baskets do the heavy lifting on the top shelf, where anything loose tends to disappear. Look for products that:
- Share a uniform footprint so they stack squarely instead of leaning.
- Are made from a material you can actually wipe clean.
- Have a label holder, or at least a flat face that will hold a label, so you never open four bins to find one thing.
Browse the storage bin options in the Sesoris collections, which are built specifically for home organization rather than general purpose packing.
Shelf and Drawer Dividers
Shelf dividers keep folded stacks from toppling into each other, which is usually what turns a neat shelf back into chaos within a week. Drawer dividers do the same job on a smaller scale, keeping socks separate from underwear inside one shared drawer.
Over-the-Door Hanging Organizers
The back of the closet door is the most commonly wasted storage surface in the whole room. A hanging pocket or shelf organizer there can hold:
- Belts and ties
- Scarves and wraps
- Lightweight jewelry
- Small accessories that otherwise float around loose
For more product ideas, take a look at our best sellers or the newest Sesoris arrivals.
Step 6: A Labeling System That Makes Everything Findable
Labels are what turn a one-time cleanup into a system that survives contact with real life. They tell everyone in the house exactly where each thing belongs, which removes the guesswork that quietly undoes your work over a few weeks.
Organizing editors at Real Simple make the same argument: a consistent labeling system is one of the clearest dividing lines between a closet that stays organized and one that slides back into a mess by the end of the month.
Labeling Options Worth Considering
- Handwritten labels: Cheapest and most flexible. Use adhesive labels or paper tags tied to a basket handle.
- Printed labels: More uniform and polished. A handheld label maker or a sheet of printer labels does the job.
- Chalkboard labels: Erasable and rewritable, which is ideal when the contents of a bin change with the season.
- Photo labels: Genuinely useful for kids who cannot read yet. Tape a photo of what belongs inside on the front of the bin.
Our full guide to label organizer systems goes deeper on materials, wording, and placement.
Step 7: The Maintenance Routine That Keeps It Tidy
Organizing once is not enough on its own. The habits below are what keep the closet looking the way it did on day one:
Daily Routine (5 Minutes)
- Put clothes back where they belong the moment you take them off or decide against wearing them.
- Anything dirty goes straight into the hamper, not onto a chair or the floor.
- Face every hanger the same direction when you return a garment to the rod.
Weekly Routine (15 Minutes)
- Restack any folded piles that have started to slump.
- Pull out anything sitting in the wrong zone and return it to its home.
- Check for pieces that need washing, pressing, or a quick repair before you forget about them.
Twice a Year
- Run a full decluttering session, ideally at the spring and fall changeovers.
- Rotate seasonal clothing: off-season pieces move to the top shelf or into lidded bins.
- Deep clean the entire closet interior while it is already half empty.
Remember: An organized closet is not about being perfect. It is about having a system simple enough that everyone in the house can follow it without thinking.
Bonus Tips: How to Organize Your Closet by Closet Type
Every closet layout comes with its own quirks and its own opportunities. Here is what to prioritize based on the type you are working with:
Standard Reach-In Closet With Bifold Doors
The most common setup in US homes and apartments. Use a double-hang rod on one side and stacked shelving on the other, then add an over-the-door organizer to reclaim the door panel you are currently ignoring.
Sliding Door Closet
Because only half the closet is reachable at a time, keep everyday pieces at the front of each half where you can actually grab them. Avoid deep stacks against the back wall that you will never dig through.
Built-In or Small Walk-In Closet
Use every corner with corner shelving, a second rod, and modular components sized to the space. Our post on small walk-in closet organization ideas covers full layouts you can copy.
Empty Closet With No Built-In Shelving
If your closet is nothing but four walls and a rod, that is actually the best case. You get to design the entire interior. Add a modular shelf tower or a customizable hanging system sized to your measurements. Houzz is a good place to browse real installations, from simple to very built out.
Related Products from Sesoris
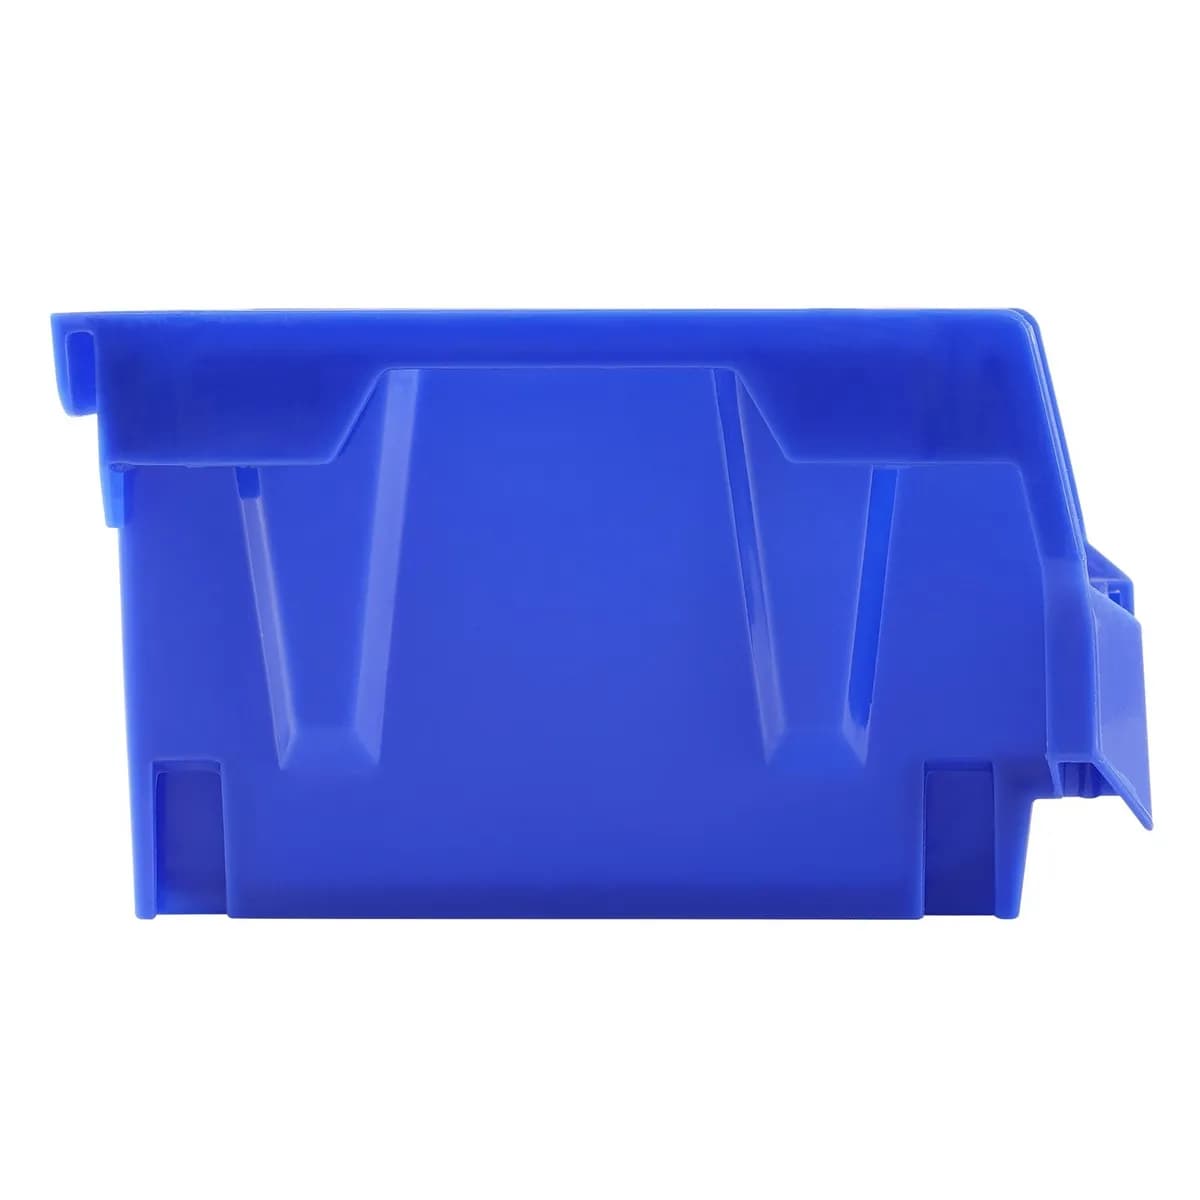
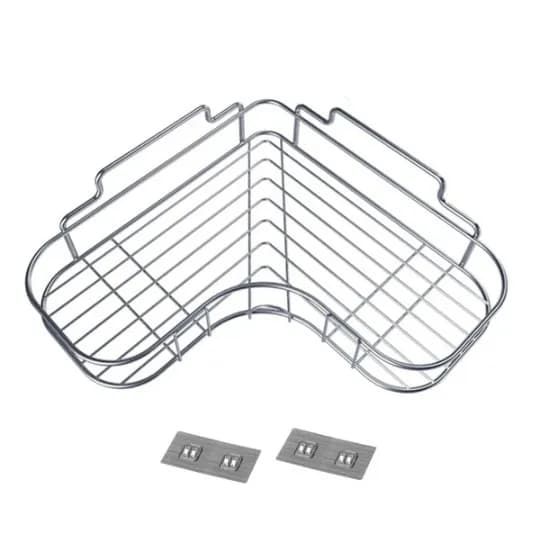
If you want to turn this guide into a real setup, start with Stackable Storage Bins, 24 Pack and Pull-Out Cabinet Organizer, 17 in. Wide. For broader options, browse the Home & Decor collection so the article journey does not stop at reading only.
Our practical rule: choose one product that solves the main clutter problem first, then add supporting organizers only when the daily workflow is already clear. This keeps the shopping path useful, not pushy.
FAQ: Common Questions About How to Organize Your Closet
How long does it take to organize a closet from scratch?
It depends on the size of the closet and how much you own. For a standard reach-in closet, the full process including decluttering and rebuilding usually takes 3 to 6 hours working on your own. Block out most of a day so you are not rushing the sorting stage, which is where all the real decisions happen.
Should I buy organizers before I start?
No. Declutter and sort first. Once you know exactly what is staying, you can measure and buy only what that inventory actually needs. Buying bins before sorting almost always ends in returning half of them or forcing them into a space where they do not fit.
How do I keep a shared closet organized when the whole family uses it?
The system has to be obvious to everyone, not just to the person who built it. Use clear labels, assign specific zones by person or category, and set one simple rule such as one in, one out, where every new garment means an older one leaves. Bring the rest of the household into the setup process so the system belongs to all of you.
Do I need to sort clothes by color?
Color sorting is optional, but plenty of people find it genuinely faster for locating a specific piece, and it makes the rod look calmer. If color feels like too much upkeep, at least group by category so shirts, pants, and dresses each stay together.
What should I do with seasonal clothing?
Off-season pieces such as winter coats, rain gear, and formalwear belong in lidded bins or vacuum storage bags on the top shelf or under the bed. That frees the prime hanging space for the clothes you reach for every week.
Conclusion: Start Organizing Your Closet Today
Learning how to organize your closet does not have to be complicated or expensive. Work through the seven steps in this guide, from decluttering and zoning to folding technique, the right organizers, and a maintenance routine, and you end up with a closet that is tidy, functional, and genuinely faster to use every morning.
The part that matters most is starting. Take one shelf or one drawer, finish it completely, then move outward from there. Every small piece you finish today compounds into a room that feels calmer for the rest of the year.
To support the project, Sesoris carries storage and organization products built for real households, from lidded bins and labeled baskets to versatile organizers that work in any closet layout. Everything is available in our shop. You can also visit the Sesoris blog for more practical home organization tips and inspiration.
Liked this guide?
Get new organizing guides and the occasional new product by email. No spam, unsubscribe anytime.
Related articles
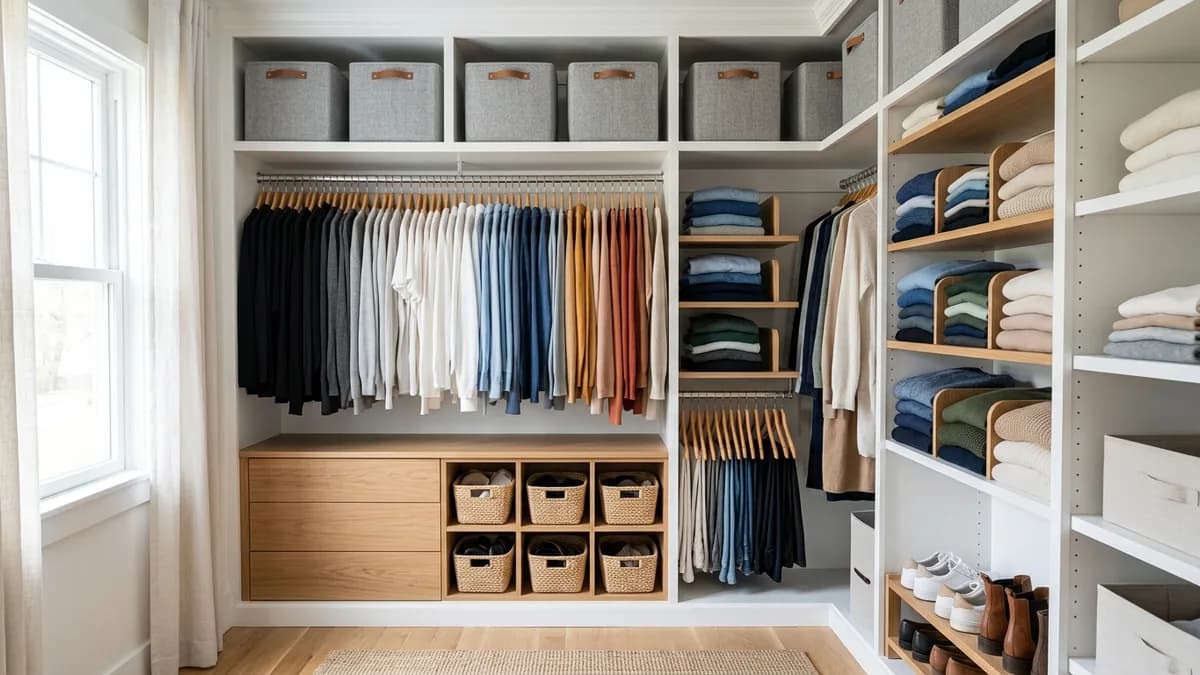
How to Organize Your Bedroom Closet Step by Step: Complete Tutorial for a Tidy, Functional Wardrobe in 2026

How to Create a Sunday Reset Routine: Step-by-Step Tutorial for a Calm, Organized Week in 2026
Stainless Steel Food Storage Containers: The Complete 2026 Tutorial Guide to Durable, Healthy Kitchen Organization
Explore more articles
- 30+ Best Small Kitchen Organization Ideas to Maximize Every Inch in 2026
- Capsule Wardrobe Women: The Ultimate 2026 Guide to a Stylish, Organized Closet
- How to Declutter Your Home Before Moving: The Complete 2026 Guide
- 25+ Best Indoor Plant Shelf Ideas to Greenify Your Home in 2026
- 30+ Best Small Bathroom Storage Ideas to Maximize Every Inch in 2026
- How to Pack a Suitcase Efficiently: The Complete 2026 Step-by-Step Tutorial
- 25+ Best Stationery Organizer Ideas to Transform Your Desk in 2026
- Where to Buy Kitchen Racks: Best Places to Shop in 2026