
DIY Shelves: How to Build Beautiful, Functional Shelves on Any Budget in 2026
Learn how to build DIY shelves for every room in your home. Step-by-step tips, material guides, and budget-friendly ideas for 2026.

If you've been scrolling through home inspiration feeds lately, you already know that DIY shelves are having a major moment in 2026. And honestly, it makes complete sense. Building your own shelves gives you total control over size, style, and storage capacity, and you can pull it off at a fraction of the cost of custom cabinetry. Whether you're looking to add storage in a small bathroom, create a statement wall in your living room, or finally get your pantry organized, this tutorial walks you through everything you need to know, from choosing materials to mounting your shelves safely and styling them beautifully.
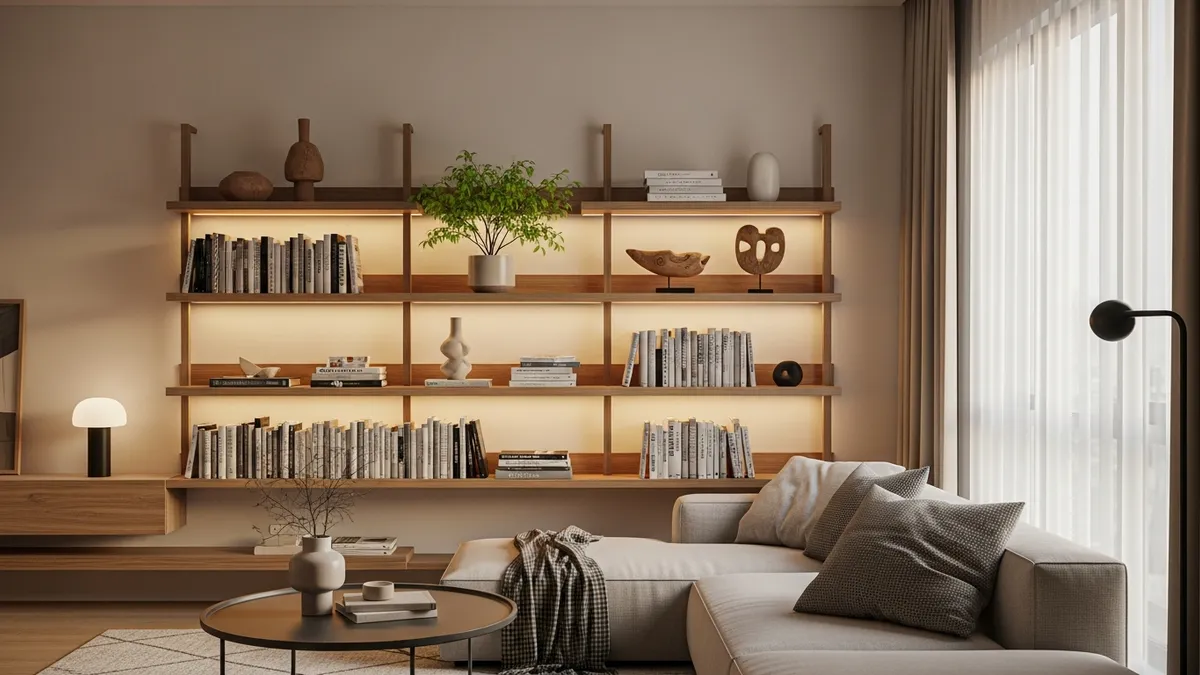
Why DIY Shelves Are the Smartest Home Upgrade You Can Make in 2026
There's a reason why DIY shelves consistently rank among the most popular home improvement projects for American homeowners. The value you get from a weekend build is genuinely hard to beat. You're not just saving money, you're creating something that fits your exact wall dimensions, matches your decor, and holds exactly what you need it to hold.
This Old House's floating-shelf tutorial demonstrates how floating shelves use vertical wall space and why securing the cleat to wall studs matters. That's a game-changer if you live in an apartment or a smaller home where every square foot matters.
Here are just a few reasons why building your own shelves is worth it in 2026:
- Full customization - you control the depth, width, finish, and bracket style
- Major cost savings compared to buying pre-built furniture or custom cabinetry
- Fits any room from the kitchen and bathroom to the garage and home office
- Adds real estate value because built-in storage is always a selling point
- A genuinely satisfying weekend project that you'll enjoy for years
If you're also looking for ways to organize what goes on those shelves, check out our guide to home storage solutions for product ideas that pair perfectly with your new build.
Tools and Materials You Need Before You Start Building DIY Shelves
Before you cut a single board or drive a single screw, getting your tools and materials lined up is the most important step. Walking into this project prepared saves you frustration, extra trips to the hardware store, and potentially expensive mistakes.
Essential Tools
You don't need a full woodworking shop to build excellent shelves. Here's what you actually need:
- Power drill and drill bits - for pilot holes and driving screws
- Stud finder - absolutely critical for safe wall mounting
- Level - a 4-foot level gives you the most accurate results
- Tape measure - measure twice, cut once
- Pencil - for marking stud locations and bracket positions
- Sandpaper (120 grit and 220 grit) - for smoothing boards before finishing
- Circular saw or miter saw - for cutting boards to length (many hardware stores will cut for you if you don't own one)
- Stud screws - 2.5-inch to 3-inch wood screws for mounting into studs
Best Wood Choices for DIY Shelves
The wood you choose affects the look, weight capacity, and cost of your shelves significantly. Here are the most popular options for American homeowners:
- Pine boards - the most affordable option, widely available at any home improvement store, easy to paint or stain, great for beginners
- Poplar - slightly more expensive than pine but takes paint beautifully and resists warping better
- Oak - a premium choice with gorgeous wood grain, heavier and more durable, ideal for a natural stained look
- Plywood - excellent for deep shelves and garage storage, very strong and relatively affordable
- MDF (Medium Density Fiberboard) - the smoothest surface for a painted finish, but not ideal for humid rooms like bathrooms
A standard 1x8 pine board (which is actually about 0.75 inches thick by 7.25 inches wide) works perfectly for most floating shelves in a living room, bedroom, or home office. For a kitchen pantry shelf that needs to hold heavier canned goods, step up to a 1x10 or 1x12 board.
5 Popular Types of DIY Shelves and When to Use Each One
Not all DIY shelves are built the same, and the right style for your space depends on your wall type, your decor aesthetic, and how much weight you plan to put on them. Here's a breakdown of the five most popular DIY shelf styles in 2026.
1. Floating Shelves
Floating shelves are the most popular DIY shelf style by a wide margin, and for good reason. They mount flush to the wall using hidden brackets, giving them a clean, minimal look that works in virtually any room. The key to floating shelves is finding and mounting into wall studs. A typical floating shelf can safely hold between 20 and 50 pounds depending on the bracket system and stud placement.
Best for: living rooms, bedrooms, bathrooms, home offices
2. Pipe and Wood Industrial Shelves
This style uses black steel plumbing pipe as the bracket system, paired with rustic wood boards. The look is bold, industrial, and incredibly popular in home offices and kitchens. Pipe shelving kits are available at most hardware stores, and the installation process is very DIY-friendly.
Best for: home offices, kitchens, garages, basements
3. Rope Shelves
Rope shelves hang from ceiling hooks or a wall-mounted dowel using thick cotton or jute rope. They have a boho, casual look and are ideal for lightweight display items. They're one of the easiest DIY shelf builds you can do since there's no wall drilling required beyond a couple of ceiling hooks.
Best for: bedrooms, kids' rooms, small apartments
4. Built-In Bookcase Shelves
This is the most ambitious DIY shelf project, but also the most impressive result. A built-in bookcase uses plywood or MDF to create a floor-to-ceiling shelving unit that looks like it was always part of the house. Many homeowners build these into living room alcoves or bedroom nooks. For a practical floating-shelf example, Shelfology's floating-shelf guide explains how cleats, wall studs, and mounting plans contribute to sturdy storage with a professional finish.
Best for: living rooms, home offices, bedroom walls
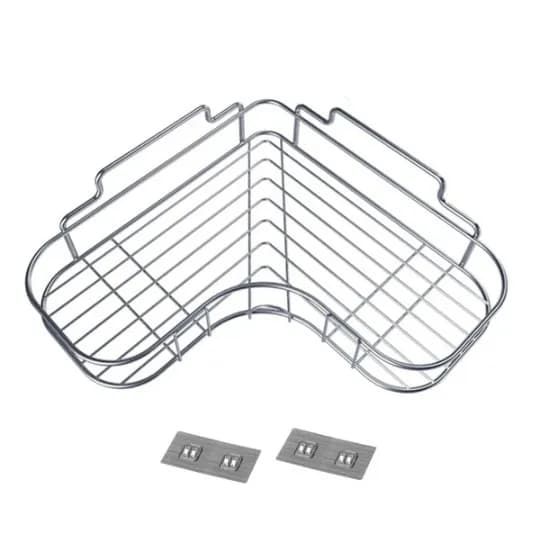
5. Corner Shelves
Corner shelves are a clever way to take advantage of dead wall space that usually goes completely unused. They can be floating corner shelves using special L-shaped brackets, or they can be freestanding corner units. Either way, they add meaningful storage without taking up floor space.
Best for: bathrooms, bedrooms, small entryways
Step-by-Step Tutorial: How to Build and Install Floating DIY Shelves
Floating shelves are the perfect starting point for beginner DIYers. This tutorial covers a single floating shelf from start to finish. Once you nail this process, you can scale it up to an entire wall of shelves.
Step 1: Decide on Your Dimensions
Start by deciding exactly how long and how deep you want your shelf to be. Most floating shelves range from 24 inches to 48 inches in length and 6 inches to 12 inches in depth. Mark your desired position on the wall lightly with a pencil.
Step 2: Find Your Wall Studs
This step is non-negotiable. Run your stud finder slowly across the wall and mark every stud location with a small pencil mark. Standard stud spacing in American homes is 16 inches on center. For a 36-inch shelf, you should be able to hit at least two studs.
Always mount your shelf brackets directly into wall studs. Drywall anchors alone are not reliable for shelves that will hold meaningful weight.
Step 3: Cut and Sand Your Board
Cut your board to the desired length. Sand with 120-grit sandpaper first to remove any rough spots, then finish with 220-grit for a smooth surface ready for paint or stain.
Step 4: Apply Your Finish
This is where the personality comes in. Options include:
- White or gray paint for a clean, modern look
- Natural wood stain (light walnut or dark walnut are the most popular in 2026) for a warm, organic feel
- Whitewash for a coastal or farmhouse aesthetic
- Clear polyurethane if you want to show off the natural wood grain
Let your finish dry completely, typically 24 hours for paint and 48 hours for stain with a polyurethane topcoat.
Step 5: Mount the Brackets
Hold your first bracket against the wall at your marked location, centered on a stud. Use a level to make sure it's perfectly straight, then drill pilot holes and drive your screws in. Repeat for the second bracket. Use your long level across both brackets to confirm they're perfectly aligned before moving on.
Step 6: Set the Shelf
Lay your finished board across the brackets. Most floating shelf brackets have a small lip or screw holes on top that let you secure the board from underneath. Drive screws up through the bracket into the board to lock it firmly in place.
Step 7: Load and Style
You're done. Now comes the fun part.
How to Style Your DIY Shelves Like a Pro
Building the shelf is only half the equation. How you style and organize what goes on it determines whether it looks purposeful and polished or cluttered and chaotic. Here are the styling principles that professional interior designers follow.
The Rule of Three
Group items in odd numbers, especially threes. A small plant, a stack of books, and a decorative bowl arranged together look intentional and balanced. Even numbers tend to feel rigid and formal.
Vary Heights and Textures
Mix tall and short items. Combine smooth ceramic with rough woven baskets, or reflective glass with matte wood. The contrast is what makes a shelf visually interesting.
Use Matching Storage Containers
One of the fastest ways to make your DIY shelves look organized and cohesive is to use matching containers for functional items. In the kitchen, a set of uniform airtight food storage containers looks incredibly clean on open shelving and keeps your pantry staples fresh. In the bathroom, matching baskets or bins create instant calm.
Browse our best sellers for organization products that look beautiful on open shelves.
Leave Breathing Room
Resist the urge to fill every inch of your shelves. Empty space is a design element. Leaving 20 to 30 percent of each shelf open makes the whole display feel curated rather than stuffed.
Anchor with Books
Horizontal stacks of books are one of the most versatile shelf styling tools. They act as risers for smaller objects, add color and texture, and fill space without looking cluttered.
For more inspiration on what to put on your shelves, take a look at our decorative wall shelf ideas article.
DIY Shelves for Specific Rooms: Ideas and Considerations
The best DIY shelf design varies significantly by room. Here are targeted ideas for the rooms where shelves make the biggest impact.
Kitchen Open Shelves
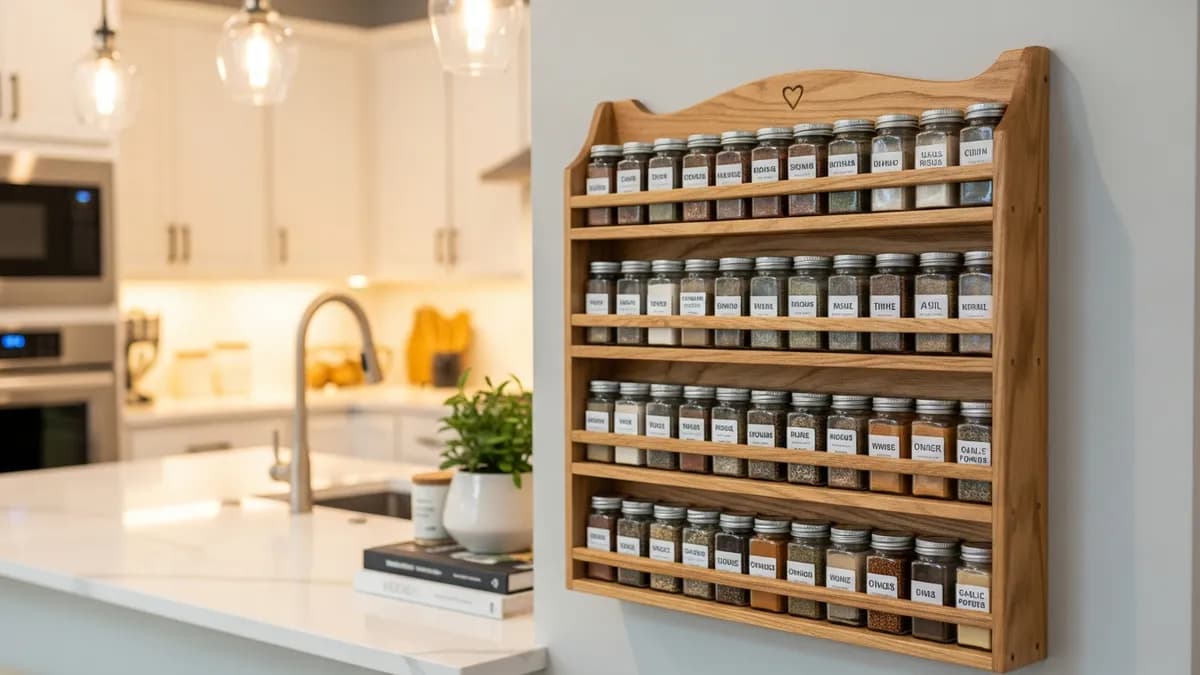
Open kitchen shelves are one of the most dramatic home updates you can make. Replacing upper cabinet doors with open floating shelves creates an airier, more spacious feel. Style them with uniform canisters, spice storage containers, cookbooks, and a few small plants. Use moisture-resistant finish on kitchen shelves since steam and humidity are constant factors.
Bathroom Shelves
Bathroom DIY shelves need to be mounted especially carefully since tile walls require special anchors and drill bits. A small floating shelf above the toilet or beside the vanity adds storage without crowding the room. Keep items on bathroom shelves minimal and stylish, think rolled towels, a small succulent, and a few matching organizer bottles.
Home Office Shelves
Floor-to-ceiling DIY shelves in a home office are one of the highest-impact projects you can take on. They provide serious storage for books, binders, and office supplies while making the room look professional and polished. Industrial pipe shelves work particularly well in home office settings. Pair them with our office organization supplies for a workspace that's as functional as it looks.
Garage Shelves
Garage DIY shelves are typically built from 2x4 lumber and plywood for maximum strength. Unlike decorative indoor shelves, garage shelves prioritize load capacity over aesthetics. A well-built garage shelf system can safely hold hundreds of pounds of tools, bins, and seasonal gear. Always anchor garage shelves to the wall studs and consider adding a lip along the front edge to prevent items from sliding off.
Common Mistakes to Avoid When Building DIY Shelves
Even experienced DIYers run into problems. Here are the most common mistakes and exactly how to avoid them.
- Skipping the stud finder - mounting only into drywall is a safety hazard. Always find and hit studs for any shelf that will hold real weight.
- Not using a level - even a small error in level creates a shelf that looks visibly crooked once it's loaded with items.
- Underestimating weight - always plan for your shelf to hold more than you currently intend to put on it. A shelf loaded with books or canned goods is significantly heavier than it looks.
- Choosing the wrong wood for humid rooms - MDF swells and warps in bathrooms and kitchens. Use solid wood or moisture-resistant plywood in those spaces.
- Rushing the finish - painting or staining over wood that hasn't been properly sanded leaves a rough, uneven result. Take the time to sand thoroughly.
- Spacing brackets too far apart - for a board 1 inch thick, bracket spacing should generally be no more than 24 to 32 inches apart to prevent sagging over time.
For a broader look at organization approaches you can DIY at home, our closet organization ideas DIY article has dozens of budget-friendly approaches that complement your new shelves perfectly.
Related Products from Sesoris
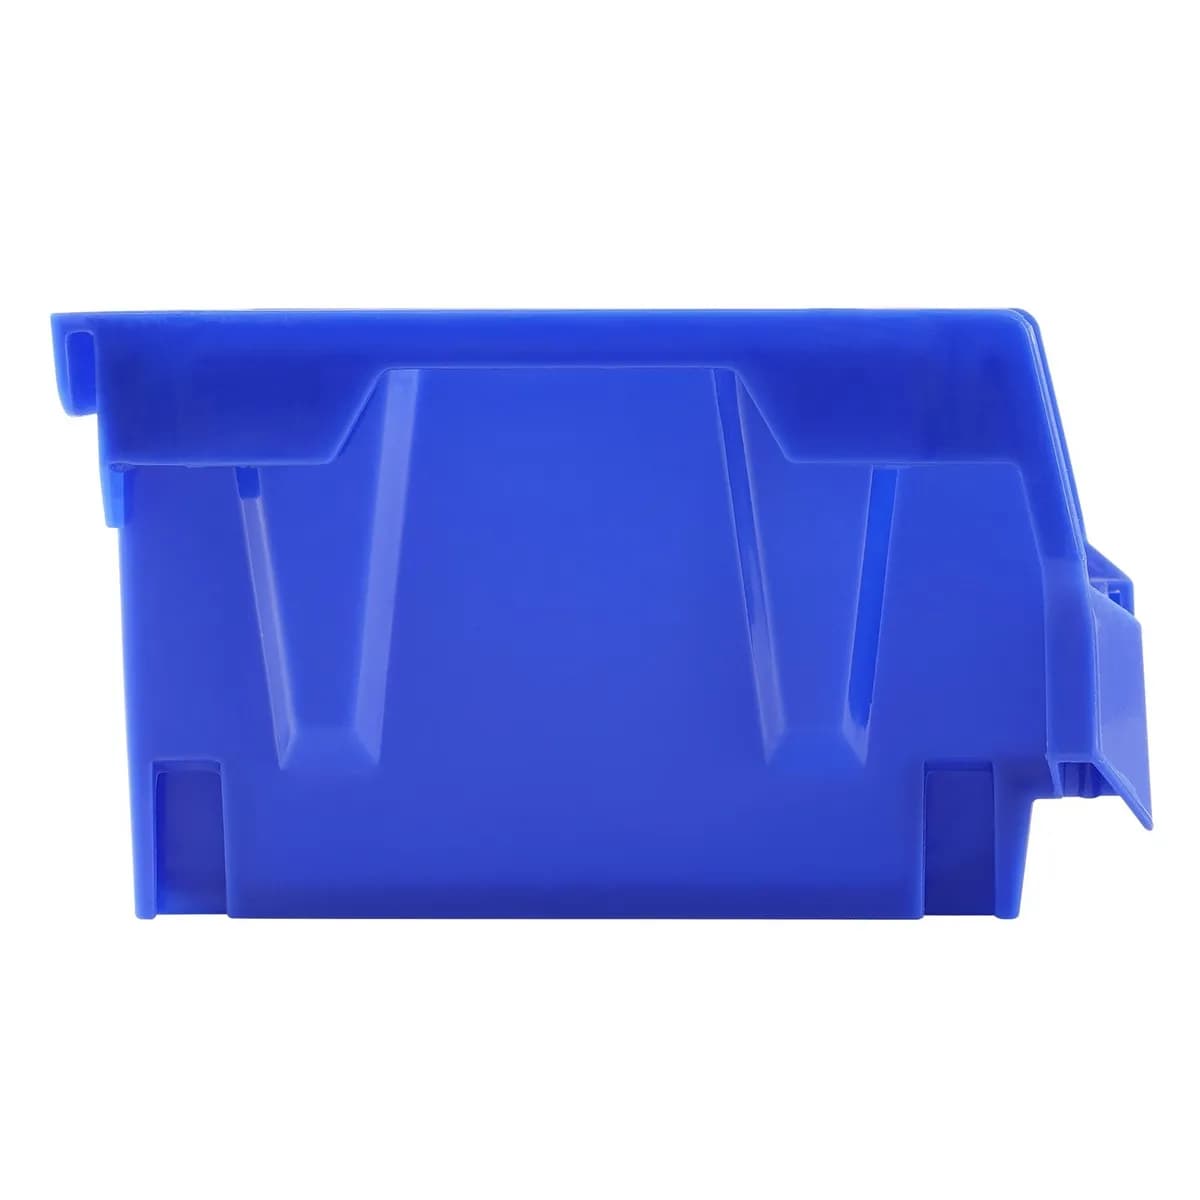
If you want to turn this guide into a real setup, start with Stackable Storage Bins, 24 Pack and Pull-Out Cabinet Organizer, 17 in. Wide. For broader options, browse the Home & Decor collection so the article journey does not stop at reading only.
Our practical rule: choose one product that solves the main clutter problem first, then add supporting organizers only when the daily workflow is already clear. This keeps the shopping path useful, not pushy.
FAQ: Frequently Asked Questions About DIY Shelves
Q: How much weight can a floating DIY shelf hold?
It depends almost entirely on how many studs you mount into and what bracket system you use. A shelf mounted into two studs with heavy-duty floating shelf brackets can typically hold 50 to 100 pounds. Always check the weight rating listed on your specific brackets before loading your shelf.
Q: Do I need any special skills to build DIY shelves?
Not at all. Floating shelves are genuinely beginner-friendly. If you can use a drill and a level, you can build a beautiful floating shelf. The key is taking your time, measuring carefully, and not rushing the installation.
Q: What's the most affordable wood for DIY shelves?
Pine is consistently the most affordable option at most US home improvement stores. A standard 1x8x8-foot pine board typically runs a few dollars per linear foot, making a complete floating shelf build very budget-friendly.
Q: Can I mount DIY shelves on tile or brick walls?
Yes, but you'll need special drill bits and anchors. For tile, use a masonry or tile drill bit and specialized tile anchors. For brick, use a hammer drill and masonry anchors rated for your expected load. If you're renting, check with your landlord before drilling into tile.
Q: How do I find studs without a stud finder?
You can knock along the wall and listen for a solid, non-hollow sound, which indicates a stud. You can also look for the nails along the baseboard, which are usually driven into studs. That said, a basic stud finder costs very little and takes all the guesswork out of this critical step.
Q: How deep should DIY shelves be?
For books and decor, 6 to 8 inches deep is standard. For a pantry or kitchen shelf holding larger containers, 10 to 12 inches deep is more practical. For garage storage, 16 inches deep is common. Always measure the largest items you plan to store before committing to a depth.
Conclusion: Start Building Your DIY Shelves This Weekend
DIY shelves are one of the most rewarding home projects you can take on in 2026. They add storage, personality, and real value to your home, and they're far more accessible than most people assume. Whether you start with a single floating shelf in your bathroom or go big with a full wall of built-ins in your living room, the skills you build along the way are ones you'll use for every home project that follows.
Once your shelves are up, the next step is filling them with smart, beautiful organization. From matching storage containers to stylish bins and baskets, Sesoris has everything you need to make your new shelves look as good as they function. Explore our full shop or browse our new arrivals to find the perfect finishing touches for your freshly built shelves. Live more organized, starting this weekend.
Liked this guide?
Get new organizing guides and the occasional new product by email. No spam, unsubscribe anytime.
Related articles
Explore more articles
- Guide to Choosing the Best Outdoor Backpack for Hiking and Camping (2026)
- Very Small Closet Organization Ideas: Transform Your Tiny Storage Space in 2026
- Pyrex Glass Food Storage Containers: The Complete Guide to Premium Kitchen Storage in 2026
- Minimalist House Paint Colors: 25+ Best Ideas for Modern Homes 2026
- How to Set Up a Home Office Desk Step by Step: Complete Tutorial for a Productive Workspace in 2026
- How to Organize Kitchen Cabinets Step by Step: Complete Tutorial for a Functional, Clutter-Free Kitchen in 2026
- Best Under-Bed Storage Containers: Complete 2026 Review & Buying Guide for a Clutter-Free Bedroom
- Sunday Reset Routine: The Lifestyle Habit That Transforms Your Entire Week in 2026