
25+ Creative DIY Cardboard Box Storage Ideas to Organize Your Home in 2026
Discover 25+ genius DIY cardboard box storage ideas to organize every room in your home. Budget-friendly, eco-smart, and surprisingly stylish!
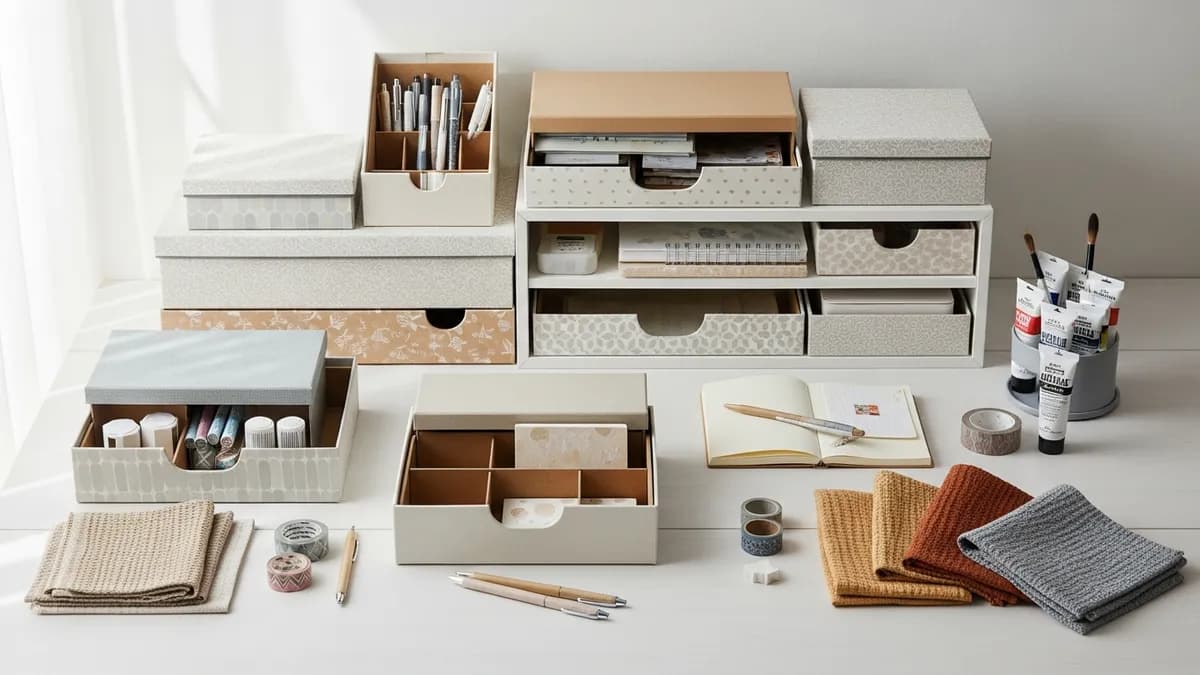
If you have a growing pile of empty shipping boxes sitting in your garage or closet, you are sitting on a goldmine of free storage material. DIY cardboard box storage ideas are one of the most budget-friendly, eco-conscious, and surprisingly stylish ways to tackle clutter in every room of your home. In 2026, upcycling cardboard into functional organizers has become a go-to strategy for homeowners who want real organization results without breaking the bank. Whether you are tackling a messy desk, an overflowing pantry, a chaotic kids' room, or a cluttered entryway, there is a cardboard box project in this guide that will work for your space. Let's dig in.
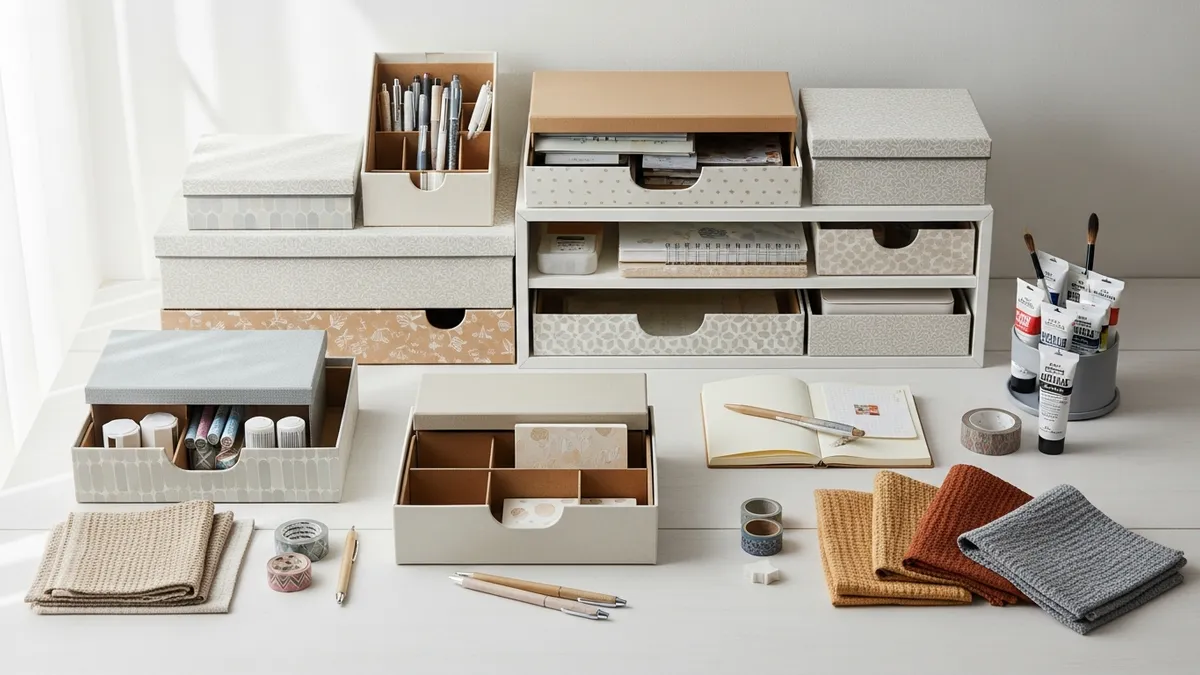
Why DIY Cardboard Box Storage Ideas Are Worth Your Time in 2026
Before jumping into the projects, it helps to understand why so many organizers and home enthusiasts are embracing cardboard as a serious storage material. Cardboard is sturdy, lightweight, easy to cut and shape, and completely free when you reuse shipping boxes. According to The Spruce, repurposing materials you already own is one of the most effective ways to organize your home on a tight budget.
Here are a few more reasons to love cardboard as a storage solution:
- It is free. Online shopping means most American households have an abundant supply of shipping boxes at no cost.
- It is customizable. You can cut, fold, paint, wrap, and label cardboard to fit any drawer, shelf, or cabinet perfectly.
- It is eco-friendly. Reusing cardboard keeps it out of the recycling bin a little longer, reducing your household waste footprint.
- It is beginner-friendly. You do not need power tools, advanced craft skills, or a big budget to complete these projects.
- It is surprisingly durable. A double-walled shipping box reinforced with tape or covered in contact paper can hold up well for months or even years.
If you are new to DIY home organization, cardboard projects are the perfect starting point. And if you want to pair your cardboard creations with professional-grade storage products, be sure to browse the Sesoris Best Sellers for affordable options that complement your DIY systems.
Essential Supplies for Your DIY Cardboard Box Storage Projects
You do not need much to get started. Gather these supplies before you begin any of the projects below:
- Sturdy cardboard boxes in various sizes (shipping boxes, cereal boxes, shoebox lids)
- Box cutter or sharp craft knife for clean cuts
- Hot glue gun and glue sticks
- Washi tape, decorative tape, or patterned duct tape
- Contact paper (adhesive shelf liner in solid colors or patterns)
- Fabric scraps or wrapping paper
- Mod Podge or craft glue for decoupage projects
- Acrylic paint and a foam brush
- Printed or hand-lettered labels
- Ruler and pencil for measuring and marking cuts
- Twine or ribbon for decorative handles
Most of these supplies cost just a few dollars at any craft store or dollar store, making the total investment for most projects under US$5 to US$10. That is a fraction of what you would spend on store-bought organizers.
25+ Best DIY Cardboard Box Storage Ideas for Every Room
1. Fabric-Covered Shelf Bins
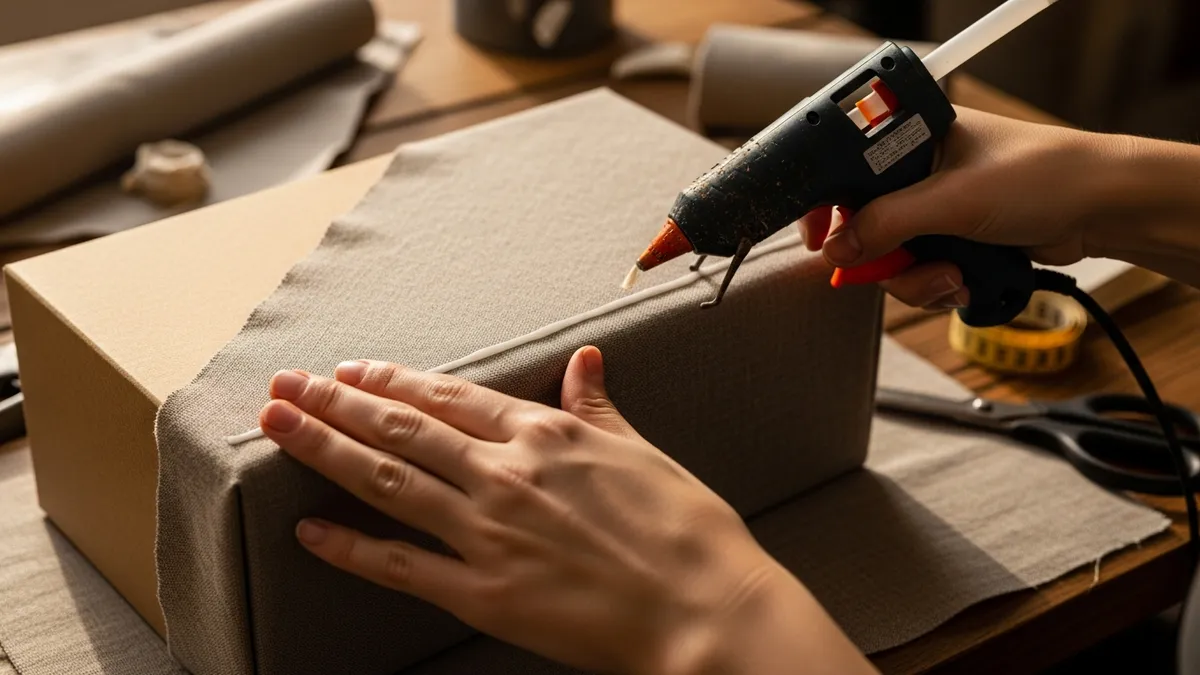
Take a large shipping box, cut it down to your desired height, and wrap the outside in a piece of neutral linen or cotton fabric secured with a hot glue gun. These make beautiful, cohesive shelf bins for a living room, bedroom, or home office. Use them to store blankets, craft supplies, or extra linens. The fabric finish gives them a polished, store-bought look for almost nothing.
2. Drawer Dividers from Cereal Boxes
Cut cereal boxes into strips and arrange them inside a drawer to create custom compartments for utensils, office supplies, or bathroom products. Measure the depth and width of your drawer first, then cut the strips to fit snugly. Cover them in kraft paper or contact paper for a clean finish. This is one of the most popular DIY cardboard box storage ideas for kitchen and bathroom drawers.
3. Desk Organizer Tray
Collect several small boxes of different heights, like tea boxes, cracker boxes, and small shipping boxes. Arrange them together inside a larger flat box or shoebox lid, glue them in place, then cover the entire tray with contact paper in a color that matches your workspace. The result is a fully customized desk organizer that holds pens, scissors, sticky notes, paper clips, and phone accessories.
4. Pantry Bin Dividers
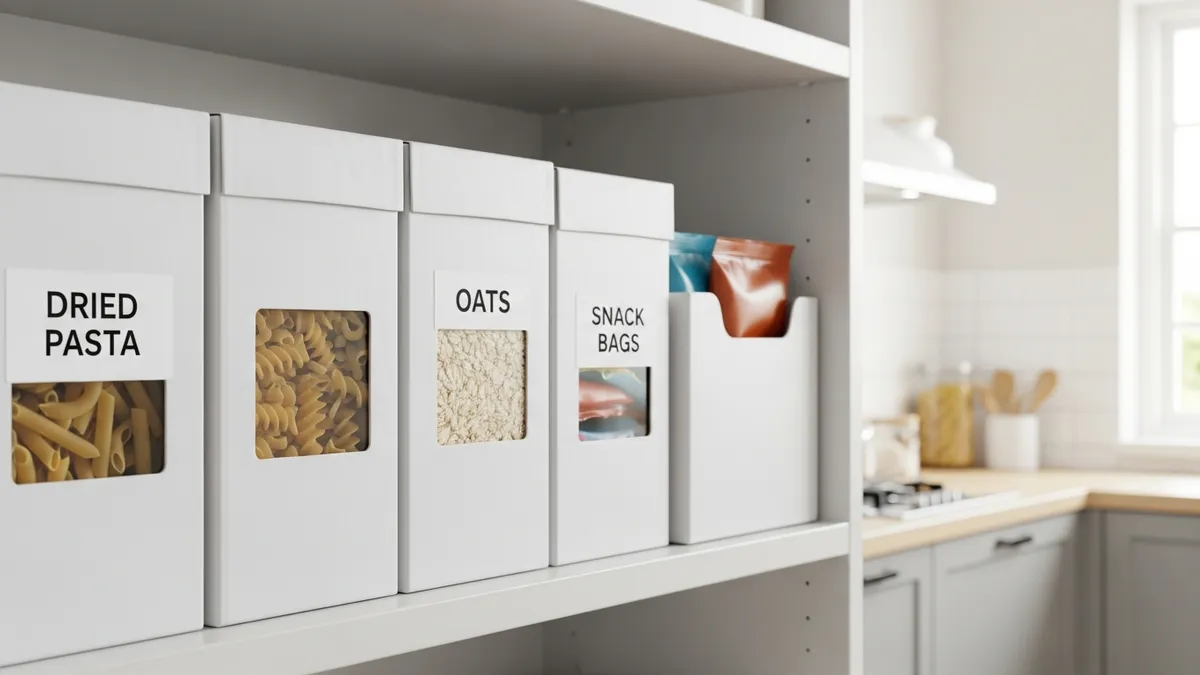
Cut large cereal or pasta boxes in half lengthwise and use them to stand up flat items in your pantry like chip bags, sauce packets, or tortilla packages. Cover them in white contact paper and add a printed label to the front. These keep floppy items from falling over and make everything easy to see at a glance.
5. Under-Sink Cabinet Organizer
Cut several medium-sized boxes to a uniform height and arrange them under your bathroom or kitchen sink to create tidy compartments for cleaning supplies, extra toiletries, or sponges. Adding a layer of contact paper to each box makes them moisture-resistant enough for the under-sink environment. Pair these with a few home organization products from Sesoris to complete the look.
6. Kids' Toy Storage Boxes
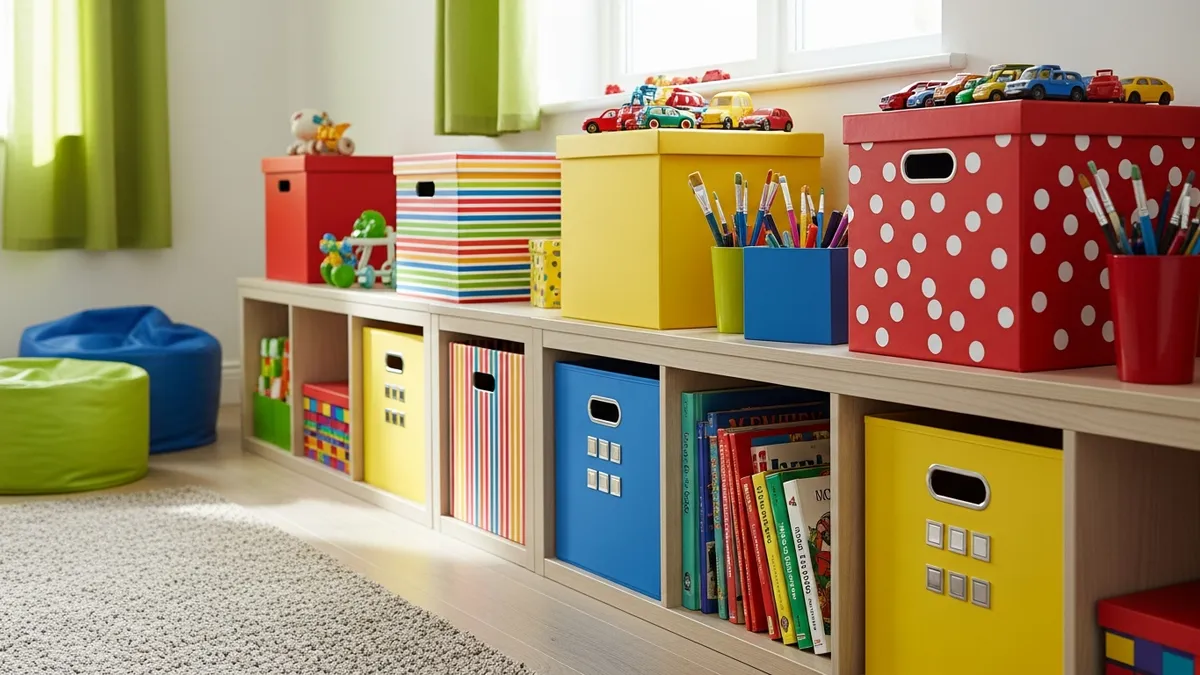
Paint large shipping boxes in bright primary colors using acrylic paint, let them dry completely, then add a coat of Mod Podge to seal and add durability. These make excellent toy bins for a kids' bedroom or playroom. Label each box with a picture label so younger children can sort their own toys independently. Stack them on low shelves for easy access.
7. Cable and Cord Organizer
Take a shoebox, cut small notches along each end, and use it to route and store cables, power strips, and charging bricks on or under your desk. Cover the box in kraft paper or paint it to match your setup. This keeps cords tangle-free and out of sight. For more inspiration, check out our guide on cable management ideas for your desk and home.
8. Magazine and Book File Boxes
Cut the top corner off a cereal box at a diagonal angle to create a classic magazine file shape. Cover it in kraft paper or fabric, add a label, and use it to store magazines, notebooks, mail, or folders upright on a bookshelf. Making several of these in a matching style creates a cohesive, intentional look on any shelf.
9. Closet Shelf Bins
Large shipping boxes cut to about 8 inches tall and covered in a neutral fabric or contact paper become excellent closet shelf bins for folded sweaters, jeans, or accessories. Line a row of them up on a closet shelf and label the front of each one. This is far less expensive than buying fabric bins from a store and just as effective.
10. Refrigerator Drawer Organizer
Small, flat boxes like those that hold individually wrapped snacks work wonderfully as refrigerator compartment organizers. Cover them in a waterproof adhesive contact paper and use them to corral condiment packets, cheese sticks, deli meat packages, or small snack containers. They are easy to wipe down and keep your fridge tidy. For more tips, see our fridge organization ideas.
11. Entryway Key and Mail Sorter
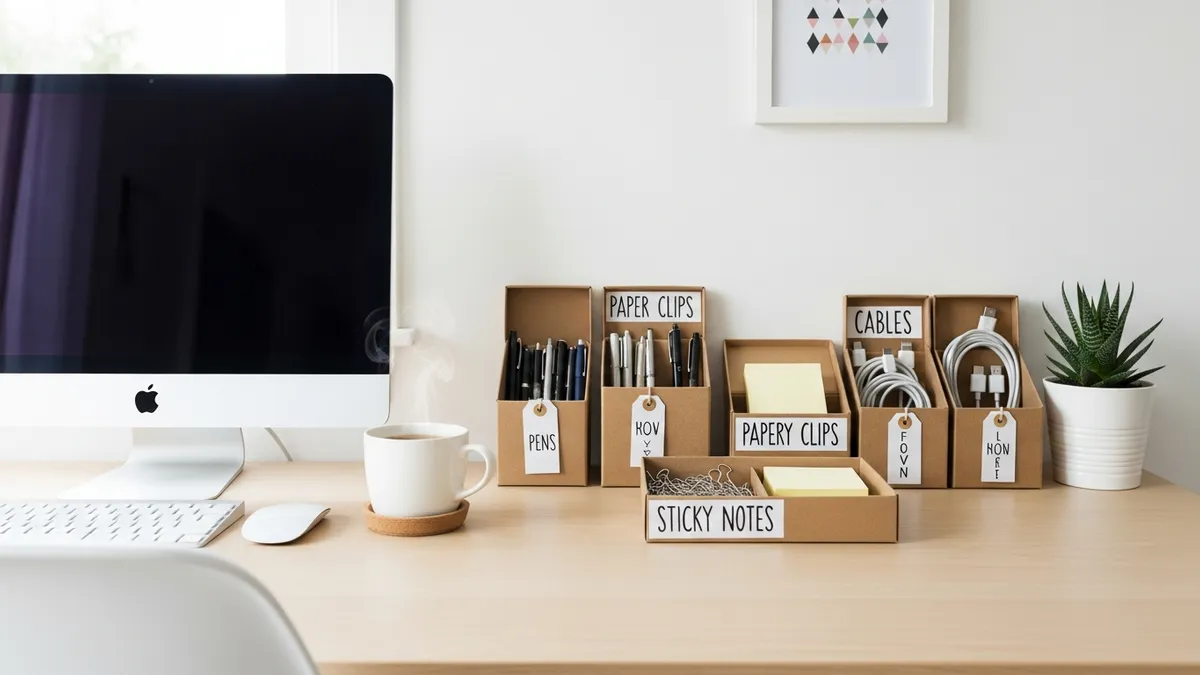
Glue three or four small open-top boxes side by side inside a long narrow box to create a wall-mounted mail sorter and key drop. Cover the whole unit in a coordinating contact paper, add a decorative label to each slot, and mount it on the wall near your front door with adhesive strips or small nails. Label slots for incoming mail, outgoing mail, coupons, and keys.
12. Bathroom Counter Organizer
Cut a medium box to about 3 inches tall and use it as a corralling tray on your bathroom counter for daily use items like your toothbrush cup, hand lotion, and soap dispenser. Covered in a pretty patterned contact paper, it looks intentional and keeps your counter from looking scattered.
13. Pantry Can Riser
Stack two cardboard box lids of slightly different sizes on top of each other to create a tiered can riser for your pantry shelves. This staggered approach lets you see cans at the back of the shelf without having to move the ones in front. It is one of the most practical DIY cardboard box storage ideas for deep pantry shelves.
14. Kids' Art Supply Station
Use a large flat box as a base tray and fill it with smaller boxes of varying heights to hold crayons, markers, scissors, glue sticks, and colored pencils. The tray makes it easy to carry the entire art station from the craft table to the kitchen and back. Paint or decorate the boxes with your child to make it a fun afternoon activity.
15. Garage Small Parts Organizer
If you have a workbench in your garage, small shipping boxes and cardboard dividers make excellent holders for screws, nails, drill bits, zip ties, and other small hardware. Label the front of each box clearly with a marker or printed label. This is a great way to use up oddly shaped boxes that are not ideal for other storage projects.
16. Wrapping Paper and Gift Bag Station
Stand a tall, narrow box on its end and cut the top open to create a vertical holder for rolls of wrapping paper. Use smaller boxes alongside it to hold ribbon, tape, gift tags, and gift bags. Cover everything in a matching paper or fabric and keep the entire station in a closet for a tidy gift wrapping setup year-round.
17. Laundry Room Sorting Bins
Large cardboard boxes are perfect temporary or long-term laundry sorting bins. Label each one for lights, darks, delicates, and towels. Line the inside with a trash bag or fabric liner to add durability. For a more polished look, cover the outside in a simple kraft paper and add a handwritten label. See more ideas in our guide on laundry room organization tips.
18. Bedroom Nightstand Organizer
Cut a medium-sized box to about 4 inches tall and use it inside your nightstand drawer to corral items like lip balm, a phone charger, hand cream, ear plugs, and a small notepad. This keeps everything you need within arm's reach at night without letting the drawer descend into chaos.
19. Office Supply Station
Use a mix of small and medium boxes glued together in a grid pattern to create a desktop supply station with compartments for sticky notes, index cards, envelopes, stamps, and small scissors. Cover the entire unit in a single cohesive contact paper color for a polished, professional look that complements any desk setup.
20. Boot and Shoe Tray for the Entryway
Cut down a large, flat shipping box to about 2 inches tall and line it with a waterproof plastic bag or adhesive shelf liner to create a muddy boot tray for your entryway. This catches dirt and moisture before it spreads to your floors. Place it right inside the front door for an immediate impact on entryway cleanliness.
21. Charging Station Box
Cut a medium box to about 5 inches tall and cut a small hole in the back corner for a power strip cord to pass through. Place the power strip inside the box, plug in your devices, and use the box lid as a cover to hide the tangled cables. Cover the outside in a fabric or contact paper to make it look like a decorative box on your nightstand or counter.
22. Spice Packet Organizer
Cut a shoebox lid to fit inside a kitchen drawer and use smaller cut cardboard dividers to create slots for individual spice packets, seasoning envelopes, and sauce mixes. This keeps your spice drawer from becoming a jumbled mess and makes it easy to find exactly what you need when cooking. For full spice organization inspiration, visit our kitchen spice rack ideas guide.
23. Floating Shelf Display Risers
Place small sturdy boxes covered in contact paper on top of floating shelves to create risers that add height variation to your display. Use them to prop up books, plants, picture frames, or decorative objects at different levels for a more dynamic and visually interesting shelf arrangement.
24. Sewing and Craft Supply Organizer
Use a series of small boxes in different sizes to create a modular sewing box. Use one for spools of thread, one for buttons, one for needles and pins, and one for elastic and zippers. Arrange them inside a larger box with a lid and you have a portable, organized craft supply kit that costs almost nothing.
25. Bathroom Towel Roll Holder
Cut a tall, narrow box down to about 10 inches and stand it upright on your bathroom counter or under-sink shelf to hold extra rolls of toilet paper or paper towels in a vertical stack. Cover it in a waterproof contact paper in a color that matches your bathroom decor. This is far more attractive than leaving loose rolls on a shelf.
26. Bookshelf Backdrop Panels
Cut large pieces of cardboard to fit the back panels of open bookshelves, cover them in a patterned wallpaper or contact paper, and tape or pin them into place. This instantly elevates the look of a plain IKEA or builder-grade bookshelf and provides a cohesive backdrop that makes your books and decor pop.
Tips to Make Your DIY Cardboard Box Storage Look More Professional
One of the biggest concerns people have with cardboard organizers is that they will look cheap or messy. Here are some tricks to make your projects look intentional and polished:
- Choose a cohesive color palette. Stick to two or three colors for all your contact paper and fabric choices in a given room. Consistency is what makes DIY look curated rather than cobbled together.
- Use uniform labeling. Whether you hand-letter your labels or print them from your computer, use the same font and style on every box in a space. Matching labels create a sense of visual order.
- Reinforce the edges. Use washi tape or decorative tape along the cut edges of your boxes to give them a finished, clean look while also adding a small amount of structural reinforcement.
- Add fabric or rope handles. Punching two holes on opposite sides of a box and threading a length of rope, ribbon, or twine through them creates a functional and stylish handle that makes the box easier to pull from a shelf.
- Seal painted surfaces. If you paint your boxes, always seal the paint with a layer of Mod Podge or clear acrylic spray to prevent chipping and add durability.
- Keep sizes consistent on shelves. When lining up multiple boxes on a shelf, cut them all to the same height for a neat, streamlined look.
According to Good Housekeeping, labeling every storage container is one of the single most effective habits for maintaining a long-term organized home. Cardboard box projects are even more satisfying when everything is labeled and easy to find.
For times when cardboard just will not cut it, such as for long-term storage, moisture-prone areas, or heavy items, supplement your DIY systems with durable products from Sesoris Collections for a home that is organized at every level.
How to Reinforce Cardboard Boxes for Longer-Lasting Storage
If you want your cardboard organizers to last well beyond a few months, a little reinforcement goes a long way. Here are the most effective techniques:
- Double up the walls. Glue two cardboard pieces together for any box that will hold heavy items like books, canned goods, or tools.
- Apply a layer of Mod Podge. Brushing two to three coats of Mod Podge over the entire outside of a box creates a shell that resists light moisture and significantly extends the life of the cardboard.
- Use packing tape on the inside. Lining the interior walls of a box with clear packing tape keeps moisture from softening the cardboard from the inside, which is especially helpful in kitchens and bathrooms.
- Avoid stacking too much weight on top. Even reinforced cardboard has limits. Use it for light-to-medium loads and reserve heavier storage for dedicated storage bins and containers from Sesoris.
- Keep boxes away from direct moisture. Never place cardboard organizers directly in areas that get wet, like inside a sink cabinet without a liner, directly on a bathroom floor, or in a garage that is prone to flooding.
"The best storage solution is the one you will actually use consistently. Cardboard organizers have a low barrier to entry, which makes it easier to start an organization habit today rather than waiting until you can afford expensive bins."
Related Products from Sesoris
If you want to turn this guide into a real setup, start with Stackable Storage Bins, 24 Pack and Pull-Out Cabinet Organizer, 17 in. Wide. For broader options, browse the Home & Decor collection so the article journey does not stop at reading only.
Our practical rule: choose one product that solves the main clutter problem first, then add supporting organizers only when the daily workflow is already clear. This keeps the shopping path useful, not pushy.
FAQ: Frequently Asked Questions About DIY Cardboard Box Storage Ideas
Q: How long do DIY cardboard box organizers actually last?
It depends on the environment and how they are reinforced. A plain, uncoated cardboard box used in a dry drawer or shelf can last six months to a year with regular use. A box sealed with Mod Podge, covered in contact paper, or lined with fabric can last several years before showing signs of wear. Avoiding moisture and heavy loads significantly extends the life of any cardboard organizer.
Q: Can I use cardboard boxes in the bathroom?
Yes, but with some precautions. Line the interior with packing tape or waterproof contact paper to protect against humidity and minor splashes. Keep the boxes away from direct water sources and replace them if you notice any softening or warping. For areas directly under a sink or near a shower, consider pairing your cardboard boxes with a waterproof liner tray.
Q: What types of boxes work best for DIY storage projects?
Sturdy double-walled shipping boxes are the gold standard for larger projects like shelf bins, toy boxes, and laundry sorters. Cereal boxes, cracker boxes, and tea boxes are ideal for drawer dividers, desk organizers, and pantry file holders. Shoeboxes and their lids are versatile for everything from bathroom trays to bedroom drawer organizers.
Q: Do I need special tools to cut cardboard?
A sharp box cutter or utility knife with a fresh blade and a metal ruler or straightedge is really all you need for clean, accurate cuts. Always cut on a self-healing cutting mat or a piece of scrap wood to protect your work surface. A pair of scissors works for lighter cardboard like cereal boxes.
Q: Are there any rooms where cardboard storage does NOT work well?
Cardboard is not ideal for outdoor storage, garages with humidity or pests, or any area with significant moisture exposure. It is also not the best choice for very heavy items like power tools or large collections of canned goods. In those cases, you are better served by durable plastic bins, metal shelving, or fabric storage cubes. Check out the Sesoris New Arrivals for sturdy storage options that handle what cardboard cannot.
Q: How do I make my cardboard storage look good enough for a guest to see?
The key is consistency and a clean finish. Cover all boxes in the same contact paper pattern or fabric, use matching labels, and keep the sizes uniform on each shelf. Adding a small detail like a fabric handle, a washi tape border, or a decorative label holder elevates the look dramatically. You can find endless visual inspiration on Pinterest for polished DIY cardboard storage setups.
Conclusion
There are few home organization strategies as accessible, affordable, and satisfying as DIY cardboard box storage ideas. In 2026, with the abundance of shipping boxes flowing into American homes from online orders, it makes more sense than ever to transform that free material into functional, beautiful storage solutions. From fabric-covered shelf bins and cereal box drawer dividers to pantry risers and desk organizer trays, every room in your home can benefit from at least one of the 25-plus ideas in this guide.
Start with one small project today, maybe a drawer divider or a desk organizer tray, and build your confidence before tackling larger spaces. The more you practice cutting, covering, and labeling, the better your results will look and the longer your organizers will last.
And remember: cardboard is a fantastic starting point, but a truly organized home often benefits from a mix of DIY creativity and quality storage products. When you are ready to level up, explore the full range of home organization solutions at Sesoris to find the perfect complement to your cardboard box creations. Live More Organized.
Liked this guide?
Get new organizing guides and the occasional new product by email. No spam, unsubscribe anytime.
Related articles

Explore more articles
- Best Storage Food Containers: Complete 2026 Review & Buying Guide for a Fresher, More Organized Kitchen
- Best Pet Food Storage Containers in 2026: Complete Buyer's Guide to Keeping Kibble Fresh
- 25+ Best Organization Ideas for a Small Closet to Maximize Every Inch in 2026
- Glasslock Food Storage Containers: Complete Guide to Premium Glass Storage Solutions in 2026
- 30+ Best Garage Cabinet Ideas to Transform Your Storage Space in 2026
- 30+ Best Laundry Room Shelving Ideas to Maximize Every Inch in 2026
- 25+ Best Laundry Closet Ideas to Transform Your Small Space in 2026
- DIY Closet: Complete 2026 Guide to Building Your Dream Storage Space on a Budget