
Stainless Steel Kitchen Rack: Choose, Install & Care 2026
A complete 2026 guide to the stainless steel kitchen rack: how to choose, install, and care for it so your kitchen stays tidy and lasts.
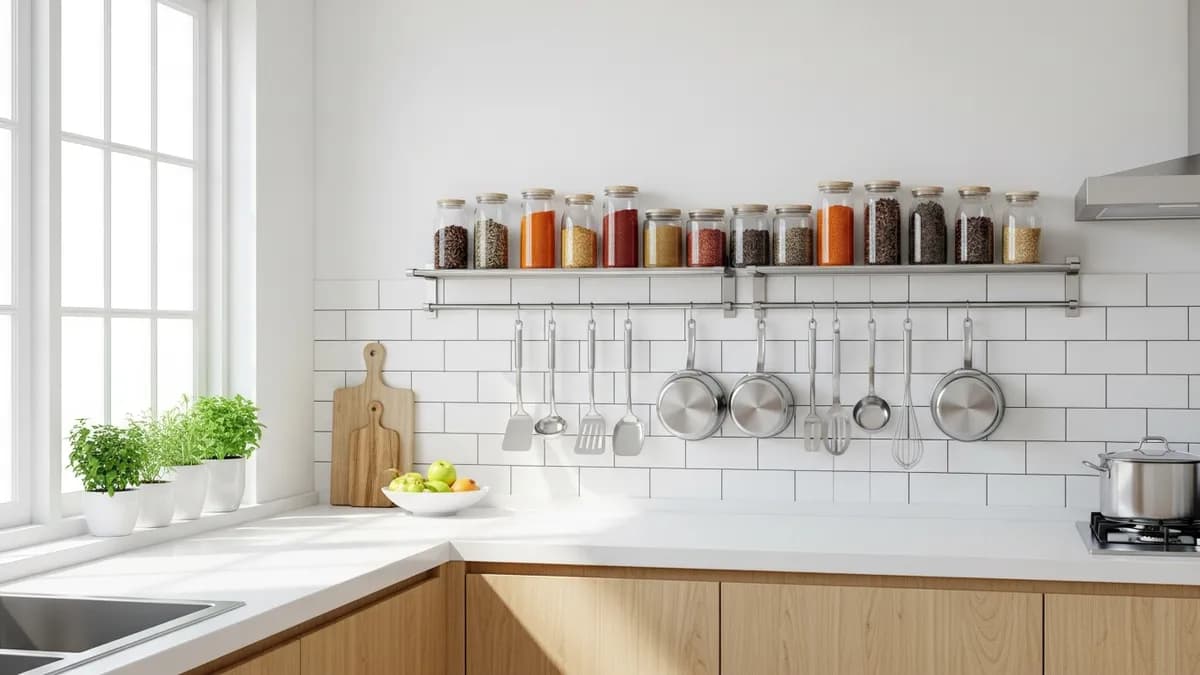
If your kitchen feels cramped and cluttered because cookware is scattered everywhere, it might be time to consider a stainless steel kitchen rack as your solution. A stainless steel kitchen rack is not just a place to store cookware. It is a long-term investment that makes your kitchen more organized, more hygienic, and better looking. In this article, I will walk you through everything, from choosing the right type to the steps for installing it, all the way to how to care for it so it stays shiny even after years of use.
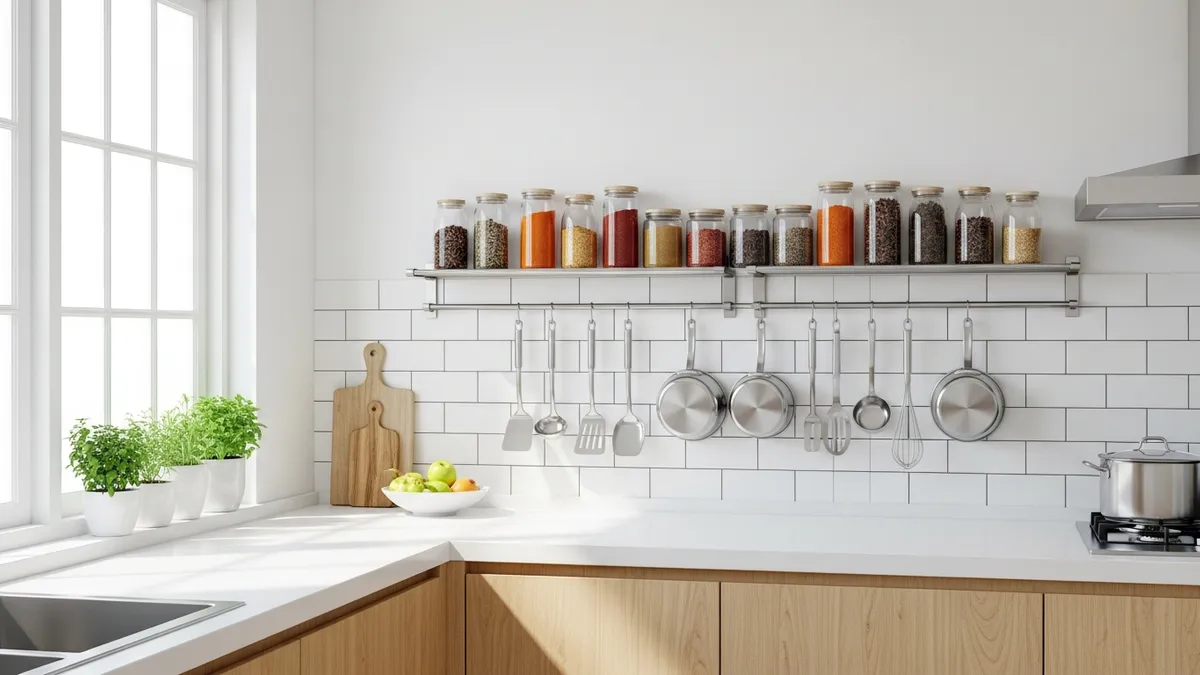
Why a Stainless Steel Kitchen Rack Is the Best Choice for Your Kitchen
Home kitchens come with their own challenges: limited space, steam and grease from heavy cooking, and high humidity in warmer climates. That combination makes the choice of rack material genuinely important.
Stainless steel is a metal alloy that contains at least 10.5% chromium, which forms a passive layer on the surface and makes it highly resistant to corrosion and rust. According to information from Wikipedia on stainless steel, this property makes it ideal for high-humidity environments and exposure to mild chemicals like soap and detergent.
Compared to other materials, here is why stainless steel stands out in a busy kitchen:
- Rust and corrosion resistant, which makes it a great fit for humid, high-moisture kitchens
- Easy to clean because the surface is non-porous and does not absorb stains
- Strong enough to hold heavy cookware like pots and skillets
- Does not react with food, so it is hygienically safe
- A modern look that suits a wide range of kitchen designs, from minimalist to industrial
- A long service life that makes it a smart investment over the long run
If you are looking for complete inspiration to set up your kitchen, also read our article on the Aluminum Kitchen Rack: Choose, Install & Care Guide 2026 as a comparison of popular kitchen rack materials.
Types of Stainless Steel Kitchen Racks You Should Know
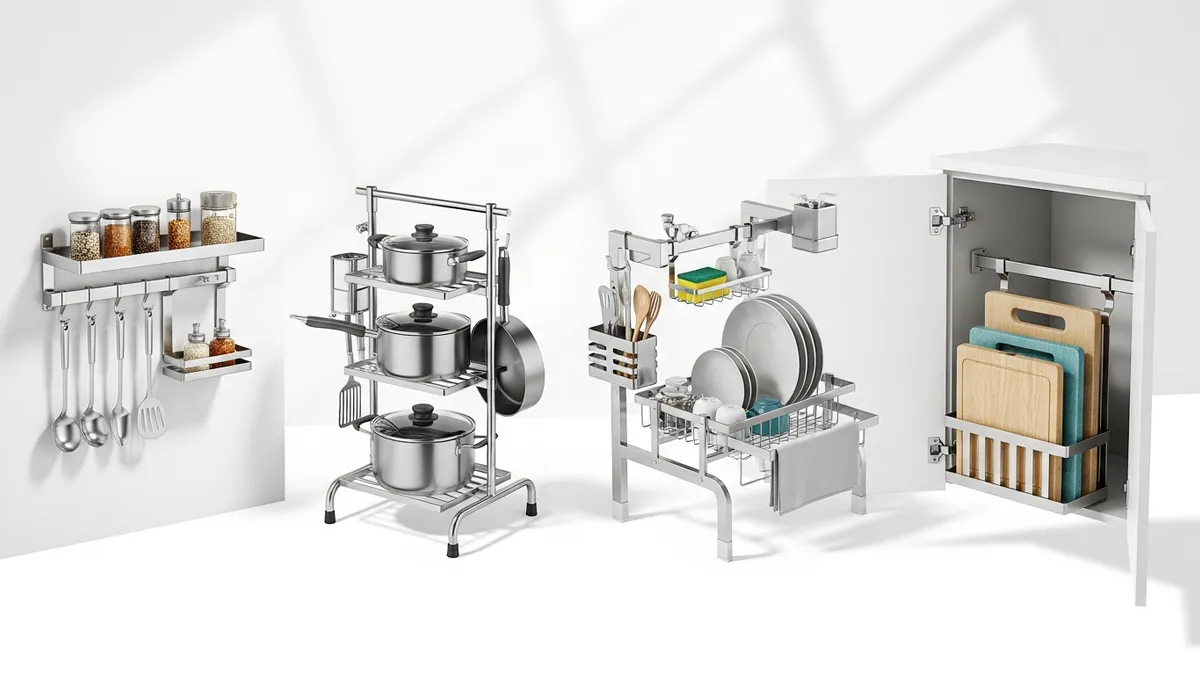
Before you buy, it is important to understand that a stainless steel kitchen rack comes in several types with different functions. Choosing the wrong type can leave you with a rack that does not work well in your kitchen.
1. Wall-Mounted Rack
This type mounts directly to the kitchen wall using bolts and wall anchors. A wall-mounted rack is the most popular choice because it does not take up counter or floor space.
- Great for tight kitchens because it maximizes vertical space
- Usually comes with hooks for hanging spatulas, spoons, and other utensils
- Available in sizes from 16 to 48 inches
- Priced from $25 to $130 depending on size and steel thickness
2. Freestanding Rack
This type has its own legs, so you can place it anywhere without drilling into the wall. It is very practical for a rented kitchen or if you do not want to damage the wall.
- Easy to move around as needed
- Larger storage capacity because it has multiple tiers
- Ideal for storing pots, skillets, and larger cookware
- Priced from about $50 to $180
3. Over-Sink Rack
Designed specifically to sit above the sink area, this rack does double duty as both a drying spot and storage. I highly recommend this type for a kitchen with a single sink.
- Makes use of the empty space above the sink
- Comes with a drip tray
- Great for storing plates, glasses, and freshly washed items
For a complete guide to over-sink racks, you can read our article on the Dish Rack Above Sink: Ultimate Guide to Kitchen Space Organization.
4. Ceiling-Mounted Rack
A fairly popular rack in rustic and industrial kitchens, mounted to hang from the ceiling on steel bars. It is great for storing pots and pans by hanging them.
- Gives the kitchen a dramatic, unique look
- Requires a ceiling that is strong enough
- Needs professional help for installation
5. Under-Cabinet Rack
Mounted under existing kitchen cabinets, it makes use of the empty space that so often gets ignored.
- Takes up no counter space at all
- Ideal for storing cups, glasses, or small utensils
- Relatively easy to install with the included screws
How to Choose the Right Stainless Steel Kitchen Rack: A Step-by-Step Guide
Choosing a stainless steel kitchen rack is not just about price or looks. There are several important factors to weigh so the rack you buy truly fits your needs.
Step 1: Measure the Available Space
Before you head to the store or open an online shop, grab a tape measure and note the dimensions of the wall or area where you want the rack. Also pay attention to:
- The distance between the cooktop and the upper cabinets (usually 24 to 32 inches)
- The width of available wall space with no outlets or windows in the way
- A mounting height that is comfortable to reach while cooking
Step 2: Check the Stainless Steel Grade
Not all stainless steel is the same. For kitchen use, look for products in grade 304 or 316. Grade 304 is the most common and is more than good enough for a home kitchen. Grade 316 has higher corrosion resistance because it contains molybdenum, and it is typically used in professional settings or near the coast.
Important tip: A good stainless steel product usually lists its grade (for example, "SUS 304") on the packaging or in the product description. If that information is missing, ask the seller before you buy.
Step 3: Check the Material Thickness
The thickness of the steel determines how much weight the rack can hold. For a kitchen rack:
- A thickness of 0.8 mm is fine for light items like spices and spatulas
- 1.0 to 1.2 mm works for medium items like plates and bowls
- 1.5 mm and up is for heavy pots and skillets
Step 4: Consider the Load Capacity
Always check the maximum load capacity listed on the product. Do not exceed this limit, because it can cause the rack to bow or even fall.
Step 5: Choose a Design That Fits Your Kitchen
According to guidance from The Spruce on kitchen design, consistency in material and color is the key to a tidy, cohesive kitchen look. If your kitchen tools are mostly stainless steel, choose a rack with a matching finish.
Step 6: Compare Price Against Quality
Prices for a stainless steel kitchen rack vary quite a bit:
- Small wall-mounted rack (16 to 24 inches): $18 to $50
- Medium wall-mounted rack (32 to 40 inches): $45 to $100
- Multi-tier freestanding rack: $70 to $220
- Complete ceiling-mounted rack set: $140 to $450
For quality kitchen products and home essentials, you can explore the full collection at Sesoris Best Sellers.
Tutorial: How to Install a Stainless Steel Kitchen Rack on the Wall
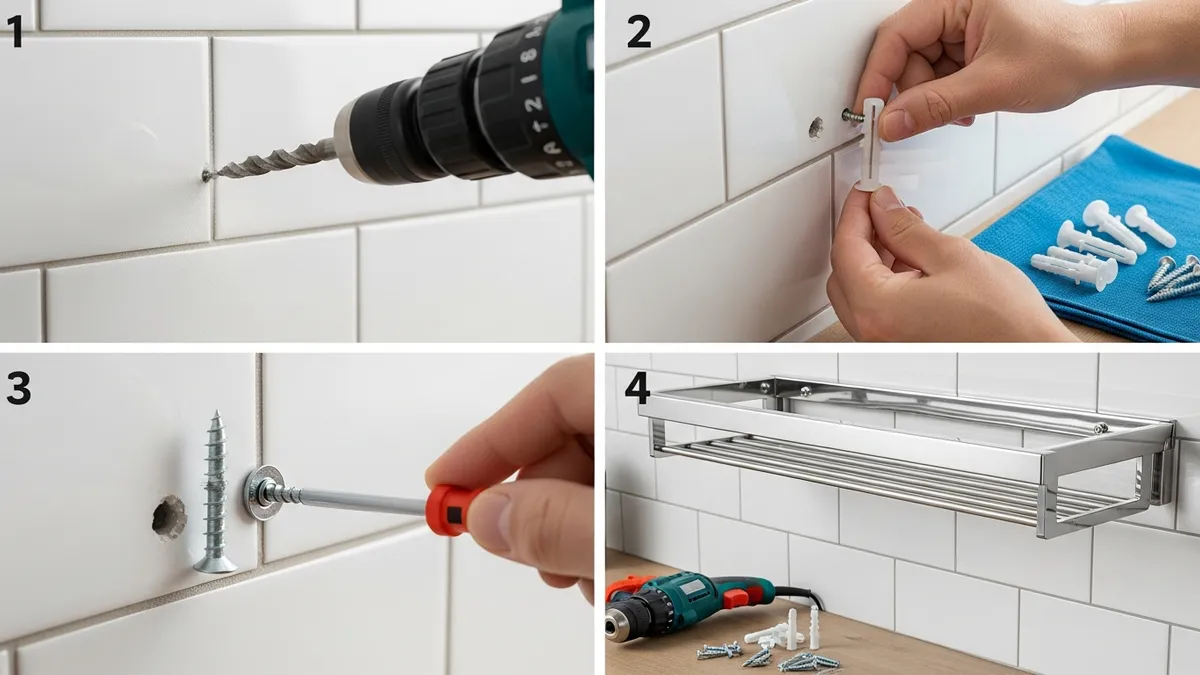
One of the biggest fears people have about mounting a wall rack is: what if I drill in the wrong spot, or the rack falls? Relax. With the right steps, installing a stainless steel kitchen rack is actually pretty easy to do yourself.
Tools and Materials You Will Need
- A power drill with a 5/16 inch (8 mm) bit (for standard anchors)
- Plastic wall anchors sized for 5/16 inch (8 mm) holes
- 1.5 inch (4x40 mm) screws
- A level or a leveling app on your smartphone
- A pencil to mark the drill points
- A ruler or tape measure
- A screwdriver (flathead or Phillips, depending on the screw type)
- A cloth and water to clean up drill dust
Installation Steps
- Determine the rack position. Measure and mark the rack position on the wall with a pencil. Make sure the position is straight and level using a level.
- Mark the drill points. Hold the rack bracket against the wall at the marked position, then mark each screw hole.
- Drill the wall. Use a 5/16 inch (8 mm) bit and drill at each marked point. Make sure each hole is at least 1.5 inches deep for safety.
- Insert the anchors. Push a plastic anchor into each drilled hole. Tap gently with a rubber mallet if needed so the anchor sits snug.
- Attach the bracket. Hold the bracket against the wall and tighten it with screws using a drill or screwdriver.
- Mount the rack on the bracket. Follow the instructions for your specific product. Most racks hook or bolt onto the bracket.
- Check stability. Wiggle the rack in different directions to make sure it is firmly mounted before you start loading it.
- Clean up the drill dust. Wipe down the area around the installation to keep the kitchen clean.
Caution: If your wall is reinforced concrete or hard brick, use a masonry bit (marked with a three-point triangular tip). Do not use a regular wood bit, because it will dull quickly.
Installation Safety Tips
- Avoid mounting the rack directly above a lit burner
- Keep at least 12 inches between the rack and any direct heat source
- For tiled walls, use a ceramic tile bit so the tile does not crack
- If you are unsure about the wall condition or hidden electrical wiring, consult a handyman first
How to Arrange a Stainless Steel Kitchen Rack for a Tidier Kitchen
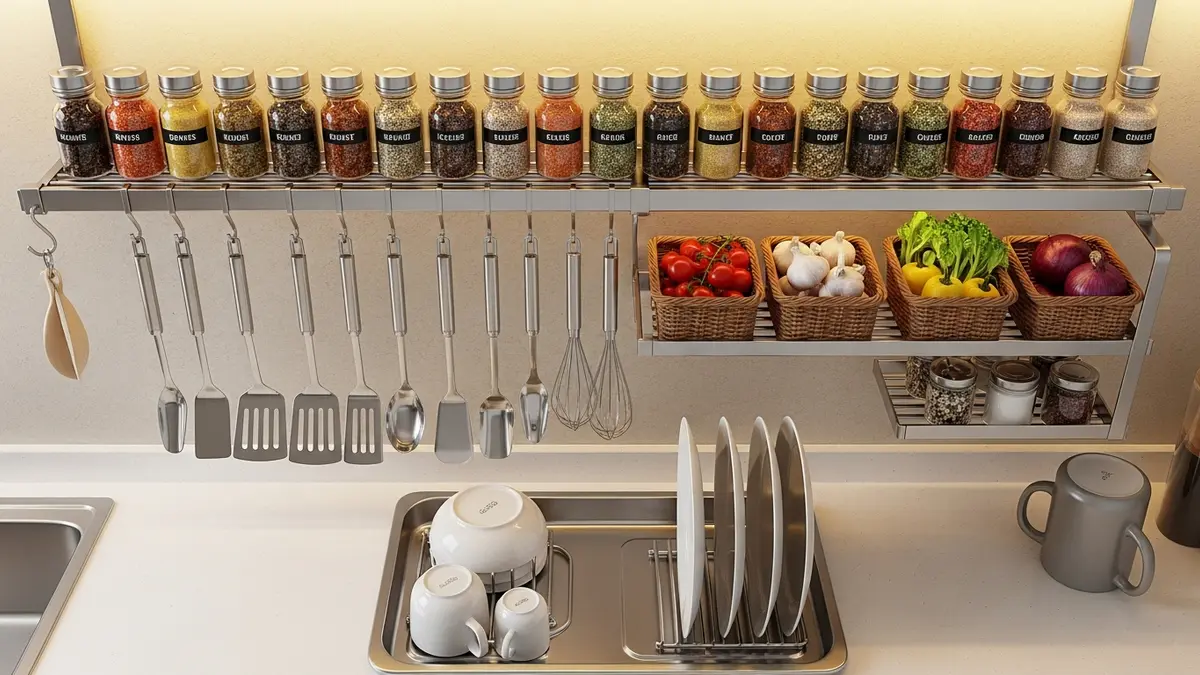
Got your rack mounted neatly? The next step is filling it correctly. Arranging a kitchen rack is not just about setting things down. There are principles that can make cooking more efficient.
The "Zone System" Principle
The zone system is a method of organizing a kitchen by activity zones. This concept is popular among kitchen interior designers and is covered in depth by Good Housekeeping in their kitchen organization guide. The idea is to place items as close as possible to where you use them:
- Cooking zone: Keep spatulas, wooden spoons, and ground spices closest to the cooktop
- Prep zone: Cutting boards, knives, and fresh-ingredient containers in the prep counter area
- Wash zone: Dish soap, sponges, and cloths around the sink
- Storage zone: Plates, bowls, and glasses on a rack that is easy to reach but out of the busy path
Tips for Arranging the Rack Contents
- Put frequently used items in the middle where they are easy to reach, and rarely used items in the corners or up top
- Use grouping: Cooking spices in one group, cookware in another
- Use the hooks that usually come with the rack to hang spatulas, strainers, and ladles
- Use small containers or jars so ground spices do not scatter across the rack
- Add labels to spice containers so they are easy to find when you are cooking in a hurry
For more inspiration on organizing spices, read our articles on Kitchen Spice Rack Ideas to Tame Your Spices and Spice Rack Types and Proper Organization Guide 2026.
Arranging Ideas by Rack Type
For a wall-mounted rack:
- Use the top tier for spices and seasonings you rarely reach for
- The middle tier for items you use every day
- Hooks under the rack for hanging cookware
For a multi-tier freestanding rack:
- The bottom tier for heavy items (rice cooker, blender)
- The middle tier for plates, bowls, and food containers
- The top tier for light items and things you use often
How to Care for a Stainless Steel Kitchen Rack So It Lasts and Stays Shiny

One of the main advantages of a stainless steel kitchen rack is that it is relatively easy to care for. Still, there are a few important things to keep in mind so the rack stays durable and free of stubborn stains or corrosion.
Daily Cleaning Routine
- Wipe the rack surface with a damp cloth every day to remove grease splatter and cooking steam
- Use regular dish soap diluted with water to clean light stains
- After cleaning, dry it with a microfiber cloth so no water dries and leaves hard-water spots
Weekly Deep Cleaning
- Remove everything from the rack
- Spray a mix of warm water and dish soap across the entire rack surface
- Scrub with a soft sponge or fine brush, always scrubbing with the grain of the steel (usually the horizontal direction) to avoid scratches
- Rinse clean with fresh water
- Dry it right away with a clean cloth
Tackling Stubborn Stains
- Burnt grease stains: Apply a paste of baking soda and water, let it sit for 10 to 15 minutes, then scrub gently and rinse
- Water spots or hard-water buildup: Use white vinegar diluted with an equal amount of water, apply it, let it sit a few minutes, then wipe clean
- Light rust spots (if any): Scrub with a sponge dampened with a little vegetable oil, then clean with soap
What to Avoid
- Do not use steel wool or a rough, abrasive sponge, since it will scratch the surface and damage the protective layer
- Avoid bleach or chlorine-based cleaners that can damage the passive layer on stainless steel
- Do not let water pool for long periods on the rack surface
- Avoid prolonged contact with salt, especially in coastal areas where the air carries salt
For more general stainless steel care tips, you can refer to the Sesoris article on Stainless Steel Racks: Long-Term Investment for Home Organization.
Stainless Steel vs Other Kitchen Rack Materials
Still not sure whether stainless steel is the right choice for you? Here is a quick comparison with other common materials:
Stainless Steel vs Aluminum:
- Stainless steel is heavier but stronger and more scratch resistant
- Aluminum is lighter and cheaper, but it bends more easily under heavy loads
- Both resist rust, but stainless steel comes out ahead in extremely humid environments
Stainless Steel vs Wood:
- Wood gives a warm, natural look, while stainless steel is more modern and industrial
- Wood needs more intensive care to keep it from rotting in a humid kitchen
- Stainless steel is far more hygienic because it has no pores where bacteria can grow
Stainless Steel vs Plastic:
- Plastic is far cheaper and lighter, but its load capacity is very limited
- Plastic can warp, discolor, and crack over time, especially in a hot kitchen
- Stainless steel is far more durable and safer for long-term use
For a more complete kitchen guide, do not forget to explore all the kitchen essentials at Sesoris.
Related Products from Sesoris
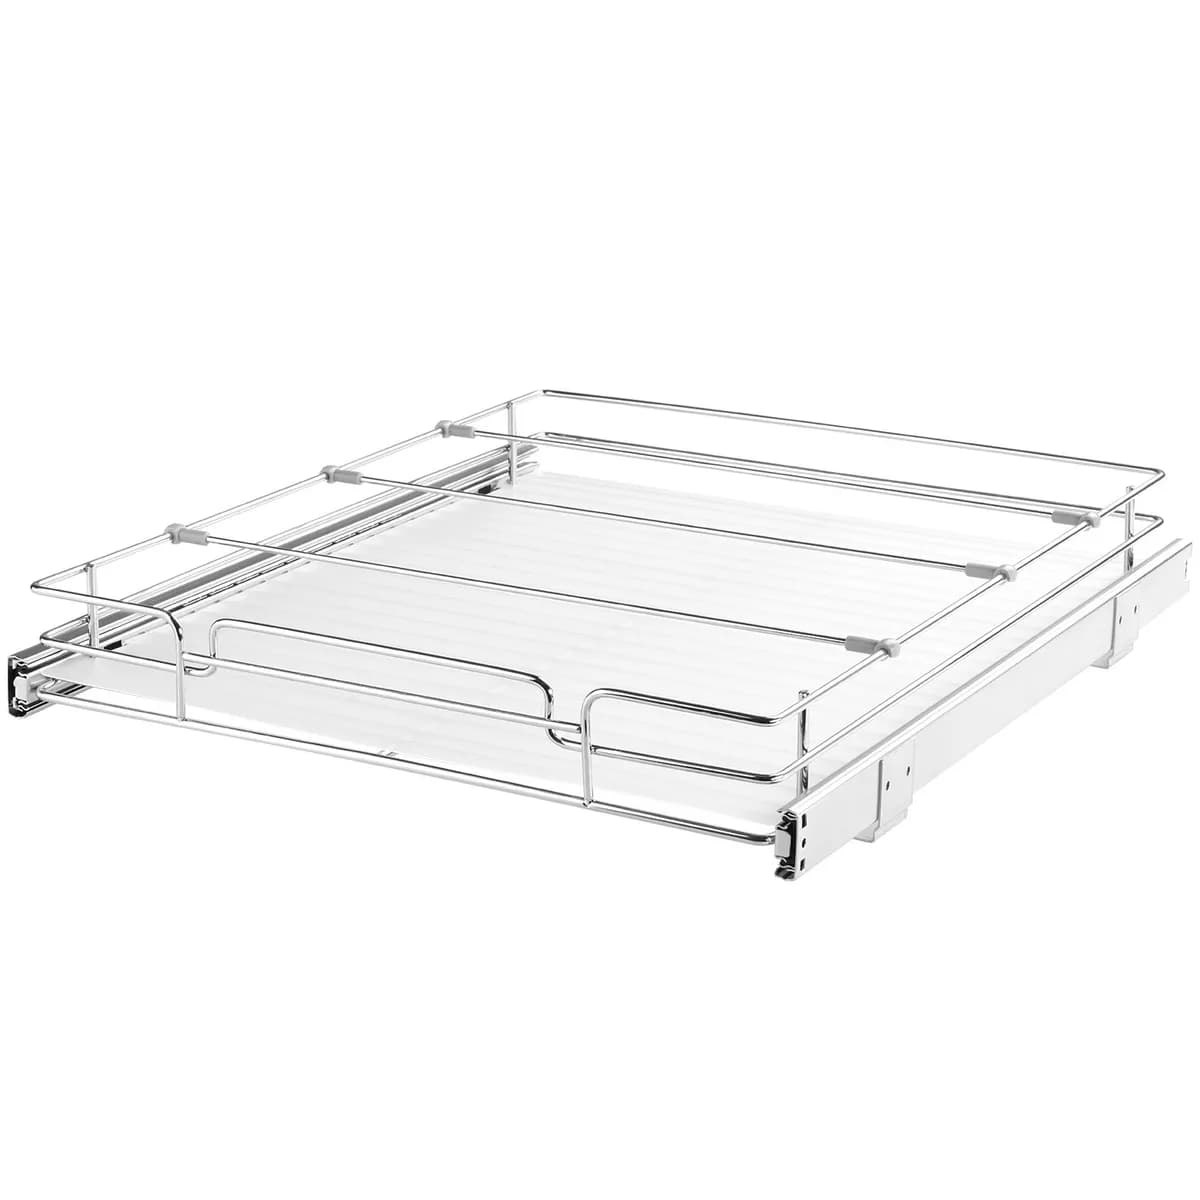
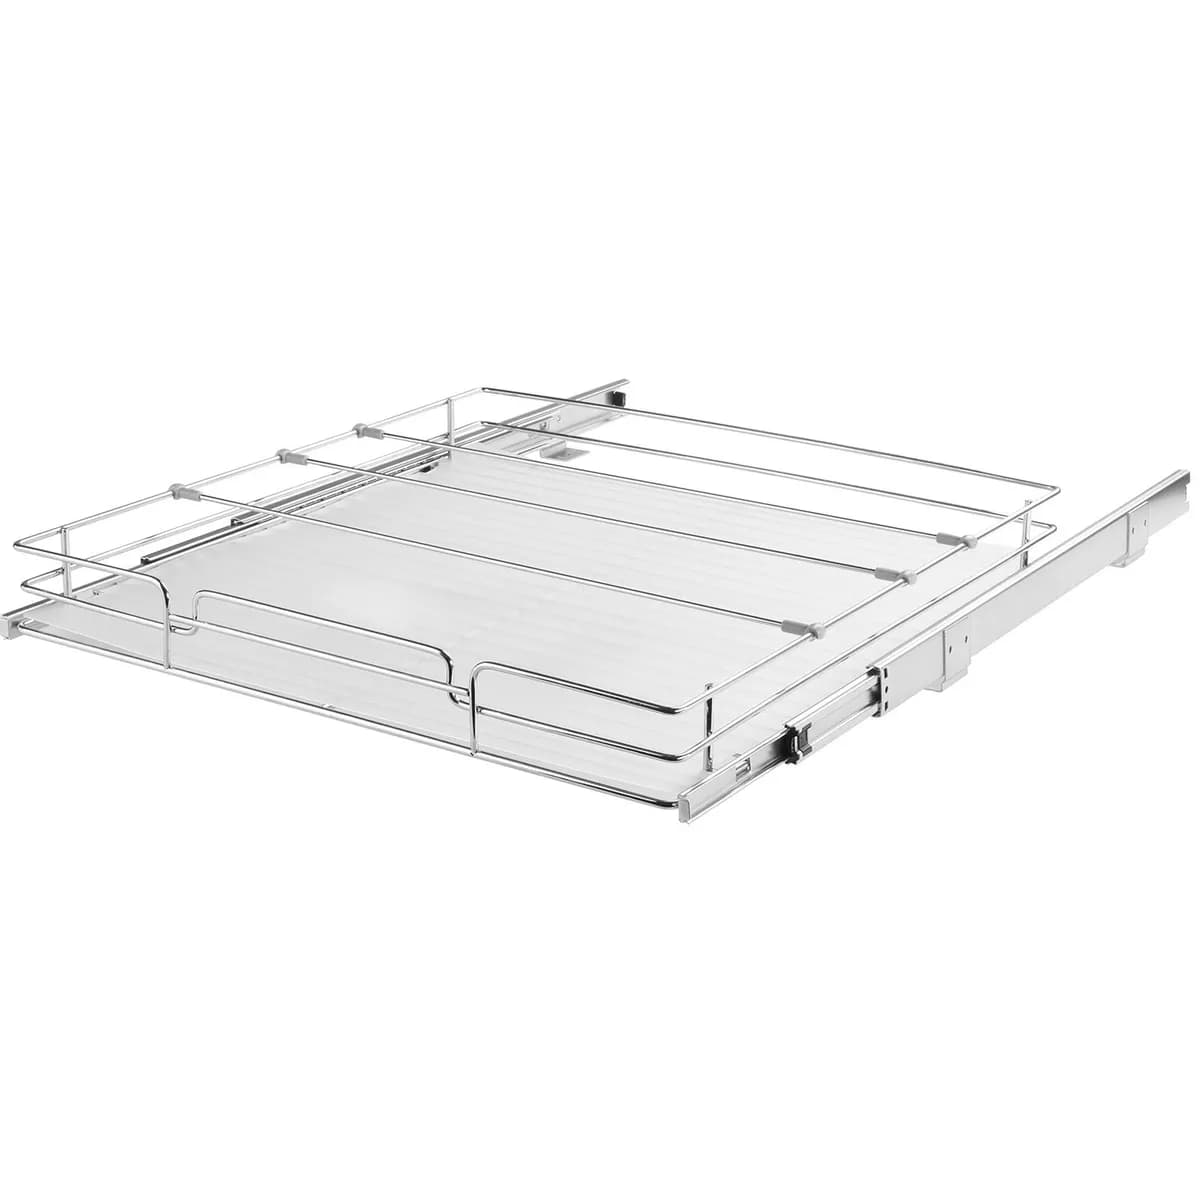
If you want to turn this guide into a real setup, start with Pull-Out Cabinet Organizer, 14 in. Wide and Double-Layer Bamboo Bread Box. For broader options, browse the Kitchen & Dining collection so the article journey does not stop at reading only.
Our practical rule: choose one product that solves the main clutter problem first, then add supporting organizers only when the daily workflow is already clear. This keeps the shopping path useful, not pushy.
FAQ: Common Questions About Stainless Steel Kitchen Racks
Q: Can a stainless steel kitchen rack rust?
Stainless steel is designed to resist rust, but that does not mean it can never rust. Light rust can appear if the surface is deeply scratched and constantly exposed to moisture, or if it stays in contact with other metals (like plain iron wire) for a long time. Using grade 304 or 316 and caring for the rack properly will minimize this risk.
Q: What is the maximum load a stainless steel wall rack can hold?
It depends on the steel thickness, the quality of the installation, and the condition of the wall. In general, a stainless steel wall rack for home use can hold 22 to 66 lbs when installed correctly with the right anchors. Always check the product specifications before buying.
Q: Is a stainless steel rack safe for a kitchen with a gas stove?
Yes, stainless steel is heat resistant and not easily flammable. Still, keep at least 12 inches between the rack and the stove flame for safety and to avoid excess soot building up on the rack.
Q: How do I remove fingerprints from stainless steel?
Fingerprints do show up easily on shiny stainless steel. The easiest way is to wipe it with a microfiber cloth lightly dampened with mineral oil or baby oil, scrub with the grain of the steel, then dry it off. The result is a rack that looks clean and shiny again.
Q: Will mounting a stainless steel wall rack damage my ceramic kitchen tile?
Mounting on ceramic tile requires a ceramic tile bit so the tile does not crack. If done carefully with the right tool and a low drill speed, the tile will not crack. It is a good idea to practice first on a spot that is not visible if you have never done it before.
Q: Where can I buy a quality stainless steel kitchen rack?
You can find a wide range of quality kitchen and home products at Sesoris. Also check out our new arrivals to find the latest options that fit your kitchen needs.
Q: Does a stainless steel kitchen rack need to be dried every day?
Ideally, yes, especially if the rack sits near the sink or often gets splashed with water. Wiping the surface with a dry cloth takes less than a minute, but this small habit helps prevent water spots, mineral stains, and a dull look on the stainless steel surface.
Conclusion
Choosing and installing the right stainless steel kitchen rack is a real step toward a more organized, hygienic, and efficient kitchen. From understanding the types to choosing the right grade and steel thickness, installing it correctly, arranging the contents strategically, and caring for it so it stays shiny, every step you follow in this guide will pay off in your day-to-day kitchen.
Remember, the key to success is not just the quality of the rack, but also your consistency in caring for it and keeping it tidy. An organized kitchen is not only nice to look at, it also makes cooking more enjoyable and efficient.
Ready to create the tidy, organized kitchen you have been dreaming of? Visit Sesoris and find a range of home, kitchen, and household organization essentials that will help you put the More Organized Living principle into practice starting today. Also explore all of our products to find the solution that best fits your needs and budget.
Liked this guide?
Get new organizing guides and the occasional new product by email. No spam, unsubscribe anytime.
Related articles



Explore more articles
- 25+ Best Work From Home Desk Setup Ideas to Build a Productive Workspace in 2026
- 40+ Best Home Storage Ideas to Organize Every Room in 2026
- 30+ Best Small Closet Organization Ideas to Transform Your Tiny Space in 2026
- 25+ Best Hat Storage Ideas to Keep Your Collection Organized in 2026
- 25+ Best Stationery Organizer Ideas to Transform Your Desk in 2026
- Small Living Room Organization Ideas: 30+ Smart Fixes
- Clothes Storage Organizer: The Complete 2026 Guide
- 30+ Storage Organizer Ideas for a Tidy Home 2026