
Bathroom Corner Shelves: Make Use of Dead Space
Bathroom corner shelves are the cheapest way to add storage without giving up a single inch of floor space. In small homes, rentals, and studio apartments, the bathroom often measures barely 4 by 5 feet. The main walls are already taken by the mirror, towel bar, faucet, and toilet. What's left, and almost always left empty, is the corner.
This article covers the technical details that product listings usually skip: which type of corner shelf fits your situation, which materials actually survive constant moisture, mounting heights that stay clear of splash zones, how to drill tile without cracking it, and how to make sure the shelf doesn't hold standing water. For the bigger picture, see our roundup of bathroom storage ideas to keep things tidy.
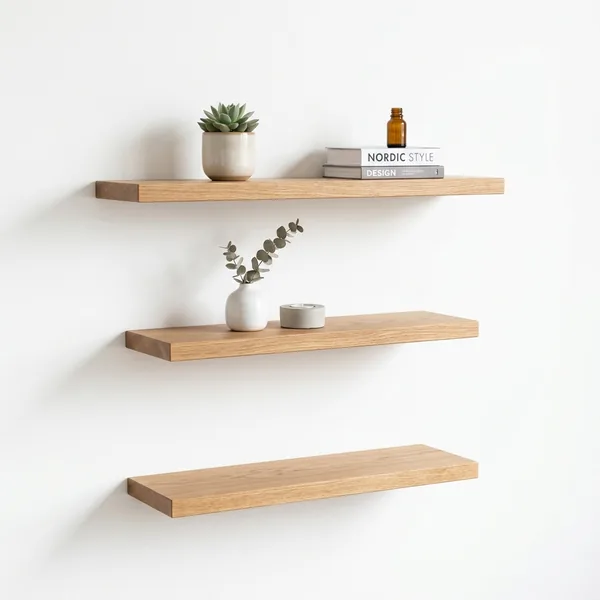
Table of Contents
- Why Corners Become Dead Space in Small Bathrooms - Three Types of Corner Shelves and When to Use Each - Rust-Proof Materials for Wet Areas - Mounting Heights That Stay Clear of Splashes - How to Mount on Tile Without Damage - Drainage and Maintenance to Prevent Mold - Frequently Asked Questions - Conclusion
Why Corners Become Dead Space in Small Bathrooms
Corners stay empty not because people don't notice the space, but because standard rectangular shelves don't fit there cleanly. A straight 6 inch deep shelf pushed into a corner juts out into the room and becomes the thing your shoulder hits every time you bend down. So bottles end up on the corner of the floor (standing in a thin puddle, slimy within two weeks), on the 2 to 3 inch tub ledge (where pump bottles get knocked off constantly), or on the toilet tank lid, which catches spray with every flush.
Yet the corner is ergonomically the safest zone in the room. When you shower, your body pivots in the middle of the space and your arms move forward or sideways, not at a 45 degree angle into the corner. A three-tier corner shelf with 9 to 10 inch sides adds roughly 1.5 square feet of storage surface, enough for 9 to 12 bottles, with zero floor space used.
Three Types of Corner Shelves and When to Use Each
Wall-mounted corner shelves. Quarter-circle or triangular, attached with brackets. Drilled versions with wall anchors hold 18 to 26 pounds per tier; adhesive versions realistically hold only 4 to 9 pounds no matter what the packaging promises. Budget-friendly to mid-range in price. The sturdiest and cleanest-looking option, as long as you're allowed to drill.
Tension pole shelves. A spring-loaded pole, roughly 5 to 8.5 feet, pressed between floor and ceiling. Zero holes in the wall, which makes it the champion for renters and dorm dwellers. The catch: it needs a flat, solid ceiling. If yours is thin drywall, the pole's pressure will punch through it, so add a small wooden board as a load spreader at the contact point. Mid-range in price.
Hanging shower caddies. Hooked over the shower arm or faucet neck. The cheapest option with zero installation, but capacity is small and it always sways, so bottles tumble whenever an elbow brushes past.
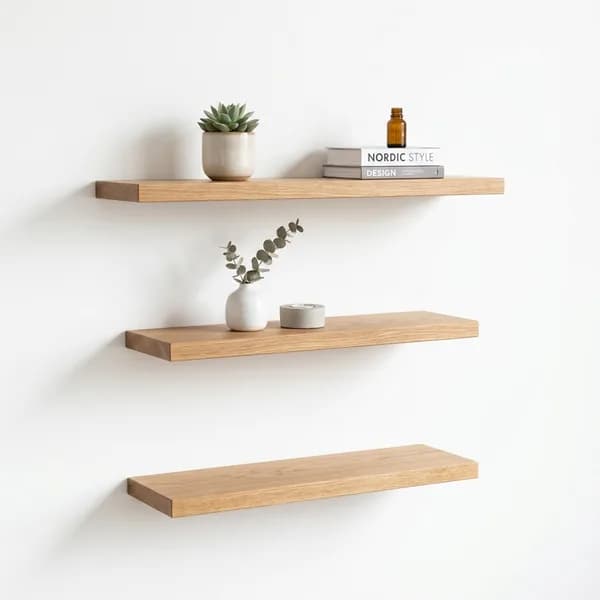
Freestanding corner shelves that rest on the floor are best avoided: all four feet become spots where water pools, and the floor beneath them is hard to mop. For the dry zone near the sink, a wall shelf like the Floating Wall Shelf Set gives a clean look with no visible brackets.
Pro tip: If you rent and aren't sure whether drilling is allowed, choose a tension pole shelf, not an adhesive one. Adhesive pads that get pried off often pull the glaze right off the tile or leave gunk that's harder to deal with than patching a single drill hole.
Rust-Proof Materials for Wet Areas
304 stainless steel is the standard that's genuinely safe for wet areas. Around 18 percent chromium and 8 percent nickel form a passive layer that resists corrosion. The problem: many online listings just say "stainless" with no grade, and what arrives is low-nickel 201 stainless. In a humid bathroom, 201 starts showing brown rust spots at the weld points within 6 to 12 months. Quick check: hold a fridge magnet to it. 304 barely attracts a magnet, while 201 grips it noticeably.
Aluminum contains no iron, so it can't rust, though it can dull with white spots if hit repeatedly with harsh alkaline cleaners. ABS or PP plastic is the cheapest and completely waterproof, but the brackets snap under heavy bottles. Avoid chrome-plated or powder-coated iron: the moment the coating gets scratched by a metal bottle cap, water reaches the iron underneath and rust spreads outward from that scratch. This is where those brown rust stains dripping down the tile come from.
The detail people miss most often: the shelf is stainless, but the included screws are plain steel. Those screws rust first and stain the wall with an orange streak running down from each bolt. Buy stainless screws separately; they cost pocket change. The same material logic applies in other damp areas of the home, as covered in our guide to laundry room organization.
Mounting Heights That Stay Clear of Splashes
Shower spray and splashback off the floor hit hardest in the bottom 12 to 16 inches. Never mount the lowest tier below 24 inches from the floor; anything in that zone stays permanently wet and its soap residue dries into white crust.
A comfortable three-tier configuration: about 40, 51, and 63 inches from the floor. Leave 12 to 14 inches between tiers so an 8 to 10 inch pump bottle can stand upright instead of lying on its side. A bottle on its side is how soap puddles start at the bottom of a shelf. Cap the top tier at 71 inches, because anything higher turns every reach into a tiptoe move on a slippery floor. If kids use the bathroom, put their items at 40 to 43 inches.
Mind the shower's spray line: if the shower head sits at 6.5 to 7 feet, mount the shelf in the corner that's out of the direct spray path. Beyond that, accept that a shelf in the wet zone will get wet. What you can control is what goes on it. Only put up items that are used while wet, meaning soap, shampoo, and conditioner. Towels, tissues, cotton pads, and medicine have no business being there.
How to Mount on Tile Without Damage
For the no-drill route, the secret is surface prep, not the brand of adhesive. Wipe the mounting spot with 70 percent isopropyl alcohol to strip oils and soap film, then dry it completely. Stick the pad in the middle of a single tile, never across a grout line, because the recessed grout creates an air gap that instantly kills the bond. Press for a full 60 seconds, then leave it unloaded for 24 hours so the adhesive cures completely. That 24 hour step is the one most people skip, and it's exactly why adhesive shelves fall within a week.
For the drilling route, first make sure your drill points aren't over a pipe run. Water pipes typically rise vertically from the floor directly behind the faucet, the shower valve, and the toilet, so avoid the vertical lines above those three points. Put painter's tape over each drill point so the bit doesn't skate on the slick glaze.
Use a spear-point or tungsten carbide tile bit. Drill at low speed and turn hammer mode off while you're still going through the tile layer, because hammering shatters the glaze and starts cracks that travel across the tile. Once you're through to the brick or concrete behind it, hammer mode can go back on. Before inserting the wall anchor, fill the hole with neutral-cure anti-mold sanitary silicone to seal the water path; skip this, and within a year the wall behind it gets damp and the paint on the other side starts peeling. Total time for a three-tier shelf: about 30 to 45 minutes.
Pro tip: Drill in the middle of a tile, not on a grout line. Drilling the grout feels safer because it spares the tile, but grout is crumbly, so anchors never grip properly, and grout is the wall's natural seepage path to begin with.
Drainage and Maintenance to Prevent Mold
A shelf with a flat, solid base will always hold a thin puddle. Standing water mixed with soap residue is the perfect medium for black mold, especially during humid months when the bathroom never fully dries out. Choose shelves with perforated, slatted, or mesh bases. Already stuck with a flat-bottomed shelf? Drill three or four small drainage holes (about 3/16 inch) at the lowest point, or shim the back edge up an eighth of an inch so water runs off. For bar soap, use a slotted soap dish: a bar sitting in a flat recess disappears twice as fast because half of it dissolves into the puddle.
Daily routine: after the last shower of the day, open a window or run the exhaust fan for 15 to 20 minutes. It's the humidity that lingers overnight that drives mold, not the water on the shelf itself.
Weekly, spray the shelf with a 1:1 mix of white vinegar and water, let it sit 10 minutes, scrub the joints with an old toothbrush, then rinse. Vinegar dissolves the soap scum and mineral deposits that make stainless look dull. What you should actually avoid is bleach and concentrated chlorine cleaners: chlorine attacks the chromium passive layer and triggers tiny pinhole corrosion (pitting), so ironically, bleach is the most common reason a "rust-proof" shelf ends up rusting. Fresh orange rust spots can still be lifted with a baking soda paste and a microfiber cloth. Never use steel wool, because the iron particles it leaves behind rust on their own.
Finally, cap the quantity. A three-tier shelf realistically holds 9 to 12 bottles. Beyond that, bottles hide behind each other and you're back to putting things on the floor. Backup stock like shampoo refills belongs outside the bathroom, stored in Foldable Storage Bins inside a dry cabinet, following the same logic as our practical home organizing tips.
Frequently Asked Questions
My rental doesn't allow drilling. Tension pole shelf or adhesive shelf?
Tension pole. It holds far more weight and leaves no trace. Adhesive shelves top out at 4 to 9 pounds, and removing them often pulls the glaze off the tile or leaves adhesive residue that's more trouble than a single drill hole.
How do I tell 304 from 201 stainless when shopping online?
If the listing doesn't explicitly say 304, it almost certainly isn't. Once the item arrives, test it with a fridge magnet: 304 barely attracts it, 201 grips it firmly. Price is another clue, since 304 typically costs two to three times as much as 201.
What's the minimum height for the lowest tier to stay clear of splashes?
A minimum of 24 inches off the floor, ideally 36 to 40 inches. Spray and floor splashback concentrate in the bottom 12 to 16 inches, so anything below 24 inches stays constantly wet and builds up soap crust.
My adhesive corner shelf fell after just a month. What went wrong?
Almost always one of three things: the tile wasn't cleaned with alcohol so the adhesive bonded to a film of oil, the shelf was loaded before the 24 hour cure, or the pad was placed across a grout line leaving an air gap behind it. The weight of the bottles is rarely the real culprit.
Can I drill right on the grout line to spare the tile?
Better not. Grout is crumbly, so the anchor never grips firmly and the shelf loosens over time. Grout is also the wall's natural seepage path, so a hole there speeds water straight into the wall.
My stainless shelf developed rust spots after regular cleaning with bleach. Can it be saved?
Yes, if the spots are still on the surface. Stop the bleach, switch to 1:1 white vinegar, and lift the rust with a baking soda paste and a microfiber cloth. If you can already feel tiny pits when you run a finger over it, the damage is permanent and the shelf needs replacing.
Conclusion
Corner shelves work because they occupy the only vertical plane in a small bathroom that your body never passes through. The order of operations: first determine whether you can drill (that decides the shelf type), choose a material that truly survives water such as 304 stainless, aluminum, or plastic, mount the lowest tier at least 24 inches off the floor with 12 to 14 inches between tiers, and make sure the base has drainage.
If you drill, never skip two steps: turn off hammer mode while passing through the glaze, and seal the hole with sanitary silicone before setting the anchor. Maintenance comes down to two habits: air out the bathroom every night, and clean with white vinegar once a week instead of bleach. Do that, and even a budget-friendly shelf can last for years without a single spot of rust.
Weekly Home Tips
Get home organization ideas, product picks, and exclusive deals delivered weekly.
No spam. Unsubscribe anytime.
Explore More Articles
- Modular Closet Organization: The Complete 2026 Guide to a Flexible, Clutter-Free Wardrobe
- 25+ Best Corner Cabinet Kitchen Ideas to Maximize Every Inch in 2026
- How to Build DIY Closet Shelves: Step-by-Step Tutorial for a More Organized Home in 2026
- Modular Shelving System: The Complete 2026 Guide to Flexible, Stylish Home Organization
- 25+ Best Mail Organization Ideas to Tame Paper Clutter in 2026
- 30+ Best Small Entryway Organization Ideas to Transform Your Home's First Impression in 2026
- Small Linen Closet Organization: 20+ Smart Tips to Maximize Every Inch in 2026
- 25+ Creative DIY Plant Stand Ideas to Elevate Your Home Decor in 2026