
How to Build a Custom Under-Stair Storage System: Complete Step-by-Step Tutorial for 2026
Learn how to build a custom under-stair storage system in 2026. Step-by-step tutorial with tools, materials, and pro tips to maximize every inch.
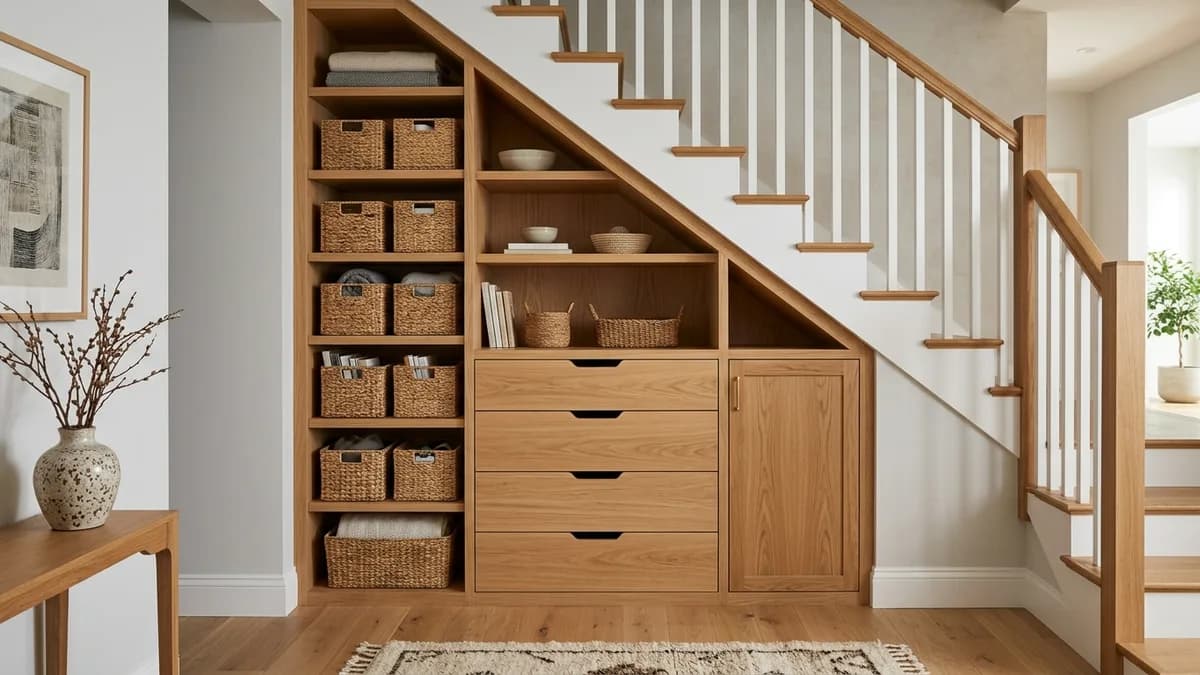
To build a custom under-stair storage system, measure the cavity and its obstructions, plan separate shelf and drawer zones, then assemble and secure a storage carcass without altering the staircase structure. Check wall fixings, access clearances and hardware load limits before adding your belongings. This tutorial explains a planning and assembly sequence, not a structural design: ask a qualified contractor to assess any work involving stair supports, concealed wiring or plumbing. Start with a measured drawing rather than assuming a standard cavity size.
Why Under-Stair Storage Is One of the Best Home Organization Moves in 2026
There is no universal under-stair cavity size. Measure the usable floor area, changing headroom and opening width in your own home before selecting materials. A small accessible compartment can be more useful than a large drawer that cannot open fully. Keep the stair structure intact and maintain access to any existing services; the sketches and dimensions below are examples to adapt, not measurements of an average American home.
Beyond raw square footage, there are several compelling reasons to build a proper system here rather than leaving the space raw or simply stacking boxes.
- Reduces visible clutter throughout the rest of your home by giving frequently-used items a permanent, hidden home
- Creates a more intentional layout by giving stored items a defined place, without assuming an increase in resale value
- Makes daily routines faster by keeping shoes, bags, and everyday-use items organized and accessible near your entryway
- Prevents the creep of clutter into living rooms, bedrooms, and hallways
- Maximizes your existing footprint without spending money on an addition or a storage unit rental
If you have been looking at under staircase storage ideas for inspiration, this tutorial will take those concepts and turn them into an actionable build you can complete over a weekend or two.
Step 1: Assess Your Under-Stair Space Before You Build Anything
Before you pick up a single tool, you need to understand exactly what you are working with. Every staircase is slightly different, and rushing into cuts without a thorough assessment is the number one mistake DIY builders make on this type of project.
Measure the Space Accurately
Grab a tape measure and record the following dimensions:
- The full width of the stair cavity from one wall to the other
- The height at the tallest point, which is typically at the base of the highest riser
- The height at the shortest point, which is near the floor at the far end
- The depth from front to back, measured at several intervals because the depth changes as the slope rises
- The location of any existing studs, pipes, or electrical runs inside the wall
Write all of these down and sketch a rough side-view diagram. If your stairs run parallel to a wall, you may have a simple rectangular footprint. If they turn or are freestanding, the geometry gets more complex. Take your time here.
Identify What You Need to Store
This step sounds obvious but most people skip it and then build something that does not actually serve their needs. Ask yourself:
- What are you currently storing in disorganized piles around the house that you wish had a home?
- Do you need deep pull-out drawers for bulky items, or tall open shelves for bins and baskets?
- Are you planning to store anything tall, like a vacuum cleaner or umbrellas, that needs a dedicated vertical slot?
- Will children access this space, requiring lower shelves and safety hardware?
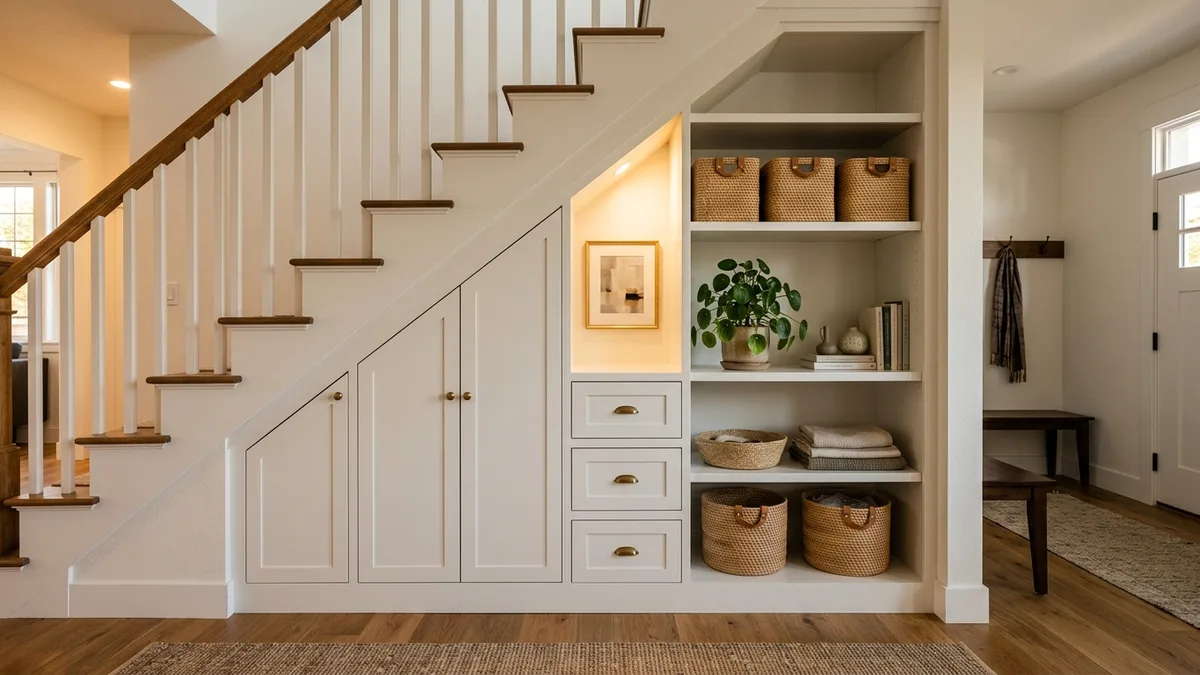
Your answers will directly shape the configuration you build. For most American households, a combination of pull-out drawers at the base, adjustable shelves in the mid-section, and a tall closet-style section at the highest point works extremely well.
Check for Obstructions
Use a stud finder to locate any studs, pipes, or wiring inside the cavity wall. If you find electrical wiring, consult a licensed electrician before proceeding. Building around plumbing is possible but requires planning. Structural concerns involving load-bearing walls should always be reviewed by a contractor before you open up the space.
Step 2: Gather Your Tools and Materials for Under-Stair Storage Construction
One of the great things about this type of project is that it does not require exotic tools or specialty lumber. Most of what you need is available at any home improvement store.
Tools You Will Need
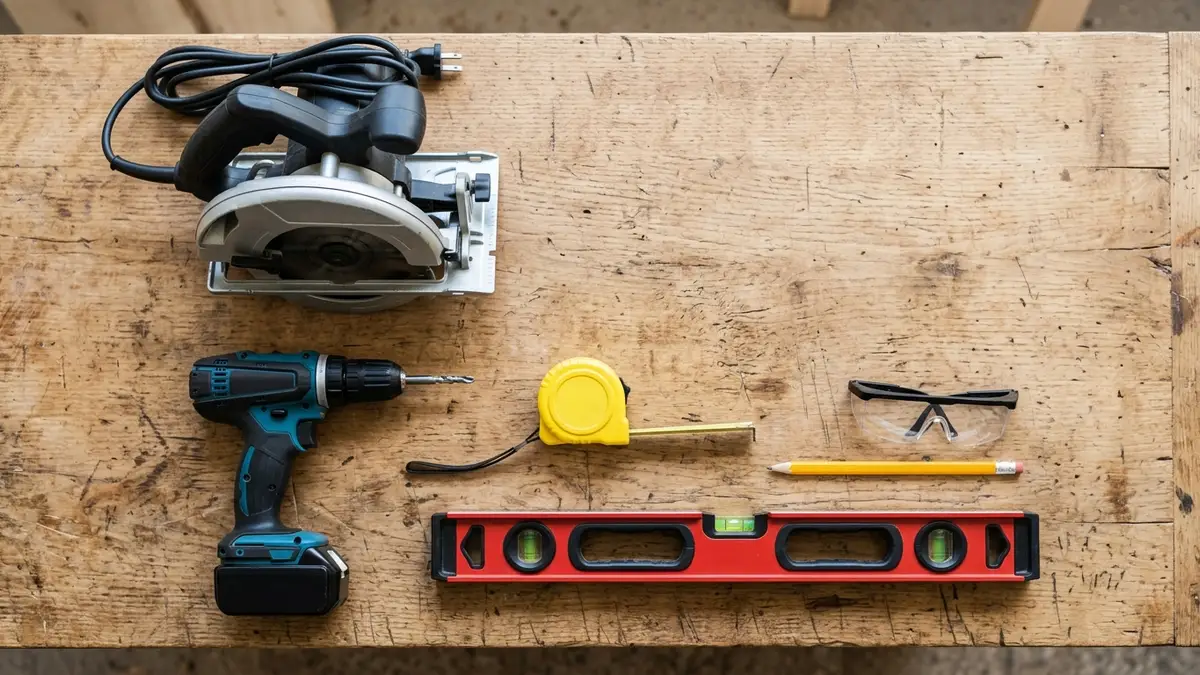
- Circular saw or miter saw for cutting plywood and dimensional lumber to length
- Drill and driver bits for pilot holes and driving screws
- Level (at least 4 feet long) to ensure shelves and frames are plumb and flat
- Tape measure and pencil for marking cuts
- Stud finder for locating wall studs
- Jigsaw for any curved or notched cuts around obstructions
- Sandpaper in 80-grit and 120-grit for finishing edges
- Paintbrushes and roller if you plan to paint the finished unit
- Safety glasses and ear protection
Materials Shopping List
For a typical under-stair build covering roughly 6 feet of width, plan on the following:
- 3/4-inch plywood (sanded or birch face for a cleaner look): 6 to 8 full sheets
- 1x4 and 2x4 dimensional lumber for the frame and face frame
- Wood screws (1-5/8 inch and 2-1/2 inch lengths)
- Wood glue
- Drawer slides (full-extension, soft-close recommended): one pair per drawer
- Shelf pins for adjustable shelves
- Cabinet hinges if you are adding doors
- Cabinet pulls or knobs
- Wood filler and sandpaper for finishing
- Primer and paint or wood stain for the final finish
Budget planning: Any prices or material quantities in this tutorial are illustrative allowances for a sample layout, not current retailer quotations. Price the measured design, hardware, finishing supplies and any professional work locally before making a purchase. Sheet quantities depend on your cut plan and waste, so do not buy from a generic list alone.
Step 3: Plan Your Layout and Build the Frame
Now that you have your measurements and materials, it is time to plan the exact layout on paper and then transfer that plan into physical framing inside the space.
Sketch Your Final Layout
Using your measurements, draw a to-scale front-view layout of the storage unit. Divide the width into sections. A common and highly functional configuration for a 6-foot-wide cavity looks like this:
- Left section (24 inches wide): Tall open area for a vacuum, brooms, or hanging coats, with a rod at the top
- Middle section (24 inches wide): Three to four adjustable shelves for bins, books, or small appliances
- Right section (24 inches wide): Two or three pull-out drawers at the base for shoes, sports gear, or tools
Adjust proportions based on your specific needs. If you have a particularly tall peak point, you might stack drawers four high on one side.
Build and Install the Base Frame
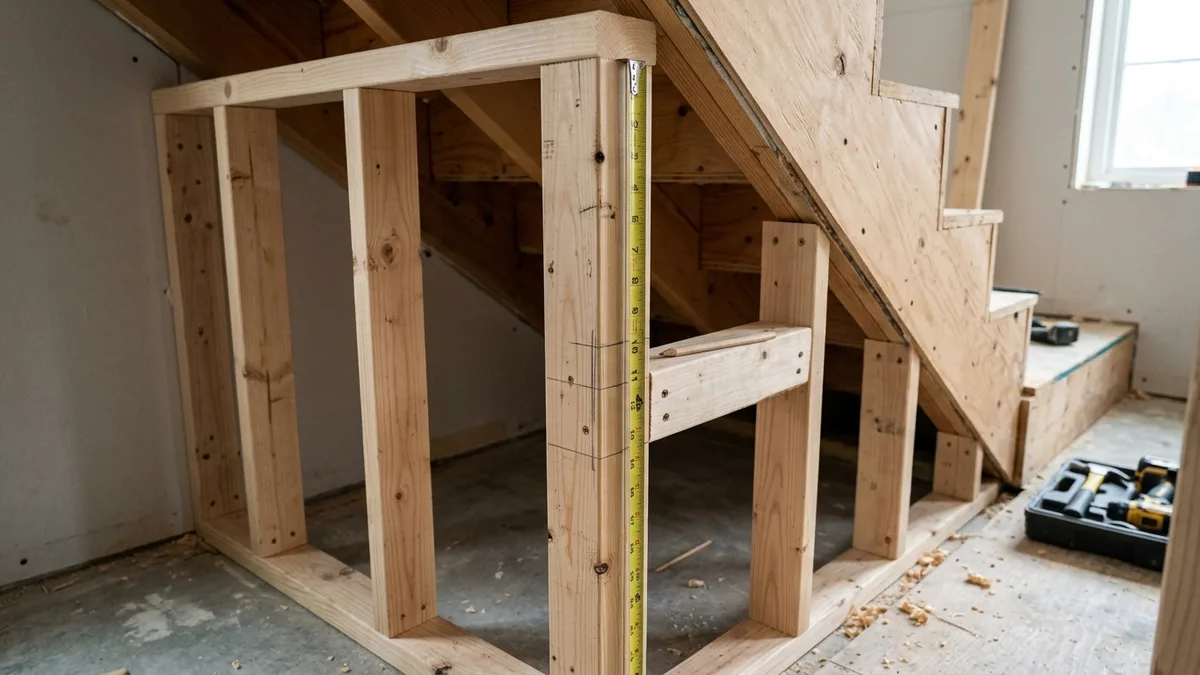
Start by building a simple rectangular base frame from 2x4 lumber that sits on the floor. This lifts the unit slightly, protects the plywood from moisture, and gives you something solid to anchor to.
- Cut 2x4s to form a perimeter rectangle matching your planned footprint
- Add cross members every 24 inches for support
- Level the frame using shims if your floor is not perfectly flat
- Secure the frame to the floor using 3-inch screws driven into the subfloor
Build the Vertical Dividers and Outer Walls
Cut your 3/4-inch plywood panels for the outer walls and internal vertical dividers. The outer walls run from the base frame up to meet the underside of the stair risers. The internal dividers separate your three sections.
- Cut each panel carefully, test-fitting before fastening
- Use wood glue and 1-5/8-inch screws to join panels to the base frame
- Check every panel for plumb (straight up-and-down) using your level before driving the final screws
- Secure tall panels to wall studs using 2-1/2-inch screws for stability
Step 4: Install Shelves in Your Under-Stair Storage System
With your frame and dividers in place, adding shelves is one of the most satisfying parts of the build. This is where the space starts to look like real storage.
Adjustable vs. Fixed Shelves
I strongly recommend making at least some of your shelves adjustable, especially if you are not 100% sure what you will be storing long-term. Adjustable shelves require shelf pin holes drilled in the side panels every inch or two, which takes about 15 minutes with a drill and a simple shelf-pin jig.
Fixed shelves are appropriate for the base of a drawer section where you know the exact height you need.
Installing Adjustable Shelves
- Mark a vertical row of shelf-pin holes on both inner faces of each section's side panels
- Space holes 1 inch apart, starting 3 inches from the top and bottom of the usable space
- Use a shelf-pin drilling jig to keep holes aligned and consistent
- Cut shelf panels from 3/4-inch plywood to fit each section with about 1/8-inch clearance on each side
- Sand all shelf edges smooth before dropping them in
- Insert shelf pins and rest the shelf on top
Pro tip: Cut a small notch at the back corners of each shelf panel to allow it to fit flush against the wall even if the baseboard molding runs behind the unit. A 3/4-inch by 3/4-inch notch is usually enough.
Step 5: Build and Install Pull-Out Drawers
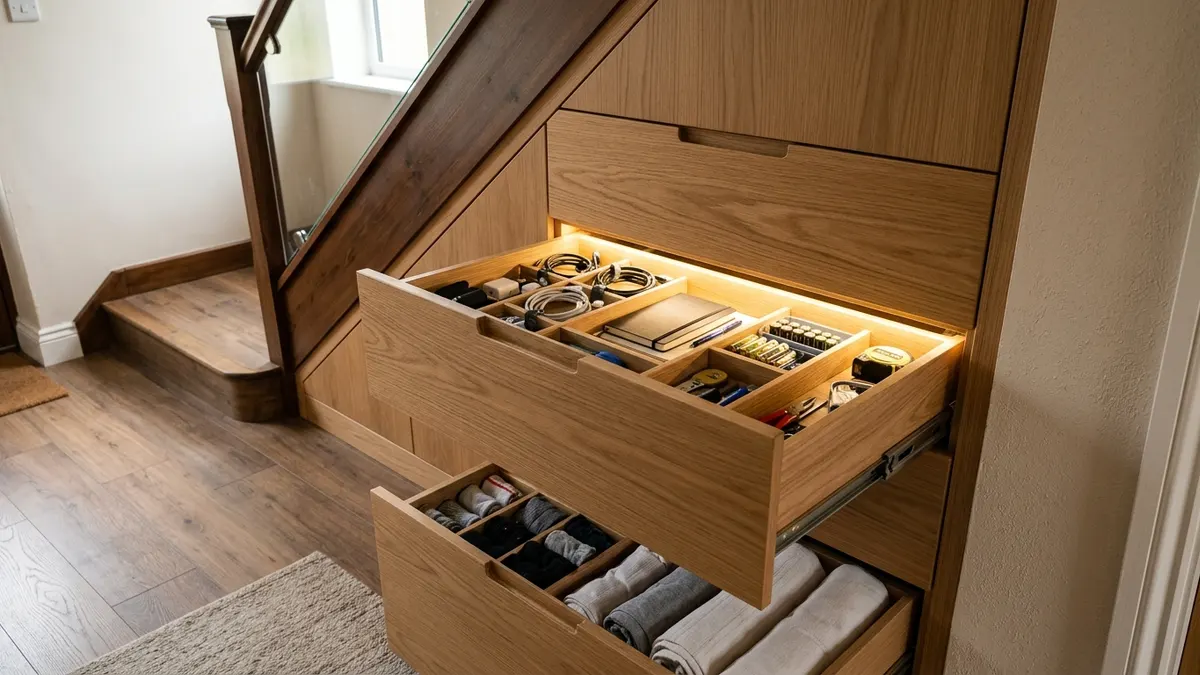
Pull-out drawers are what really elevate a basic under-stair build into a functional storage system. They let you access items at the back without getting on your hands and knees, and they look polished and intentional.
Sizing Your Drawers
Each drawer consists of two parts: the drawer box (the structural container that holds your items) and the drawer front (the decorative face you see when the drawer is closed). Size the drawer box to fit your drawer slides with the clearances specified by the slide manufacturer, typically 1/2 inch on each side.
For a 24-inch wide section with full-extension slides, your drawer box width will be approximately 21 inches. Height is up to you, but 6 to 8 inches is a practical height for shoe and gear storage.
Building the Drawer Boxes
- Cut four pieces of 1/2-inch plywood per drawer: two sides, one front, and one back
- Cut a bottom panel from 1/4-inch plywood
- Assemble with wood glue and 1-5/8-inch screws, driving screws through the side panels into the front and back pieces
- Slide the bottom panel into a dado groove or attach it to the bottom edges with glue and brad nails
- Check the box for square by measuring diagonally corner to corner. Both measurements should be equal.
Installing the Drawer Slides
- Mount the fixed half of each slide to the inside of the drawer section's side panels at your marked heights
- Mount the moving half of each slide to the outside of the drawer box
- Test fit the drawer box into the opening by snapping the two halves of the slide together
- Test the action. It should glide smoothly with no binding. Adjust slide height with shims if needed.
Attaching Drawer Fronts
Cut decorative fronts from 3/4-inch plywood or MDF that overlap the drawer opening by about 1/2 inch on each side and top and bottom. Attach them to the drawer boxes from the inside with screws. Leave a consistent 1/8-inch gap between adjacent fronts for a clean, professional look.
Step 6: Add Doors, Finishing Touches, and Organization Accessories
This is the step that takes your build from a raw construction project to something that looks like it belongs in a design magazine.
Installing Cabinet Doors
If you want to close off any section of your under-stair storage, cabinet doors are your best option. Inset doors sit flush inside the opening for a sleek look, while overlay doors cover the opening and are easier for beginners to install and adjust.
- Cut door panels to your planned size from 3/4-inch plywood or MDF
- Mount European-style concealed hinges to the inside face of the door
- Clip the hinges into the mounting plates already screwed to your cabinet frame
- Adjust the hinge screws for perfect alignment: up-down, left-right, and in-out
- Attach your chosen pull or knob
Sanding, Filling, and Painting
A clean finish makes the entire unit look professional and protects the wood.
- Fill all screw holes and any gaps with wood filler. Allow to dry completely.
- Sand the entire unit with 80-grit paper, then follow with 120-grit for a smooth surface
- Wipe down all surfaces with a damp cloth to remove dust
- Apply a coat of wood primer, allow to dry per the manufacturer's instructions
- Apply two coats of interior paint in your chosen color, sanding lightly with 220-grit between coats
White or off-white is a popular choice because it brightens the interior of the unit, making it easier to see and access items stored inside. For a warmer look, a soft gray or natural wood stain both photograph beautifully and hold up well in high-traffic areas.
Add Interior Organization Accessories
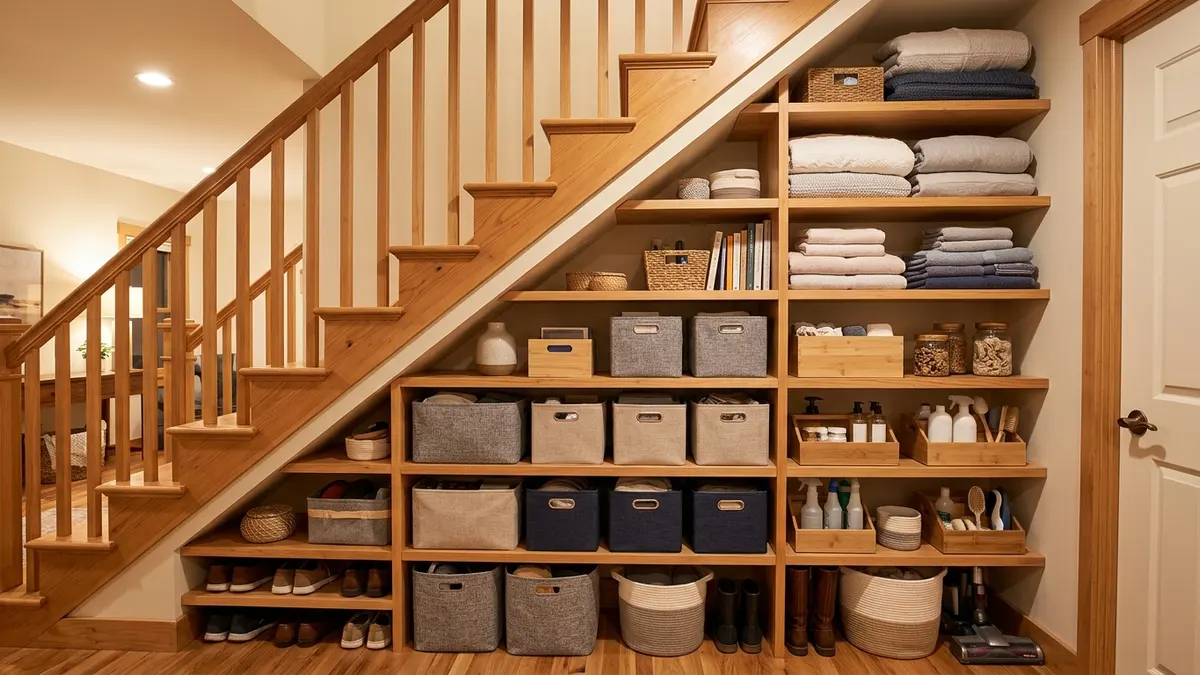
Now that the structure is done, it is time to stock it with smart organization products that help you make the most of every inch. I like to use a mix of the following inside under-stair builds:
- Labeled fabric storage bins on open shelves for categories like seasonal decor, sports gear, or craft supplies
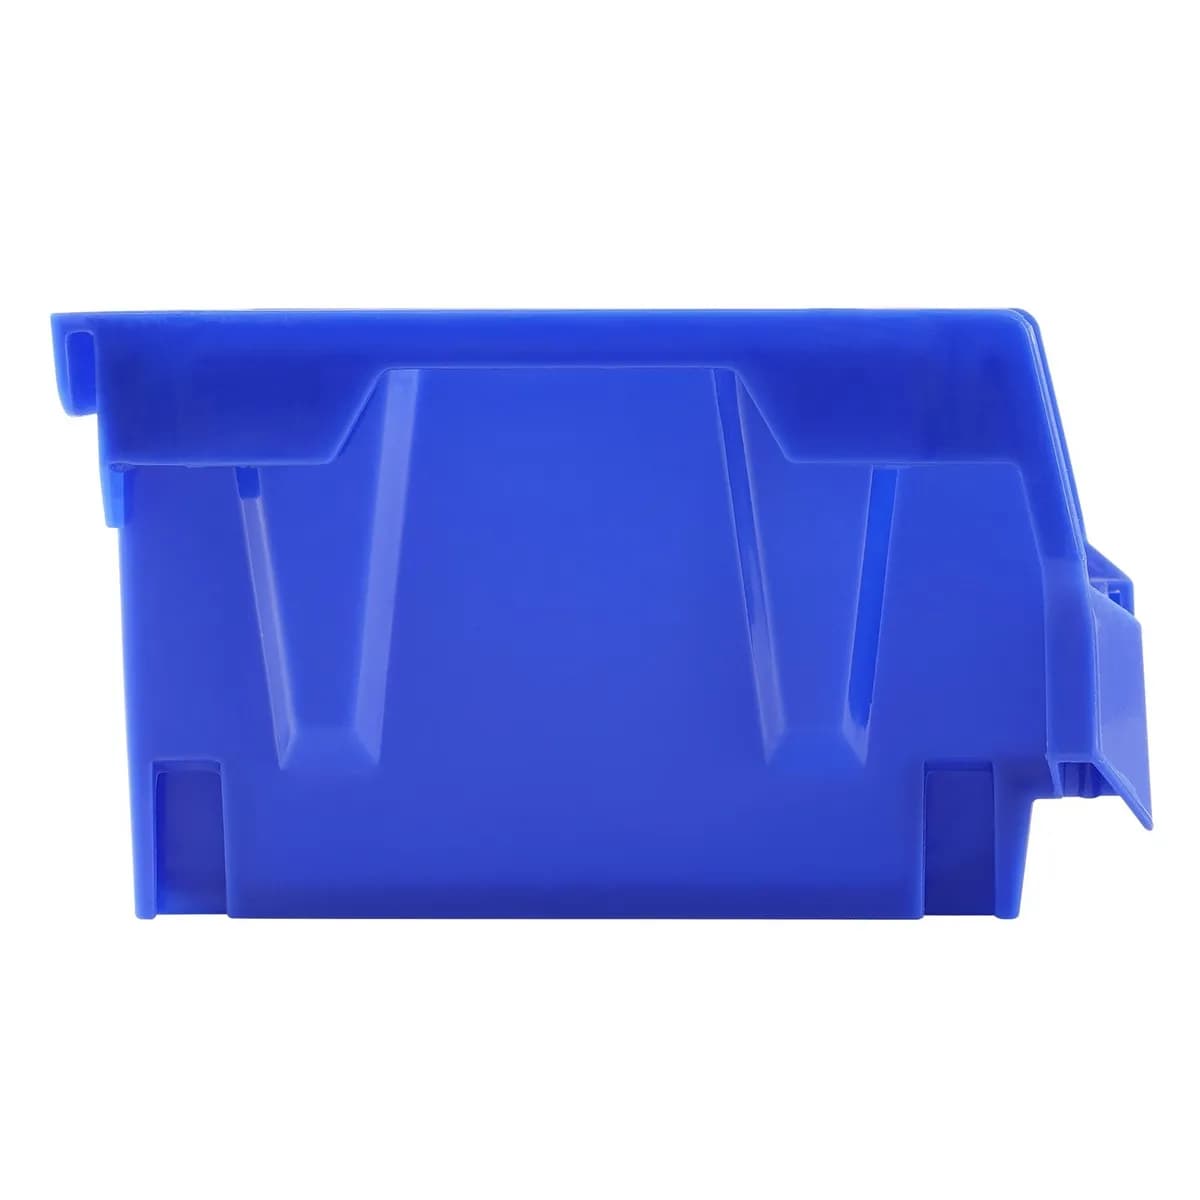
- Small clear stackable bins inside drawers to subdivide space for batteries, chargers, and small tools
- A tension rod or simple closet rod in the tall section for hanging bags, umbrellas, or lightweight coats
- A small LED battery-operated light strip along the top interior edge, since under-stair cavities often lack natural light
- Adhesive hooks on the inside of cabinet doors for keys, leashes, or small tote bags
You can browse Sesoris storage bins and organizers after measuring the shelf openings. Compare each container with the usable depth, not the overall cabinet depth, and leave room to grip the handle. Keep heavy items low and never treat a storage unit as a climbing frame.
Common Mistakes to Avoid When Building Under-Stair Storage
I have helped a number of friends and family members with under-stair builds over the years, and the same mistakes come up again and again. Here is what to watch out for:
- Skipping the assessment phase: Building before you measure and identify obstructions leads to expensive re-cuts and wasted materials
- Not accounting for the slope: The ceiling of the cavity follows the angle of the stair, so your vertical panels need to be cut at an angle at the top to sit flush. Many first-timers forget this and end up with gaps.
- Using panels that are too thin: Always use 3/4-inch plywood for shelves and side panels. Anything thinner will sag over time under the weight of stored items.
- Ignoring drawer slide clearances: Every slide manufacturer specifies exact clearances needed. If you ignore these, drawers will bind or fall out.
- Rushing the finishing: Raw, unpainted plywood looks unfinished and makes the space feel like a temporary fix. A proper paint or stain job takes a few hours but makes a dramatic difference.
- Forgetting lighting: Under-stair cavities are dark. A simple battery-operated LED light strip costs under US$20 and transforms the usability of the space.
Safety Checks Before Loading Your New Storage
Treat furniture stability as part of the installation rather than a final styling choice. The American Academy of Pediatrics guide to preventing furniture tip-overs recommends anti-tip devices and storing heavier objects in lower drawers or shelves. Follow the unit and fixing manufacturer instructions; there is no general height below which an unsecured unit is guaranteed safe. If you cannot obtain appropriate wall fixings or permission to install them, choose a different storage arrangement.
Inspect damp walls or floor patches before enclosing the cavity. The EPA guide to mold and moisture in homes says moisture control is central to mold prevention and advises fixing water problems. A painted shelf or raised plinth does not solve an active leak. Keep the area inspectable and deal with the source of dampness before covering it with cabinets.
Related Products from Sesoris
After deciding the cabinet dimensions, compare Stackable Storage Bins, 24 Pack with each planned shelf opening. The Pull-Out Cabinet Organizer, 17 in. Wide is another configuration to measure, not a promised fit beneath every stair. Explore the Home & Decor collection only after the drawing identifies the remaining storage gaps.
Build and test one compartment before repeating it across the full cavity. That exposes access or measurement problems while a correction is still manageable.
FAQ: Frequently Asked Questions About Under-Stair Storage
Q: Do I need a building permit to build under-stair storage?
In most US municipalities, adding built-in storage inside an existing, enclosed under-stair cavity does not require a permit because you are not altering the structure. However, if you plan to open up a wall, add electrical wiring, or cut into a load-bearing element, check with your local building department first. Rules vary by city and county.
Q: How long does this project take for a beginner?
A realistic timeline for a beginner working on weekends is two to three weekends. Weekend one covers measuring, planning, and buying materials. Weekend two covers framing, shelving, and drawer installation. Weekend three covers doors, finishing, and painting. Experienced DIYers can often complete the structural work in a single weekend.
Q: Can I build under-stair storage if my staircase is open (no wall underneath)?
Yes, but the process is different. Open staircases require you to first frame in the cavity by building walls on one or more sides before you can build the interior storage unit. This adds cost and complexity but is absolutely doable as a DIY project.
Q: What is the best wood to use for this type of build?
For painted finishes, I recommend paint-grade birch plywood or MDF for the visible surfaces. For the structural frame and hidden pieces, standard construction plywood or dimensional lumber works perfectly well and costs less.
Q: How do I handle the sloped ceiling inside the cavity?
Measure the angle of the slope with a digital angle finder (about US$15 at any hardware store) and use that angle when cutting the tops of your vertical dividers. Alternatively, cut the dividers square and scribe-trim the top edge after installation to fit flush against the sloped underside of the stairs.
Q: Is this project accessible for someone who has never built furniture before?
It is at the intermediate DIY level. If you have built basic flat-pack furniture and feel comfortable with a drill, you can do this. The trickiest parts are the angled cuts and getting the drawer slides perfectly aligned. Take your time, dry-fit everything before you fasten it, and watch a few tutorial videos on drawer slide installation before you start.
Conclusion
Building a custom under-stair storage system is one of the most rewarding home organization projects you can take on in 2026. It turns completely dead space into something genuinely functional, it looks beautiful when finished, and it solves real clutter problems throughout your home. By following this step-by-step tutorial, including proper assessment, smart layout planning, careful framing, accurate shelf and drawer installation, and a clean painted finish, you will end up with a built-in storage unit that looks like it came with the house. If you are ready to start stocking your new system with great organization products, head over to Sesoris and browse our best sellers and new arrivals to find the bins, baskets, and accessories that will make your under-stair storage work beautifully from day one. Live more organized, starting right under your feet.
Liked this guide?
Get new organizing guides and the occasional new product by email. No spam, unsubscribe anytime.
Related articles

Explore more articles
- 25+ Best Over the Toilet Storage Ideas to Maximize Every Inch of Your Bathroom in 2026
- How to Declutter Office: The Complete 2026 Step-by-Step Guide to a Clean, Productive Workspace
- DIY Room Divider Ideas: 20+ Creative Ways to Split Your Space in 2026
- 30+ Best Laundry Room Storage Ideas to Maximize Every Inch in 2026
- Garage Organization Systems: The Complete 2026 Guide to a Clutter-Free Garage
- 30+ Best Dresser Drawer Organization Ideas to Transform Your Bedroom in 2026
- Seasonal Decor Storage: The Complete 2026 Guide to Organizing Holiday & Seasonal Items
- Small Linen Closet Organization: 20+ Smart Tips to Maximize Every Inch in 2026