
Toy Organizer Guide: Types, Sizes and a Setup Kids Can Keep Tidy
How to choose a toy organizer: bin racks, cube shelves, carts and chests compared, sizing by age, CPSC safety basics, a kid-friendly setup and toy rotation.
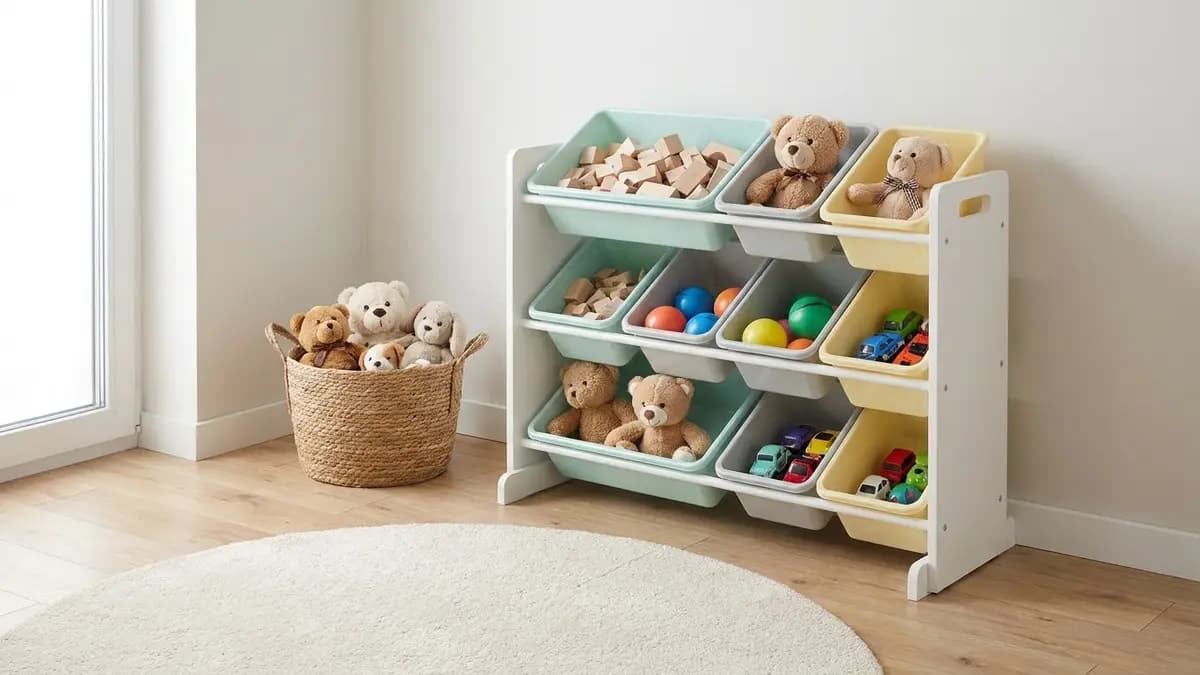
A toy organizer works when a child can see what is inside, reach it without help and put it back in one easy move. For most homes that means low, open bins for everyday toys, a few lidded boxes up high for small pieces and messy kits, and a short list of toys that are out at any one time. The furniture matters less than the system around it.
This guide compares the main types of toy organizers, explains how to size one for your space and your child's age, covers the safety basics that apply to any shelf or bin unit, and walks through a setup that a preschooler can actually keep tidy. If you are still choosing which room the toys should live in, our kids room organization ideas guide is a good place to start.
Toy Organizer Types Compared
Toy organizers fall into a handful of styles. Each one solves a different problem, so it helps to match the type to the toys you actually own rather than to the photo that caught your eye.
| Type | How it works | Best for | Watch out for |
|---|---|---|---|
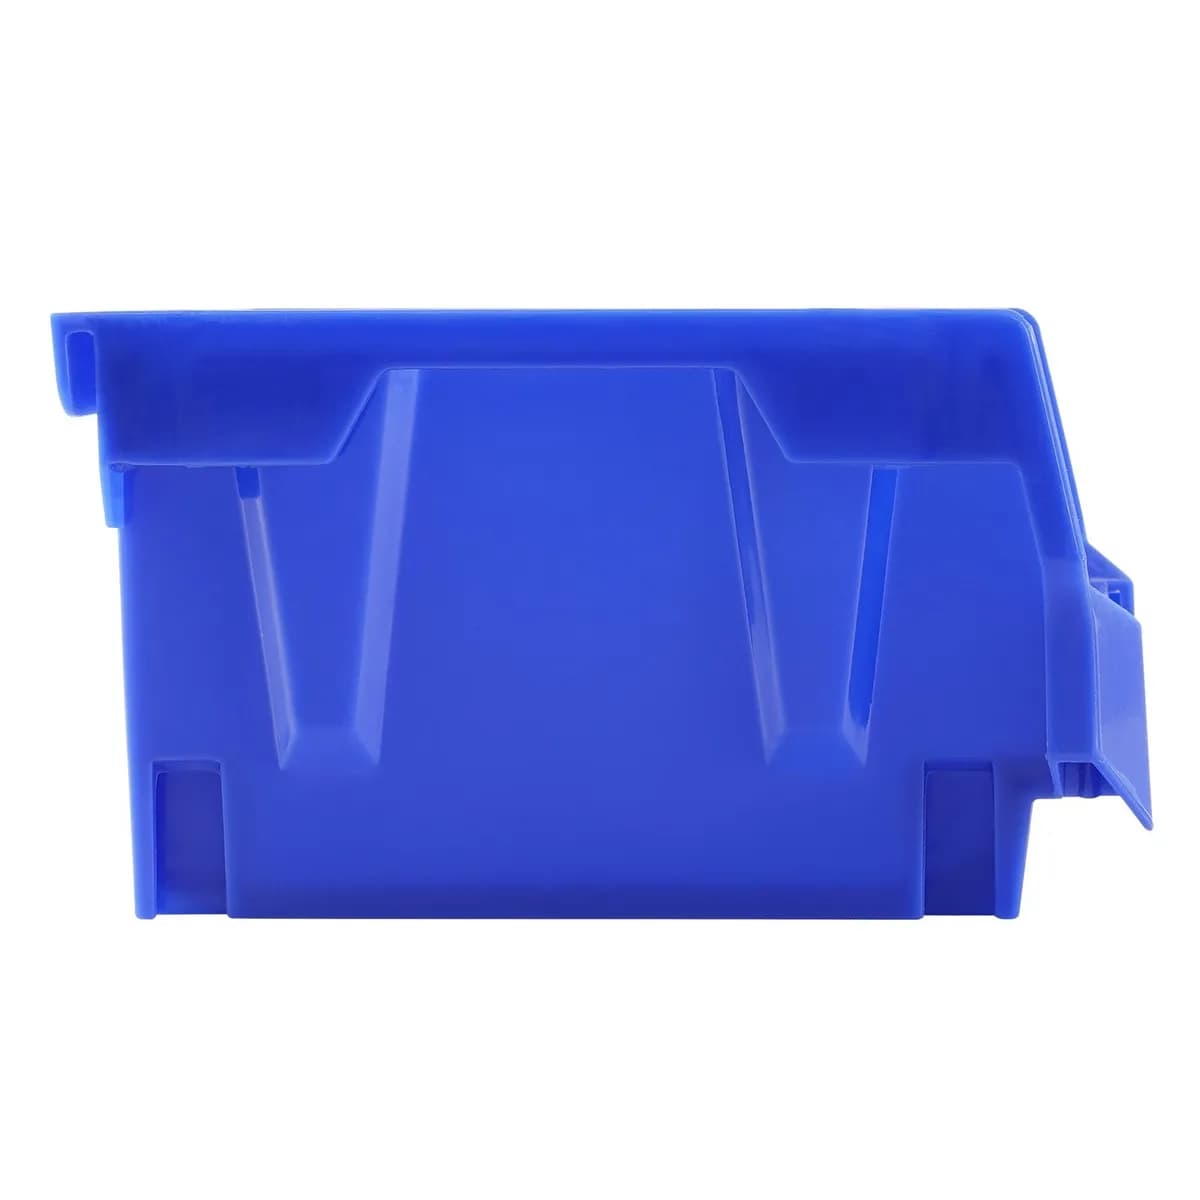
| Tilted bin rack | A frame with sloped, removable plastic bins | Blocks, cars, figures and plush toys for toddlers | Bins fill fast; small pieces slip through gaps |
| Cube shelf with fabric bins | Square cubbies that take drop-in fabric or plastic boxes | Mixed collections and living-room storage | Opaque bins hide what is inside unless you label them |
| Rolling cart or drawer tower | Stacked drawers or doors on casters | Art supplies, building sets, small rooms | Drawers that pull out too far can tip a light unit |
| Toy chest or bench | One large box, often with a seat on top | Big, bulky toys and dress-up clothes | Everything sinks to the bottom; lids can pinch |
| Wall pockets and rails | Fabric pockets or rails hung on a wall or door | Small soft toys, books and craft tools | Not for heavy items; check the hanging hardware |
| Clear lidded boxes | Stackable boxes with snap or flip lids | Sets with many parts and toy rotation storage | Lids are fiddly for small hands, which can be a plus |
Most families end up mixing two or three of these. A bin rack or cube shelf handles daily toys, a set of clear boxes holds sets with lots of pieces, and a wall organizer or basket takes the overflow of soft toys.
How to Choose the Right Toy Organizer
Start with the toys, not the furniture. Pull everything into one spot, sort it into rough groups such as building, vehicles, dolls and figures, art, books, puzzles and outdoor, and count how many bins each group really needs. Then pick an organizer that fits those groups.
Ask these questions before you buy:
- Who will put the toys away? If the answer is your child, the organizer must be low and open enough for them to use alone. Lids, deep chests and high shelves turn cleanup into an adult job. 2. How big are the toys? Plush animals and large trucks need deep bins or a basket. Building bricks and tiny figures need smaller containers so they do not vanish under bigger toys. 3. Where will it stand? Measure the wall, the depth you can spare and the clearance for doors and radiators. A unit that blocks a walkway gets bumped and emptied. 4. Does it need to move? Casters help in shared rooms and apartments, but choose ones that lock. 5. How will it look in five years? A plain white or wood frame can hold school supplies, books or crafts later, while a themed unit often ends up on the curb.
If floor space is the main limit, our guide to toy storage ideas for small spaces has layouts for corners, under beds and behind doors.
Size the Organizer to Your Child's Age
The right organizer for a toddler is different from the right one for a seven-year-old. Younger children need fewer choices and bigger containers. Older children can handle more categories, smaller boxes and a few lids.
| Age group | What works | What to avoid |
|---|---|---|
| Babies and toddlers (under 3) | A few large open bins at floor level, soft baskets, one shelf of board books | Small parts within reach, heavy lids, tall stacks of bins |
| Preschoolers (3 to 5) | Tilted bin racks, cube shelves with picture labels, a low book ledge | Too many categories; bins so deep that toys get lost |
| School age (6 and up) | Drawer towers for sets, clear boxes with lids, a desk caddy for art tools | Storing everything in one toy chest |
The age line for small parts is not arbitrary. The U.S. Consumer Product Safety Commission explains that children's products intended for kids under 3 cannot contain small parts that present a choking hazard, measured with a test cylinder that approximates the size of a young child's throat. When an older sibling's sets share the room with a toddler, those sets belong in closed boxes on a high shelf.
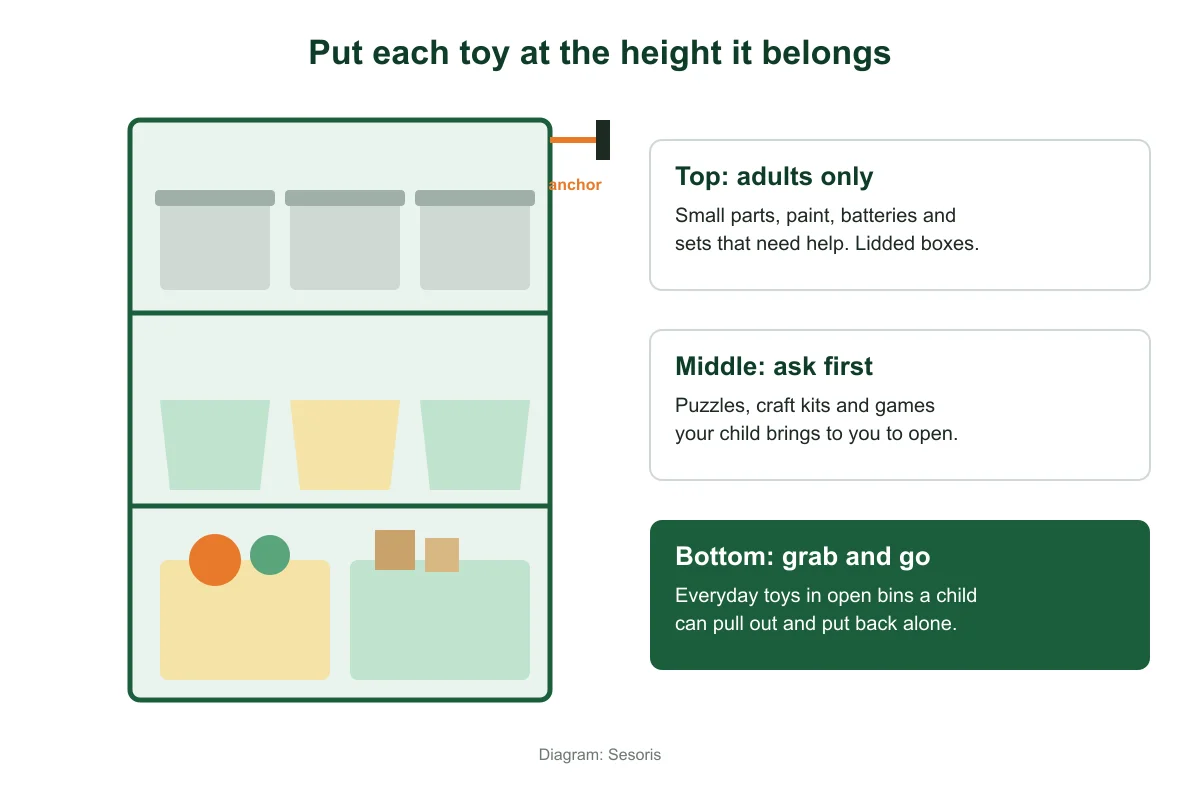
Safety Basics for Any Toy Storage
A toy organizer is furniture that children climb, pull and lean on, so a few safety steps matter more than style.
- Anchor tall units to the wall. The CPSC's Anchor It! campaign says that anchoring all furniture with drawers, doors and shelves to the wall prevents tip-over injuries and deaths. Use the strap or bracket that comes with the unit, or buy a furniture anchor kit, and fix it into a stud where you can. - Load the bottom first. Heavy toys go low. A shelf with heavy bins on top is easier to tip. - Keep small parts up and closed. Marbles, bricks, beads and button batteries go in lidded boxes out of reach of children under 3. - Think twice about heavy lids. If you use a toy chest, choose one without a lid, with a lightweight lid or with a support that holds the lid open in any position, so it cannot slam on fingers or heads. - Check bins for cracks. Broken plastic edges are sharp. Replace damaged bins rather than taping them.
Safety also shapes where the organizer goes. Keep it away from windows and window-blind cords, and avoid placing it where a child could climb it to reach something higher.
Toy Organizer Ideas by Room
Toys rarely stay in one room, so plan a small storage spot wherever play happens.
Bedroom or Playroom
This is where the main organizer lives. A tilted bin rack or a cube shelf along one wall gives every toy group a home. Leave a clear patch of floor in front of it for play, and add a low shelf or ledge for books so the covers face out. Our kids bedroom storage ideas guide covers beds with drawers, closet systems and other ways to free up the floor, and kids book storage ideas focuses on shelves and ledges for reading corners.
Living Room
Shared rooms need storage that closes or blends in. Lidded baskets, a storage bench or a cube unit with matching fabric bins let you hide the toys at the end of the day. Limit the living room to one or two bins of current favorites and send everything else back to the bedroom. For more options, see our living room toy storage ideas and hidden toy storage ideas.
Closet
A closet is the best place for toys that are resting. Clear lidded boxes on upper shelves keep sets together and dust-free, and they make the rotation system below easy to run. If the closet also holds clothes, our guide to organizing a children's closet shows how to split it into zones.
A closed rolling cabinet like the 4-tier folding storage cabinet on wheels also works as a toy organizer for older children. It measures 15.35 x 11.02 x 33.07 inches and holds 76 quarts across four bins, and each bin opens from the front with a magnetic door, so a child can reach a lower tier without unstacking the ones above. Because it is tall and light, keep heavy sets in the bottom tier and lock the wheels.
Set Up a Toy Organizer Kids Can Use
The setup decides whether the organizer stays tidy. Use this order:
- Empty and sort. Take every toy out and group it. Set aside broken toys, toys with missing pieces and toys your child has outgrown. 2. Pick the keepers for now. Choose roughly one bin's worth of each group for the shelf. The rest goes into resting boxes. 3. Give each bin one job. One bin for cars, one for blocks, one for animals. Mixed bins become junk drawers. 4. Put the most used groups lowest. Daily toys sit on the bottom row where a child can reach them without climbing. 5. Label with pictures. A photo or simple drawing of the contents on the front of each bin helps pre-readers put things back. Older kids can make the labels themselves. 6. Leave one empty bin. It catches new gifts and the toys that do not fit anywhere yet, so they do not pile on top of the shelf. 7. Practice cleanup together. Show the routine a few times: one bin out, play, back in, next bin. Short and repeated works better than a big cleanup at night.
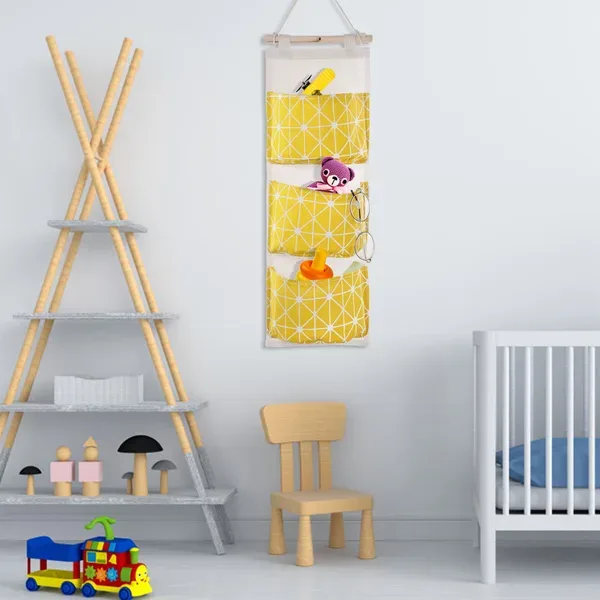
Soft toys rarely fit neatly into bins. A hanging wall organizer gives them a place off the floor. The 3-pocket hanging wall organizer is 7.87 inches wide and 24 inches long, with three fabric pockets that suit small plush toys, a flashlight or a few picture books beside a bed.
Use Toy Rotation to Keep the Organizer Light
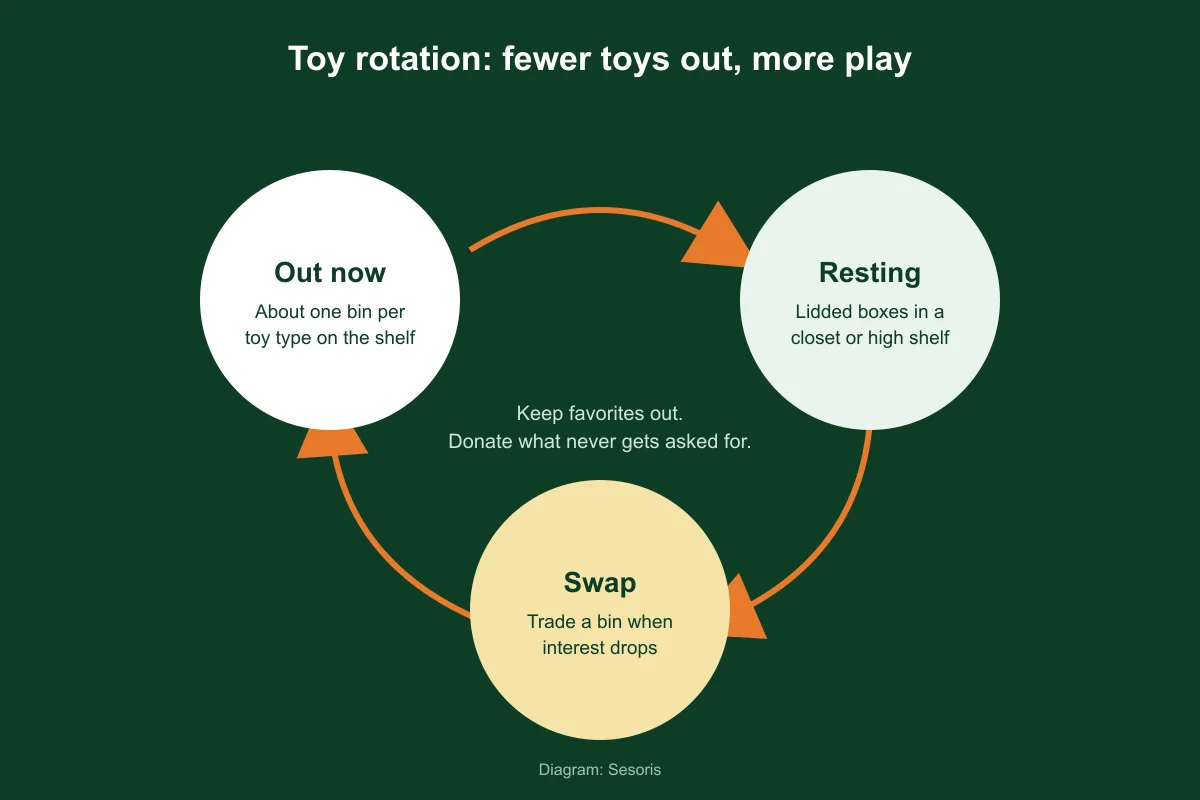
The most common reason a toy organizer fails is that there are simply too many toys for it. Toy rotation solves that without getting rid of anything. You keep a smaller set out and store the rest, then swap a bin or two when interest drops.
A simple routine:
- Keep about one bin per toy group on the shelf, plus a few favorites that never leave. 2. Store the rest in clear lidded boxes in a closet or on a high shelf, one toy type per box. 3. Every week or two, or whenever a bin sits untouched, swap it for a resting box. 4. While you swap, check for broken toys and missing pieces. 5. Anything nobody has asked for after a few rotations is a good candidate to donate.
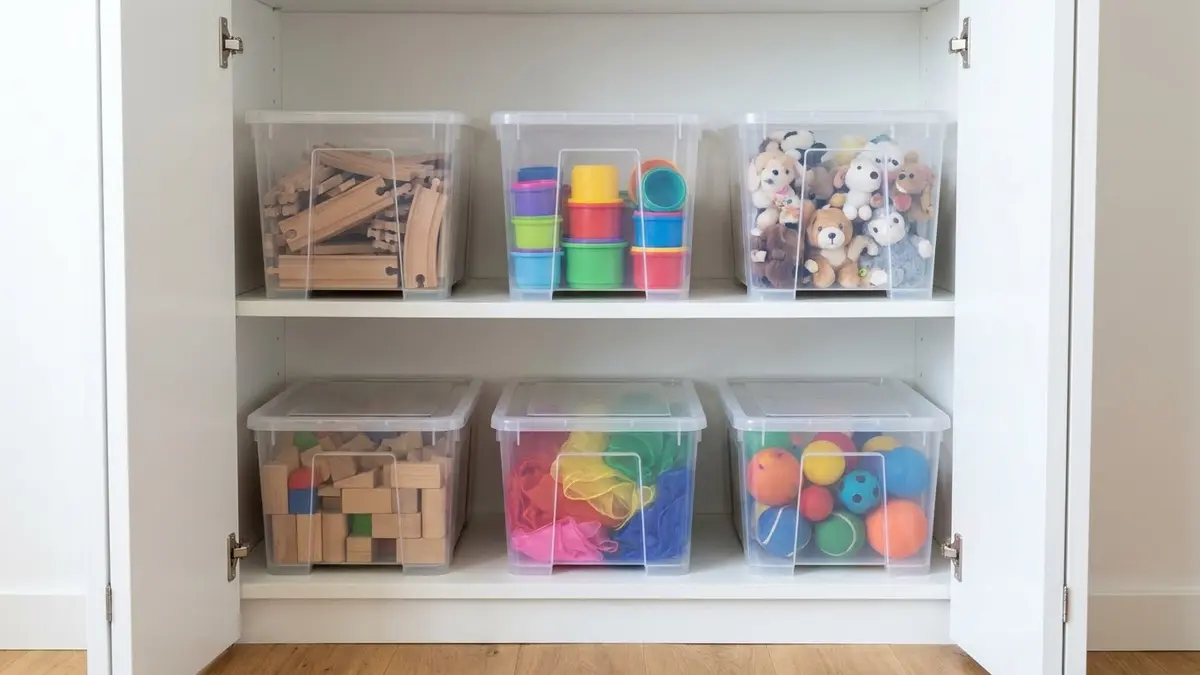
Rotation also makes the organizer you already have feel bigger. If a twelve-bin rack is overflowing, the problem is usually the number of toys in circulation, not the rack. For a whole-house reset, our guide on how to declutter your home explains how to sort, donate and keep the result.
Small Pieces Need Their Own System
Bricks, doll accessories, game pieces and art supplies defeat big bins. They sink to the bottom and get mixed with everything else. Give them their own small containers:
- Clear boxes with snap lids for sets with many parts, one set per box. - A divided caddy for crayons, markers and glue sticks that comes out to the table and goes back as a unit. - Zip pouches for card games and puzzle pieces from a box that has fallen apart. - A tray or mat for building sets so pieces stay in one place during play and can be poured back into the box.
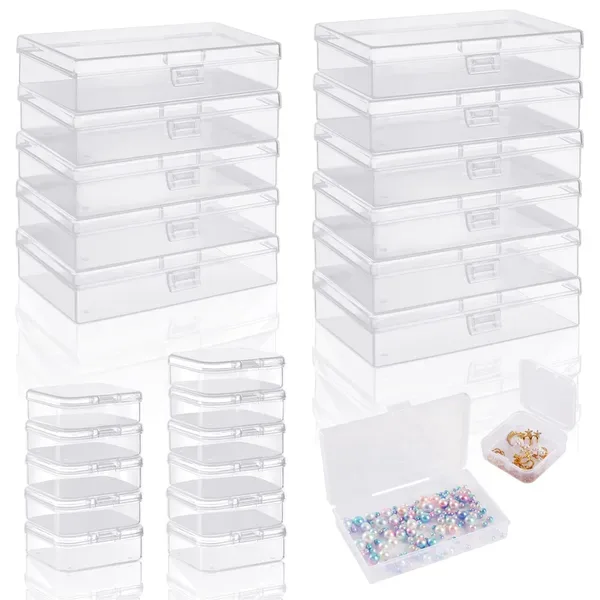
Small snap-lid boxes are made for this job. The 24-pack of clear plastic storage boxes comes in two sizes, twelve rectangular boxes of 5.11 x 3.14 x 1.18 inches and twelve square boxes of 2.16 x 2.16 x 0.78 inches, which suits doll accessories, game tokens and loose beads.
Keep these containers on the middle or top shelf when younger siblings are around, and keep the instructions for building sets flat in a folder so they do not crumple in the bin.
Common Toy Organizer Mistakes
- Buying storage before sorting. You end up with the wrong bin sizes. Sort first, then measure. - One giant bin for everything. A toy chest without dividers becomes a pile. Use it only for big, bulky toys. - Opaque bins with no labels. If a child cannot see or recognize what is inside, they dump it all out to find one thing. - Too many categories. Ten neat groups are hard for a four-year-old. Start with four or five broad ones. - Skipping the wall anchor. Even a short unit can tip when a child climbs the shelves. - Never editing. Toys arrive every birthday and holiday. Plan a quick review before each one.
For a wider look at the rest of the room, our nursery organization guide covers baby storage, and toy storage ideas in the living room has more ideas for shared spaces.
Frequently Asked Questions
What is the best toy organizer for a toddler?
A low, open organizer with a few large bins, such as a tilted bin rack or a cube shelf with open baskets, works best. Toddlers can see the toys, pull a bin out and drop toys back in without help. Keep small parts and anything with a heavy lid out of reach.
How many bins does a toy organizer need?
Count your toy groups first. Most children do well with about one bin per group on the shelf, often six to twelve bins in total, plus one empty bin for new arrivals. If you need many more, you probably have more toys out than your child can use at once, and toy rotation will help.
Should a toy organizer be anchored to the wall?
Yes, if it is tall enough to tip or if children climb it. The CPSC's Anchor It! campaign recommends anchoring all furniture with drawers, doors and shelves to the wall to prevent tip-over injuries. Load heavy toys in the bottom row as well.
Are toy chests safe?
They can be, if you choose carefully. Pick a chest without a lid, with a lightweight lid, or with a support that holds the lid open in any position, so it cannot fall on a child. Many families find that open bins are easier to keep organized anyway, because toys at the bottom of a chest get forgotten.
How do I store toys with small pieces?
Keep each set in its own clear box with a lid, and store those boxes on a high shelf if children under 3 live in or visit the home. The CPSC notes that products for children under 3 cannot contain small parts because of the choking risk, so older siblings' sets need closed storage.
How often should I rotate toys?
There is no fixed rule. Many parents swap a bin or two every week or two, or whenever a bin sits untouched. Keep a few favorites out all the time, and use each swap to check for broken toys and missing pieces.
How do I label toy bins for kids who cannot read?
Use a photo or a simple drawing of what goes inside on the front of each bin. A picture of a car on the car bin is enough. Older children can draw or choose the pictures themselves, which makes them more likely to use the system.
What can I use instead of a dedicated toy organizer?
A cube shelf with fabric bins, a bookcase with baskets, a rolling cart or a set of stackable clear boxes all work. The key is the same: low and open for daily toys, closed and high for small parts, and one container per toy group.
Final Thoughts
A good toy organizer is less about the piece of furniture and more about a few simple rules: one job per bin, everyday toys low and open, small parts high and closed, the unit anchored to the wall, and fewer toys out at once. Start with what you own, set it up with your child, and adjust it every few months as interests change. For more ideas to keep the rest of the house calm, browse our toy storage ideas for the living room and the full kids room organization ideas guide.
Liked this guide?
Get new organizing guides and the occasional new product by email. No spam, unsubscribe anytime.
Related articles


Explore more articles
- Wall Mounted Dish Rack: Complete Buying & Install Guide 2026
- Storage Boxes for Home: The Best 2026 Buying Guide
- Household Storage Rack: The Complete Guide to a Tidy Home
- Small Kitchen Cabinet Set Ideas for Tiny Homes
- Laundry Room Organization Containers: Complete Tutorial Guide to Transform Your Space in 2026
- 30+ Best Closet Organization Ideas for Nursery: Create the Perfect Baby Storage Space in 2026
- Bathroom Storage Ideas to Keep a Small Bathroom Tidy
- Label Organizer: Smart Labeling System for a Super Organized Home