
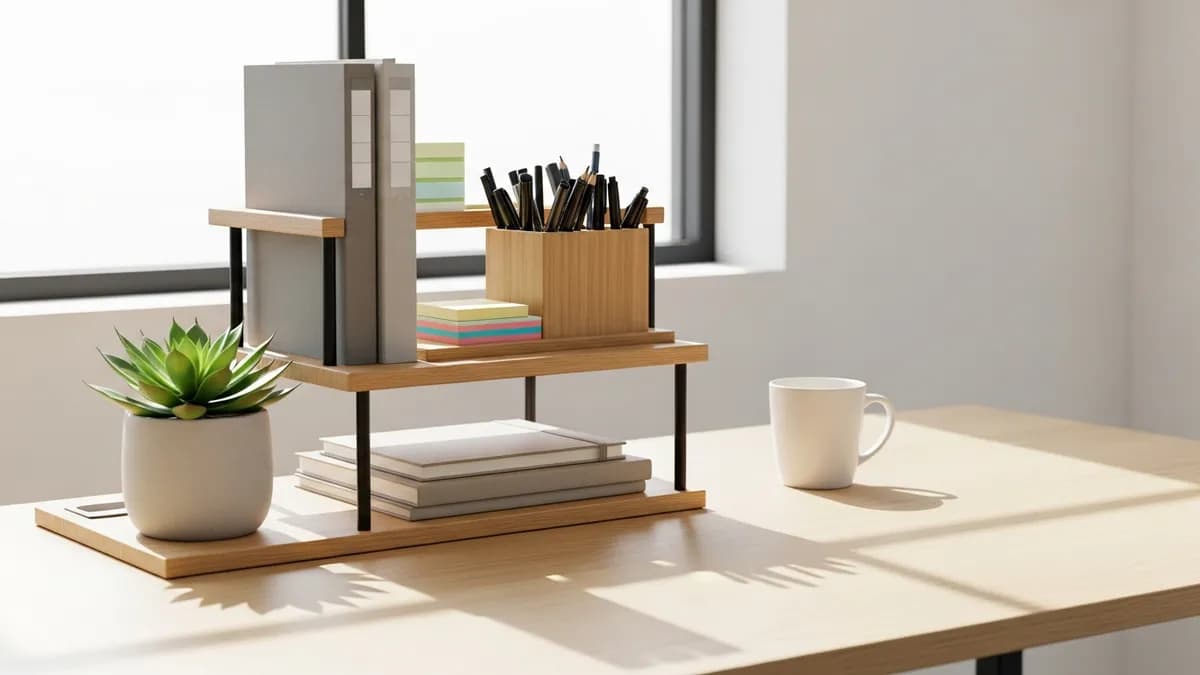
How to Set Up a Desk Organizer Rack: Step-by-Step Tutorial for a Productive Workspace in 2026
If your desk looks more like a paper avalanche than a productive workspace, a desk organizer rack might be exactly what you need in 2026. I have spent more time than I care to admit searching for a pen buried under a pile of random mail, and once I finally set up a proper desk organizer rack, my whole work-from-home routine changed for the better. In this step-by-step tutorial, I will walk you through everything: how to choose the right rack for your space, how to measure and prep your desk, how to assemble and arrange it, and how to keep it looking great long-term. Whether you work from a dedicated home office or a small corner desk, this guide has you covered.
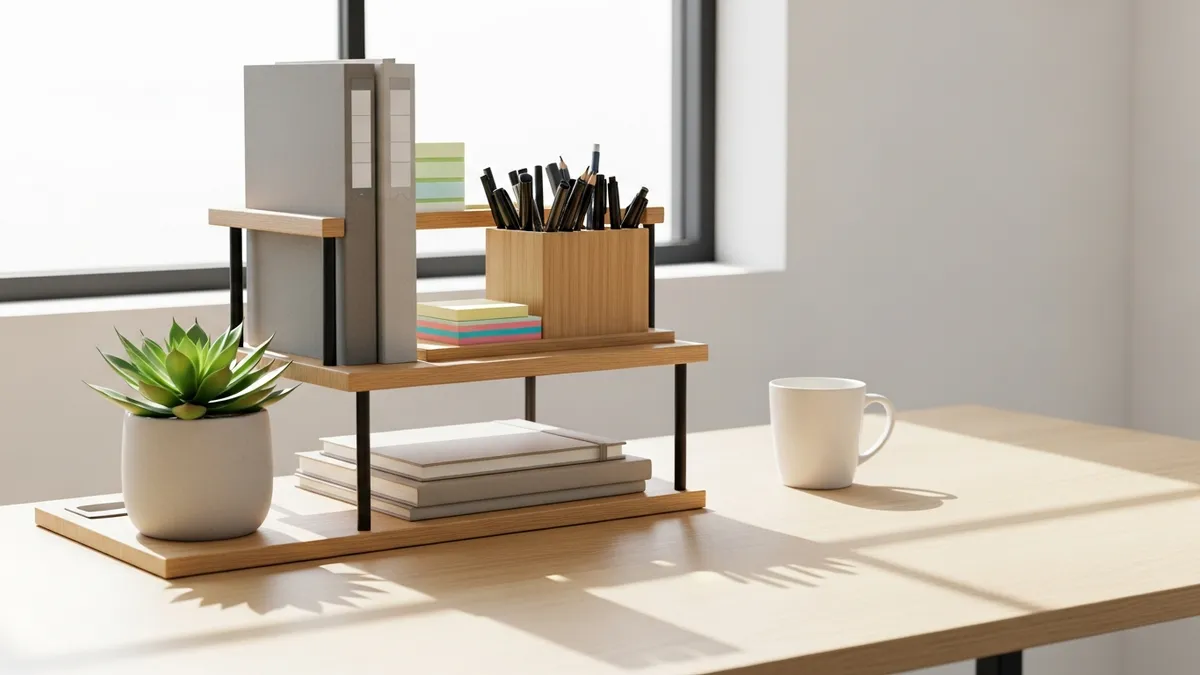
Why a Desk Organizer Rack Makes Such a Big Difference
A cluttered desk is not just an eyesore. A controlled experiment summarized by Harvard Business Review found that people working beside a messy desk took longer to complete an attention task. When everything on your desk has a designated spot, you spend less mental energy tracking down what you need and more energy actually doing your work. A well-chosen desk organizer rack acts as a command center for your workspace, keeping pens, notebooks, files, chargers, and small accessories all within arm's reach but completely out of the way.
Beyond productivity, a desk organizer rack can transform the visual feel of your space. A tidy desk communicates calm and control, which is especially important if you take video calls from home. In 2026, home offices are more visible than ever, and the background you present matters. Investing just a little time into setting up a proper rack pays off every single day.
Choosing the Right Desk Organizer Rack for Your Setup
Before you buy anything, you need to think about what kind of rack actually fits your workflow and your space. Not all desk organizer racks are created equal, and picking the wrong one can leave you with a cluttered solution that makes things worse. Here are the main types available in 2026 and who each one works best for.
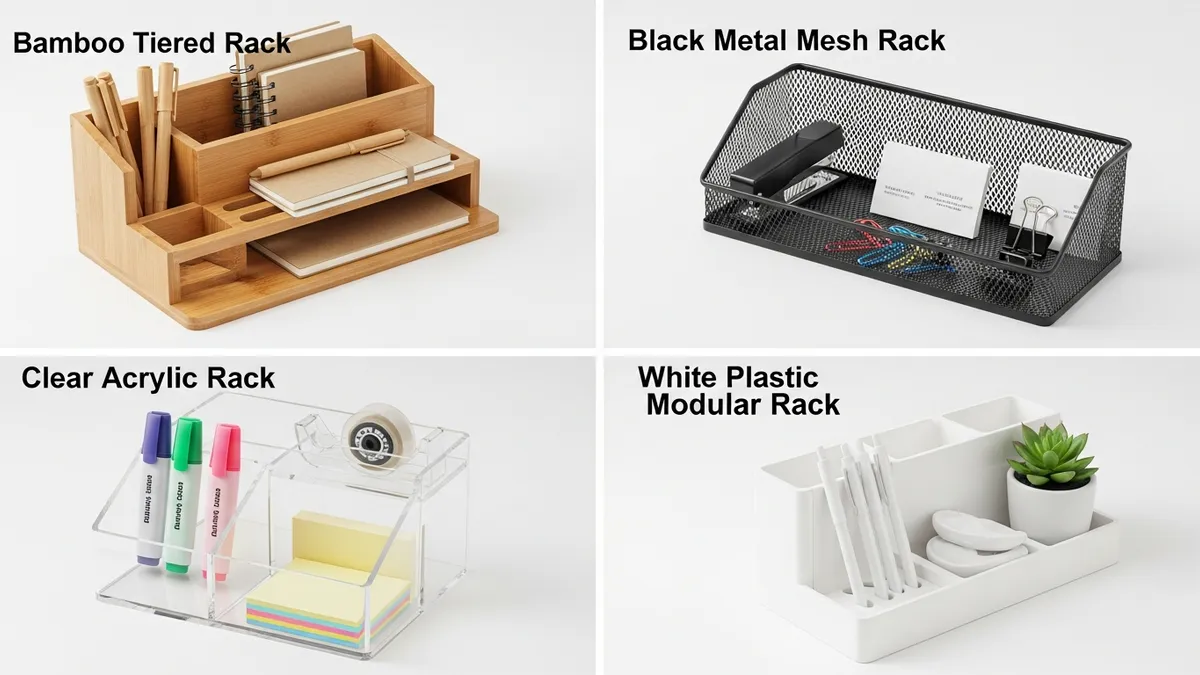
Types of Desk Organizer Racks
1. Multi-Tier Wooden or Bamboo Racks
These are popular in home offices that lean toward a warm, natural aesthetic. Bamboo racks are lightweight, sturdy, and eco-friendly. They typically stand between 8 and 14 inches tall and feature multiple open shelves or compartments. They look great on a light oak or walnut desk.
2. Metal Mesh Racks
Metal mesh is one of the most durable options available. These racks resist rust when coated properly, are easy to wipe down, and have an industrial or minimalist look that suits modern home offices. They often come in black, silver, or matte white and range from 6 to 16 inches wide.
3. Acrylic Clear Racks
If you want your desk accessories to be visible but your organizer to feel invisible, clear acrylic is the way to go. These racks work well in small spaces because they do not visually add bulk to your desk. They are especially popular for makeup vanity desks that double as workspaces.
4. Modular Plastic Racks
Modular systems let you snap together compartments as your needs grow. They tend to be the most budget-friendly option and work well for students or people who frequently rearrange their workspace.
Key Features to Look For
- Number of tiers or compartments: Match the number of sections to how many categories of items you need to store.
- Weight capacity: Check that the rack can hold your heaviest items, like a full row of binders, without bowing.
- Footprint size: Measure your desk surface first (more on that next) and look for a rack that leaves at least 18 inches of open workspace in front of you.
- Material finish: Choose a finish that complements your desk color so the whole setup feels cohesive.
- Ease of cleaning: Open mesh and smooth surfaces are far easier to wipe down than racks with lots of tiny crevices.
You can browse a curated selection of home and office organizers at the Sesoris Collections page to find options that match your style.
Step 1: Measure Your Desk and Define Your Zones

This is the step most people skip, and it is also the reason most desk organization attempts fail within a week. Before you place any organizer on your desk, you need to know exactly how much space you are working with and how you intend to use it.
How to Measure Your Desk
- Use a standard tape measure and record the full width and depth of your desk surface in inches.
- Note any fixed obstacles: a monitor stand, a lamp base, a desktop computer tower sitting on the surface.
- Subtract those fixed items from your available width to determine how many inches you realistically have for a rack.
- Decide where on the desk the rack will live. Most people place it at the back-left or back-right corner, leaving the center clear for their primary work area.
Define Your Desk Zones
Think of your desk surface the same way a professional kitchen thinks about counter space. Assign a zone to each activity:
- Primary work zone: The 18 to 24-inch area directly in front of you where you type, write, or draw.
- Reference zone: The area just behind your primary zone, where your monitor, notepad, and most-used tools live. This is where your desk organizer rack will go.
- Storage zone: The far back edge or corners, good for items you use less than once a day.
Defining these zones first means your rack has a logical home before you even open the box.
Step 2: Sort Everything Currently on Your Desk
Before you assemble or place your new desk organizer rack, clear your desk completely. Put every single item in a pile on the floor or a nearby table. Then sort the pile into three groups:
- Keep on the desk: Things you reach for every single day, like your primary pen, a notepad, your phone charger, and your most-used reference binder.
- Store elsewhere: Things you use occasionally but not daily, like extra printer paper, backup batteries, or seasonal items. These go into a drawer, shelf, or storage bin.
- Toss or donate: Broken pens, expired coupons, random receipts from three years ago, duplicate cables you forgot you had. Be ruthless here.
The goal is not to organize everything you own onto your desk. The goal is to keep only what earns its place on the surface every single day.
This sorting step is what separates a desk that stays organized from one that looks great for a week and then slides back into chaos. For more tips on decluttering your home spaces, check out the Home Decluttering Tips article on the Sesoris blog.
Step 3: Assemble Your Desk Organizer Rack
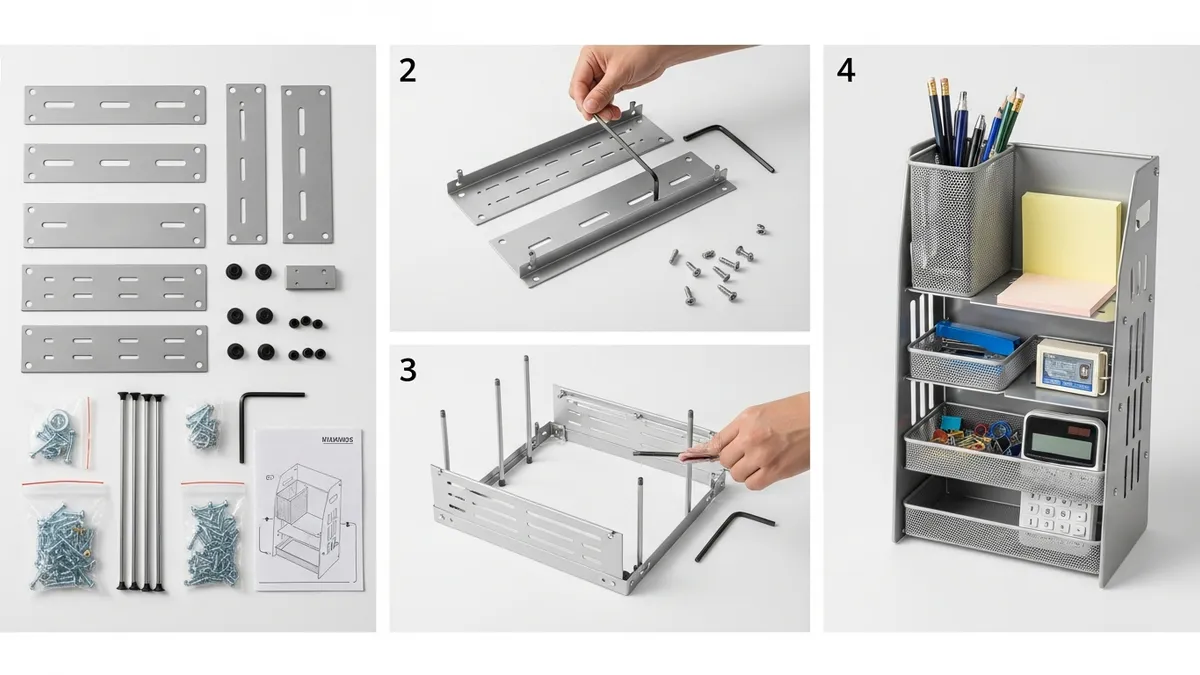
Most desk organizer racks arrive partially or fully assembled, but some multi-tier metal or modular plastic options require light assembly. Here is how to do it correctly without frustration.
Tools You Might Need
- A small Phillips-head screwdriver (included with many racks)
- A rubber mallet for snapping plastic connectors firmly into place
- A clean, flat surface to lay out all pieces before you begin
Assembly Steps
- Open the box carefully and remove all parts without cutting into the packaging with a knife, which can scratch finished surfaces.
- Lay all pieces out in front of you and match them against the instruction diagram. Count screws and connectors before you start to make sure nothing is missing.
- Start from the base. Whether it is a metal frame or a wooden tier, always build from the bottom up for stability.
- Hand-tighten all screws first before going back and tightening them fully. This prevents the rack from going together slightly crooked.
- Snap modular connectors firmly. For plastic modular systems, use the heel of your palm or a rubber mallet wrapped in a cloth to snap sections together fully. A half-snapped connector will fail under load.
- Check for wobble. Once assembled, set the rack on a flat surface and press gently on each corner. If it rocks, check whether any feet are uneven or whether a screw needs another quarter-turn.
- Apply felt pads to the bottom if your rack did not come with them. Felt pads protect your desk surface from scratches and also prevent the rack from sliding around.
Assembly on most consumer desk organizer racks takes between 5 and 20 minutes. If yours takes longer, pause and re-read the instructions rather than forcing any piece.
Step 4: Place and Load Your Desk Organizer Rack
Now comes the satisfying part: actually loading your rack with your carefully sorted items. There is a method to doing this well, and it makes a huge difference in how functional the setup feels.
The Loading Principle: Frequency First
Place items based on how often you reach for them:
- Eye-level or top tier: Your absolute most-used items. For most people this means one or two pens or markers, a small notepad, and perhaps a sticky note pad.
- Middle tier: Items you use several times a week but not every single session, like a stapler, tape dispenser, or a small reference booklet.
- Bottom tier or widest shelf: Heavier or bulkier items like a file sorter with current project folders, a small binder, or a row of frequently consulted books.
Weight Distribution
Always load the heaviest items on the lowest tier. This lowers the rack's center of gravity, prevents tipping, and reduces stress on the upper joints or shelf supports. A top-heavy desk organizer rack is a safety hazard on a desk, especially if you have children or pets at home.
Leave Breathing Room
Do not pack every slot to capacity. Leave at least one empty compartment in your rack. That open space serves two purposes: it gives you a visual break that makes the whole setup feel calm rather than stuffed, and it leaves room for a new item that earns a place on your desk in the future without forcing a complete reorganization.
Step 5: Style Your Desk Organizer Rack to Make It Feel Like Yours
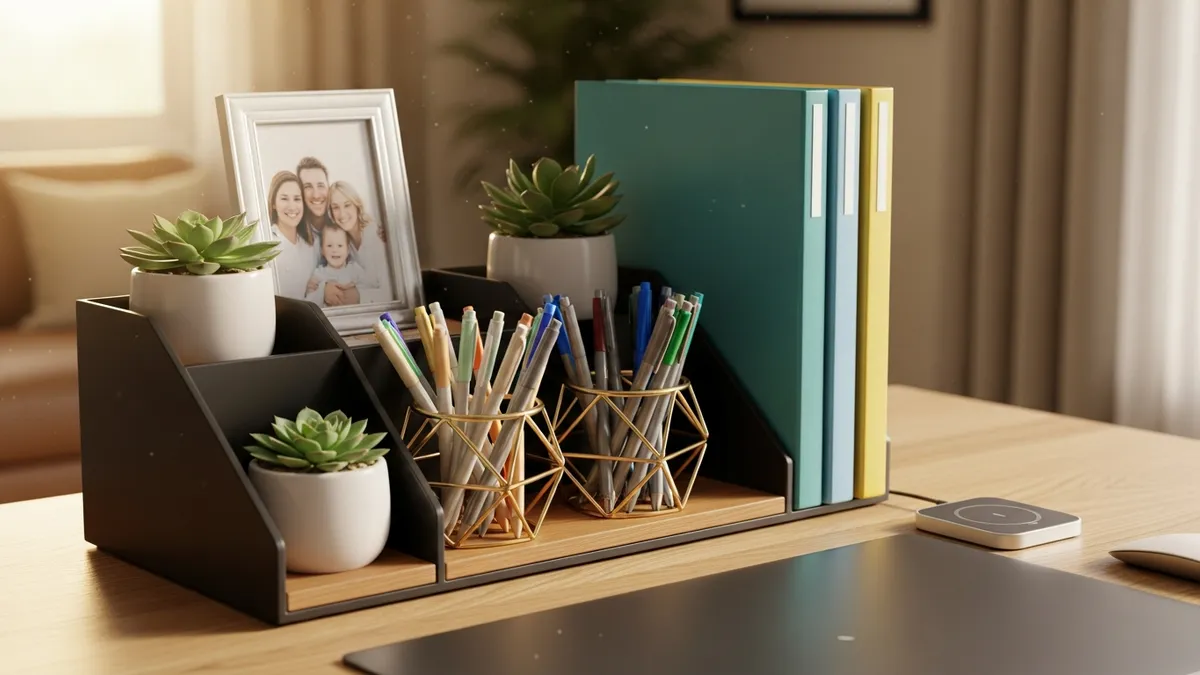
A functional desk organizer rack does not have to feel purely utilitarian. Styling it thoughtfully makes you more likely to maintain the system because you actually enjoy looking at it. Here are some practical ways to add personality without adding clutter.
Add a Small Plant
A small pothos or snake plant can sit in one corner of your rack without taking up much footprint. Plants add a natural element that softens the look of metal or plastic. Iowa State University Extension lists pothos and snake plants among low-maintenance options that tolerate ordinary indoor light and moderate watering.
Use Color Coding
Assign a color to each category of items in your rack. For example, blue pens and blue sticky notes go in one slot, red pens and red flags go in another. Use colored file folders in your file sorter section. This makes it faster to grab what you need at a glance and gives your setup a curated, intentional look.
Keep Personal Items to a Minimum
One small framed photo, one meaningful object. That is enough. The desk is a workspace first, and personal items beyond that tend to become visual noise over time. Pinterest has great examples of minimal desk organization aesthetics if you want visual inspiration before finalizing your setup.
Match Your Materials
If you have a bamboo rack, use a bamboo pen cup and a cork mousepad to create a cohesive material story. If your rack is black metal mesh, pair it with black accessories and a dark leather mousepad. Cohesion makes a desk look professionally styled without spending much money.
For even more home office inspiration, visit the Sesoris Best Sellers page to see what other organized households are gravitating toward in 2026.
Step 6: Build a Maintenance Routine That Sticks
The most beautifully set-up desk organizer rack in the world will descend into clutter if you do not have a simple habit to maintain it. Here is how to keep it working for you long-term.
The Two-Minute Daily Reset
At the end of every workday, spend two minutes returning every item on your desk to its designated spot in the rack. If something does not have a spot, it either needs to earn one by displacing something else or it needs to go somewhere else entirely. Two minutes is all it takes once the system is set up correctly.
The Weekly Wipe-Down
Once a week, remove everything from your rack and wipe it down with a slightly damp microfiber cloth. Dust accumulates surprisingly fast on open rack surfaces, and a quick wipe keeps the whole setup looking sharp. For metal racks, follow up with a dry cloth to prevent any moisture from sitting on the surface.
The Monthly Audit
Once a month, quickly review what is in the rack and ask whether each item still earns its spot. Priorities change, projects end, and new tools arrive. A monthly five-minute audit prevents slow drift back toward clutter.
Related Products from Sesoris
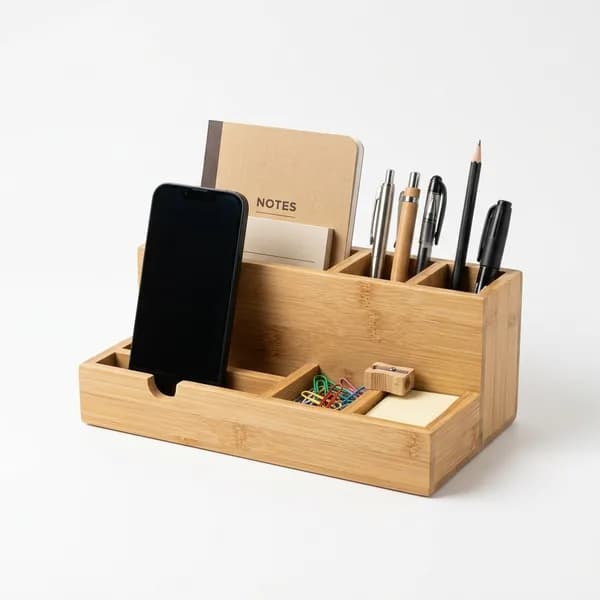
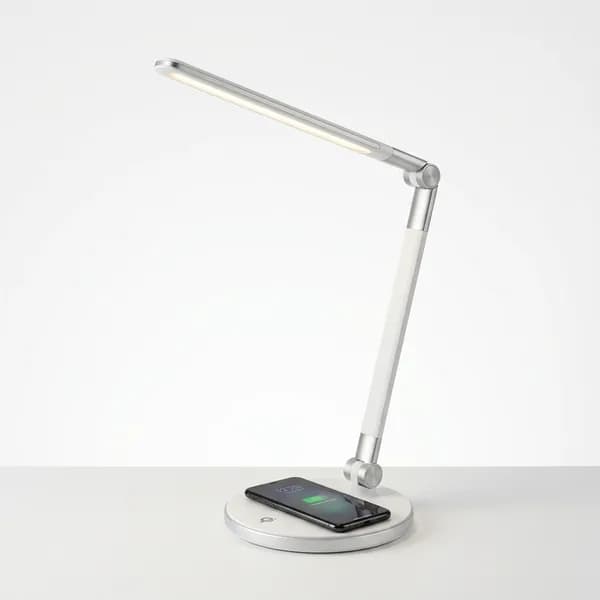
If you want to turn this guide into a real setup, start with LED Desk Lamp with Wireless Charger and Bamboo Desk Organizer. For broader options, browse the Desk & Workspace collection so the article journey does not stop at reading only.
Our practical rule: choose one product that solves the main clutter problem first, then add supporting organizers only when the daily workflow is already clear. This keeps the shopping path useful, not pushy.
FAQ: Frequently Asked Questions About Desk Organizer Racks
Q: What size desk organizer rack should I get for a small desk?
For a desk that is 40 inches wide or smaller, look for a rack with a footprint no wider than 12 inches and no deeper than 8 inches. This leaves you enough open surface to work comfortably. Many compact multi-tier racks designed for studio apartments and dorm rooms fit this specification well.
Q: Can I use a desk organizer rack for a standing desk?
Yes, but pay extra attention to the rack's stability and weight capacity. Standing desks are often adjusted up and down, and the motion can cause items on a top-heavy or lightweight rack to shift or tip. Choose a rack with a wide base and non-slip feet, and avoid placing heavy items on the upper tiers.
Q: How do I keep a metal desk organizer rack from scratching my desk?
Apply self-adhesive felt pads to all contact points on the bottom of the rack. You can find these at any hardware store for a few dollars. Alternatively, place a thin desk mat or blotter under the rack as an additional buffer.
Q: Is it worth buying a modular desk organizer rack versus a fixed one?
Modular racks offer more flexibility as your needs change, which makes them a smart investment if you frequently switch between projects or if your workflow evolves often. Fixed racks tend to be sturdier and cleaner-looking for a set workflow. If you know exactly what you need to store, a fixed rack is typically the better buy.
Q: How many compartments do I actually need?
A good rule of thumb is to count the number of distinct categories of items you keep on your desk and add one. That extra compartment gives you flexibility without overcrowding the rack. Most people find that four to six compartments covers a typical home office setup comfortably.
Conclusion
Setting up a desk organizer rack is one of the simplest and most satisfying home organization projects you can tackle in 2026. When you follow the steps in this tutorial, from choosing the right type and measuring your space, to assembling it correctly, loading it thoughtfully, styling it with personality, and maintaining it with a simple daily habit, you end up with a workspace that genuinely supports how you work and how you want to feel at your desk every day. The difference between a chaotic desk and a calm, productive one is often just a well-placed rack and a clear system behind it. Ready to find the perfect desk organizer rack for your home? Browse the full range of office and home organization solutions at Sesoris and discover everything you need to live more organized in 2026.
Weekly Home Tips
Get home organization ideas, product picks, and exclusive deals delivered weekly.
No spam. Unsubscribe anytime.



Explore More Articles
- Food Storage Containers Airtight: Complete Tutorial Guide to Keeping Food Fresh in 2026
- Garage Storage Solutions Near Me: Complete Review & Buying Guide for 2026
- Home Office Organizer: How to Set Up a Productive Workspace
- Label Organizer: Smart Labeling System for a Super Organized Home
- How to Organize a Small Apartment Kitchen
- Home Decluttering Guide for Beginners
- Under Bed Storage: Maximize Your Bed's Hidden Storage Space
- 25+ Best Entryway Organization Ideas to Transform Your Home's First Impression in 2026