
How to Build a DIY Under-Sink Storage System: Complete Step-by-Step Tutorial for 2026
Learn how to build a DIY under-sink storage system with this complete 2026 tutorial. Maximize every inch of hidden cabinet space today!
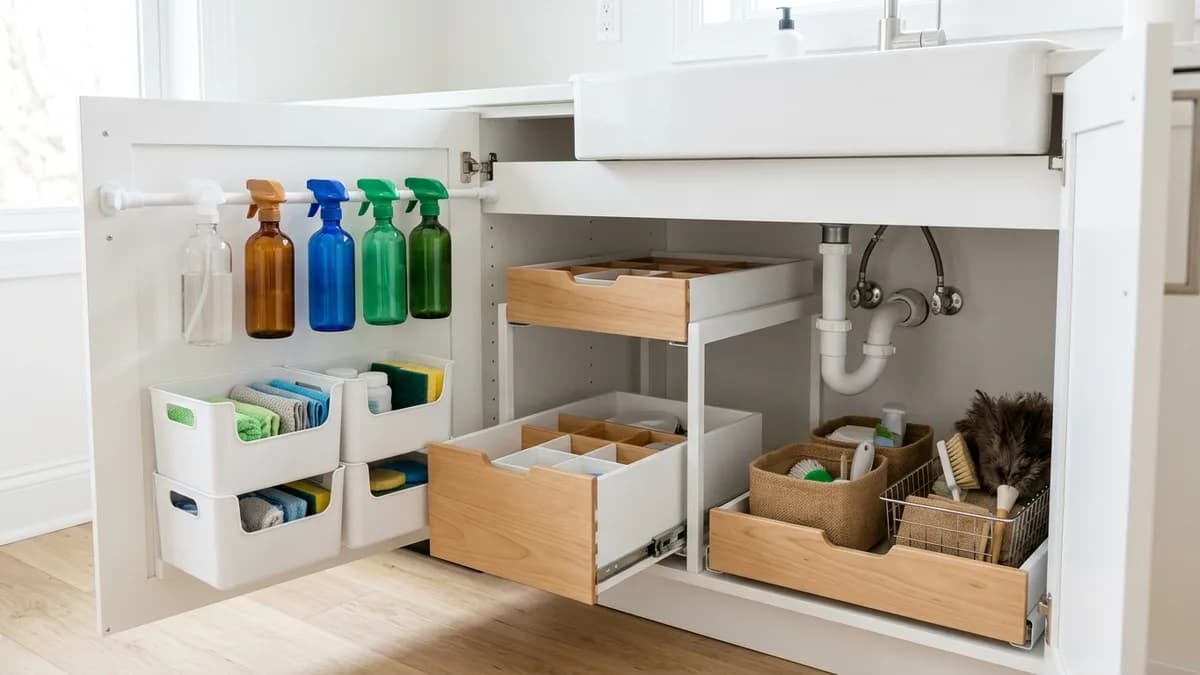
To build a DIY under-sink storage system, first check for leaks and measure the cabinet around its pipes, then fit removable shelves, a narrow pull-out tray or rated tension-rod accessories without blocking service access. Keep cleaning products in their original containers and follow their storage labels. This tutorial separates cabinet organization from plumbing work, so you can improve access without moving the P-trap, drilling near hidden services or assuming that paint makes wood waterproof.
Why a DIY Under-Sink Storage System Is Worth Your Time in 2026
Under-sink cabinets are awkward by design. The plumbing pipes, garbage disposal units, and curved interior walls make standard shelving units almost useless out of the box. Most households end up just stacking items on the cabinet floor, which means the top two-thirds of the space goes completely unused. A properly built DIY system works around those obstacles and can realistically double or triple your usable storage.
Beyond the practical benefits, an organized under-sink area has a real ripple effect on your daily routine. When your cleaning supplies are easy to grab and easy to put back, you are far more likely to actually clean regularly. The same goes for bathroom essentials: when backup toiletries are visible and accessible, you stop buying duplicates because you forgot what you had.
For more inspiration on maximizing overlooked cabinet space, check out our guide to under-sink organizer ideas and our detailed look at best under-sink organizers for bathrooms.
What You Need Before You Start: Tools, Materials, and Safety
Getting organized before you build is half the battle. Here is exactly what to gather before you begin your DIY under-sink storage project.
Tools Required
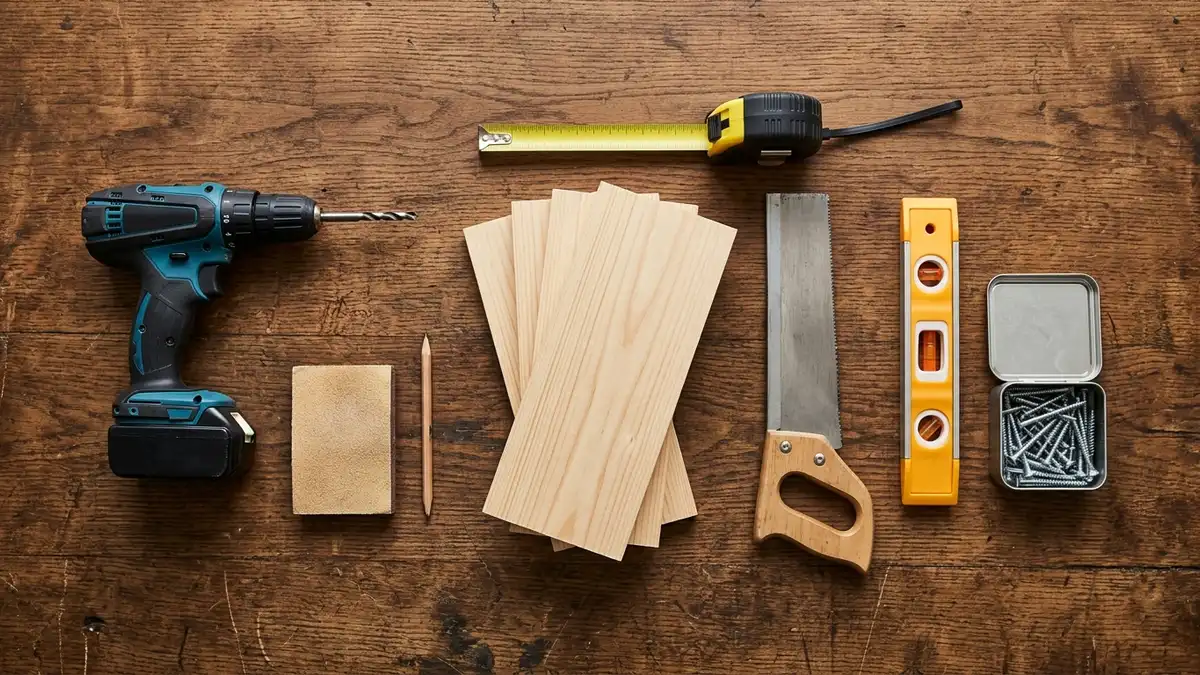
- Tape measure (a 25-foot tape gives you plenty of range)
- Pencil for marking cuts and drill points
- Cordless drill with a basic bit set
- Hand saw or circular saw for cutting shelf boards
- Sandpaper (120-grit and 220-grit)
- Level to keep shelves straight
- Screwdriver (flat-head and Phillips)
- Safety glasses and work gloves
Materials List
- 3/4-inch plywood or MDF board for shelves and pull-out drawers (a single 4-foot by 8-foot sheet is usually enough for one cabinet)
- Wood screws (1-1/4-inch and 2-inch lengths)
- L-brackets (4 to 8 pieces, depending on your design)
- Drawer slides or low-profile slide rails (a pair of 12-inch or 16-inch slides per pull-out drawer)
- Tension rods (two or three, for the no-drill hanger hack)
- Sandable wood primer and paint or sealant (optional but recommended for moisture resistance)
- Command strips or adhesive hooks for lightweight add-ons
- Small bins or baskets for sorting categories
A Note on Moisture and Safety
Under-sink cabinets can experience drips or dampness. The EPA guide to mold, moisture and the home identifies moisture control as the key to mold control and recommends correcting water problems. Inspect pipe joints and cabinet surfaces before fitting shelves. A finish or liner may make routine cleanup easier, but it does not make the cabinet leakproof; never cover an active leak or block access needed for repairs.
Step 1: Measure Your Cabinet and Map the Plumbing
This is the most critical step in the entire tutorial. A shelf that is one inch too wide will not fit, and a drawer that runs into a pipe will be useless. Take your time here.
How to Measure Accurately
- Clear the cabinet completely. Remove every item so you have an unobstructed view.
- Measure the interior width at three points: front, middle, and back. Cabinets are rarely perfectly square, so use the smallest measurement minus 1/4 inch as your build width.
- Measure the interior depth from the back wall to just inside the door frame.
- Measure the interior height at the front, center, and back to account for any slanting.
- Map the plumbing. Use a pencil to lightly sketch the position of the drain pipe, supply lines, and any shutoff valves on a piece of paper. Note the height and horizontal position of each obstacle.
- Identify the dead zones. These are the areas that pipes make unusable for a flat shelf. You will design around these or cut notches into your boards to accommodate them.
Pro tip: Take photos of your measurements and plumbing sketch with your phone. Refer to them while you are at the hardware store or cutting boards, and you will avoid costly mistakes.
Step 2: Design Your Under-Sink Storage Layout
Now that you have your measurements, it is time to decide what your system will include. Most under-sink spaces benefit from a combination of three or four elements:
Option A: Two-Tier Fixed Shelf
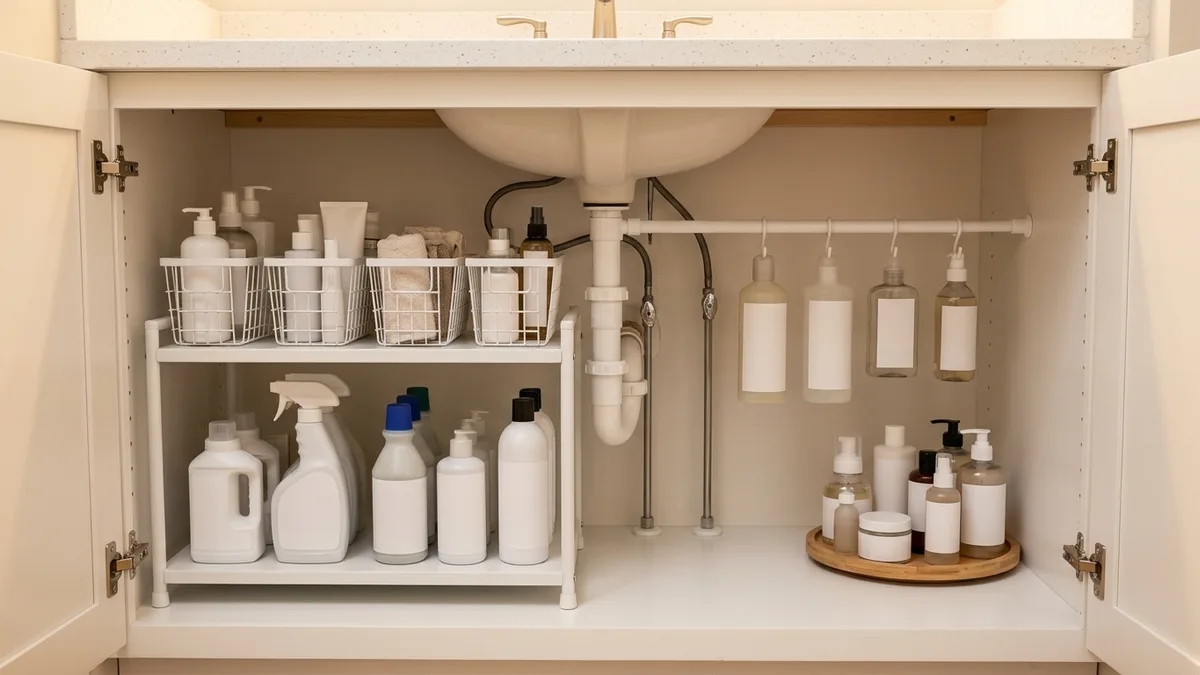
A simple raised shelf that sits above the pipe curve and creates a second level of storage. This is the easiest build and works well for bathroom cabinets where pipes tend to be lower and more centered.
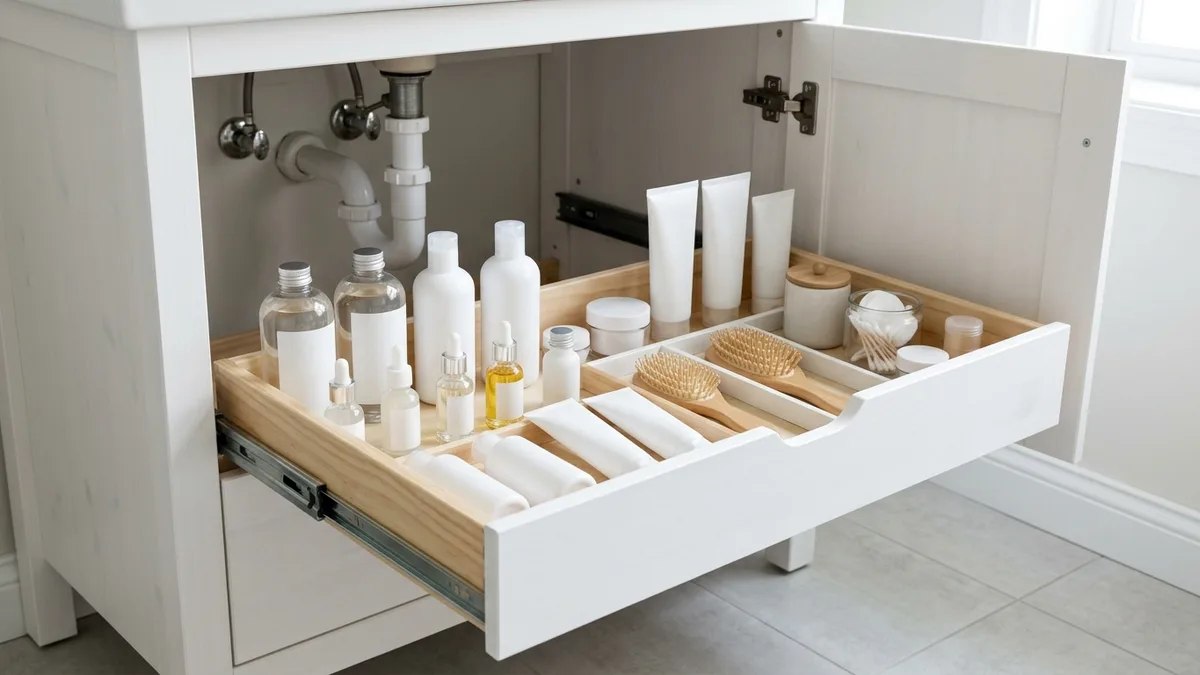
Option B: Pull-Out Drawer on Slide Rails
A shallow drawer mounted on low-profile slide rails gives you full access to items at the back without digging around. This is especially useful for kitchen cabinets where you store a lot of small bottles and sponges.
Option C: The Tension Rod Spray Bottle Hack
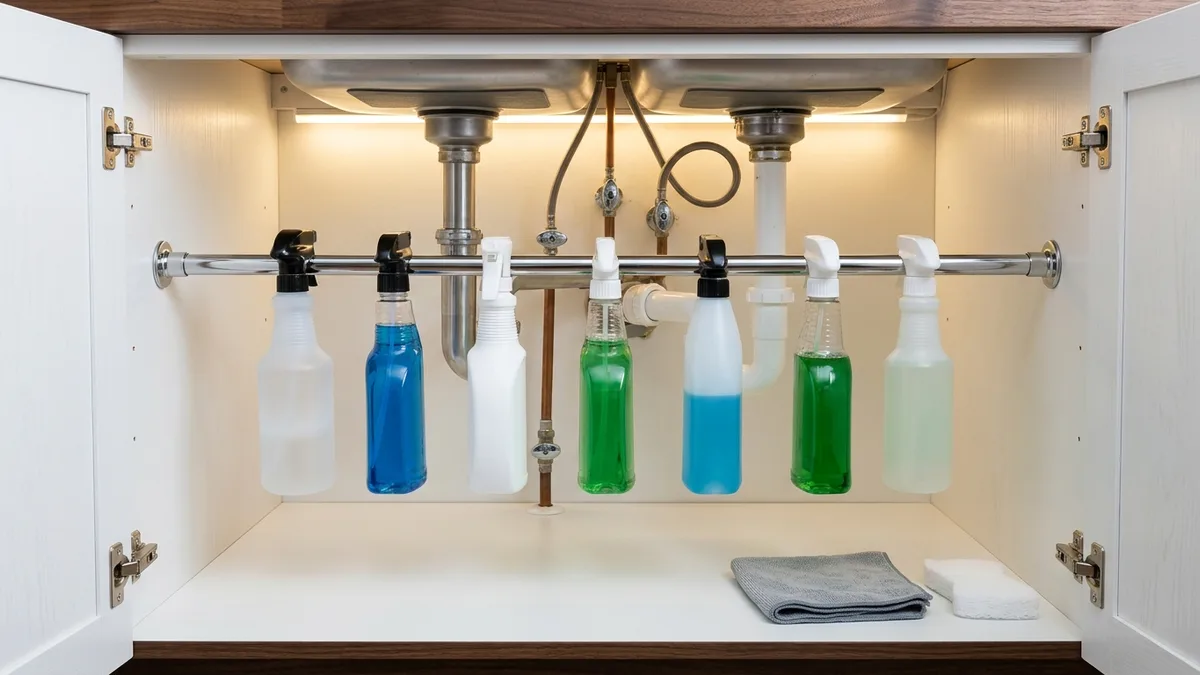
A completely no-drill solution that takes about five minutes. Two tension rods stretched horizontally across the cabinet, with spray bottle triggers hooked over the front rod, lift your bottles off the floor and expose the shelf space below. This hack is covered in detail in Step 4.
Option D: Corner Turntable (Lazy Susan) Add-On
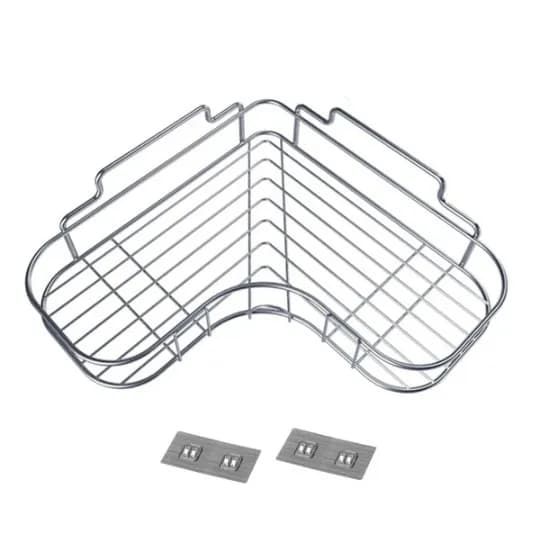
A small spinning turntable in one corner of the cabinet makes items at the back instantly accessible without pushing everything out of the way.
For most kitchen cabinets, we recommend combining Option B and Option C. For bathroom cabinets, Option A and a turntable add-on work beautifully together. Mix and match based on your specific plumbing layout and what you actually store under there.
Step 3: Cut, Sand, and Seal Your Shelf Boards
With your design locked in, it is time to build the physical components. This step covers cutting and finishing your wood pieces before anything goes into the cabinet.
Cutting the Boards
- Transfer your measurements onto your plywood or MDF sheet using a pencil and a straight edge.
- Cut slowly and steadily. If you are using a circular saw, clamp a straight board along your cut line as a guide rail to keep the blade on track.
- Cut any pipe notches. For boards that need to fit around a drain pipe, cut a U-shaped notch using a jigsaw. The notch should be about 1/2 inch wider than the pipe diameter to allow for slight movement.
- Test-fit every piece before finishing. Slide each cut board into the cabinet and confirm it fits without forcing. A piece that goes in tight at room temperature can bind when humidity rises.
Sanding and Sealing
- Sand all cut edges with 120-grit sandpaper first, then finish with 220-grit for a smooth surface.
- Apply a coat of moisture-resistant wood primer to all surfaces, including the underside and edges. Let it dry completely according to the product directions.
- Apply two coats of semi-gloss or satin paint or a clear polyurethane sealant. Semi-gloss is ideal because it is easy to wipe clean and resists moisture well.
- Let everything cure for at least 24 hours before installing. Rushing this step is the most common DIY mistake.
Step 4: Install Your Storage Components
Now comes the satisfying part. Follow these sub-steps in order for a clean, stable result.
Installing a Fixed Two-Tier Shelf
- Mark your shelf height on both side walls of the cabinet interior. Use your level to make sure both marks are perfectly horizontal.
- Screw L-brackets into the cabinet side walls at your marks. Use two brackets per side for a shelf up to 18 inches deep, and three per side for anything deeper.
- Rest the shelf board on the brackets and confirm it is level.
- Drill pilot holes through the shelf into the top of each bracket and secure with 1-1/4-inch screws. Pilot holes prevent the wood from splitting.
- Test by pressing down firmly on the shelf before loading it with anything heavy.
Installing a Pull-Out Drawer
- Mount the drawer slide rails on the cabinet floor using the screws provided with the slides. Most 12-inch slides need just two screws each. Use your level to keep both rails parallel.
- Build your drawer box. Cut four side pieces and one bottom piece from your plywood. Assemble with wood glue and 1-1/4-inch screws at each corner. The drawer should be about 1/2 inch narrower than the space between the two rails.
- Attach the second half of each slide to the outside of your drawer box at the same height as the rail on the cabinet floor.
- Slide the drawer onto the rails and test the glide. It should move in and out smoothly with no rocking.
- Add a simple drawer pull by drilling a small hole through the front face of the drawer and securing a cabinet knob with a bolt from the inside.
The No-Drill Tension Rod Hack
- Choose tension rods that extend to your cabinet's interior width. Most under-sink cabinets need rods that extend to between 17 and 24 inches.
- Position the first rod about 4 inches from the front of the cabinet, at a height that clears any bins sitting on the cabinet floor.
- Position the second rod about 3 inches behind the first, at the same height.
- Hang spray bottles by hooking their trigger handles over the front rod. The back rod stabilizes the bottles and keeps them from swinging.
- Adjust as needed. Most tension rods can hold up to 10 pounds without slipping, but check your specific product's weight rating before loading heavily.
Step 5: Organize the Space with Bins, Labels, and Smart Categories
A great storage structure is only as useful as the system you put inside it. Once your shelves, drawers, and rods are in place, the final step is to load and label everything thoughtfully.
Sorting by Category
For a kitchen under-sink cabinet, group items into three categories:
- Daily use: dish soap, scrub brushes, sponges, hand soap refill. Keep these at the front of the pull-out drawer.
- Weekly cleaning supplies: multi-surface spray, glass cleaner, disinfectant wipes. Hang sprays on the tension rod; store flat bottles in a bin on the raised shelf.
- Backup and refills: extra soap, replacement sponges, extra trash bags. Store these at the back of the shelf where they are out of the way but still visible.
For a bathroom under-sink cabinet, use these categories:
- Morning routine essentials: face wash, toothpaste backup, cotton rounds.
- Hair and styling tools: heat protectant, dry shampoo, small brushes.
- Backup toiletries: extra shampoo, conditioner, body wash.
- Cleaning supplies: toilet bowl cleaner, bathroom spray.
Labeling
Labels are not optional if you want the system to stay organized over time. Use a label maker or printable adhesive labels on each bin. Clear, simple labels like "Dish Soap," "Cleaning Spray," and "Refills" are better than vague ones. For a deep dive into labeling systems, our storage bin labels guide and label organizer article are excellent resources.
Choosing the Right Bins
- Wire baskets allow air circulation and make it easy to see contents at a glance.
- Clear acrylic bins are ideal for bathroom cabinets where you want to see exactly how much of each product you have left.
- Fabric-lined bins add a softer look but are harder to wipe down if something spills.
For more on choosing containers that work under the sink, our home storage solutions guide covers material comparisons in detail.
Maintaining Your DIY Under-Sink Storage System
Building the system is a one-time project. Keeping it functional takes just a few minutes each month.
Monthly habits to build in:
- Do a 5-minute reset. Take everything out, wipe the shelf and drawer surfaces with a damp cloth, and put items back in their designated spots.
- Check for moisture. Look beneath the pipes and along the cabinet floor for damp spots. Fix water problems promptly and dry wet materials within 24 to 48 hours, as advised in the EPA moisture-prevention guidance. Do not assume that adding an organizer prevents mold.
- Audit your supplies. Remove empty containers and products you no longer use, following the label and local disposal instructions. Keep the remaining items easy to identify rather than transferring them into decorative, unlabeled bottles.
- Reassign categories as needed. Your needs change over time. It is perfectly fine to reconfigure a bin from "Hand Soap Refills" to "Pet Supplies" if that is what you actually need the space for now.
Seasonal habit:
Every six months, pull the entire system out if possible and do a deeper clean of the cabinet floor and walls. This is also a good time to check that all screws and brackets are still tight and that the drawer slides are still gliding smoothly. A drop of silicone-based lubricant on the slide rails keeps them working like new.
For more home organization habits that actually stick, our morning routine organization guide and Sunday reset routine tutorial are great companion reads.
Budget Breakdown: What This Project Actually Costs
One of the best things about a DIY under-sink storage system is how affordable it is compared to pre-built organizer kits that often do not fit properly anyway. Here is a realistic cost estimate for a single cabinet build in 2026:
- 3/4-inch plywood (half-sheet, 4 ft x 4 ft): US$20 to US$30
- L-brackets (pack of 8): US$8 to US$12
- Drawer slides (one pair, 12-inch): US$10 to US$18
- Wood screws (mixed pack): US$6 to US$10
- Tension rods (2-pack): US$8 to US$15
- Primer and paint (small can): US$10 to US$16
- Bins and baskets (3 to 5 pieces): US$12 to US$30
- Labels and label maker (if you do not own one): US$15 to US$25
Budget note: The figures in the planning list are illustrative allowances, not verified current retailer prices or a quotation. Check local prices, pack sizes, hardware ratings and delivery costs before buying. Do not assume a DIY system will cost less than a ready-made organizer; price both options for the same measured cabinet and required features.
Store Cleaning Products Safely
Before returning cleaning supplies, read the storage directions on every label. The EPA Read the Label First household safety guide explains that household cleaners and pesticides should remain in their original containers and that transferring them into food or drink containers is dangerous. Do not use a clear decanted bottle just because it matches the organizer. Retain the original label and lid, and follow product-specific precautions around children and pets.
Keep this cabinet accessible for inspection. A pull-out tray must clear the plumbing along its entire travel, not only when closed. Avoid placing fixings into unknown areas of the cabinet wall. Test the organizer empty first, then load gradually within the documented hardware limit. Any plumbing alteration belongs with a qualified professional, not this storage tutorial.
Related Products from Sesoris
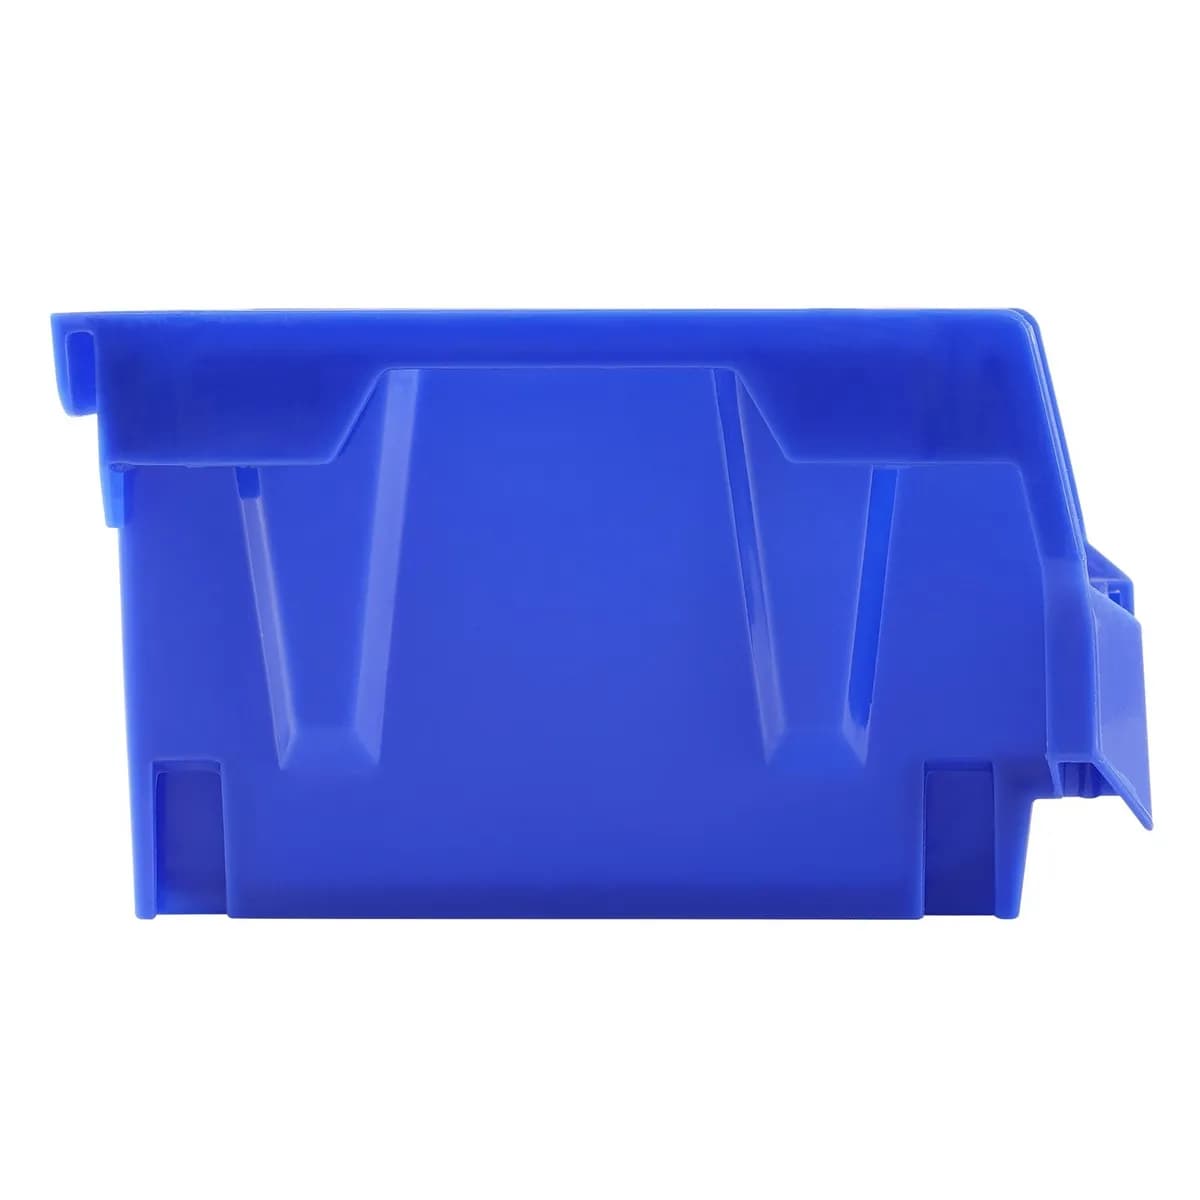
For a removable under-sink layout, compare the actual plumbing clearance with the dimensions of the Pull-Out Cabinet Organizer, 17 in. Wide. The Stackable Storage Bins, 24 Pack may suit small separated supplies if their size and intended use fit. The Home & Decor collection is a browsing option, not proof that any listed item can be safely mounted around pipes.
Use the cabinet for a few days before adding more accessories. Check that the tap, drain and supply valves remain reachable and that containers do not obscure a developing leak.
FAQ: Frequently Asked Questions About DIY Under-Sink Storage
Q: What if my cabinet has a garbage disposal unit that takes up a lot of space?
A garbage disposal is a common obstacle in kitchen under-sink cabinets. The best approach is to build a narrow pull-out drawer on the side of the disposal that has more clearance, and use the other side for a simple fixed shelf or tension rod arrangement. Measure the usable width on each side of the disposal separately and design two mini-systems rather than one large one.
Q: Can I do this project without any power tools?
Yes, with some modifications. Hardware stores like Home Depot and Lowe's will cut lumber to your exact dimensions for a small fee, eliminating the need for a saw. You can use a hand screwdriver instead of a drill for the L-brackets if the wood is pre-drilled. The tension rod hack requires zero tools at all. The pull-out drawer is the one component that genuinely benefits from a drill, but you can skip it and use a pre-made plastic pull-out bin on the cabinet floor instead.
Q: How do I handle the P-trap pipe that curves and takes up vertical space?
The P-trap is the curved pipe directly under the drain. It is usually the tallest obstacle in the cabinet. The solution is to build your lower fixed shelf at a height that clears the top of the P-trap, typically 8 to 12 inches off the cabinet floor depending on your specific plumbing. This still leaves a usable space above the shelf and the pull-out drawer can slide in below, on either side of where the P-trap sits.
Q: Is MDF or plywood better for under-sink shelves?
Plywood is generally the better choice for under-sink applications because it handles moisture better than MDF. MDF can swell and crumble if it gets wet repeatedly, even when painted. That said, if you seal MDF thoroughly with a primer and two coats of oil-based paint on all six sides including the cut edges, it will perform reasonably well. Plywood gives you more peace of mind with less effort.
Q: How long does this project take from start to finish?
Plan for a half-day project if you are working alone. Measuring and planning takes about 30 minutes, a hardware store run takes 30 to 60 minutes, cutting and sanding takes about an hour, and sealing requires 24 hours of drying time. Installation of all components takes about 1 to 2 hours once the wood is dry. Most people spread the project across a Saturday afternoon and Sunday morning.
Conclusion
A DIY under-sink storage system can make cleaning and toiletries easier to reach when it is designed around the actual plumbing. Start with removable organizers, preserve service access and address leaks before adding any shelving. The appropriate layout and final cost depend on your cabinet, materials and hardware; no fixed budget or waterproof result is guaranteed.
The key takeaways: measure carefully around your plumbing before buying any materials, always seal your wood against moisture, combine a fixed shelf with a pull-out drawer and the tension rod hack for maximum efficiency, and label every bin so the system stays organized long after the excitement of a fresh build wears off.
Ready to keep building on your organization wins? Browse our full range of home storage solutions at Sesoris to find bins, baskets, labels, and organizers that complement your new system perfectly. Check out our new arrivals for the latest products and our best sellers for community favorites. Live More Organized starts with one cabinet, and now you know exactly how to make it happen.
Liked this guide?
Get new organizing guides and the occasional new product by email. No spam, unsubscribe anytime.
Related articles
Glasslock Food Storage Containers: Complete Guide to Premium Glass Storage Solutions in 2026
How to Organize Kitchen Cabinets Step by Step: Complete Tutorial for a Functional, Clutter-Free Kitchen in 2026
Pantry Food Storage Containers: The Complete 2026 Tutorial Guide to a Beautifully Organized Kitchen
Explore more articles
- 25+ Under Sink Organizer Ideas for a Tidy 2026
- Clothes Storage Organizer: The Complete 2026 Guide
- Minimalist Home Organization Tips for a Clutter-Free 2026
- Wall Mounted Dish Rack: Complete Buying & Install Guide 2026
- Stackable Plastic Spice Rack: Ideas for a Tidy Kitchen
- Minimalist Shelf Ideas: 25+ Stylish Picks for 2026
- Household Storage Rack: The Complete Guide to a Tidy Home
- Kitchen Storage Rack: How to Choose the Best One 2026