
How to Organize a Junk Drawer Once and For All: Complete Step-by-Step Tutorial for 2026
Learn how to organize a junk drawer in 2026 with this step-by-step tutorial. Declutter, sort, and maintain a tidy catch-all drawer for good.
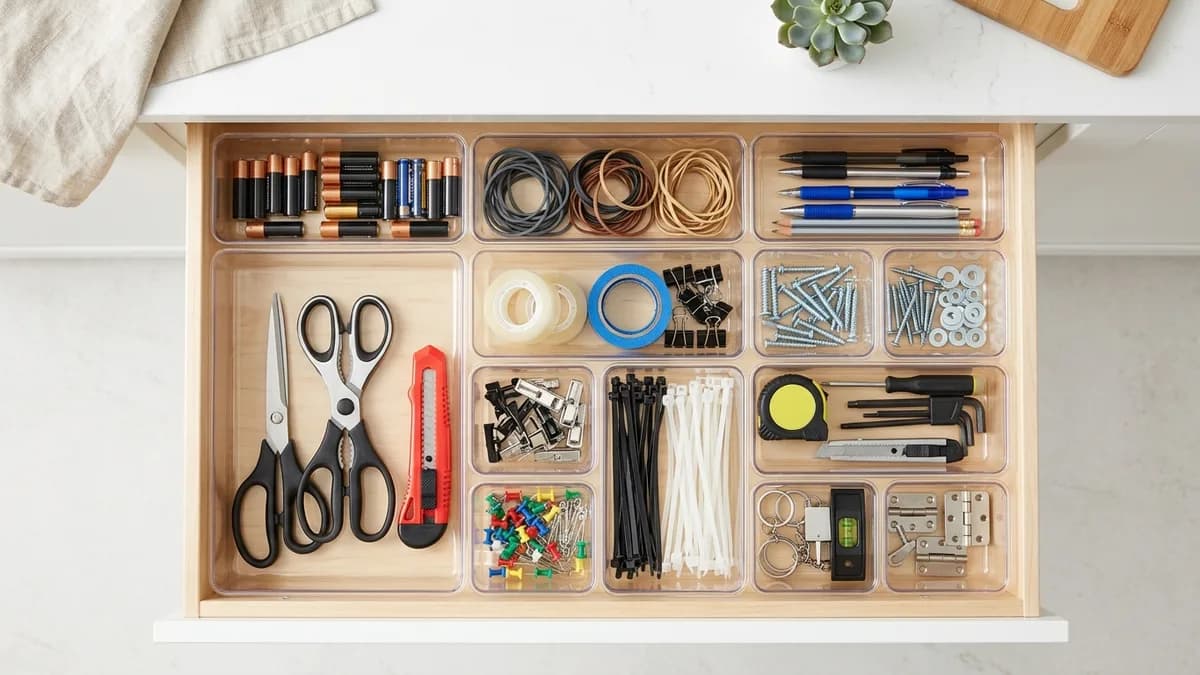
Every home has one: the drawer that collects everything without a home of its own. Whether it is tucked in the kitchen, a hallway console, or a home office desk, the junk drawer tends to become a black hole for batteries, rubber bands, takeout menus, mystery keys, and forgotten pens. The good news is that learning how to organize a junk drawer is one of the fastest home organization wins you can score in a single afternoon. In this step-by-step tutorial, we will walk you through exactly how to empty, sort, contain, and maintain a catch-all drawer so it actually works for your household in 2026.
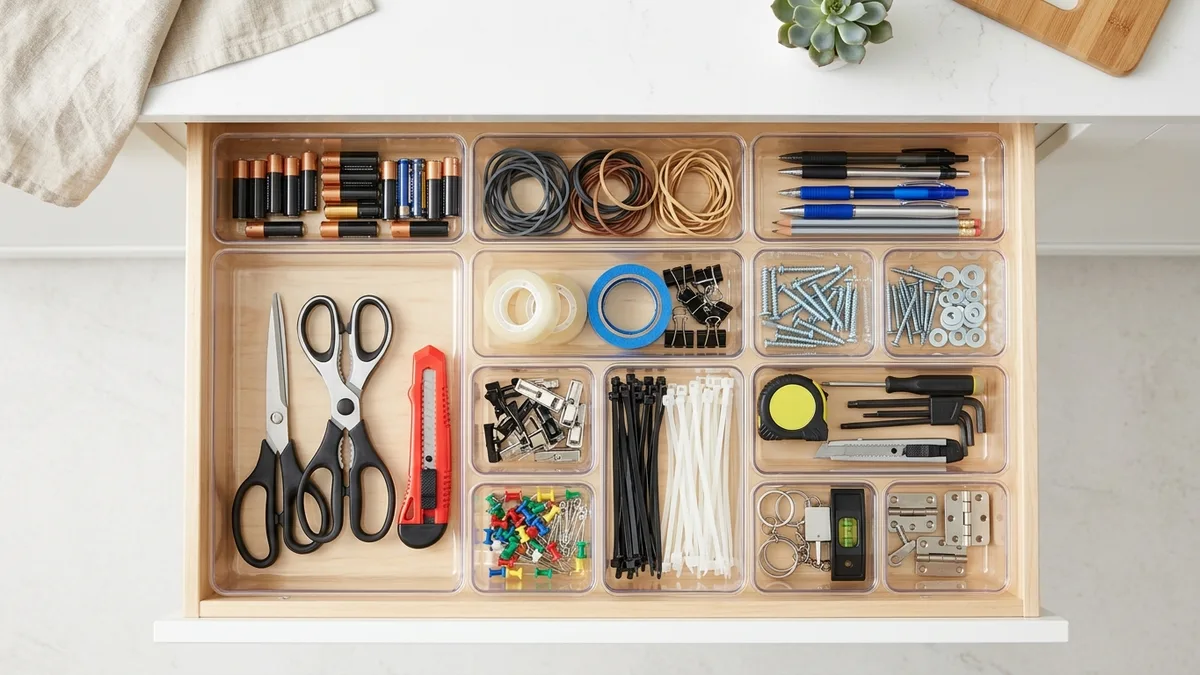
Why Organizing a Junk Drawer Is Worth Your Time
It is easy to dismiss the junk drawer as a lost cause, but an organized catch-all drawer saves you real time every single week. Think about the last time you spent five minutes digging for a pen that actually worked, or hunting down the right batteries before they were needed urgently. Those small friction moments add up across a household.
Beyond saving time, an organized drawer reduces the mental clutter that comes from knowing you have a chaotic space lurking in your home. According to The Spruce, one of the most effective organizing strategies is to give every item a designated home, even in a catch-all space. A junk drawer that follows a loose system still beats one with zero system at all.
Finally, getting this drawer under control sets a foundation for tackling bigger organizational projects. If you have been inspired by guides like our home decluttering tips for a calm, organized home, the junk drawer is the perfect low-stakes starting point.
What You Will Need Before You Start
Gathering your supplies before you begin makes the whole process move faster. Here is everything you need to organize a junk drawer from scratch:
- A clean, flat surface such as a kitchen counter or table where you can spread everything out
- A trash bag or recycling bin placed right next to your work area
- A donation box for items that belong in another room or no longer serve your household
- Modular drawer organizer trays or dividers sized to fit your specific drawer (measure first)
- Adhesive labels or a label maker to identify each compartment
- A few small resealable bags for grouping tiny items like screws, thumbtacks, or spare buttons
- Sticky notes and a pen for quick category labels during the sorting phase
Measuring your drawer before buying organizer inserts is the most important prep step. Most standard kitchen junk drawers range from 12 to 18 inches wide and 18 to 24 inches deep, but dimensions vary widely. A tray that is even a quarter-inch too wide will not sit flat. Pull the drawer out entirely if possible, measure the interior width, depth, and height, and write those numbers down before shopping. Our label organizer guide has great tips on choosing the right labeling system once you are ready for that step.
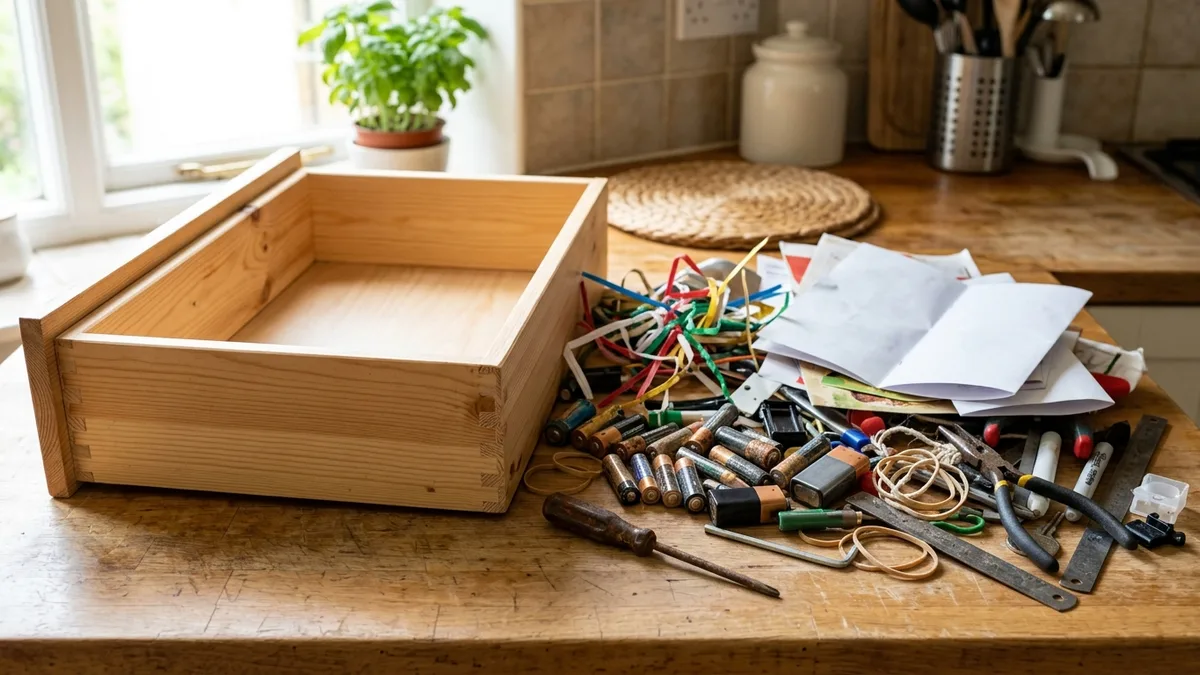
Step 1: Empty the Drawer Completely
The most important rule of any successful drawer organization project is to start with a completely empty drawer. Do not try to reorganize around existing contents. Pull everything out and place it on your flat work surface.
Once the drawer is empty, wipe it down with a damp cloth. Crumbs, dust, and sticky residue build up over time and a clean surface makes the whole drawer feel refreshed before you even put a single item back. If the drawer has a removable liner, this is a great time to replace it or add one for the first time.
Why a Full Empty-Out Matters
Skipping this step is the single biggest reason most junk drawer organization attempts fail within a few weeks. When you sort through the entire pile at once, you can see exactly what you have, identify duplicates, spot items that do not belong in that drawer at all, and make intentional decisions about what deserves a place there going forward.
Step 2: Sort Everything Into Categories to Organize Your Junk Drawer
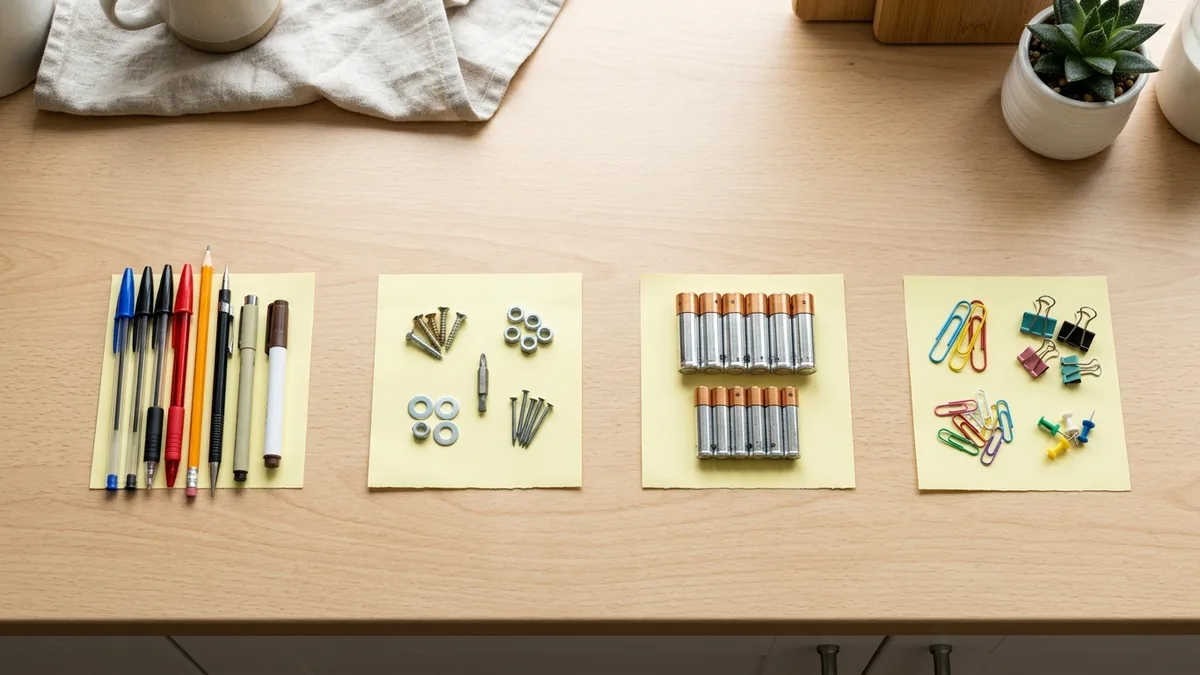
With everything spread out on your work surface, begin grouping like items together. Do not worry about your final layout yet. Just sort. Common categories that emerge from most junk drawers include:
Use this simple sorting table as you empty the drawer, so every item lands in one of the right piles the first time.
| Category | Typical items | Keep in the junk drawer? |
|---|---|---|
| Daily tools | Scissors, tape, pens, small screwdriver | Yes, front zone |
| Small hardware | Batteries, picture hooks, spare screws | Yes, in a lidded section |
| Paper | Receipts, takeout menus, warranty cards | No, file or recycle |
| Cords and chargers | Cables, adapters, earbuds | Only the ones you use; store the rest elsewhere |
| Mystery items | Unknown keys, loose parts | Hold for 30 days in a labeled bag, then decide |
- Writing tools such as pens, pencils, markers, and highlighters (test each one and toss any that are dry)
- Batteries grouped by size (AA, AAA, 9V, etc.)
- Small tools such as a mini screwdriver set, a tape measure, or a small utility knife
- Adhesives and tape including clear tape, masking tape, and rubber bands
- Paper and notes like sticky note pads, coupons, or takeout menus
- Cords and chargers that have lost their devices or do not have a dedicated storage spot yet
- Keys that you can or cannot identify
- Miscellaneous hardware such as picture hooks, screws, and spare wall anchors
- First aid basics like a few bandages or an antiseptic wipe packet
As you sort, create a separate pile for items that belong somewhere else entirely. A stray battery cover that belongs on a remote goes back to the living room. A spare measuring spoon belongs in the kitchen utensil drawer. A receipt goes in your home office files. Relocating misplaced items now prevents the drawer from creeping back into chaos later.
Discard ruthlessly during this step. Dried-up pens, dead batteries, expired coupons, menus from restaurants that have closed, mystery cables with no matching device, and keys you have not been able to identify in over a year all belong in the trash or recycling bin. If you are unsure about whether a battery is still good, most hardware stores carry inexpensive battery testers. The U.S. Consumer Product Safety Commission advises disposing of damaged or leaking batteries promptly and carefully to avoid skin or eye irritation, so check each one before tossing it carelessly.
Step 3: Choose the Right Drawer Organizer System
Now that you know exactly what you are keeping and in what quantities, you can choose the right containment system. This is the step where most people make their biggest mistake: buying organizer trays before they know what they need to contain. Because you have already sorted, you now have a clear picture.
Types of Drawer Organizers to Consider
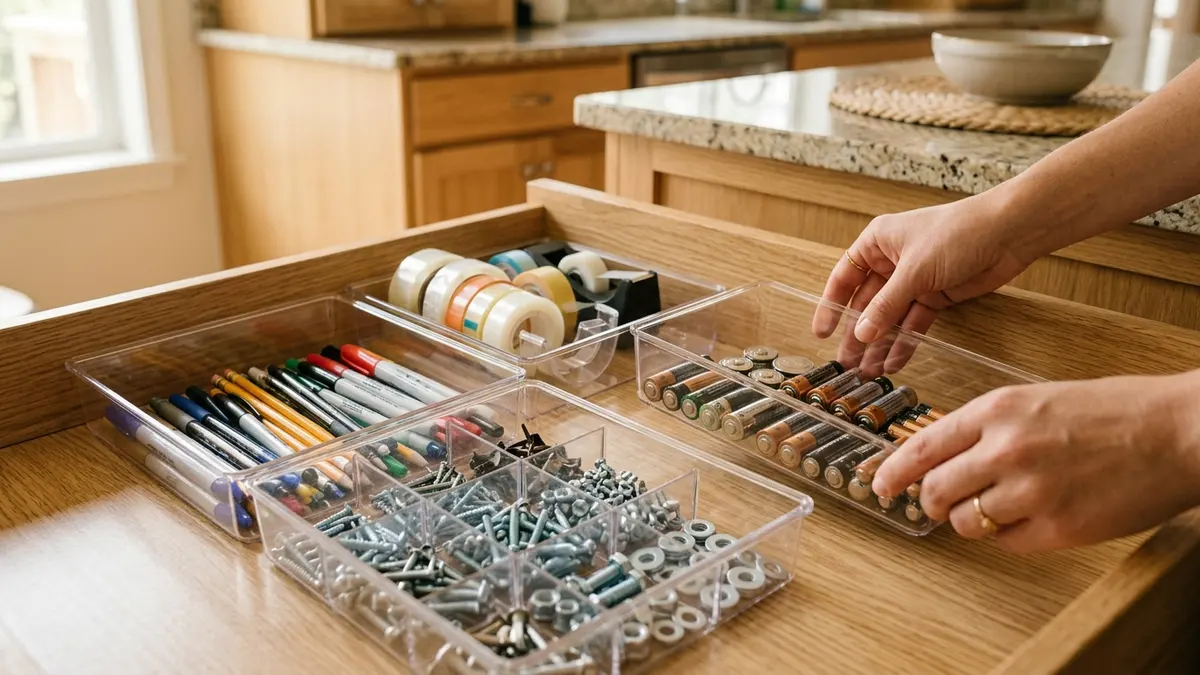
Modular interlocking tray systems are the most flexible option. They come in sets of multiple tray sizes that snap or nest together to fill your drawer without gaps. These work especially well for junk drawers because you can rearrange compartments as your needs change. Look for trays made from BPA-free plastic or bamboo for a more natural look.
Fixed-grid organizers are single-piece inserts with preset compartment sizes. They are tidy and inexpensive but offer less flexibility. If your drawer contents are fairly predictable and consistent, a fixed grid works great.
Small bins and containers inside the drawer are an alternative approach. Repurposing small boxes, shallow bowls, or open containers you already own can work perfectly well. The key is that every category gets its own container with no overlap.
Stackable solutions are worth considering if your drawer has extra vertical height. Some deeper drawers can accommodate a shallow tray on the bottom and a second level of small containers on top, effectively doubling storage capacity.
When shopping, look for organizer sets in the US$8 to US$25 range for a standard drawer. Bamboo organizers tend to run US$15 to US$30 and offer a warmer aesthetic that blends with natural kitchen finishes. You can find a range of home organization products at various price points to match any budget.
Step 4: Assign a Zone for Every Category
Before placing items back, sketch a rough layout of how your organizer trays will be arranged. Think about frequency of use. Items you reach for almost every day, like pens or tape, belong in the front of the drawer for easy access. Items you need only occasionally, like a spare set of picture hooks or an extra tape measure, can live toward the back.
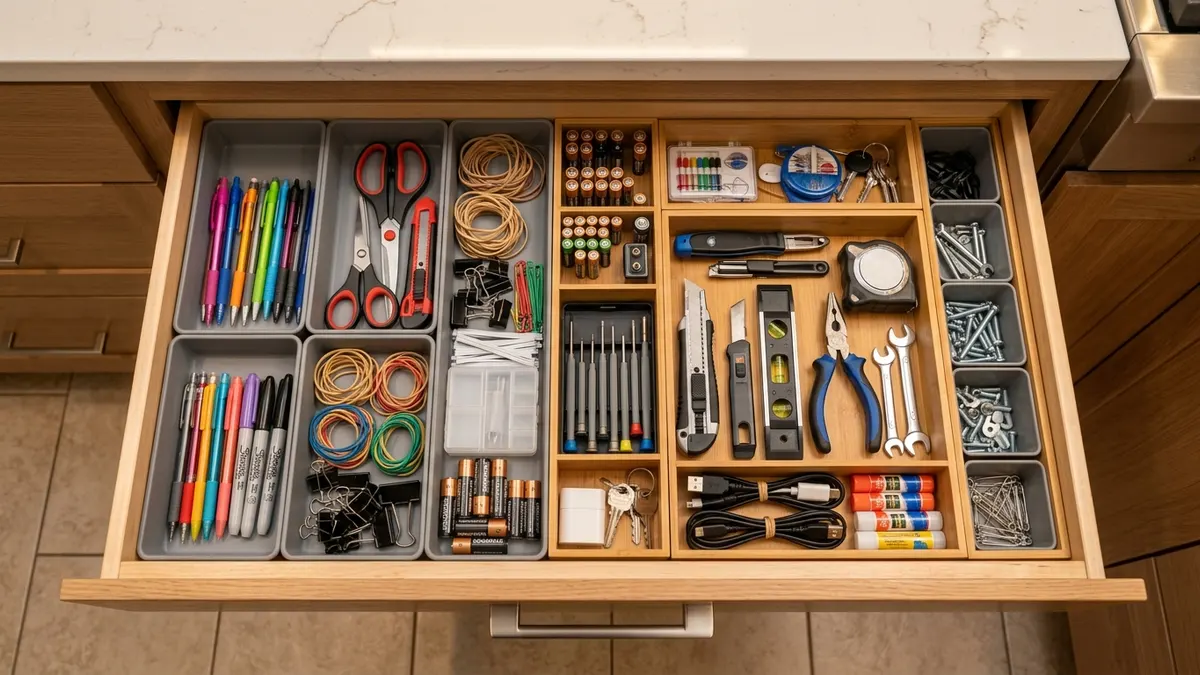
A practical zone layout for a standard kitchen junk drawer might look like this:
- Front-left zone: Writing tools and scissors (daily use)
- Front-right zone: Tape, rubber bands, and adhesives (frequent use)
- Middle zone: Batteries sorted by size in a labeled section
- Back-left zone: Small tools and hardware in a deeper compartment
- Back-right zone: Miscellaneous essentials like a small notepad, spare keys, or a few bandages
The best junk drawer layout is the one your household actually uses. If your kids are always grabbing scissors, keep them front and center. If you reach for batteries constantly, give them the prime front real estate.
Once you have a layout in mind, place your organizer trays, then place items back into their assigned zones. Do not overfill any single compartment. The goal is for every item to be visible and retrievable without digging.
Step 5: Label Every Zone in Your Organized Junk Drawer
Labeling is the step that transforms a tidy drawer into one that stays tidy. When every compartment has a label, every member of the household knows where things go when they are returned. This single habit is what separates a drawer that stays organized for a week from one that stays organized for years.
You do not need an expensive label maker to do this well. Options include:
- A simple label maker with white tape and black text, which looks clean and professional
- A fine-point permanent marker on adhesive labels cut to size
- Printed labels from a free template cut and applied with clear tape
- Chalkboard label stickers that allow you to update categories as your needs evolve
Keep label text short and clear. "BATTERIES," "PENS," "TAPE," and "TOOLS" are all you need. Place labels on the front edge of each tray so they are readable when the drawer is open. If you enjoy creating a polished labeling system for your whole home, our free printable storage bin labels guide has a full walkthrough.
Step 6: Establish Simple Rules to Maintain Your Organized Junk Drawer
Getting the drawer organized is the easy part. Keeping it organized is where most households fall short. The secret is establishing a few non-negotiable household rules and a lightweight maintenance routine.
The One-In-One-Out Rule
When something new earns a spot in the junk drawer, something old leaves. A new pen comes in, an old dried-up one goes out. A new type of tape comes in, the old empty roll gets tossed. This rule keeps the drawer from slowly refilling with clutter.
The Monthly Five-Minute Reset
Once a month, take five minutes to open the drawer and do a quick scan. Are items in their correct zones? Are there any dead batteries to dispose of? Has anything migrated in that does not belong? A monthly micro-reset prevents small drift from becoming a major reorganization project.
Real Simple recommends building small tidying habits into existing routines, such as spending two minutes straightening one drawer while you wait for coffee to brew, as one of the most effective ways to maintain an organized home without dedicated decluttering sessions. Pairing your junk drawer reset with something you already do weekly makes it far more likely to stick.
The No-Dumping Rule
The junk drawer's nemesis is the habit of dropping anything and everything into it when you are not sure where else it belongs. Designate a small tray or basket on your countertop or nearby shelf as a temporary holding zone for items that need to find a permanent home. Deal with that tray once a week, either finding a real home for each item or deciding it belongs in the junk drawer in a designated spot.
What Belongs in a Junk Drawer and What Does Not
One of the most useful things you can do as part of this tutorial is define clear boundaries for what your junk drawer is for. According to Good Housekeeping, the most functional catch-all drawers contain items that are used infrequently but needed quickly, are too small to have their own dedicated storage space, and serve multiple members of the household.
Items That Belong
- AA, AAA, and 9V batteries in current rotation
- A small multi-bit screwdriver or Swiss Army-style tool
- Tape (clear, masking, and double-sided)
- Pens, a pencil, and a permanent marker
- Scissors (one pair)
- Rubber bands and binder clips
- A small notepad
- Spare keys that are actively used but do not have a key hook yet
- A tape measure (small)
- A few basic first aid supplies like adhesive bandages
Items That Do Not Belong
- Takeout menus (bookmark the website instead)
- Expired coupons or store circulars
- Loose change (use a coin jar elsewhere)
- Full-size tools (those belong in a proper tool storage system)
- Medications (these should be stored safely and separately; the FDA recommends keeping medications in a cool, dry location away from heat and humidity, and out of reach of children)
- Items belonging to a specific room that you have just been too lazy to carry back
Setting these boundaries and sharing them with your household is what turns your organized junk drawer into a permanent system rather than a temporary tidy-up.
How to Organize Multiple Junk Drawers in Your Home
If your household has more than one catch-all drawer, each one deserves its own designated purpose rather than all of them serving the same vague function. Differentiation is the key to making multiple junk drawers work.
Kitchen junk drawer: Hardware, batteries, tape, pens, and small tools used around the house. This is the classic catch-all most households rely on.
Home office junk drawer: Charging cables, extra pens, correction tape, staples, paper clips, sticky note pads, and small office supplies. Check out our guide on home office desk organization for more ideas on keeping office spaces functional.
Entryway or console junk drawer: Spare keys, dog leash accessories, sunglasses, lip balm, pocket change, and small items that travel in and out of the house daily.
Bedroom nightstand drawer: Phone charger, reading glasses, lip balm, earplugs, and sleep essentials. Our best bedroom nightstand organizers guide covers this category in depth.
By giving each drawer a clear identity, you eliminate the confusion of not knowing which drawer to check for a particular item, and you prevent any single drawer from becoming overwhelmed.
Related Products from Sesoris
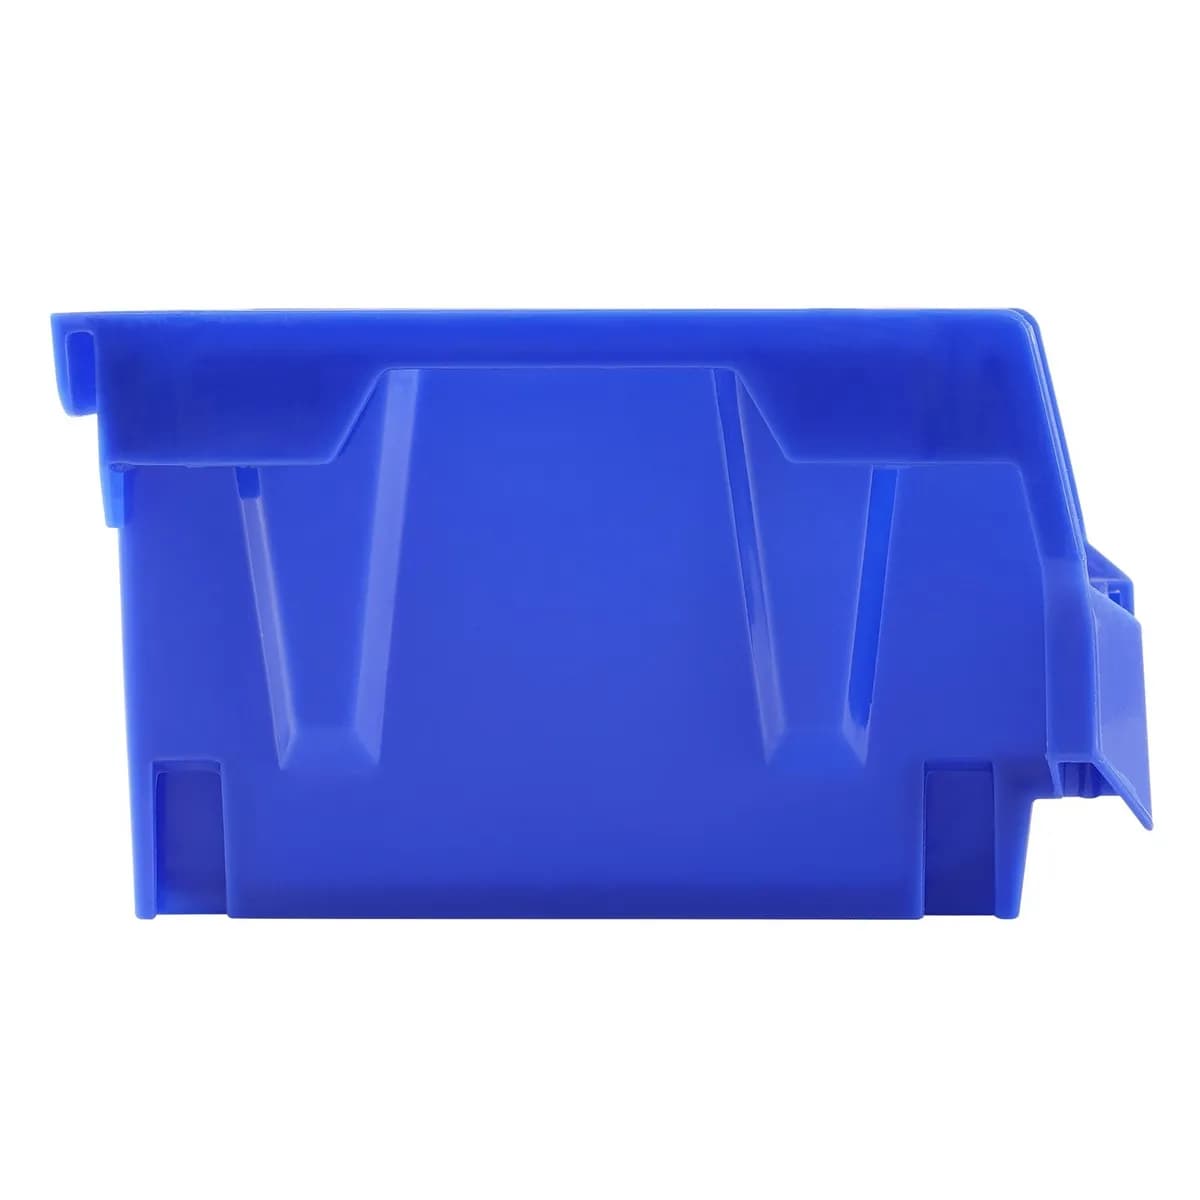
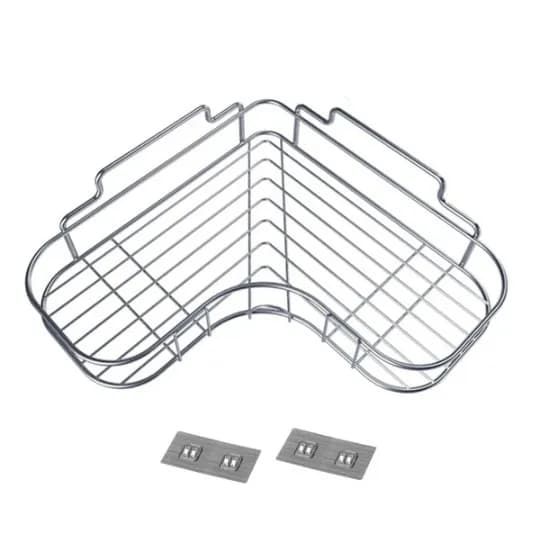
If you want to turn this guide into a real setup, start with Stackable Storage Bins, 24 Pack and Pull-Out Cabinet Organizer, 17 in. Wide. For broader options, browse the Home & Decor collection so the article journey does not stop at reading only.
Our practical rule: choose one product that solves the main clutter problem first, then add supporting organizers only when the daily workflow is already clear. This keeps the shopping path useful, not pushy.
FAQ: Frequently Asked Questions About How to Organize a Junk Drawer
Q: How long does it take to organize a junk drawer?
For a single standard drawer, plan for 30 to 60 minutes from empty-out to finished result. That includes sorting, discarding, choosing a layout, and labeling. If you are also shopping for new organizer trays, add time for that separately before your organization session.
Q: What are the best drawer organizer inserts for a junk drawer?
Modular interlocking tray systems are the most versatile because you can customize the layout to match exactly what you are storing. Look for sets that include a variety of tray sizes rather than a one-size-fits-all insert. Measure your drawer interior before purchasing and prioritize trays made from BPA-free materials.
Q: How do I stop the junk drawer from becoming a mess again?
The two most effective maintenance habits are the one-in-one-out rule and a monthly five-minute reset. Labeling every compartment is equally important because it gives everyone in the household a clear signal of where things belong when they are returned.
Q: Should I use a drawer liner before adding organizer trays?
A drawer liner is optional but helpful. It prevents trays from sliding when the drawer opens and closes, protects the drawer surface from scratches, and makes future wipe-downs easier. Non-adhesive liner mats work well and are easy to replace.
Q: Can I organize a junk drawer without buying anything?
Absolutely. Repurpose small cardboard boxes (like those from tea bags or small cereal boxes), shallow containers from your recycling, or small tins to create DIY compartments at zero cost. The key principle is containment and categorization, not the container itself.
Q: What should I do with items I cannot identify?
Put mystery keys, screws, and parts into one small labeled bag with today's date. If nothing in the house needs them within about a month, it is usually safe to let them go. This keeps you from stalling the whole project over a few unknown items.
Q: Is it better to use one large organizer tray or several small boxes?
Several small boxes usually work better because you can arrange them to fit your drawer's exact width and depth and resize the zones later. A single large tray is quicker to buy but often leaves wasted gaps or compartments that do not match what you store.
Q: How do I keep family members from messing up the organized junk drawer?
Label every compartment, keep the most-used items in the front, and make the drawer easy to put things back into. A short weekly reset, plus a rule that anything without a labeled spot goes elsewhere, keeps the drawer from sliding back into chaos.
Conclusion: Your Junk Drawer Can Actually Work for You in 2026
Knowing how to organize a junk drawer is one of those small life skills that pays dividends every single day. A well-organized catch-all drawer saves time, reduces daily frustration, and contributes to the overall sense of calm in your home. By following these six steps, emptying completely, sorting by category, choosing the right organizer system, assigning zones, labeling clearly, and establishing simple maintenance rules, you can transform even the most chaotic drawer into one of the most functional spaces in your home.
The best part is that this project requires only one afternoon and a modest investment in organizer trays, often under US$20. Once the system is in place and your household understands the rules, the drawer essentially maintains itself with only a monthly five-minute reset.
Ready to level up your home organization beyond the junk drawer? Explore our full range of home organization products at Sesoris to find drawer organizers, label makers, storage bins, and everything else you need to build a calmer, more organized home in 2026. Browse our best sellers and new arrivals for the latest tools to help you live more organized.
Liked this guide?
Get new organizing guides and the occasional new product by email. No spam, unsubscribe anytime.
Related articles



Explore more articles
- DIY Room Divider Ideas: 20+ Creative Ways to Split Your Space in 2026
- Office Organization Ideas: Complete 2026 Guide to a Productive, Clutter-Free Workplace
- Decluttering Home Decor: The Complete 2026 Guide to a Beautiful, Clutter-Free Home
- How to Build DIY Garage Shelves: Complete Step-by-Step Guide for 2026
- 20+ Best Tiny Kitchen Layout Ideas to Maximize Every Inch in 2026
- 25+ Best Makeup Vanity Organization Ideas to Transform Your Beauty Space in 2026
- 20+ Best Desk Cable Management Ideas to Build a Clean, Productive Workspace in 2026
- Storage Bin Labels: The Complete 2026 Guide to a Perfectly Organized Home