
How to Organize Kitchen Cabinets Step by Step: Complete Tutorial for a Functional, Clutter-Free Kitchen in 2026
Learn how to organize kitchen cabinets step by step in 2026. Our complete tutorial covers sorting, zoning, and the best tools to maximize every inch.
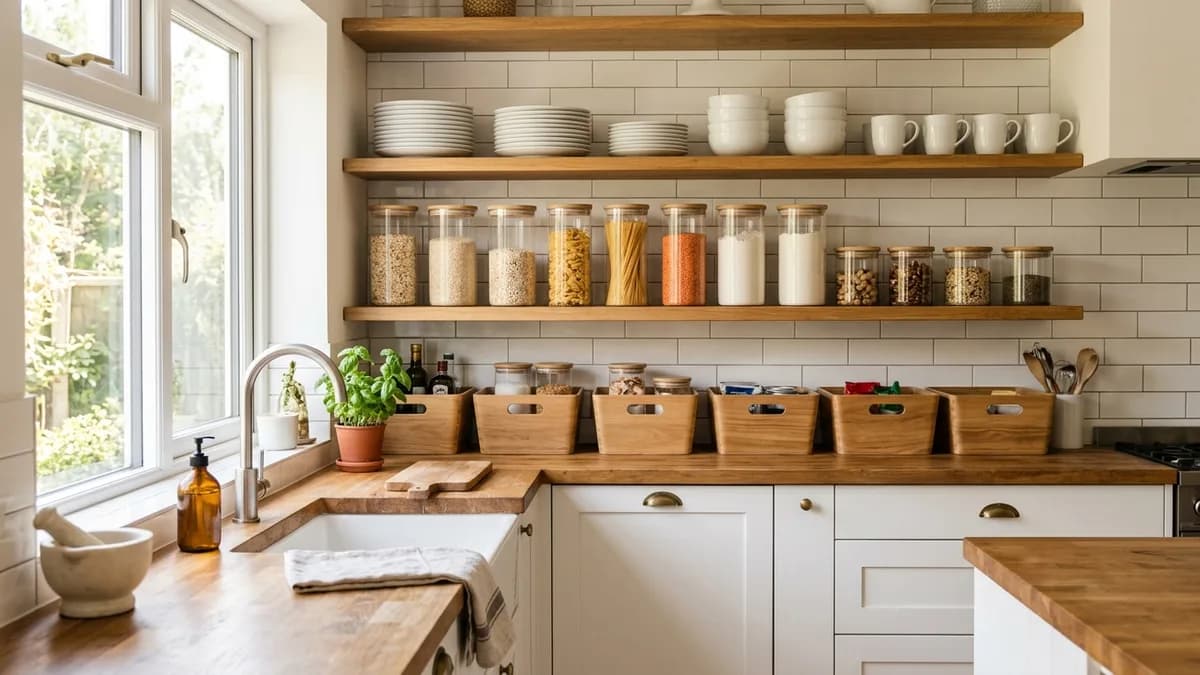
If you have ever opened a kitchen cabinet only to have a pot lid or a forgotten bag of pasta tumble out at you, you already know the frustration that comes with disorganized kitchen storage. Learning how to organize kitchen cabinets step by step is one of the most impactful home projects you can tackle in 2026. A well-organized cabinet does not just look good; it saves you real time every single day, reduces food waste, and makes cooking genuinely enjoyable. In this complete tutorial, I will walk you through every stage of the process, from the initial empty-out all the way to the finishing labels, so you end up with a kitchen that actually works for the way you live.
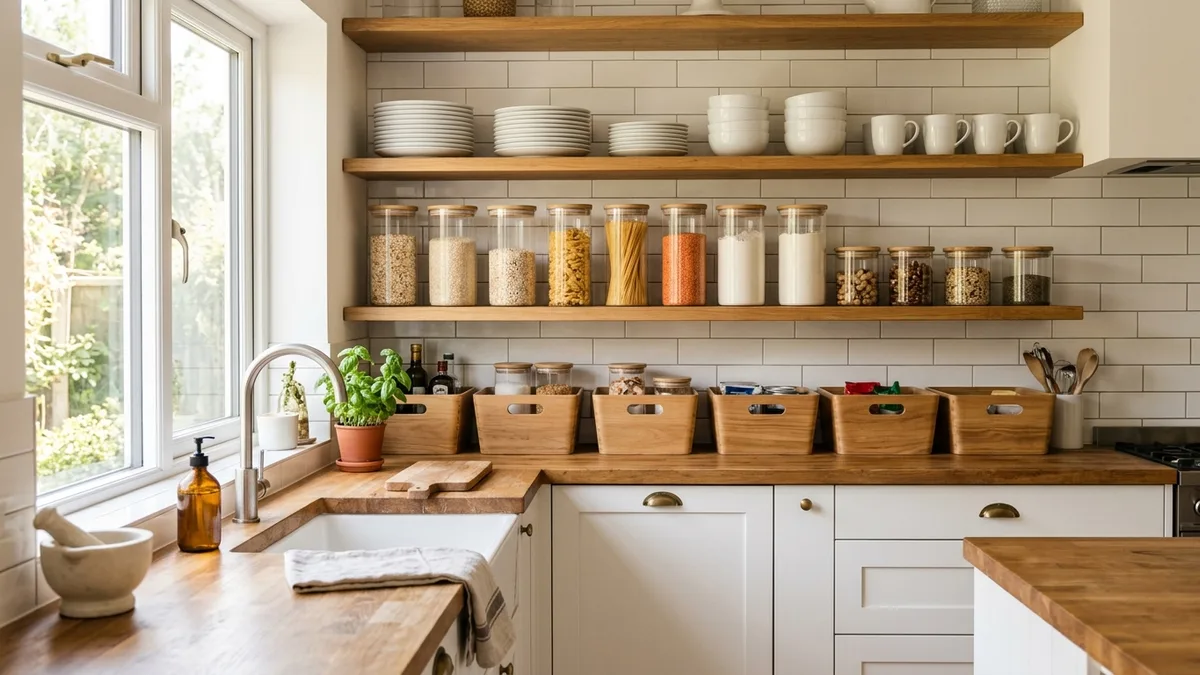
Why Learning How to Organize Kitchen Cabinets Step by Step Matters
Before we jump into the hands-on work, it helps to understand why a structured, step-by-step approach beats simply rearranging things randomly. When you follow a deliberate method, you make decisions once instead of re-making them every few weeks. You also set yourself up for a system that is easy to maintain, which means you are far less likely to slide back into chaos by the end of the month.
According to Good Housekeeping, the biggest reason most kitchen organization attempts fail is that people skip the decluttering stage and jump straight to buying storage products. New bins stuffed with old junk are still junk. The step-by-step method solves that problem by making decluttering the very first action you take.
This tutorial is also designed around realistic US kitchen sizes and budgets, so you will not need to invest thousands of dollars in a custom cabinet overhaul. Most of the tools and containers I recommend are available for well under US$50 each, and many of the wins you will see come from simply rearranging what you already own.
Step 1: Empty Every Cabinet Completely
The first step in any successful kitchen cabinet organization tutorial is a full empty-out. Yes, every single cabinet. I know that sounds extreme, but it is genuinely necessary. You cannot make good decisions about where things should live until you see everything you own at once.
Pull everything out and set it on your kitchen table, island, or even the floor if needed. Group similar items loosely as you go: pots and pans together, baking supplies together, canned goods together, and so on. This rough grouping will make the next step much faster.
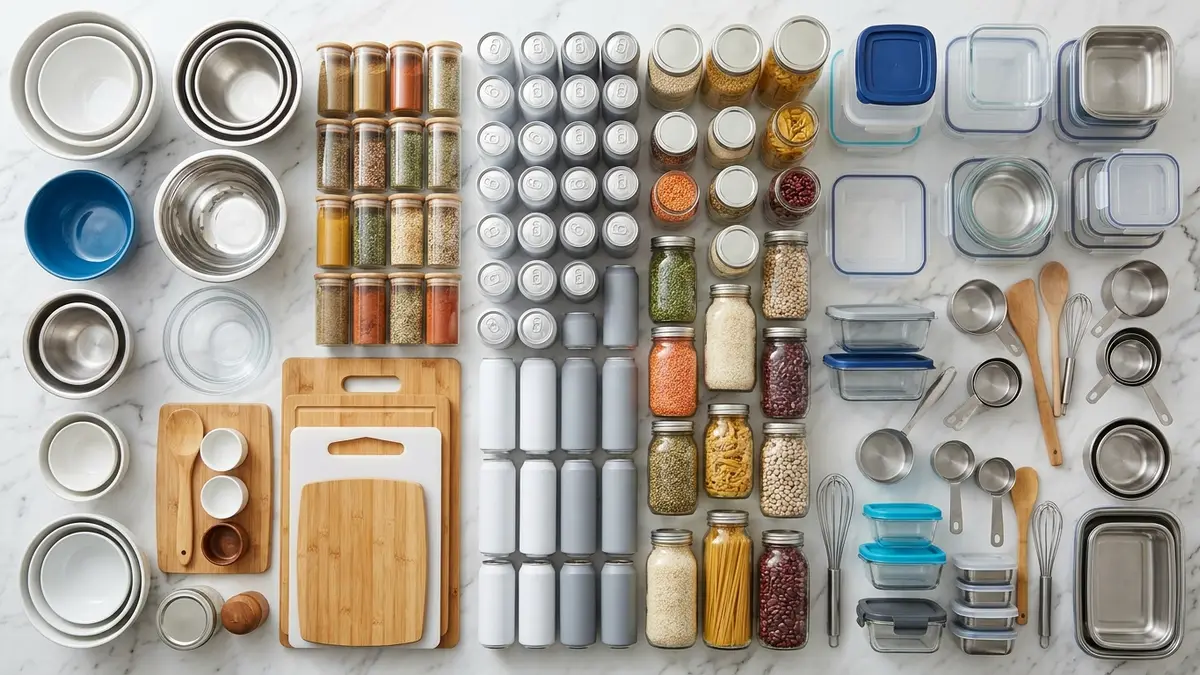
What to do while cabinets are empty:
- Wipe down every shelf with a damp cloth and a mild all-purpose cleaner.
- Check for shelf liner that is peeling or stained and replace it now while the shelves are bare.
- Measure the interior depth, width, and height of each cabinet and jot the numbers down. You will need these if you plan to buy any organizers.
- Look for any broken shelf pins and replace them before loading the cabinet back up.
The 12-Month Rule for Kitchen Items
Once everything is out, go through each group and apply a simple filter: if you have not used it in the past 12 months and it does not serve a seasonal purpose you genuinely plan to use this year, it is a candidate for donation, recycling, or the trash. Common culprits include duplicate gadgets, novelty appliances that only came out once, chipped mugs, and mismatched food storage containers missing their lids.
Be honest with yourself here. A waffle iron you have used once in three years is not a kitchen essential; it is a cabinet blocker. Clearing these items out now is the single most powerful thing you can do to make the rest of the tutorial work.
Step 2: Create a Zone Plan for How to Organize Kitchen Cabinets
Once you have a decluttered pile of items that genuinely earn cabinet space, it is time to plan your zones. Zoning is the practice of grouping and storing items near the place in the kitchen where you use them. This is the organizing principle that professional kitchen designers and The Spruce's organization experts consistently recommend because it turns your kitchen into an intuitive, efficient workspace.
Think of your kitchen in terms of these core activity zones:
The Cooking Zone (cabinets near the stove and oven)
- Cooking oils, vinegars, and frequently used spices
- Pots, pans, and lids
- Cooking utensils and splatter screens
The Prep Zone (cabinets near your main counter workspace)
- Cutting boards
- Mixing bowls
- Measuring cups and spoons
- Food processor or stand mixer attachments
The Baking Zone (if you bake regularly, dedicate a cabinet)
- Flour, sugar, baking soda, baking powder in airtight canisters
- Muffin tins, cake pans, and cooling racks
- Pastry tools and rolling pins
The Pantry/Food Storage Zone (cabinets farthest from heat sources)
- Canned and jarred goods
- Dry grains, pasta, and cereals in airtight food storage containers
- Snack items and on-the-go foods
The Dishware Zone (cabinets near the dishwasher or sink)
- Everyday plates, bowls, and glasses
- Mugs and travel cups
- Serving platters and less-used entertaining pieces on a higher shelf
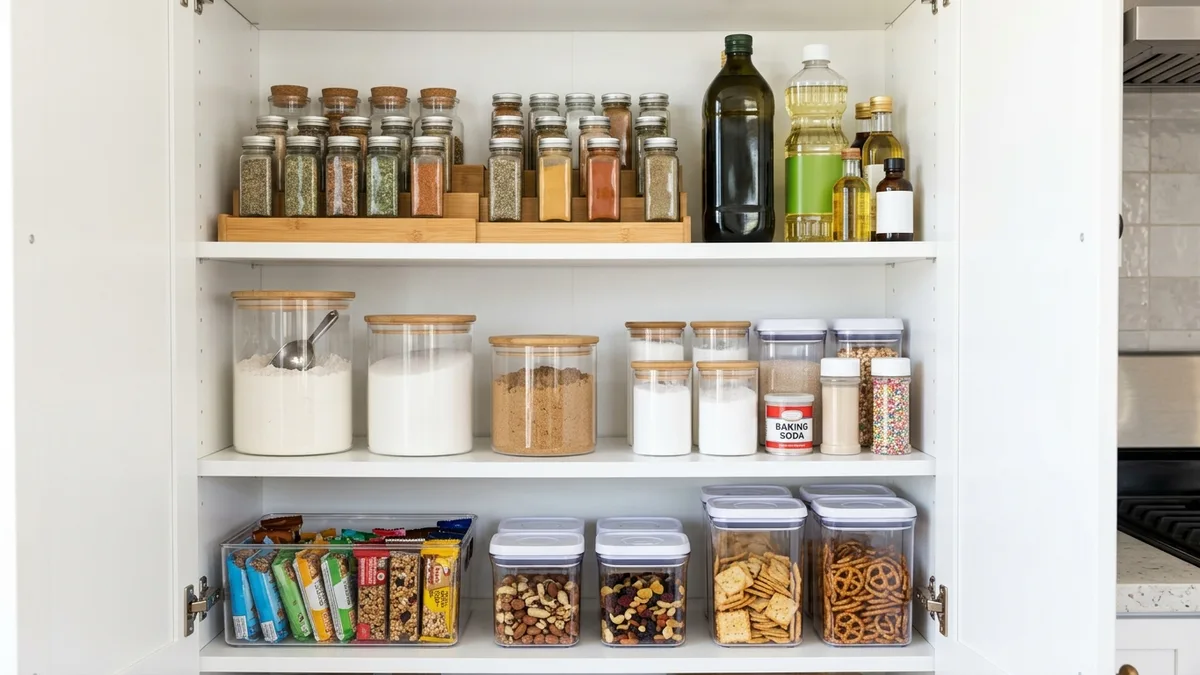
Mapping Your Specific Kitchen
Grab a simple sketch of your kitchen layout and label each cabinet with the zone it will serve. If a cabinet does not map neatly to a single zone, assign it to whatever zone it is closest to. Upper cabinets work best for lighter items and things used less frequently; lower cabinets and deep drawers are ideal for heavier items like cast iron pans and large stockpots.
Step 3: Choose the Right Organization Tools and Products
Now that you have a zone plan and precise cabinet measurements, you are ready to shop smart. The key word here is smart. You do not need to buy every organizer product on the market. You need a focused set of tools that solve the specific storage challenges in your cabinets.
Here are the most effective products for organizing kitchen cabinets in 2026, along with the problems each one solves:
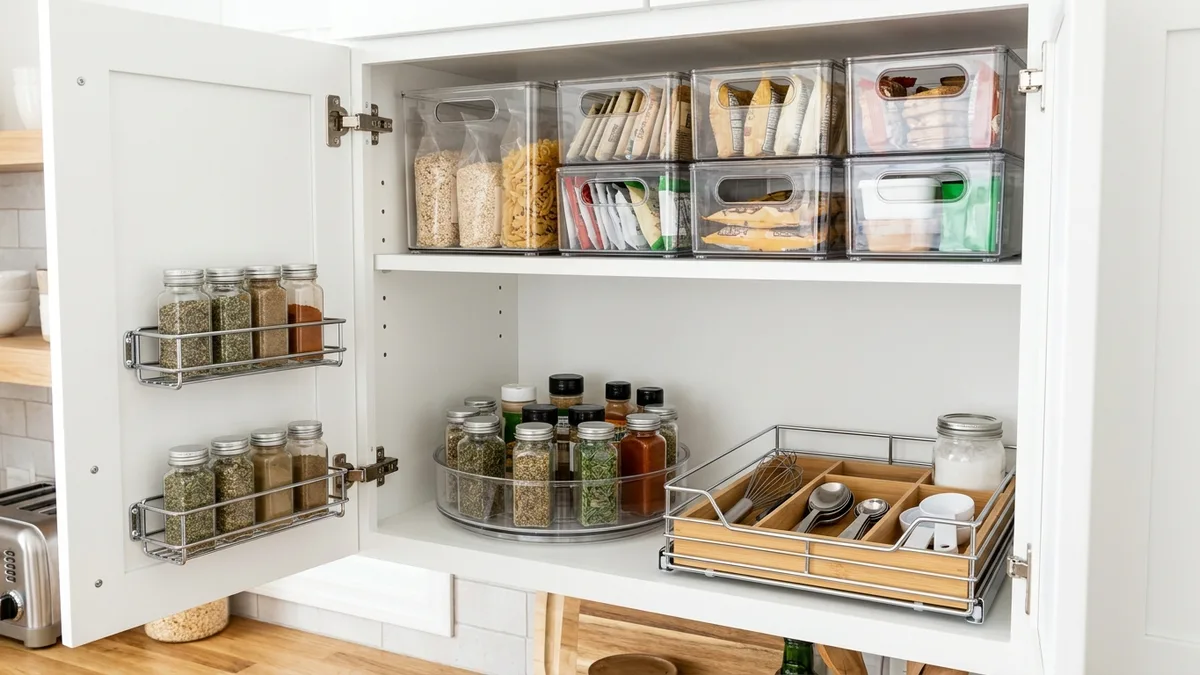
Shelf Risers and Stackable Shelves
Most kitchen cabinets have 12 to 15 inches of vertical space between shelves, but a single layer of plates or cans only uses 3 to 5 inches of that height. A simple wire or acrylic shelf riser instantly doubles your usable space. Use them for:
- Stacking mugs above plates in a dishware cabinet
- Creating a second tier for canned goods so you can see everything at once
- Separating pan lids from their matching pots
Approximate cost: US$10 to US$25 per riser, depending on material and size.
Lazy Susans (Turntables)
Corner cabinets and deep cabinets are notorious for hiding items that never get used again. A two-tier turntable, or lazy Susan, solves this problem completely. Spin it to access what is in the back without unloading the entire cabinet. They work especially well for:
- Spice jars and small condiment bottles
- Oils and vinegars
- Canned goods in a corner cabinet
Approximate cost: US$15 to US$35.
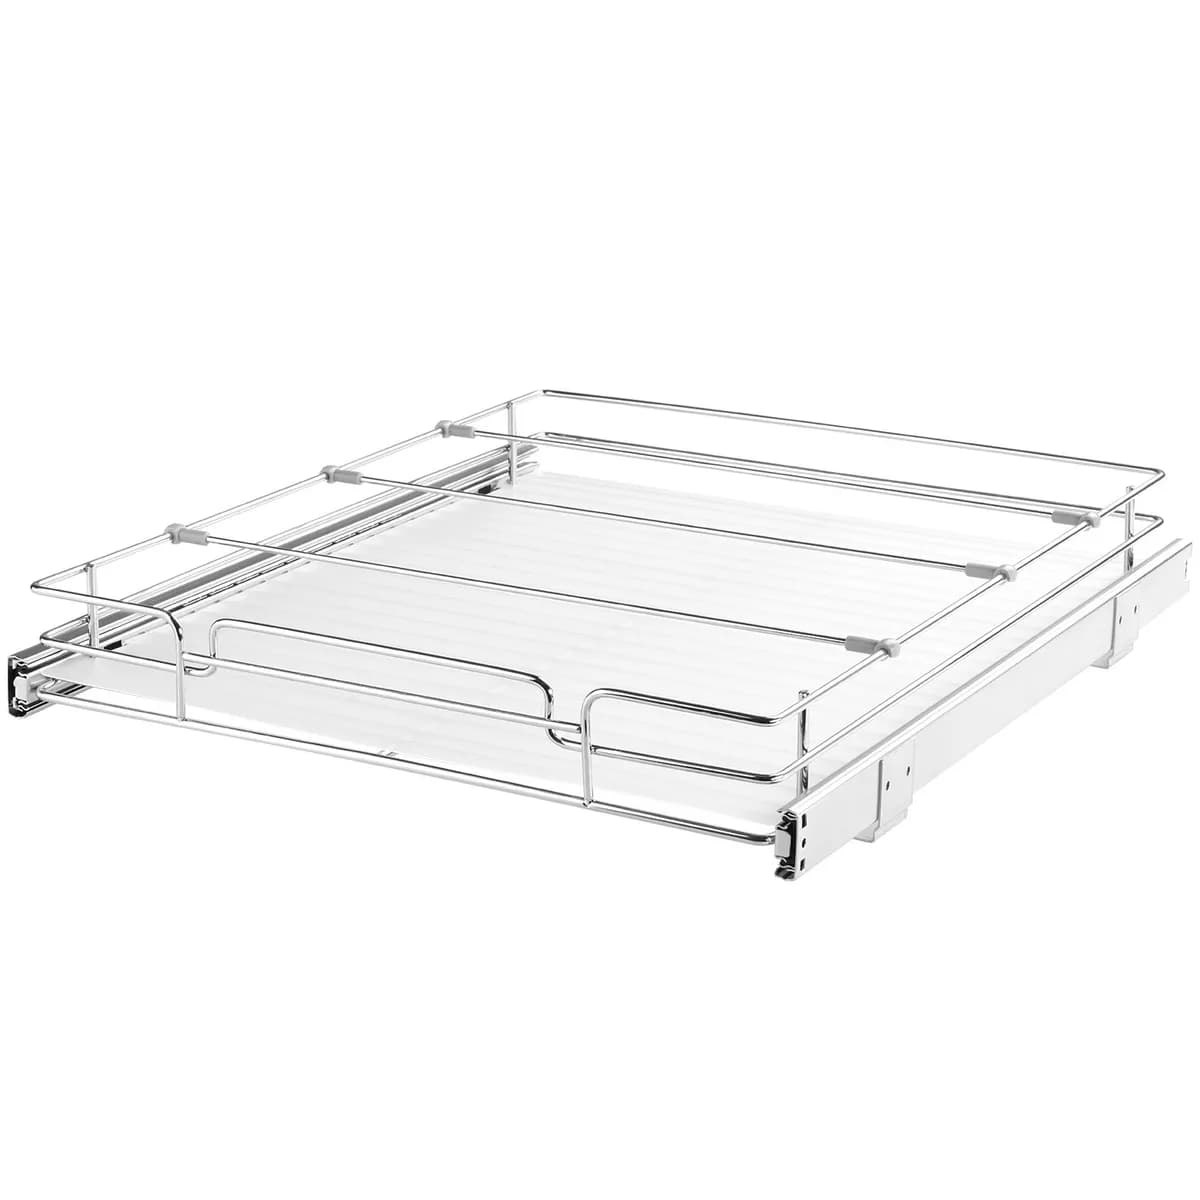
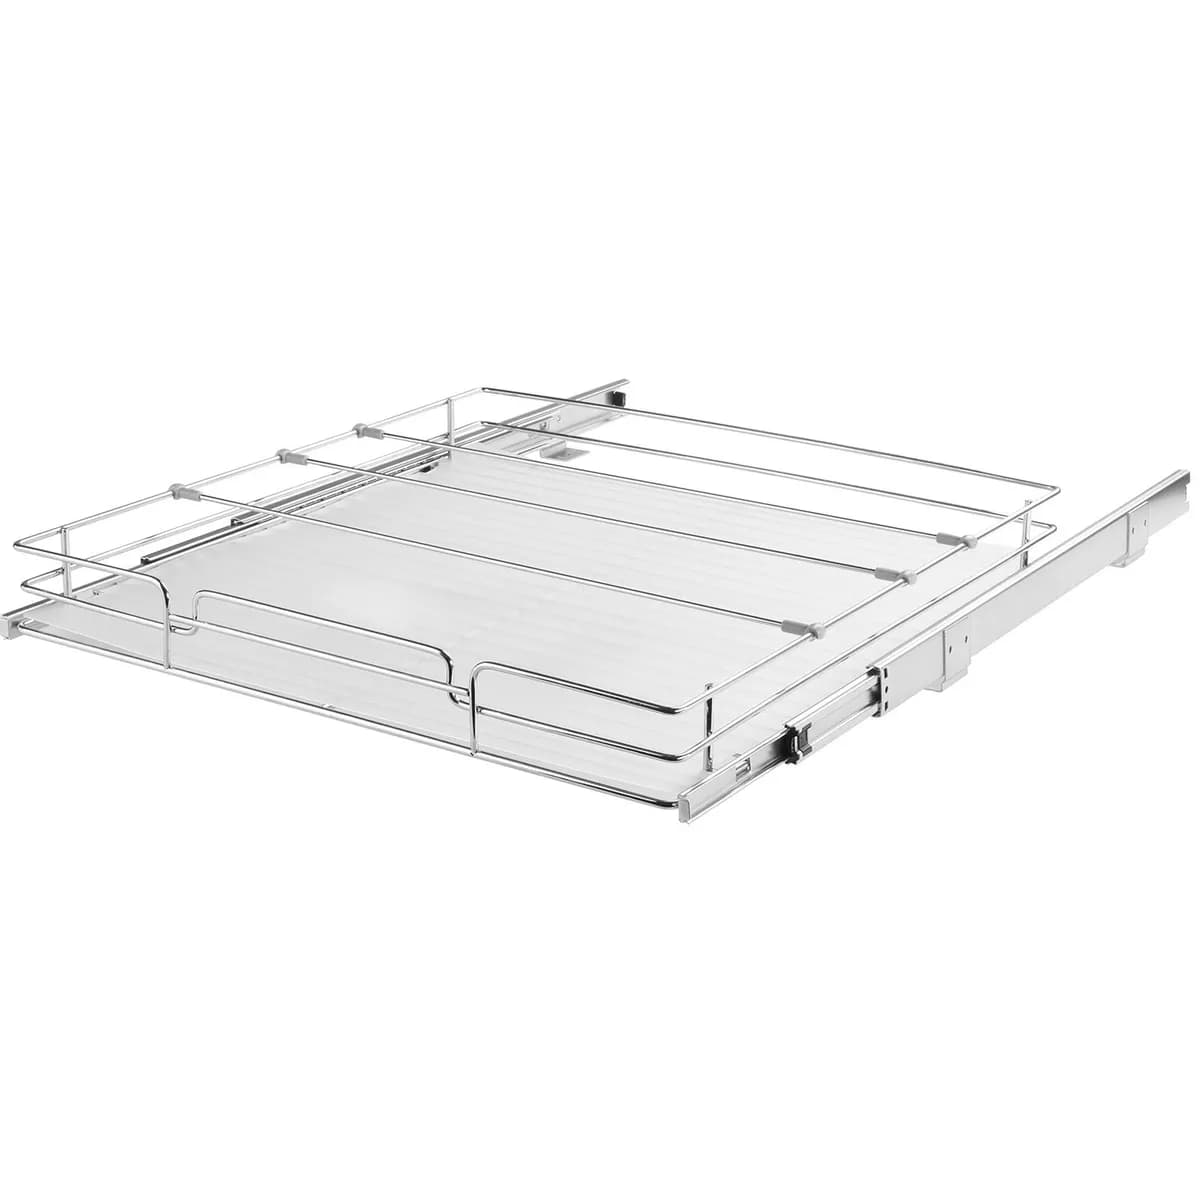
Pull-Out Cabinet Organizers
For lower cabinets, pull-out shelf organizers function almost like a kitchen drawer installed inside an existing cabinet. They are particularly useful for pots and pans, cleaning supplies stored under the sink, and baking pans. Many versions are tension-mounted and require no drilling.
Approximate cost: US$20 to US$55.
Door-Mounted Organizers
The inside of a cabinet door is prime real estate that most people completely ignore. A simple over-the-door organizer or a mounted wire rack can hold spice jars, pot lids, aluminum foil and plastic wrap boxes, or cleaning tools. Check your door clearance before buying; typically you need at least 2 inches between the door surface and the nearest shelf.
Approximate cost: US$12 to US$30.
Airtight Canisters and Uniform Food Containers
For your pantry and food storage zone, switching to a uniform set of airtight storage containers for food is one of the most visually impactful changes you can make. When containers are all the same brand and shape, they stack cleanly and you can instantly see what you have. Look for containers in sizes ranging from about 0.5 quarts up to 4 quarts to cover everything from herbs to bulk flour.
Tip: Label every canister with a label maker or even just a strip of painter's tape and a marker. Labels eliminate the guesswork that causes cabinets to become disorganized again.
Pan and Lid Organizers
Pots and pans are among the most space-inefficient items in any kitchen because they are round, heavy, and awkward to stack neatly. A vertical pan organizer, which looks like a file folder holder for your cookware, lets you store pans upright and pull out the exact one you need without disturbing the rest. Lid organizers are similar structures scaled for lids specifically.
Approximate cost: US$15 to US$40.
Step 4: Load Cabinets Back In Using Your Zone Plan
With clean shelves, a solid zone plan, and your organization tools in hand, it is time to put everything back. Follow these loading principles to get the most out of every inch:
- Work from heaviest to lightest. Load lower shelves and lower cabinets with heavy items first: cast iron cookware, large stockpots, heavy appliances. Upper shelves and upper cabinets go to lighter dishware, glassware, and dry goods.
- Put daily use items at eye level or within easy reach. The plates, mugs, and containers you reach for every single morning should live between waist height and shoulder height. Items you use once a week or less go higher or lower.
- Face labels outward. Every can, jar, and canister should have its label or front facing you when you open the door. This sounds obvious, but in practice most people stuff things in however they fit. Taking the extra three seconds to orient labels outward saves significant time every time you cook.
- Group by frequency of use within each zone. In your cooking zone, the spices you reach for at every meal live at the front of the shelf or in the easiest-access spot. Specialty spices you use a few times a year live toward the back.
- Use vertical space aggressively. Install shelf risers as you load, not after. Place the riser first, then load the upper level, then fill the lower level.
- Nest when possible, but only for matching sets. Mixing bowls nest beautifully. Food storage containers nest only if they are the same shape and brand. Mixing random containers wastes more space than it saves.
- Give frequently used appliances their own spot. If you use your coffee grinder or toaster oven every single day, it belongs on the counter or in the most accessible lower cabinet, not buried behind three other things.
Step 5: Label Everything and Set Ground Rules
Labels are what transform a nice-looking organized cabinet into one that actually stays organized. Without labels, other household members and even you yourself will start improvising where things go within a matter of days. With labels, the system essentially maintains itself because everyone always knows exactly where everything lives.
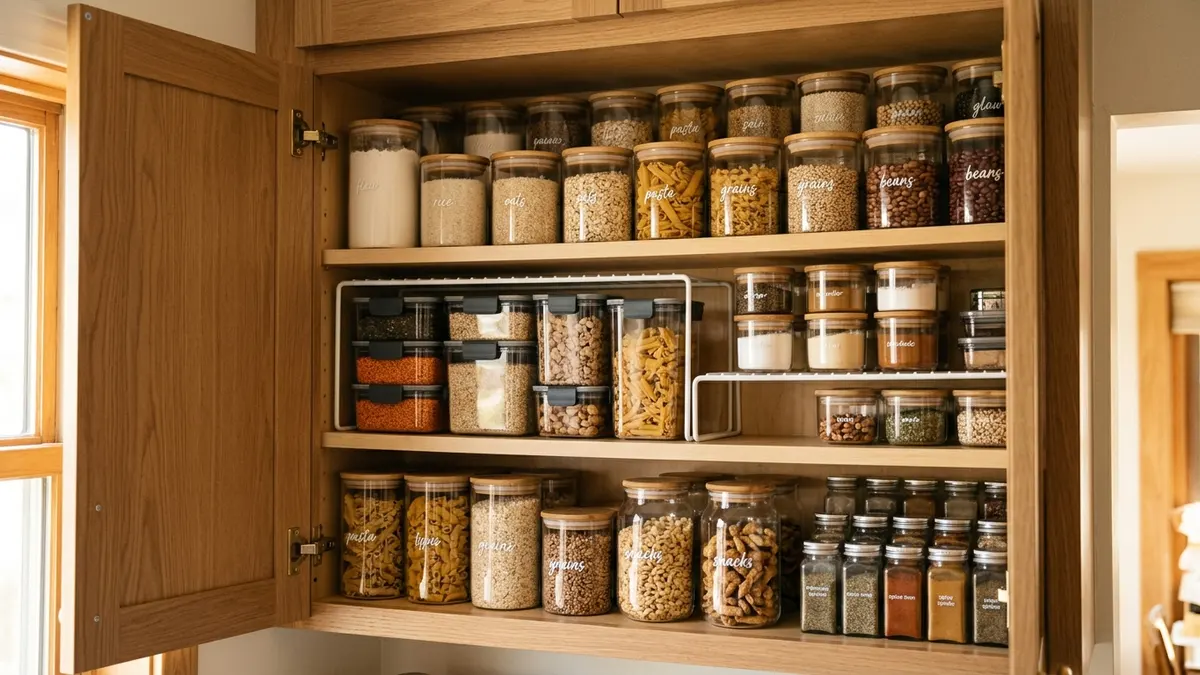
Labeling options at different price points:
- Painter's tape and a marker: Free, easy to update, perfectly functional.
- Chalkboard labels: Around US$8 to US$12 for a pack, reusable, look great on glass jars and canisters.
- Label maker tape: Approximately US$20 to US$35 for the machine plus tape. Clean, professional look, waterproof options available.
- Printed labels: Use a home printer and label paper (around US$8 to US$15 for a sheet pack) for a more polished aesthetic. You can find free printable templates through sites like Pinterest to match any kitchen style.
Beyond labeling, take five minutes to explain the new system to everyone in your household. Show them where each zone lives and why. A kitchen cabinet organization system only works when everyone who uses the kitchen participates in maintaining it. That conversation, as brief as it is, is one of the most underrated steps in the entire tutorial.
Setting a Weekly Reset Habit
Even the best-organized kitchen will drift slightly over the course of a busy week. Build in a 10-minute cabinet reset into your routine, ideally before or after your weekly grocery shop. During the reset, you:
- Return misplaced items to their correct zones
- Check for expired food and remove it
- Refill canisters from bulk supplies
- Wipe down any spills or sticky spots on shelves
This small weekly habit is what separates kitchens that stay organized all year from kitchens that return to chaos within a month.
Step 6: Tackle Special Problem Areas in Kitchen Cabinets
Some cabinet spaces present unique organizational challenges that deserve their own solutions. Here is how to handle the most common problem spots:
Deep Corner Cabinets
The deep blind corner cabinet is the black hole of most kitchens. Items pushed to the back simply disappear. Two solutions work best here: a two-tier lazy Susan for cabinets with a door in the corner, or a pull-out blind corner organizer (sometimes called a magic corner or swing-out shelf system) for cabinets where the opening is to the side. The pull-out style costs more, typically US$80 to US$180, but it is genuinely transformative for corners that have frustrated you for years.
The Tupperware Cabinet
The container and lid chaos cabinet is almost universal. The fix is straightforward but requires ruthlessness: first, match every lid to a container. Anything without a match goes immediately. Then, invest in a uniform set of food storage containers with lids so everything stacks and stores cleanly. Store lids in a dedicated lid organizer or in a separate bin so they are always easy to find.
The Baking Pan Cabinet
Baking pans, cutting boards, and cookie sheets are flat and large, making them nearly impossible to stack efficiently. A vertical file-style organizer mounted inside a lower cabinet lets you store each piece upright and pull out exactly what you need. Pair this with a separate section for lids from Dutch ovens and cast iron skillets.
Upper Cabinets Above the Refrigerator
These are the hardest-to-reach cabinets in most kitchens, which makes them perfect for seasonal or rarely used items: the turkey roasting pan, the holiday punch bowl, extra paper goods. Use a non-slip shelf liner here and store items in labeled bins so you can pull the whole bin down safely rather than reaching for individual items.
Related Products from Sesoris
If you want to turn this guide into a real setup, start with Pull-Out Cabinet Organizer, 14 in. Wide and Over-the-Door Pantry Organizer, 8 Tier. For broader options, browse the Kitchen & Dining collection so the article journey does not stop at reading only.
Our practical rule: choose one product that solves the main clutter problem first, then add supporting organizers only when the daily workflow is already clear. This keeps the shopping path useful, not pushy.
FAQ: How to Organize Kitchen Cabinets Step by Step
Q: How long does it take to organize kitchen cabinets using this tutorial?
The full step-by-step process, from empty-out to final labeling, typically takes between 3 and 6 hours for an average US kitchen with 10 to 20 cabinet spaces. I recommend doing it over a weekend so you are not rushed. If your kitchen is smaller or you have already done some decluttering recently, you might finish in as little as 2 hours.
Q: Do I need to buy a lot of products to organize my kitchen cabinets?
Not at all. The most impactful step is decluttering, which costs nothing. From there, a few well-chosen items, like a shelf riser, a lazy Susan, and a set of uniform containers, can make an enormous difference for under US$75 total. Buying more products than you need just creates a new form of clutter.
Q: How do I organize kitchen cabinets when I have very little space?
In a small kitchen, maximizing vertical space is the most powerful strategy. Shelf risers, stacking bins, and door-mounted organizers can effectively double or triple your usable cabinet space without adding a single square foot of floor space. Also consider whether some countertop appliances could move into a cabinet and whether any items might be better stored elsewhere, such as in a pantry storage rack or a nearby closet.
Q: What is the best way to organize kitchen cabinets with deep shelves?
Use a two-tier turntable or a set of pull-out organizers so items at the back are always accessible. For food storage, only store duplicates or bulk backups at the back of a deep shelf, keeping your everyday items in the front tier. Clear bins that you can pull out like a drawer are another excellent option for deep shelves.
Q: How often should I reorganize my kitchen cabinets?
With a good system and a weekly 10-minute reset habit, you should not need a full reorganization more than once a year. Plan a thorough review and refresh each spring as part of a broader spring cleaning checklist, during which you can reassess your zones, check for expired food, and update your labeling.
Q: Is it worth buying matching containers and bins, or is that just aesthetic?
It is both aesthetic and functional. Uniform containers stack more efficiently than a mix of random shapes, which means you can fit more into the same cabinet space. They also make it much easier to maintain the system because every item has a clear, consistent home. The visual calm of a uniform set also makes it genuinely more enjoyable to open your cabinets every day.
Conclusion
Knowing exactly how to organize kitchen cabinets step by step gives you a roadmap that takes a frustrating chore and turns it into a one-time investment with daily dividends. Start by emptying everything out and decluttering honestly. Plan your zones thoughtfully around how you actually cook. Choose a small, focused set of organization tools that match your cabinet dimensions. Load everything back in by weight, frequency, and zone. Label every shelf and container. Then commit to a simple weekly reset that keeps the whole system running smoothly.
The difference between a kitchen that works against you and one that feels effortless to use is almost entirely a matter of intentional organization, not a bigger kitchen or an expensive renovation. You can achieve a genuinely functional, beautiful kitchen with the cabinets you already have.
Ready to stock up on the containers, risers, and organizers you need to make this tutorial a reality? Browse the full range of kitchen organization products at Sesoris or check out our best sellers to see what other organized American households are reaching for in 2026. Live More Organized starts right here.
Liked this guide?
Get new organizing guides and the occasional new product by email. No spam, unsubscribe anytime.
Related articles

Explore more articles
- Minimalist Home Organization Tips for a Clutter-Free 2026
- Storage Bins with Lids: Complete 2026 Home Guide
- Multipurpose Storage Rack: How to Choose the Best One
- RV Shoe Storage Ideas for Safer Travel
- 30+ Brilliant Craft Closet Organization Ideas to Transform Your Creative Space in 2026
- Kitchen Dish Rack Guide: Best Kitchen Plate Storage Solutions for 2026
- Eid al-Fitr Prep Checklist: A Home Cleaning Countdown
- Bathroom Corner Shelves: Make Use of Dead Space