

How to Build DIY Wood Shelves: Complete Step-by-Step Tutorial for 2026
If you have been searching for a weekend project that instantly transforms your home, building diy wood shelves is one of the most rewarding things you can do. Whether you want extra storage in your kitchen, a reading nook display in your living room, or a garage organization solution, a set of handmade wood shelves delivers both function and serious style. I have built more than a dozen sets over the years, and in this complete 2026 guide I am walking you through every step, from choosing the right wood to mounting your finished shelves on the wall like a pro.
Why DIY Wood Shelves Are Worth Building in 2026
Store-bought shelving has improved a lot, but nothing quite matches the satisfaction of crafting something custom for your exact space. Here is why more American homeowners are choosing to build their own shelves this year.
Cost Savings Are Real
A set of two floating wood shelves from a big-box retailer can run anywhere from US$80 to US$200 or more depending on size and finish. Building the same shelves yourself with lumber from a home improvement store often costs a fraction of that, especially if you already own basic tools. The savings multiply quickly when you need shelves in multiple rooms.
Complete Customization
When you build your own DIY wood shelves, every dimension is yours to control. You choose the exact length, depth, wood species, stain color, and bracket style. No more settling for shelves that are two inches too short or a finish that clashes with your trim.
Stronger Than You Might Think
A properly built and mounted wood shelf is extremely sturdy. Unlike many flat-pack particle-board options, solid lumber shelves can handle real weight, which matters when you are loading them up with airtight food storage containers, books, or kitchen appliances.
"Building your own shelves means building storage that fits your life perfectly, not the other way around."
Types of DIY Wood Shelves to Consider
Before you buy a single board, decide which shelf style suits your space and skill level. Each type has different structural requirements and visual results.
Floating Wood Shelves
Floating shelves are the most popular style right now. They attach to the wall with hidden brackets or a ledger board, so the shelf appears to float with no visible support. They look incredibly clean and modern. The trade-off is that installation requires finding wall studs and precise leveling, but the end result is always worth it.
Bracket-Supported Shelves
These shelves rest on decorative or utilitarian metal brackets screwed into the wall. They are faster to install than floating shelves and easier to adjust or remove later. Industrial pipe brackets, hairpin brackets, and corbel brackets are all trending right now and look great with raw or stained wood.
Built-In Wood Shelves
Built-ins are fitted directly into an alcove, recessed wall space, or flanking a fireplace. They require more carpentry skill but deliver a polished, custom look that adds real value to your home. If you are tackling a DIY closet or a bedroom shelving project, built-ins are worth considering.
Freestanding Wood Shelving Units
A freestanding unit stands on the floor without wall attachment. These are ideal for renters or anyone who does not want to drill into walls. They are also fully portable, so you can move them as your needs change.
Tools and Materials You Need for DIY Wood Shelves
Gathering everything before you start saves time and frustration. Here is a complete list for a standard floating wood shelf project.
Tools
- Circular saw or miter saw for cutting boards to length
- Drill and driver bits for pilot holes and driving screws
- Stud finder to locate wall framing
- Level (at least 24 inches long) for perfectly straight shelves
- Tape measure for accurate dimensions
- Sandpaper in 80-grit, 120-grit, and 220-grit
- Clamps to hold pieces together while glue or finish dries
- Pencil for marking cut lines and stud locations
- Safety glasses and hearing protection
Materials
- Lumber: Common choices are pine (budget-friendly), poplar (paints well), oak (durable and beautiful grain), or walnut (premium look)
- Shelf brackets or hidden mounting hardware
- Wood screws appropriate for your bracket type
- Wall anchors for spots between studs
- Wood glue if laminating boards for extra depth
- Sandable wood filler for hiding any gaps or blemishes
- Primer and paint, or wood stain and polyurethane finish
Step-by-Step Tutorial: How to Build and Mount DIY Wood Shelves
Follow these steps carefully and you will have professional-looking DIY wood shelves hanging on your wall in a single weekend.
Step 1: Plan Your Shelf Layout
Measure the wall space where you want your shelves. Sketch a rough layout on paper, noting the height of each shelf, the spacing between them, and the total load you plan to put on them. As a general rule, leave at least 10 to 12 inches of vertical clearance between shelves for most household items, and 14 to 16 inches for larger containers or appliances.
Decide on your shelf depth. Most living room and bedroom shelves look great at 8 to 10 inches deep. Kitchen shelves work well at 10 to 12 inches. Garage shelves often need 12 to 16 inches of depth to hold bins and equipment.
Step 2: Choose and Purchase Your Lumber
Head to your local home improvement store and select your boards. For a 1-by-10 board (which actually measures about 3/4 inch thick by 9-1/4 inches wide), you get a versatile shelf depth that works in most rooms. Check each board by sighting down its length, looking for any warping, bowing, or large knots that could weaken the shelf.
If you want a wider shelf, you can edge-glue two boards together with wood glue and clamps, letting them dry overnight for a strong laminated panel. According to The Spruce, using construction-grade pine is perfectly fine for painted shelves, while hardwoods like oak or maple are ideal when you want a natural stained finish.
Step 3: Cut Your Boards to Length
Measure twice and cut once. Use a circular saw with a straightedge guide or a miter saw to make clean, square cuts. If you do not own a saw, most home improvement stores will cut boards to your specified lengths for a small fee.
After cutting, lightly sand the cut ends with 80-grit sandpaper to smooth any roughness.
Step 4: Sand the Shelf Smooth
Sand all faces and edges of each shelf board in this sequence:
- Start with 80-grit to remove any mill marks or rough spots
- Move to 120-grit to refine the surface
- Finish with 220-grit for a silky-smooth surface ready for stain or paint
Always sand with the grain of the wood, never across it. Wipe off all dust with a tack cloth or slightly damp rag before applying any finish.
Step 5: Apply Your Finish
This is where your shelf goes from raw lumber to something beautiful. You have two main options:
For a natural wood look: Apply a wood conditioner first (especially on pine, which can absorb stain unevenly), then brush on your stain of choice with a foam brush or lint-free cloth, wiping off the excess after two to three minutes. Once dry, apply two to three coats of polyurethane (satin or semi-gloss) for durability, lightly sanding with 220-grit between coats.
For a painted look: Apply one coat of shellac-based primer, sand lightly with 220-grit once dry, then apply two coats of your chosen paint. White, black, and greige are all hugely popular for DIY wood shelves in 2026.
Let the finish cure fully, usually 24 to 48 hours, before mounting and loading the shelves.
Step 6: Locate Your Wall Studs
This step is critical for safe, secure shelves. Run your stud finder slowly across the wall at the height where you want to mount brackets or a ledger board. Mark each stud location lightly with a pencil. Standard stud spacing in American homes is 16 inches on center, though older homes may be 24 inches apart.
If you cannot hit studs at your desired bracket locations, you will need to use heavy-duty wall anchors rated for your expected load. Always check the weight rating on any anchor you purchase.
Step 7: Install Your Brackets or Mounting Hardware
For bracket-supported shelves:
- Hold each bracket against the wall at your marked height and use a level to confirm it is perfectly plumb
- Mark the screw hole locations with a pencil
- Drill pilot holes to prevent wall cracking
- Drive screws into studs (or install anchors first if between studs)
- Attach the bracket and check for level again before tightening fully
For floating shelves with hidden brackets:
- Mark the ledger board or metal rod positions on the wall
- Drill into studs and mount the hardware
- Slide the shelf over the rods or onto the ledger
- Check for level and shim if needed before securing
Step 8: Mount the Shelf and Style It
Lay the shelf onto your brackets and secure it from underneath with short screws driven up through the bracket lip into the shelf bottom. Step back, check that everything is level one final time, and then the fun part begins: styling your new shelves.
Group items by category and height for a visually balanced look. Mixing textures, such as woven baskets, ceramic pieces, and greenery alongside books or food storage containers, gives your shelves a curated, intentional feel.
Best Wood Species for DIY Wood Shelves
Choosing the right wood makes a big difference in how your finished shelves look and how long they last.
Pine
Pine is the most affordable and widely available option at home improvement stores. It is easy to cut and sand, accepts paint beautifully, and stains decently with the right conditioner. It is a great choice for beginners building their first set of DIY wood shelves.
Oak
Red oak and white oak are hardwoods with a beautiful grain pattern that looks stunning under a natural stain. Oak is heavier and harder to cut than pine, but it holds up to heavy loads without flexing. It is a top choice for kitchen shelves or any application where you will be storing heavier items.
Poplar
Poplar is a hardwood that is relatively affordable, machines cleanly, and is the best choice if you are painting your shelves. Its fine, even grain takes paint better than pine without requiring as much prep work.
Walnut
Walnut is a premium hardwood with a rich, dark chocolate tone that needs no stain at all. It is expensive but absolutely gorgeous. If you are building a statement shelf for a living room or home office, walnut delivers a wow factor that no other common species can match.
Reclaimed Wood
Reclaimed barn wood or old-growth lumber brings character and warmth that new lumber simply cannot replicate. Each piece is unique, with natural weathering, nail holes, and color variation. According to Houzz, reclaimed wood shelving remains one of the most-requested rustic design elements in American home renovations.
Smart Ways to Style and Organize Your DIY Wood Shelves
Building the shelves is only half the battle. Styling them thoughtfully makes the difference between a cluttered surface and a display that looks like it belongs in a magazine.
The Rule of Three
Group items in odd numbers, especially threes. A small plant, a stack of books, and a decorative object placed together create visual interest and a sense of balance. This is a foundational styling principle used by interior designers across the country.
Mix Functional and Decorative Items
Your shelves do not need to be purely storage or purely decorative. Mix functional items like airtight storage containers for food or spice racks with plants, framed photos, or small sculptures for a shelf that is both beautiful and practical.
Use Baskets and Bins for Hidden Storage
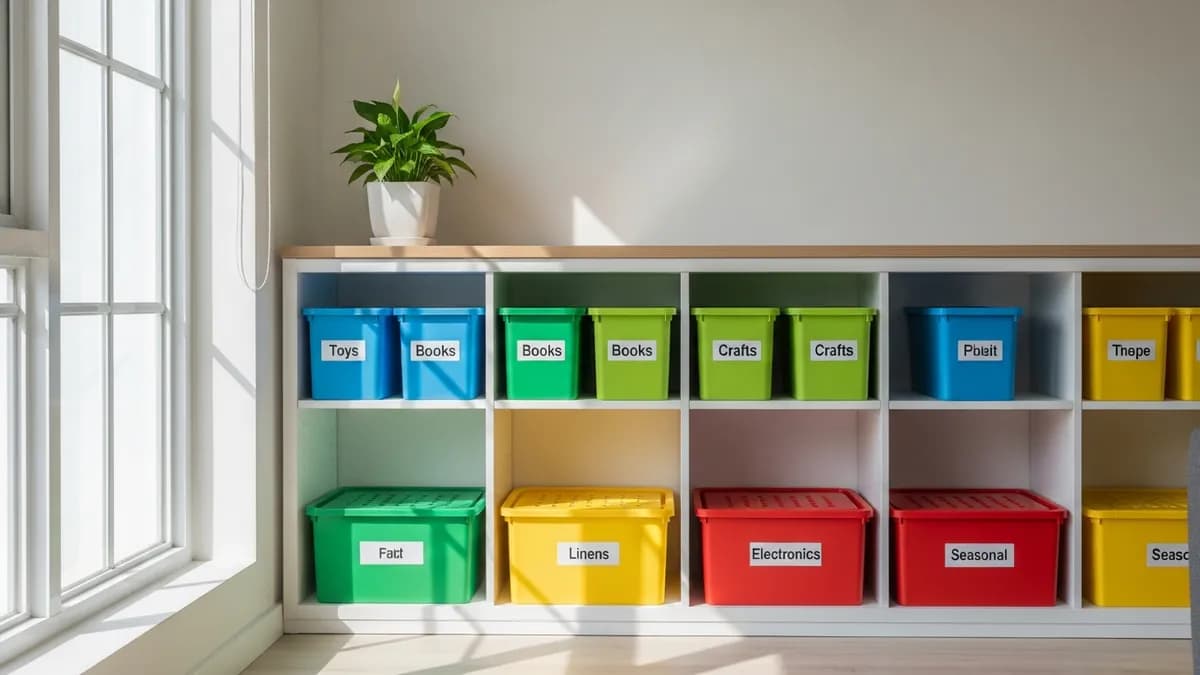
Woven baskets and fabric bins are great for corralling smaller, messier items behind a tidy face. Label each basket so you always know what is inside. This is especially useful on pantry shelving or in a laundry room shelving setup.
Leave Some Breathing Room
Resist the urge to fill every inch of your shelves. Empty space is intentional in good shelf styling. It lets your eye rest and prevents the display from looking chaotic.
Keep It Consistent
Choose a limited color palette for items displayed on a single shelf run. Sticking to two or three colors, such as white, natural wood tones, and a single accent color, creates a cohesive and calming look.
Common Mistakes to Avoid When Building DIY Wood Shelves
Even experienced DIYers make these errors. Knowing them ahead of time saves you from costly rework.
- Skipping the stud finder: Anchoring heavy shelves to drywall alone without hitting studs is a recipe for disaster. Always locate and use studs for primary support.
- Not checking for level: A shelf that is even a quarter-inch off level becomes very obvious once you load items onto it. Check level multiple times during installation.
- Using green or wet lumber: Freshly milled wood contains moisture that causes warping and cracking as it dries. Always buy kiln-dried lumber for indoor shelves.
- Skipping sanding between finish coats: Sanding lightly between coats of polyurethane removes dust nibs and creates a smooth, professional final surface.
- Overloading shelves: Even solid wood shelves have limits. A 1x10 pine board spanning 36 inches without center support will sag under very heavy loads. Add a center bracket for spans longer than 32 inches, or use thicker stock such as 1-1/2 inch boards.
- Not pre-drilling pilot holes: Driving screws into wood without pilot holes, especially near the end of a board, causes splitting. Always drill pilot holes slightly smaller than your screw diameter.
How to Add Shelves to Every Room in Your Home
Once you master the basic build, you can adapt DIY wood shelves to suit every room's unique needs.
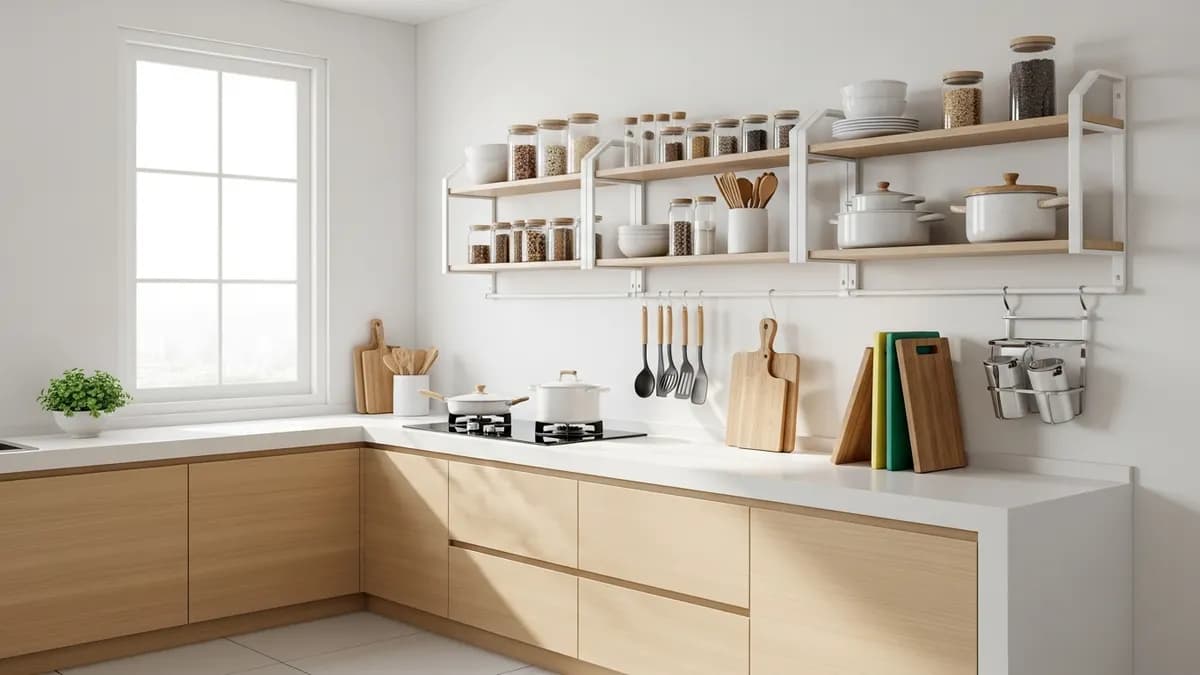
Kitchen: Build open shelves above the counter for frequently used items. Style them with your best dishes, glass food storage containers, and a few potted herbs for a farmhouse or modern look.
Living Room: Floating wood shelves flanking a TV or fireplace create instant architectural interest and give you space for books, plants, and media equipment. Check out these living room shelving ideas for more inspiration.
Bedroom: Build a simple headboard shelf from one wide board mounted directly behind the bed for a built-in nightstand effect. Or install floating shelves on either side for lamps, books, and small decor.
Bathroom: A set of small floating wood shelves above the toilet or beside the vanity adds storage for towels, toiletries, and plants. Seal the wood carefully in a bathroom environment due to humidity.
Garage: Build heavy-duty freestanding or wall-mounted wood shelving units for tools, bins, and seasonal gear. Pair them with the best garage storage solutions for a fully organized workspace.
Home Office: A wall of custom wood shelves in a home office is both functional and impressive. Use them to store binders, books, and office supplies while keeping your desk surface clear. See these home office organization ideas for layout inspiration.
Related Products from Sesoris
If you want to turn this guide into a real setup, start with Foldable Storage Bins and Floating Wall Shelf Set. For broader options, browse the Home & Decor collection so the article journey does not stop at reading only.
Our practical rule: choose one product that solves the main clutter problem first, then add supporting organizers only when the daily workflow is already clear. This keeps the shopping path useful, not pushy.
FAQ: Frequently Asked Questions About DIY Wood Shelves
Q: What is the best wood for DIY wood shelves if I am a beginner?
Pine is the best starting point for beginners. It is affordable, widely available, easy to cut with basic tools, and forgiving of minor mistakes. It also paints beautifully if you want a clean, modern look. As you gain confidence, you can graduate to harder species like oak or even walnut.
Q: How much weight can a DIY wood shelf hold?
This depends on the thickness of the board, the span between supports, and how the shelf is mounted. A 3/4-inch-thick board spanning 24 inches between brackets can typically handle 40 to 50 pounds safely when anchored properly into studs. Reduce the span or increase board thickness for heavier loads.
Q: Do I need a saw to build DIY wood shelves?
Not necessarily. Most home improvement stores offer board cutting services for a small fee per cut, and you can bring your measurements with you. You will still need a drill for mounting, but you can skip owning a saw entirely if you plan ahead.
Q: How do I prevent my wood shelves from sagging over time?
Use adequately thick lumber for the span (3/4 inch up to 32 inches, 1-1/2 inch for longer spans), add a center bracket for runs over 32 inches, and avoid chronically overloading them. Hardwoods are more resistant to long-term sag than softwoods like pine.
Q: Can I build DIY wood shelves without power tools?
Yes, with some limitations. A hand saw can cut boards, though it takes more effort and practice to get square cuts. A manual screwdriver can drive screws into pre-drilled holes. However, investing in even an entry-level drill (available for well under US$50) makes the job significantly faster and more accurate.
Q: How do I finish wood shelves for a bathroom without them warping?
Apply at least three coats of oil-based or water-based polyurethane to all six sides of the board, including the bottom and ends that you might be tempted to skip. This creates a moisture barrier on all surfaces. Also make sure your bathroom has adequate ventilation to minimize humidity buildup.
Conclusion
Building DIY wood shelves is one of the most satisfying home improvement projects you can tackle, regardless of your experience level. With the right lumber, a handful of basic tools, and the step-by-step process I have laid out in this guide, you can create beautiful, strong, and fully custom shelving for any room in your home this 2026. From a simple floating kitchen shelf styled with your best storage containers to a full wall of built-ins in your home office, wood shelves add character, storage capacity, and real value to any space. Ready to take your home organization even further? Explore the full range of home organization products at Sesoris to find the containers, bins, and accessories that will make your new shelves work even harder for you. Browse our best sellers and new arrivals for everything you need to Live More Organized.
Weekly Home Tips
Get home organization ideas, product picks, and exclusive deals delivered weekly.
No spam. Unsubscribe anytime.
Explore More Articles
- Wall Mounted Dish Rack: Complete Buying & Install Guide 2026
- Hanging Kitchen Shelf: Complete Buying Guide for 2026
- Best Storage Containers for Food: Complete Review & Buying Guide for 2026
- 30+ Best Closet Organization Ideas for Nursery: Create the Perfect Baby Storage Space in 2026
- 30+ Best Hallway Closet Organization Ideas to Transform Your Storage Space in 2026
- Eid al-Fitr Prep Checklist: A Home Cleaning Countdown
- Productive WFH Setup for a Small Minimalist Home
- 25+ Best Entryway Organization Ideas to Transform Your Home's First Impression in 2026