
Pantry Organization Bins: The Complete 2026 Guide to a Clutter-Free Kitchen
Learn how to choose, size, and label pantry organization bins so every shelf stays tidy. A practical, step-by-step guide covering materials, layouts, and budget options for any kitchen.
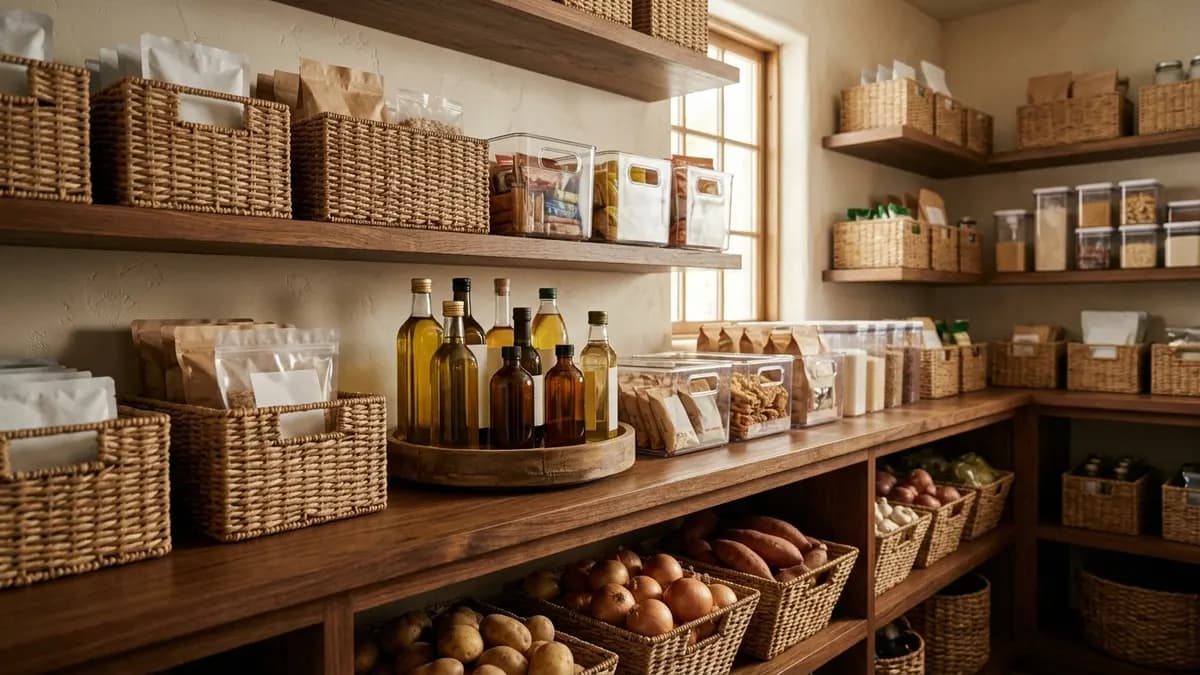
A messy pantry does not happen overnight, and it usually is not fixed overnight either. It builds up one half-open cereal box, one loose bag of rice, and one forgotten can at a time, until finding anything means moving five other things first. Pantry organization bins are the single most effective tool for reversing that slide, because they turn loose, oddly shaped groceries into uniform blocks that stack, slide, and label cleanly.
This guide walks through how to pick the right bins for your specific pantry, how to size and group them, and how to keep the system working past the first week. It is written for real kitchens with real budgets, not a magazine-perfect pantry that gets restyled for a photo. If your pantry is part of a compact kitchen, compare the layout ideas in small pantry ideas before you buy containers.
Why Bins Change How a Pantry Actually Works
The core problem with an unorganized pantry is not mess, it is inconsistency. A box of pasta might be half-full, standing at an angle, and blocking the can of tomatoes behind it. Bins solve this by removing the packaging as the storage unit. Once dry goods are decanted into a bin or the box itself is placed inside a bin as a tray, every item on that shelf behaves the same way: same footprint, same height range, same way of sliding in and out.
That consistency is what actually saves time day to day. You are not hunting through the shelf, you are pulling one labeled bin forward and putting it back. It also protects food. Airtight or lidded bins keep pests and moisture out of opened bags of flour, sugar, and cereal far better than a folded-over bag clipped shut. For a broader room-by-room approach, see these home storage solutions.
Types of Pantry Organization Bins
Clear Plastic Bins
Clear bins are the default recommendation for most pantries because you can see the contents without opening or removing them. They work well for canned goods, snack packs, produce like onions and potatoes, and paper products. For more layout inspiration, compare these pantry organization ideas. Look for BPA-free polypropylene, which resists cracking better than thin acrylic over years of daily use.
Airtight Canisters
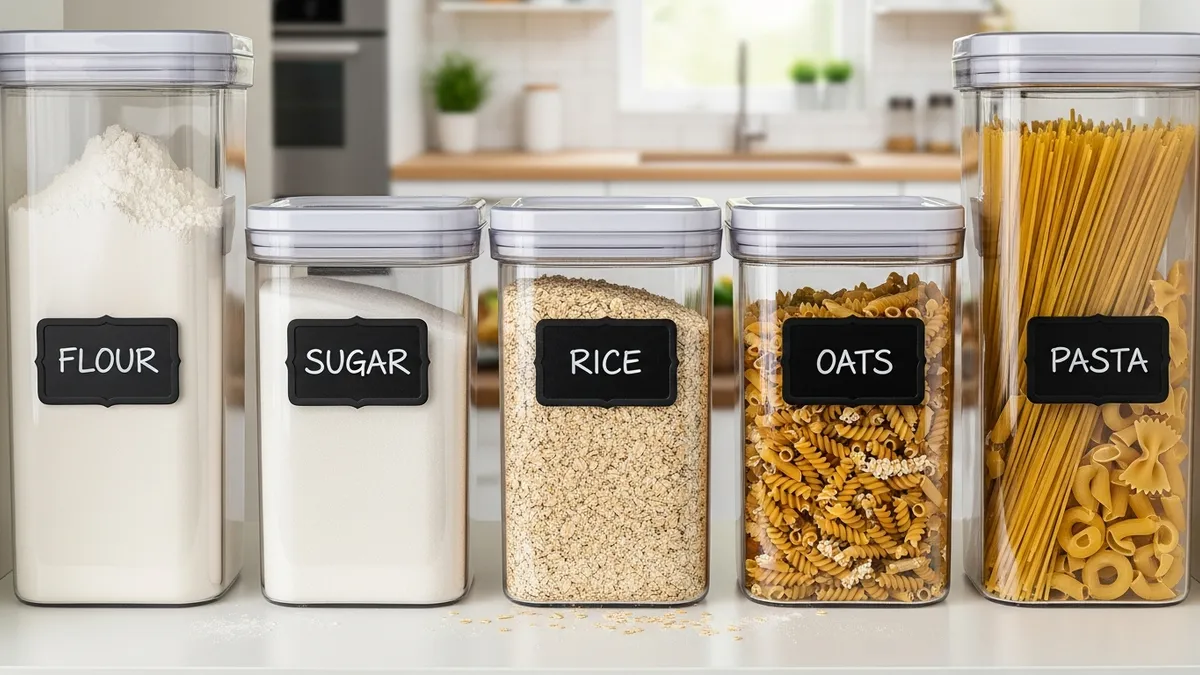
For opened bags of flour, sugar, rice, oats, and pasta, an airtight canister with a locking or gasket-sealed lid is worth the extra cost. It keeps product fresh for months longer than the original bag and blocks pantry moths, which are one of the most common reasons dry goods get thrown out. The University of Maryland Extension explains that tightly closed glass, metal, or hard-plastic containers help keep stored-food pests from getting into food; see its specific kitchen and pantry pest guidance.
Woven or Fabric Baskets
Baskets suit produce that needs airflow, such as potatoes, onions, and garlic, plus bread and bulky snack bags where a hard lid is not necessary. They also add warmth to open shelving, which matters if the pantry is visible from a kitchen or dining area. If you are combining bins with open shelving, review this pantry storage rack guide for spacing ideas.
Stackable Bins with Lids
For pantries with limited shelf height, stackable bins let you use vertical space instead of spreading everything across the same shelf line. They work especially well for baking supplies that are used less often, such as extra sugar, specialty flours, and holiday baking sets. These pantry shelving ideas can help you plan the vertical clearances first.
Metal Wire Bins
Metal bins hold up well in high-traffic pantries and give a more industrial or farmhouse look. They are a good fit for root vegetables and packaged snacks where full visibility is less important than durability. For more container combinations, browse these kitchen food storage ideas.
How to Choose the Right Bin Size
Bin size mistakes are the most common reason a new pantry system falls apart within a month. Bins that are too large waste shelf space and get overstuffed; bins that are too small force you to keep overflow loose next to them, defeating the purpose.
Measure before you buy. Take the depth, width, and height of every shelf, and subtract at least 1 inch (2.5 cm) from the depth so bins can be pulled forward without scraping the shelf above. For cabinet-adjacent pantry planning, these kitchen cabinet organization ideas are a useful companion. For most standard kitchen pantry shelves, that means:
- Shallow shelves (8-10 in / 20-25 cm deep): narrow bins for spice packets, sauce sachets, and single-serve snacks - Medium shelves (12-14 in / 30-35 cm deep): the most common size, good for cereal boxes, pasta, and canned goods - Deep shelves (16 in+ / 40 cm+): large bins or two rows of medium bins front-to-back, useful for bulk paper goods and large bags of rice
Buy one bin first if you are unsure, and test it in the actual shelf space for a week before ordering a full set. It is a small delay that prevents an expensive returns problem later. If you need stackable options with extra protection, compare this guide to storage bins with lids.
Grouping Strategy: Organize by Category, Not by Shape
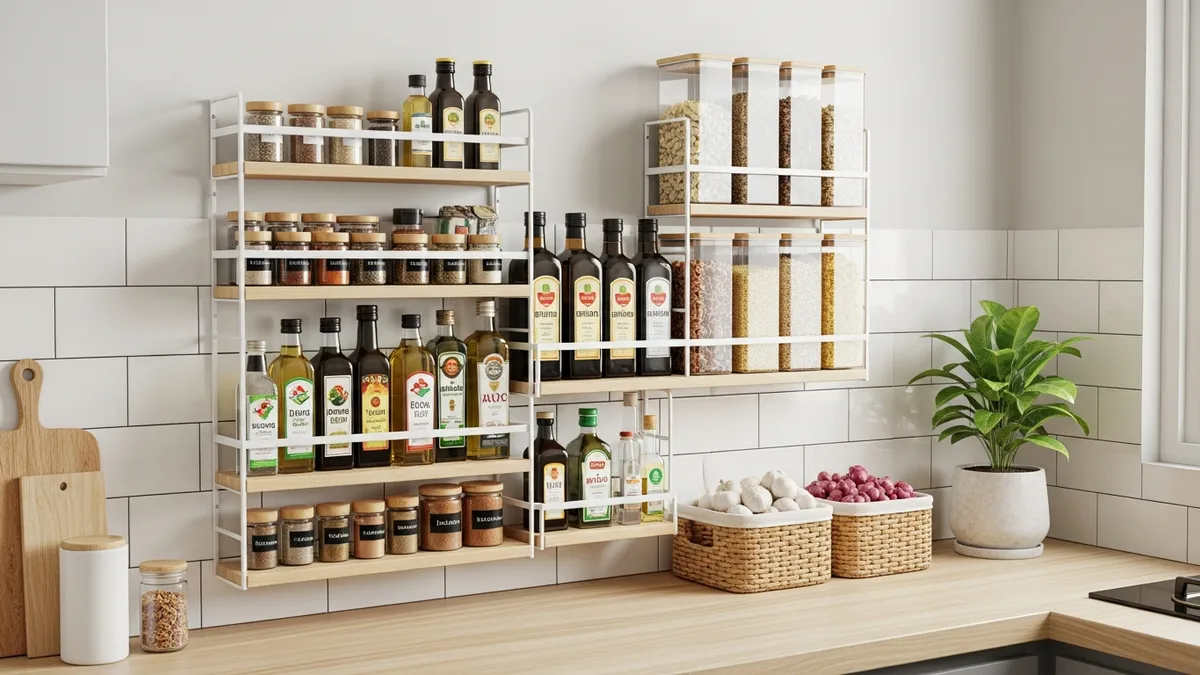
The instinct is often to organize bins by size so they stack neatly, but the system holds up much longer when it is organized by category instead. A simple grouping that works for most households: For a smaller kitchen, pair this method with these small kitchen organization ideas.
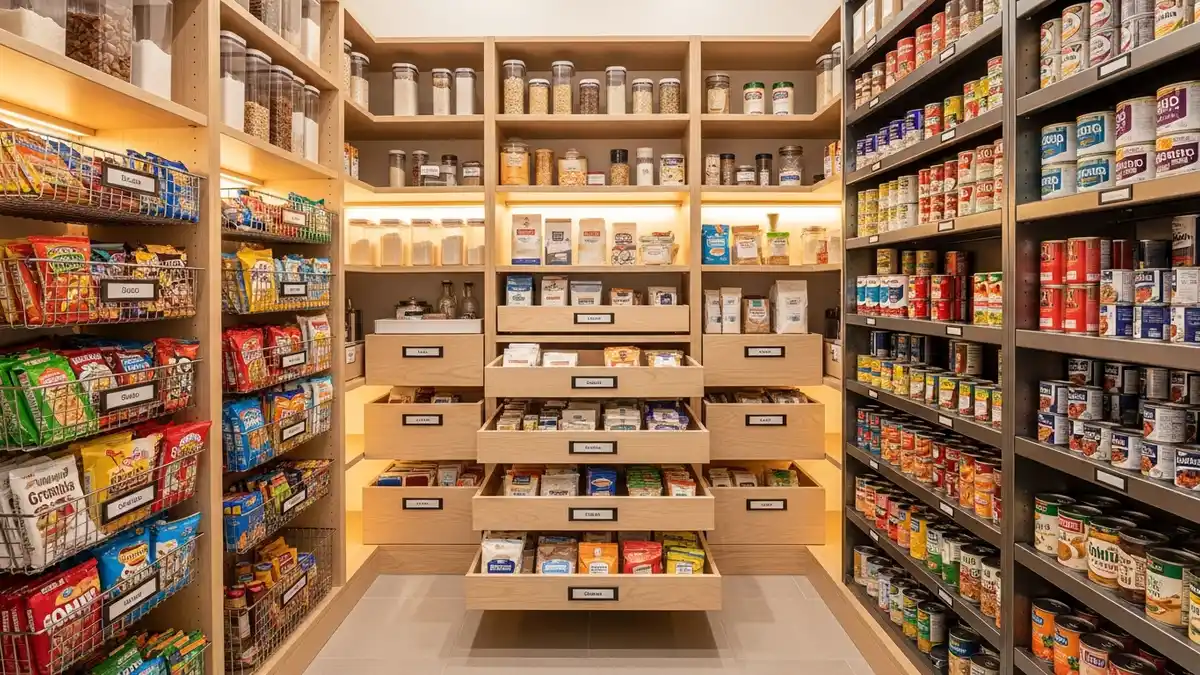
- Breakfast bin - cereal, oatmeal packets, granola bars 2. Baking bin - flour, sugar, baking powder, chocolate chips 3. Snack bin - chips, crackers, nuts, dried fruit 4. Canned goods bin or shelf - soups, vegetables, beans 5. Grains and pasta bin - rice, pasta, quinoa, couscous 6. Kids' snack bin - a low, easy-to-reach bin for anyone under about 10 years old to serve themselves
Grouping by category means everyone in the household learns the system quickly, because they are looking for "the baking bin," not trying to remember which shelf a specific brand of flour lives on.
Labeling: The Step Most People Skip
A bin without a label reverts to clutter within a few weeks, because it becomes just as easy to put the wrong item in the wrong bin as it was to leave it loose on a shelf. Labels close that gap. See these storage bin labels for practical label formats that stay readable.
- Use a label maker or waterproof stickers rather than handwriting, which fades and smudges near steam or spills - Label the front-facing side at eye level, not the top, so labels stay visible when bins are stacked - For canisters holding decanted dry goods, include the name and the original expiration date on a small card inside or on the base, since the packaging with the expiry date gets thrown away
Budget-Friendly Alternatives
A full matching bin system is not required to get the organizational benefit. Reusing what you already have is a legitimate long-term strategy, not just a starter step:
- Wash and reuse large glass jars from pasta sauce or pickles as clear canisters for small dry goods - Repurpose shoeboxes lined with parchment paper as short-term snack bins while you save for proper containers - Buy bins in stages, starting with the shelf that causes the most daily frustration, usually the snack or breakfast shelf. For more low-cost organizer ideas, see DIY cardboard box storage ideas.
If you do want to invest in a proper system, Stackable Storage Bins, 24 Pack collapse flat for easy storage when not in use and work well as a stackable option for pantries with irregular shelf heights.
Maintaining the System Long-Term
The bins do the organizing, but a few small habits keep the system from sliding back into clutter:
Do a Monthly Five-Minute Check
Once a month, pull each bin forward, wipe crumbs or spills, and review anything past its date. The FDA guide to food product dating and safe storage explains how date labels relate to quality, spoilage checks, and storage, so include the label in your check rather than relying on memory. This is far faster than a full pantry overhaul because the categories are already sorted.
Refill, Don't Just Restock
When you buy more of an item, decant the new bag into the existing bin instead of adding a second half-empty box next to it. This keeps bin counts from creeping upward over time.
Assign One Bin Per Person for Personal Snacks
In households with different dietary needs or preferences, a single bin per person for personal snacks reduces the friction that causes people to leave loose bags on open shelves.
Related Products from Sesoris
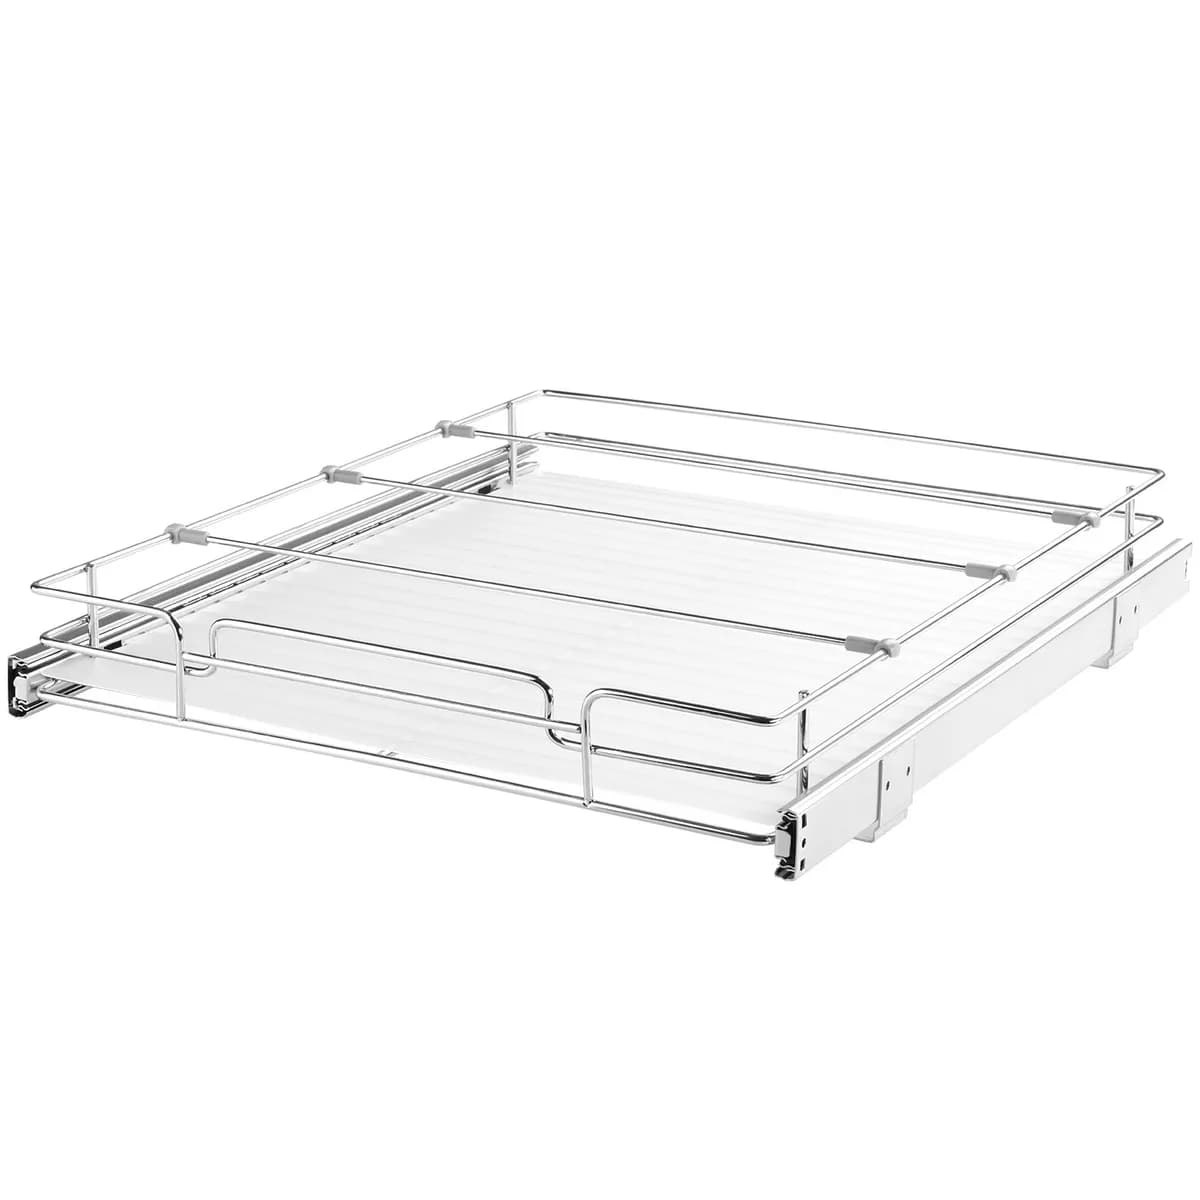
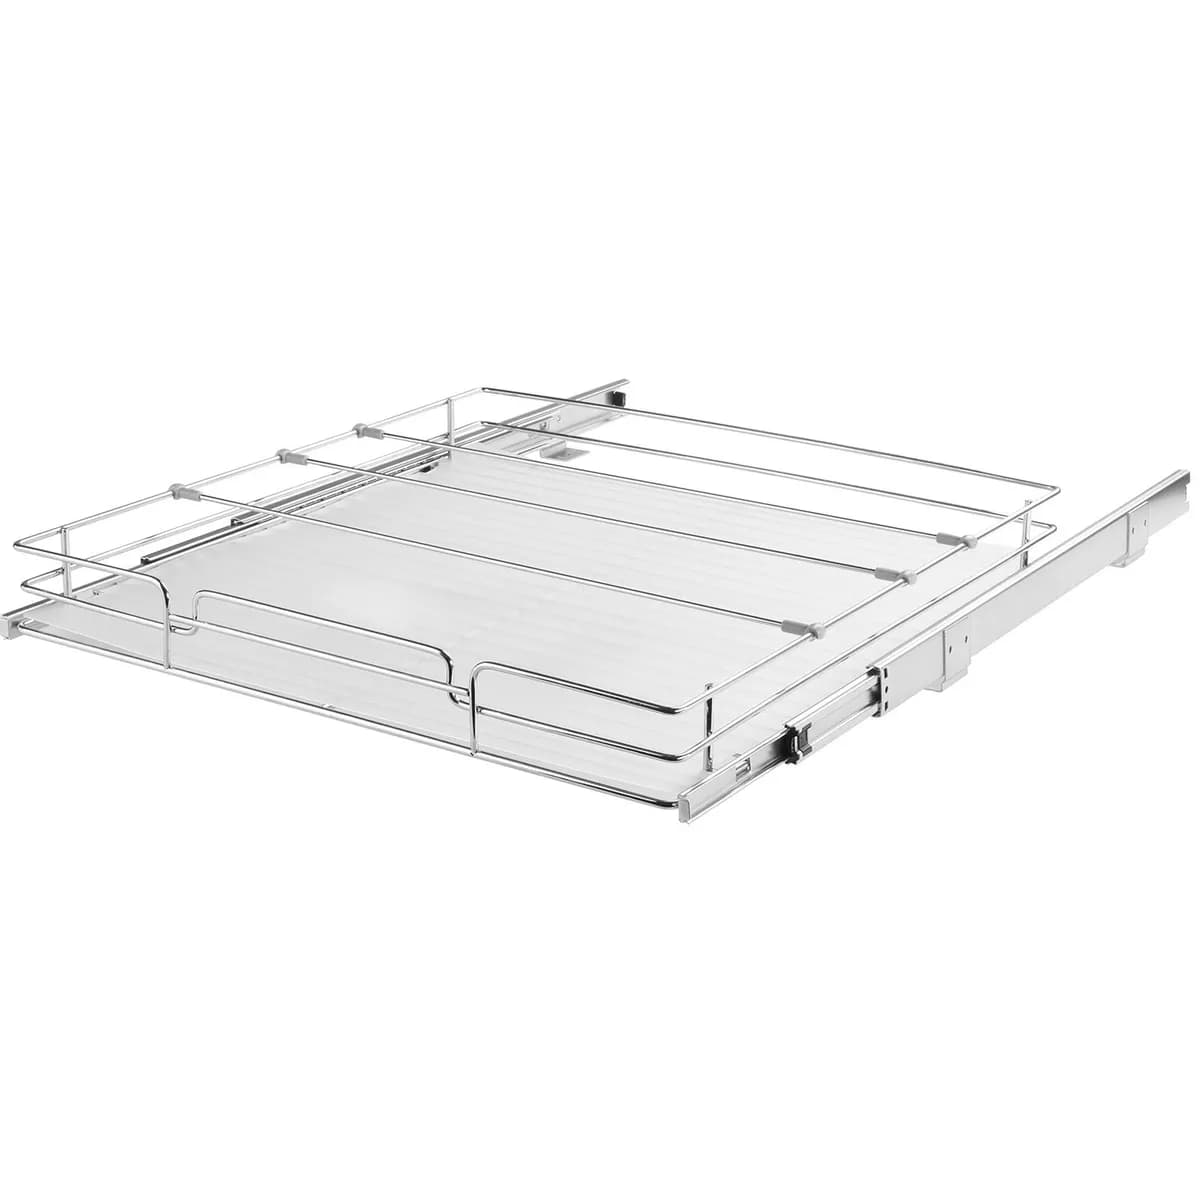
To put this system in place, start with Stackable Storage Bins, 24 Pack for flexible, stackable storage, and pair them with a Pull-Out Cabinet Organizer, 14 in. Wide nearby to keep counter clutter from creeping into pantry space. Browse the full Kitchen & Dining collection for more organization pieces sized for real kitchens. If counter overflow is part of the problem, these kitchen counter organization ideas are a useful next step.
Our practical rule: buy enough bins for the one or two shelves causing the most daily frustration first, live with that system for a few weeks, then expand. A pantry organized in stages is more likely to stay organized than one overhauled all at once and abandoned by the second month.
FAQ: Frequently Asked Questions About Pantry Organization Bins
What size bins work best for a small pantry?
Narrow bins in the 8-10 inch (20-25 cm) depth range work best for small or shallow pantries, since they leave room to pull items forward without wasting the extra depth that a standard cabinet shelf usually has.
Should I decant food into bins or keep it in original packaging?
Decant opened dry goods like flour, sugar, rice, and cereal into airtight canisters for freshness and pest protection. Sealed, unopened items such as canned goods or factory-sealed snack packs can stay in their original packaging inside a bin.
Are clear or opaque bins better for a pantry?
Clear bins are generally better because they let you see contents and remaining quantity at a glance, which reduces both over-buying and running out unexpectedly. Opaque bins are useful only when you want to hide visual clutter on open shelving.
How many bins do I actually need to start?
Most kitchens need 6 to 10 bins to cover the main categories: breakfast, baking, snacks, canned goods, grains and pasta, and a kids' or personal snack bin. Start with 2 to 3 for the most-used categories and expand from there.
Can pantry bins help with pest problems?
Yes. Airtight, gasket-sealed canisters are one of the most effective low-cost ways to stop pantry moths and other pests from spreading between packages, since the sealed lid blocks both entry and egg-laying sites that loose bags leave exposed.
Conclusion: Start Small, Stay Consistent
Pantry organization bins are not a one-time purchase that fixes clutter permanently, they are a system that needs the right sizes, clear labels, and a few minutes of upkeep each month. Start with the shelf that frustrates you the most, measure before you buy, group by category rather than by size, and label everything at eye level. Do that consistently, and the pantry stays usable long after the initial organizing weekend is over.
Liked this guide?
Get new organizing guides and the occasional new product by email. No spam, unsubscribe anytime.
Related articles

Explore more articles
- Organizing Children's Closet: The Complete 2026 Guide to a Tidy, Kid-Friendly Wardrobe
- 30+ Best Playroom Storage Ideas to Create a Fun, Tidy Kids' Space in 2026
- DIY Room Divider Ideas: 20+ Creative Ways to Split Your Space in 2026
- Office Organization Ideas: Complete 2026 Guide to a Productive, Clutter-Free Workplace
- Decluttering Home Decor: The Complete 2026 Guide to a Beautiful, Clutter-Free Home
- How to Build DIY Garage Shelves: Complete Step-by-Step Guide for 2026
- 20+ Best Tiny Kitchen Layout Ideas to Maximize Every Inch in 2026
- 25+ Best Makeup Vanity Organization Ideas to Transform Your Beauty Space in 2026