
How to Organize Your Pantry Step by Step: Complete Tutorial for a Functional, Clutter-Free Kitchen in 2026
Learn how to organize your pantry step by step in 2026. This complete tutorial covers decluttering, zoning, labeling, and the best storage tools.
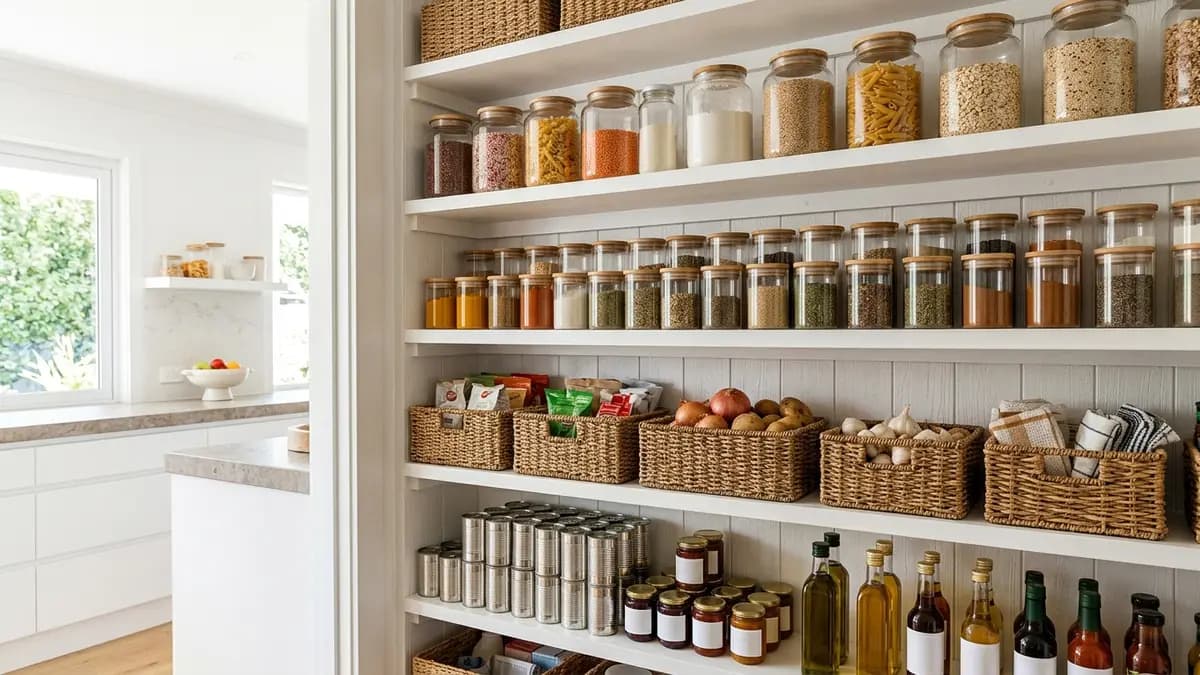
If you have ever opened your pantry door and felt a wave of overwhelm instead of inspiration, you are not alone. A disorganized pantry makes cooking harder, wastes food, and costs money. The good news is that learning how to organize your pantry is a skill anyone can master with the right step-by-step plan. This complete 2026 tutorial walks you through every phase of the process, from the initial clear-out all the way to a labeling system that actually sticks. Whether you have a deep walk-in pantry, a single cabinet, or a handful of open shelves, these methods scale to fit your space perfectly.
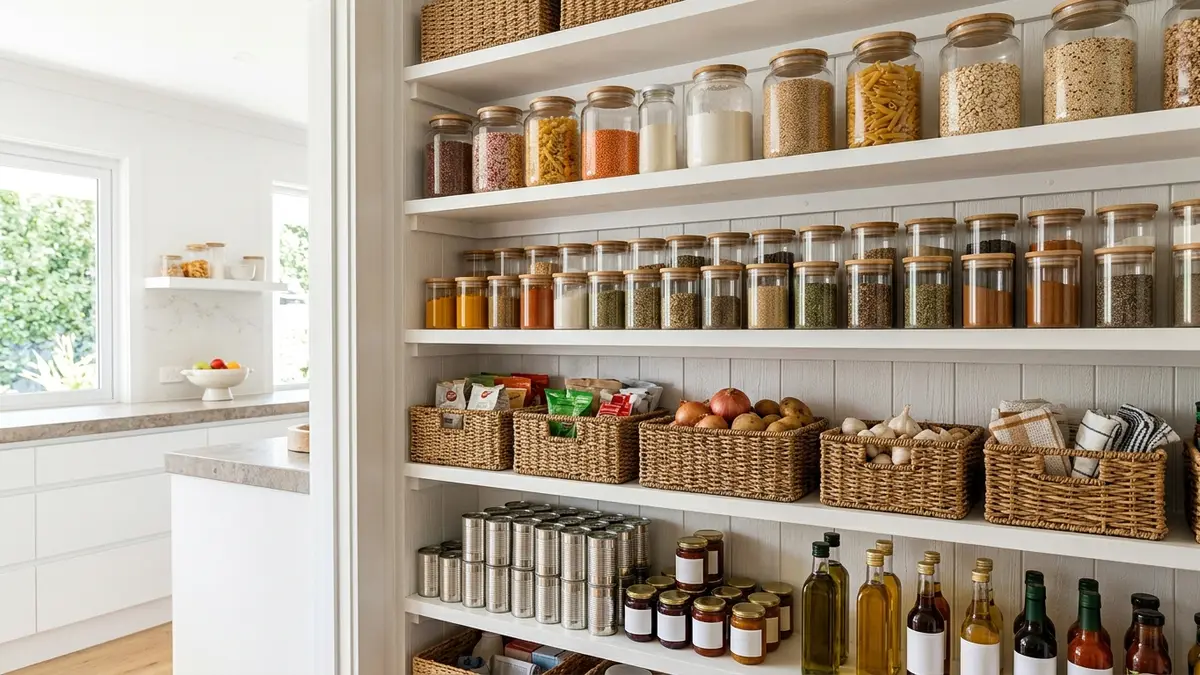
Why Learning How to Organize Your Pantry Is Worth the Effort
A tidy pantry is not just about aesthetics. It is a practical tool that makes daily life smoother. When every item has a home and you can see exactly what you have, meal planning becomes faster, grocery shopping gets smarter, and food waste drops significantly. According to USDA data on household food waste, American families waste a substantial share of the food they buy, and much of that waste happens because items get lost at the back of cluttered shelves or expire unnoticed.
Beyond saving money on groceries, an organized pantry also supports food safety. The USDA Food Safety and Inspection Service recommends storing shelf-stable foods properly and checking date labels regularly to avoid consuming spoiled goods. A well-organized system makes it much easier to rotate stock and catch anything past its prime before it becomes a health concern.
What You Will Need Before You Start
Gathering your supplies before you dive in saves you from stopping mid-project to run to the store. Here is a simple checklist to have ready:
- Trash bags for discarding expired or unwanted items
- Donation box or bag for non-expired food you no longer want
- Cleaning spray and a microfiber cloth for wiping down shelves
- Clear airtight containers in a range of sizes for dry goods
- Woven or wire baskets for grouping categories like snacks or canned goods
- Lazy Susans (turntables) for corners and deep shelves
- Label maker or printable labels with a marker
- Shelf liner (optional) to protect surfaces and add grip
- Measuring tape so you can measure shelf dimensions before buying organizers
Shopping for containers before you measure is one of the most common pantry organization mistakes. Measure your shelf depth, height between shelves, and overall pantry width before purchasing a single bin. Most standard pantry shelves are between 12 and 16 inches deep, but yours may vary.
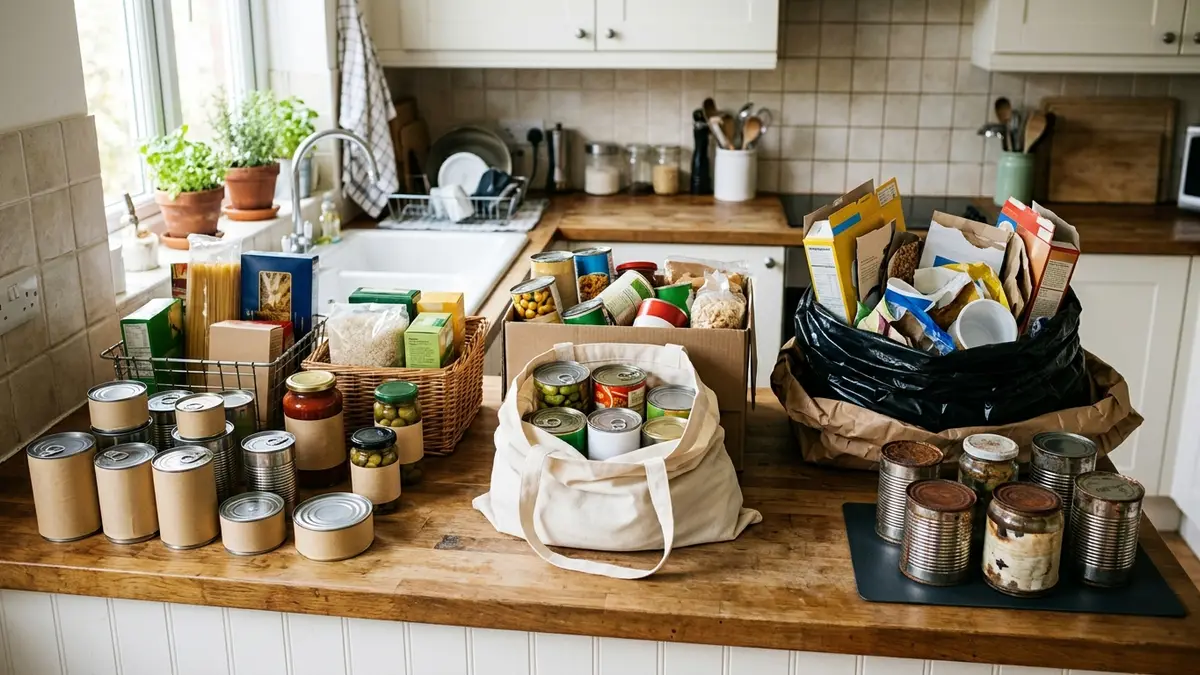
Step 1: Pull Everything Out and Declutter
This is the most important step, and skipping it is the number-one reason pantry organization efforts fail. You cannot organize clutter, so everything needs to come out first.
How to Declutter Your Pantry Efficiently
- Remove every single item from your pantry and place it on your kitchen counter or table.
- Check every expiration date. Discard anything past its use-by date. For canned goods, the USDA Shelf-Stable Food guidance notes that most commercially canned goods are safe beyond their best-by date if the can is undamaged, but quality declines. When in doubt, throw it out.
- Make three piles: keep, donate, and discard. Items you will donate should be non-expired, shelf-stable goods your household simply will not use.
- Consolidate duplicates. If you have three half-empty bags of the same pasta, pour them together into one container.
- Wipe down every shelf with a damp microfiber cloth and all-purpose cleaner before putting anything back.
Do not rush this step. Taking the time to truly assess what you own gives you an accurate picture of your inventory, which directly shapes how you set up your zones in the next step.
Step 2: Create Pantry Zones Based on How You Actually Cook
Zoning is the backbone of a functional pantry. The idea is simple: group like items together so that everything you need for a specific task is in one place. Rather than hunting for ingredients across multiple shelves, you reach into one zone and find everything at once.
Here is a sample zone plan you can adapt to your own shelves, from the most-used items at eye level to backstock up high.
| Pantry zone | What goes there | Best shelf position |
|---|---|---|
| Everyday cooking | Oils, spices, pasta, rice | Eye level, front |
| Breakfast | Cereal, oats, coffee, tea | Eye level or just below |
| Baking | Flour, sugar, baking powder, mixes | Middle shelves, grouped in bins |
| Snacks | Bars, crackers, kid-friendly items | Lower shelves for easy reach |
| Backstock | Extra cans and bulk refills | Top or bottom shelves |
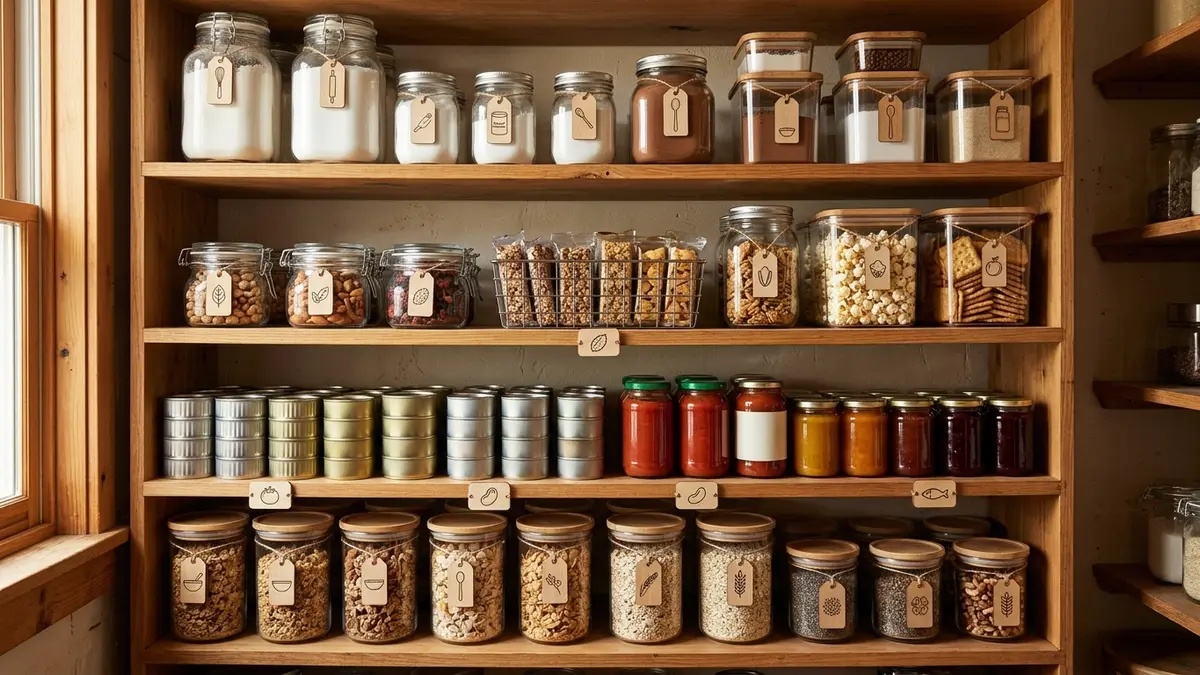
Common Pantry Zones to Consider
- Breakfast zone: cereal, oats, granola, nut butters, pancake mix, syrup
- Baking zone: flour, sugar, baking soda, baking powder, cocoa powder, vanilla, chocolate chips
- Grains and pasta zone: rice, quinoa, lentils, dried pasta, noodles, couscous
- Canned goods zone: canned tomatoes, beans, soups, vegetables, tuna
- Snacks zone: chips, crackers, popcorn, dried fruit, nuts, granola bars
- Sauces and condiments zone: soy sauce, hot sauce, oils, vinegars, cooking wine
- Kids' zone (if applicable): kid-friendly snacks, lunch box fillings, juice boxes
- Overflow or bulk zone: extra paper goods, backup supplies, oversized items
Shelf Placement Strategies
Where you place each zone on the shelf matters just as much as the zones themselves. Use these placement principles for the most intuitive flow:
- Place the most frequently used zones at eye level so they are easiest to grab without bending or reaching.
- Put heavy items like canned goods on lower shelves to prevent shelving units from becoming top-heavy.
- Reserve upper shelves for rarely used items like specialty baking ingredients or holiday supplies.
- Keep a kids' snack zone at a lower, reachable level if you want children to be able to grab their own snacks independently.
For great visual inspiration on zone layouts, The Spruce's pantry organization guide offers a wide variety of real-home examples to spark ideas.
Step 3: Choose the Right Storage Containers for How to Organize Your Pantry
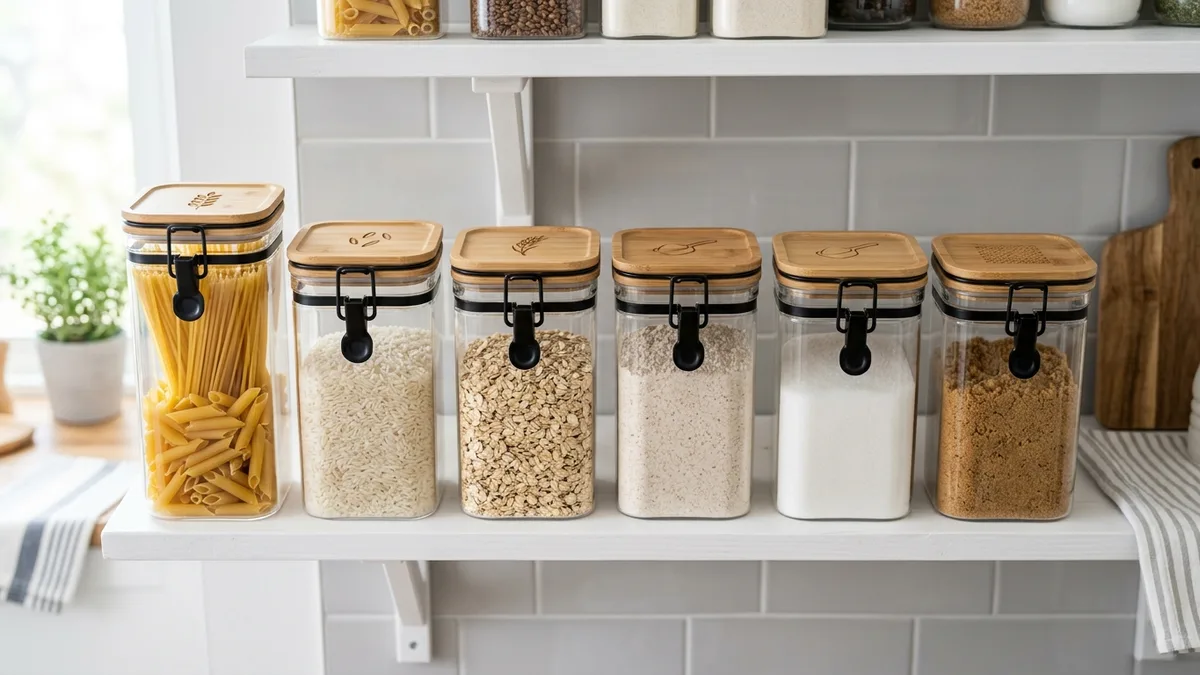
This is where your pantry goes from functional to genuinely beautiful. The right containers make your inventory visible at a glance, keep dry goods fresh longer, and create the cohesive look that makes a pantry a pleasure to open.
Types of Containers Worth Investing In
Clear airtight canisters are the gold standard for dry goods like flour, sugar, pasta, rice, oats, and cereal. Because they seal tightly, they keep moisture and pests out. You can find quality options in our airtight food storage containers collection. Look for square or rectangular shapes over round ones because they pack together without wasted space.
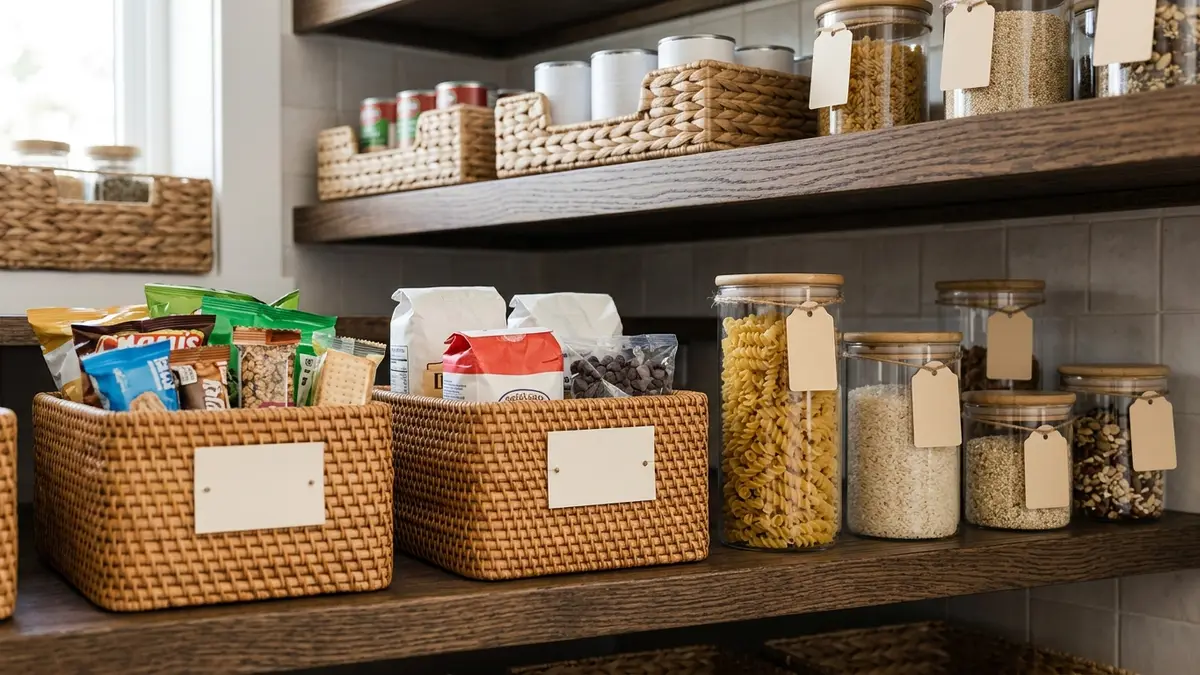
Woven baskets with open tops work beautifully for snack pouches, bread, onions, potatoes, or anything that does not need an airtight seal. They add warmth and texture to open or half-open pantries.
Wire or clear stackable bins are excellent for canned goods. Stacking cans two rows deep in a flat bin makes it very hard to see the back row. A tiered can organizer or a tilted-shelf bin solves this instantly.
Lazy Susans are a game-changer for corner shelves, deep shelves, or any zone where items tend to get pushed to the back. Spin to find exactly what you need without digging.
Over-the-door organizers turn the back of your pantry door into valuable storage real estate. These work especially well for spice packets, foil and wrap boxes, or small condiment jars.
For a deeper dive into container options, our guide on pantry food storage containers covers materials, sizes, and budget considerations in detail.
Sizing Tips
- Large containers (1 to 1.5 quarts): ideal for flour, sugar, oats, cornmeal
- Medium containers (about 0.5 quart): great for spices, baking soda, nuts, seeds
- Small containers (about 0.25 quart or less): perfect for specialty items you use sparingly
Buying a matching set from the same product line keeps your pantry looking unified and ensures the lids are interchangeable, which reduces the lid-hunting frustration you may have experienced before.
Step 4: Label Everything Clearly
Labels are what turn a one-time organization project into a system that other household members can actually use and maintain. Without labels, things drift back to their original chaos within weeks.
Labeling Methods to Consider
Label maker: Produces clean, durable, legible labels that stick well to plastic and glass. This is the most professional-looking option and holds up to moisture better than handwritten labels. You can find great tips on choosing labels in our label organizer guide.
Printable labels: Download free templates from free printable storage bin labels on our blog, print on sticker paper, and cut to size. This is a beautiful, budget-friendly option.
Chalk labels: Adhesive chalkboard labels let you write with chalk markers and wipe clean when the contents change. Ideal for households that swap out seasonal ingredients.
Handwritten tags: For woven baskets, tie-on kraft paper tags with a black marker create a charming, farmhouse-style look without any special tools.
What to Label
- Every container with its contents and, for dry goods, the date you filled it
- Every basket or bin with its zone category (e.g., "Snacks," "Baking," "Breakfast")
- Shelves themselves if you have a large pantry with multiple users
Label the shelf or basket zone, not just the container. That way, even when a container is removed for use, whoever is putting it back knows exactly where it belongs.
Step 5: Put Everything Back Using the First-In, First-Out Method
Now comes the satisfying part: restocking. As you return items to your newly organized and labeled pantry, follow the first-in, first-out (FIFO) rule that professional kitchens rely on. Older items go to the front of each container or shelf, and newer items go behind them. This simple habit ensures you always use the oldest supply first, which dramatically cuts down on expired food.
Restocking Best Practices
- Decant dry goods into their containers before placing them on shelves. Pouring directly from a bag into a clear container gives you a visual inventory at a glance.
- Keep original packaging nearby if it has cooking instructions you need. Tuck the cut-out panel into the container or snap a photo on your phone.
- Do not overfill containers. Leaving an inch or two of headroom in canister-style containers makes it easier to scoop without spilling.
- Rotate canned goods by placing the newest cans at the back and pulling the older cans forward.
- Group items by height within each zone, placing shorter items in front and taller ones at the back so nothing gets hidden.
Step 6: Build a Weekly Maintenance Habit
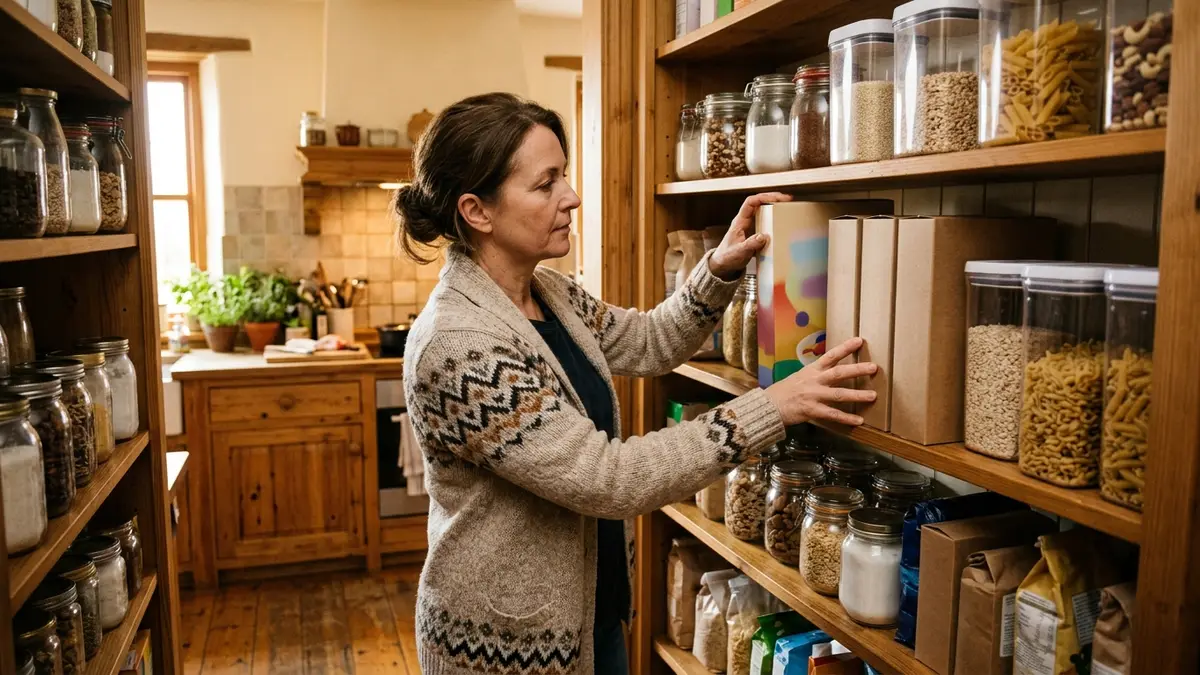
The most beautifully organized pantry in the world will fall apart without a simple maintenance routine. The good news is that maintenance takes almost no time once the initial system is in place.
A Simple Weekly Pantry Reset Routine
- Every time you unpack groceries (5 minutes): decant new items into containers, rotate stock front-to-back, and quickly scan for anything that looks like it is nearing its expiration date.
- Once a week during meal planning (2 minutes): glance at each zone to note what is running low so you can add it to your shopping list before you run out completely.
- Once a month (10 to 15 minutes): do a quick wipe-down of shelves, check for any crumbs or spills inside containers, and confirm that everything is still in its correct zone.
Connecting your pantry check to an existing habit makes it far easier to stick to. For example, linking it to your Sunday meal prep session is a strategy our Sunday reset routine tutorial explores in depth.
You can also find a wealth of ongoing kitchen organization strategies in our broader guide on how to keep your kitchen organized.
Smart Pantry Organization Tips for Small or Awkward Spaces
Not every home has a spacious walk-in pantry. If you are working with a single deep cabinet, a closet-turned-pantry, or open shelves, these targeted tips help you maximize every inch.
- Use the back of the pantry door with an over-the-door organizer for small packets, wraps, and foils.
- Add a tension rod horizontally across the middle of a shelf to create an upper and lower row for short items like spice jars.
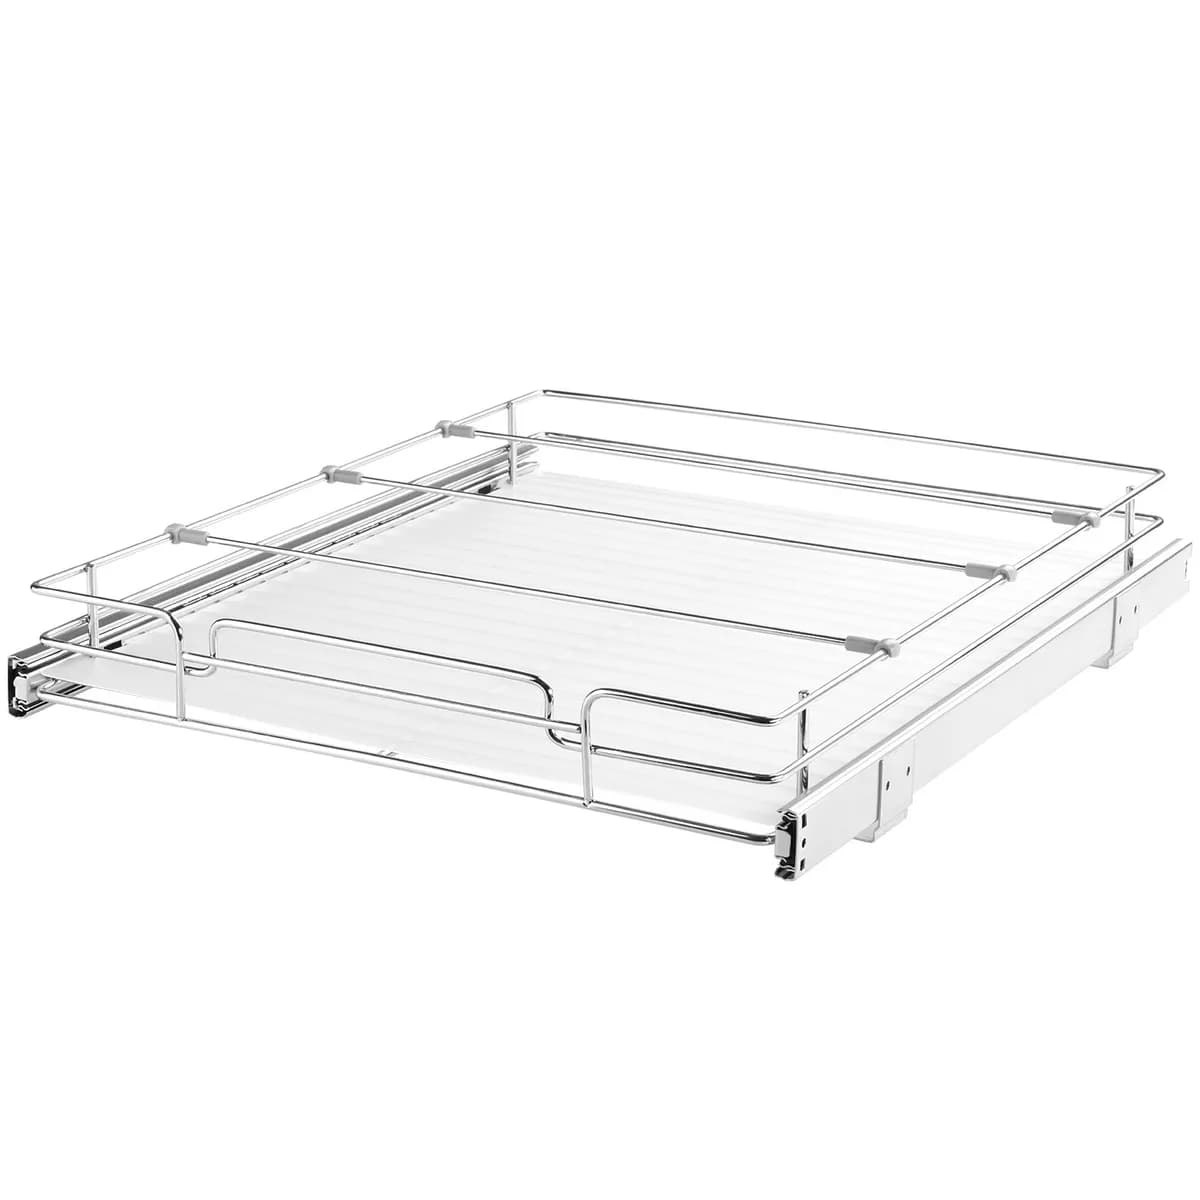
- Install a pull-out drawer insert inside deep cabinets so items at the back slide forward rather than staying hidden.
- Stack canned goods vertically using tiered risers so you can see every label without moving a single can.
- Mount a small magnetic strip or pegboard on the inside pantry wall for hanging measuring spoons, small tools, or clipboards with grocery lists.
For a comprehensive look at small-pantry strategies, Real Simple's pantry organization ideas is a consistently updated resource with creative real-world solutions.
Our own detailed article on how to organize a tiny kitchen also covers many of the same principles applied to ultra-compact spaces.
Pantry Organization on a Budget: How to Organize Your Pantry Without Overspending
You do not need to spend hundreds of dollars to get a beautifully organized pantry. Here are practical ways to keep costs down while still achieving a clean, functional system.
- Start with what you have. Repurpose shoeboxes, old bins, or mason jars before buying anything new.
- Shop in phases. Tackle one zone at a time rather than buying containers for the entire pantry at once.
- Buy clear containers in sets. Sets are almost always less expensive per piece than buying containers individually.
- Use dollar-store baskets for categories that do not need airtight sealing, like potatoes, onions, or snack pouches.
- Print your own labels rather than buying a label maker if you are just starting out. A neat handwritten label on masking tape is perfectly functional.
For a closer look at budget-friendly product options, our guide to cheap kitchen storage racks offers a starting point for affordable organizational tools.
Related Products from Sesoris
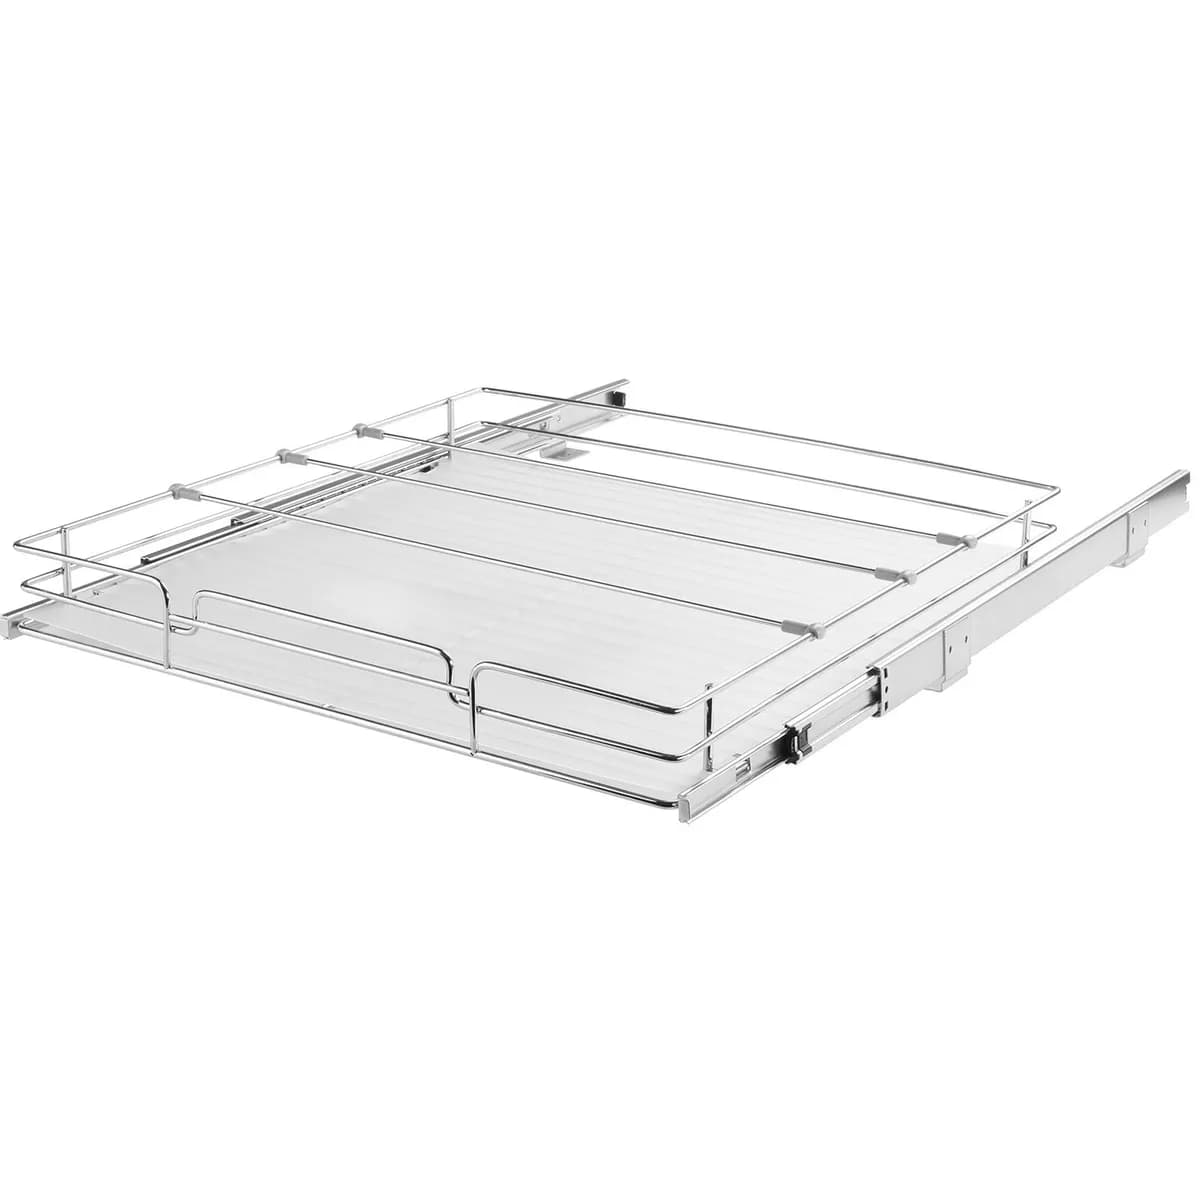
If you want to turn this guide into a real setup, start with Pull-Out Cabinet Organizer, 14 in. Wide and Over-the-Door Pantry Organizer, 8 Tier. For broader options, browse the Kitchen & Dining collection so the article journey does not stop at reading only.
Our practical rule: choose one product that solves the main clutter problem first, then add supporting organizers only when the daily workflow is already clear. This keeps the shopping path useful, not pushy.
FAQ: How to Organize Your Pantry
Q: How long does it take to organize a pantry from scratch?
For an average-sized pantry (one to two sections of shelving), expect the initial declutter and reorganization to take two to four hours. Larger walk-in pantries with many categories can take a full afternoon. The good news is that subsequent resets take only minutes once the system is established.
Q: Do I really need to use matching containers, or is that just an aesthetic preference?
Matching containers are not strictly necessary for a functional pantry, but they do offer practical benefits beyond looks. Containers from the same product line are usually designed to stack on each other, use the same lids, and nest together, which makes the space more efficient. That said, a pantry organized with mismatched but labeled containers will still function far better than one without any system at all.
Q: How do I keep my pantry organized after I set it up?
The key is making the system easy for everyone in the household to follow. Clear labels on both the containers and the shelves (or baskets) reduce the friction of putting things back correctly. A brief weekly restock habit, ideally tied to grocery unpacking, is the single most effective maintenance strategy.
Q: What should I do with items that do not fit neatly into any zone?
Create a miscellaneous or overflow basket for outliers. Items that do not belong to a defined category can live there temporarily. If you notice the miscellaneous basket filling up repeatedly with the same types of items, that is a signal to create a dedicated zone for them.
Q: Is it worth transferring everything into containers, or can I just keep food in its original packaging?
Original packaging is often not resealable or airtight after opening, which can lead to stale food and pest infiltration. Transferring dry goods like flour, sugar, rice, and pasta into airtight containers extends their shelf life and keeps them visible. For items that you use quickly or that come in fully resealable bags, keeping them in original packaging is perfectly fine.
Q: What should go on the top shelf of a pantry?
Use the top shelf for items you reach for least often, such as backstock, seasonal baking supplies, or extra paper goods. Store them in labeled bins with handles so they are easy to pull down when you need them.
Q: How do I organize a pantry with deep shelves?
Use bins or pull-out baskets so you can bring items at the back forward instead of reaching around them. Put taller items in the back and shorter ones in front, and use risers for cans so labels stay visible.
Q: How can I organize a pantry without a walk-in pantry?
A single cabinet, a rolling cart, or a set of shelves can work as a pantry. Use the same zone approach, add door-mounted racks for spices and small packets, and keep only what you can see and reach easily.
Conclusion
Now you have a clear, actionable roadmap for exactly how to organize your pantry from start to finish in 2026. By working through each step, from the initial clear-out and zone planning to choosing the right containers, labeling everything, and building a simple maintenance habit, you will end up with a pantry that works for your real life rather than against it. The process does not need to be complicated or expensive. It just needs to be intentional.
Ready to get started? Browse our full range of pantry storage and kitchen organization products at Sesoris to find the containers, bins, and accessories that fit your space. Check out our best sellers for the products our community reaches for most, or explore our new arrivals for the latest additions to help you live more organized. Your calm, clutter-free pantry is just one good afternoon away.
Liked this guide?
Get new organizing guides and the occasional new product by email. No spam, unsubscribe anytime.
Related articles


Explore more articles
- Multi-Purpose Spice Racks: Ultimate Guide to Versatile Kitchen Storage Solutions in 2026
- Bathroom Closet Organization Systems: How to Set Up Zones, Shelves, and Bins
- How to Organize Your Home: Expert Guide to a Tidy Living Space
- Essential Cleaning Supplies Organization: Transform Your Home Storage System in 2026
- 25+ Creative Shelf in Wall Ideas to Transform Your Living Space in 2026
- Enclosed Dish Racks: Dust-Free & Pest-Free Kitchen Storage
- Pretty Food Storage Containers: Transform Your Kitchen with Stylish Organization Solutions 2026
- Best Containers for Dog Food Storage: Keep Your Pet Food Fresh in 2026