
Tutorial
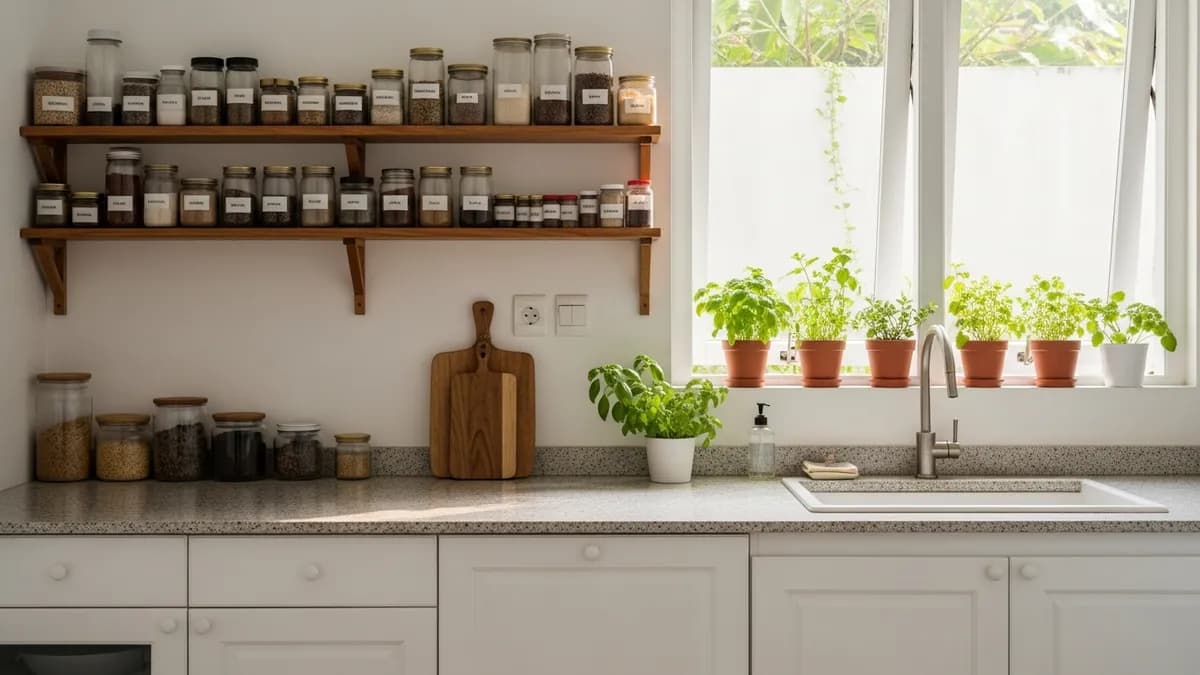
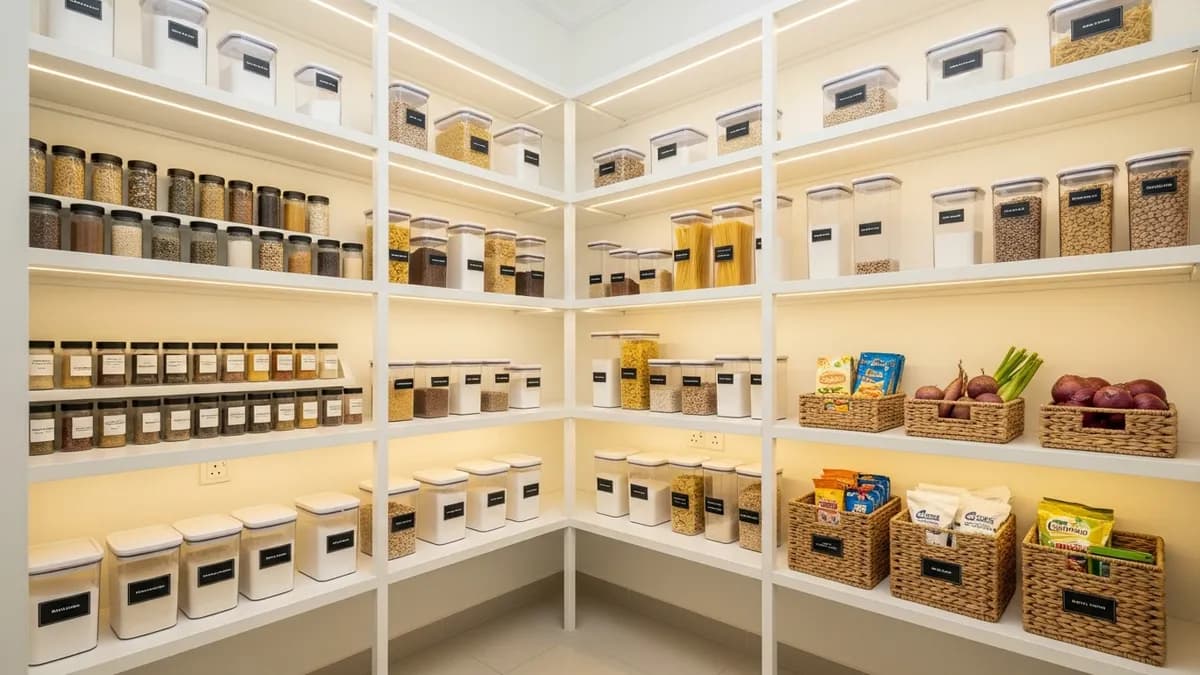
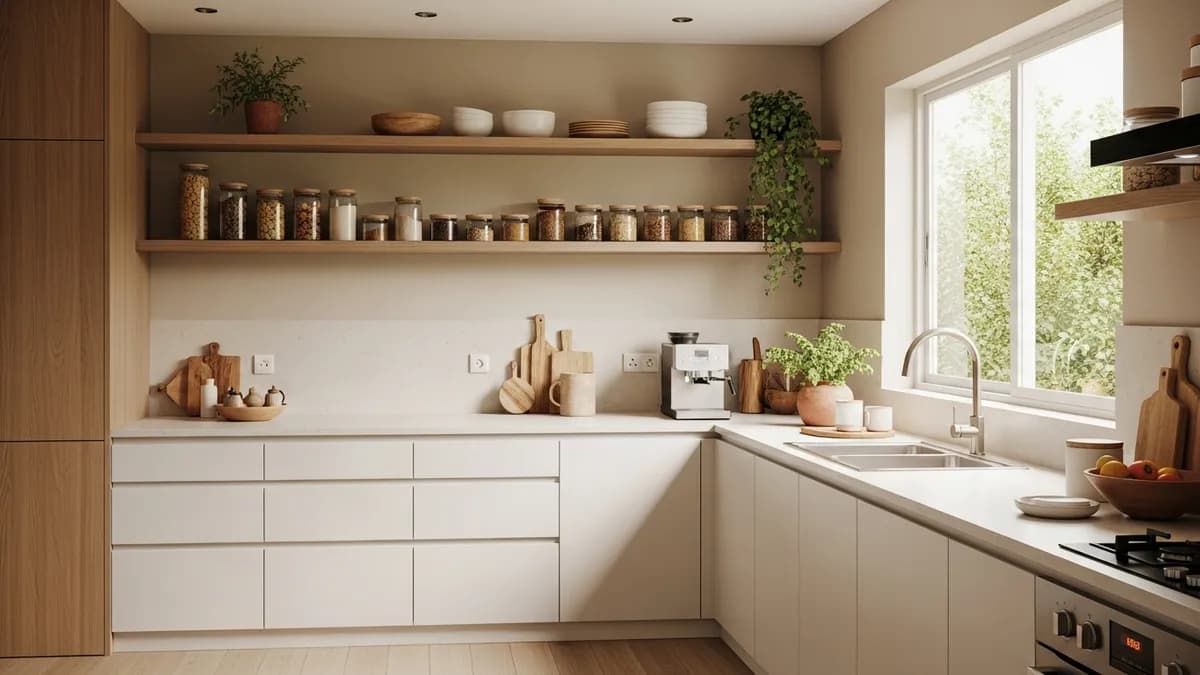
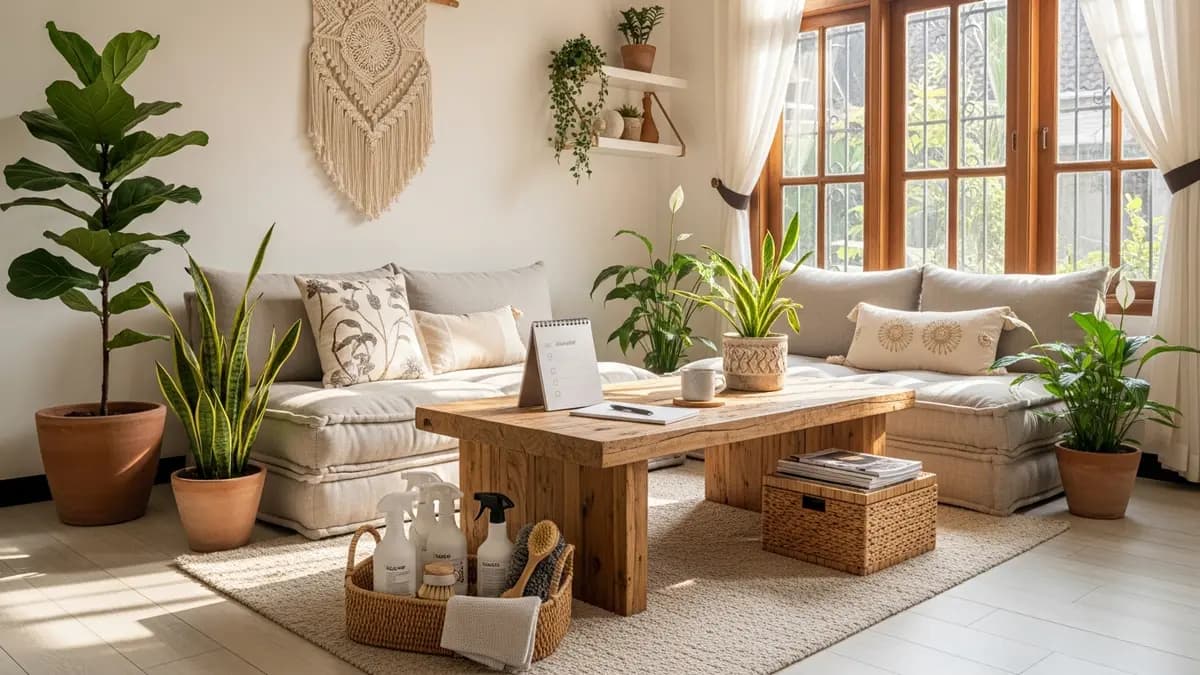
25+ Simple Kitchen Decor Ideas untuk Dapur Cantik dan Teratur di 2026
Temukan 25+ simple kitchen decor ideas yang mudah diterapkan di rumah Indonesia. Dapur lebih rapi, cantik, dan fungsional tanpa biaya besar!
July 25, 202612 min read
ReadHome organization tips, storage inspiration, kitchen guides, and tidy living ideas from Sesoris.
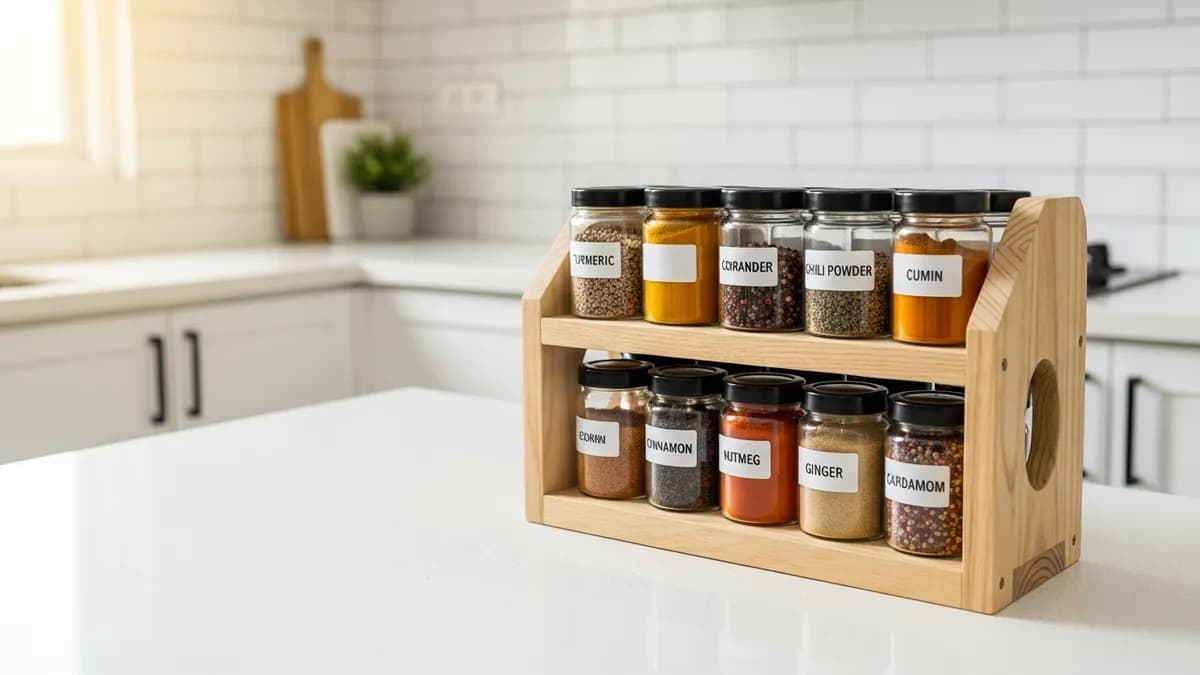
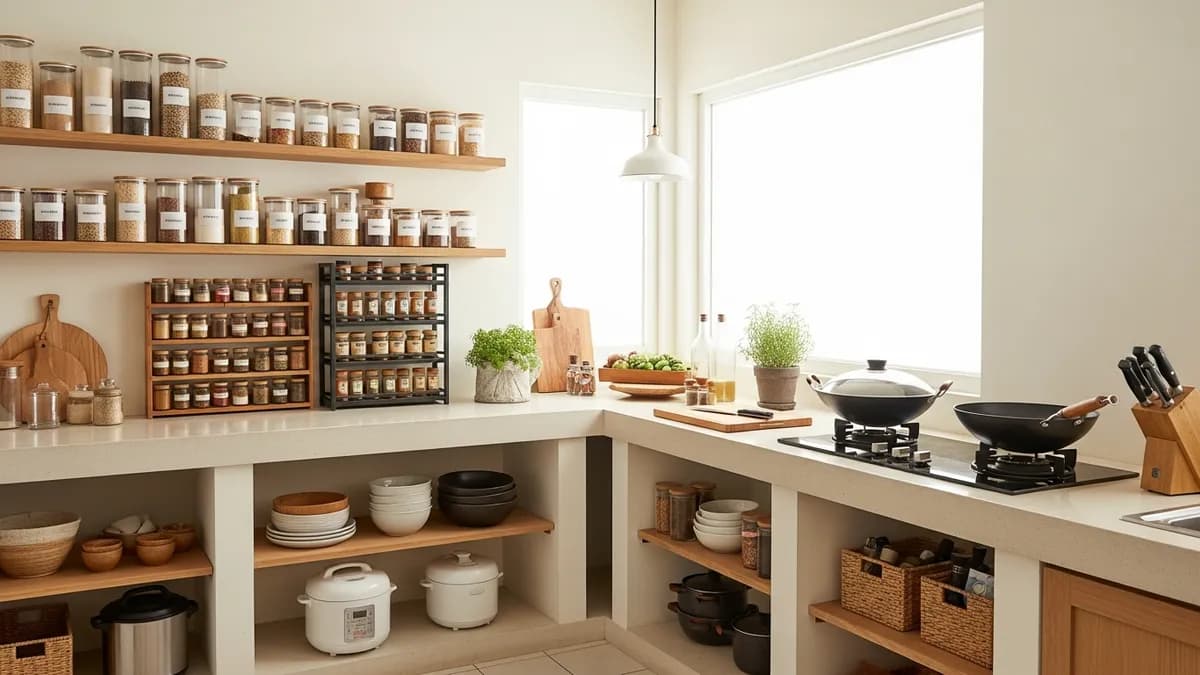
Temukan panduan lengkap memilih 3 tier spice rack terbaik untuk dapur Indonesia. Tips praktis, jenis material, dan cara penataan bumbu dapur. Baca sekarang!
Showing 213 articles
Temukan 25+ simple kitchen decor ideas yang mudah diterapkan di rumah Indonesia. Dapur lebih rapi, cantik, dan fungsional tanpa biaya besar!
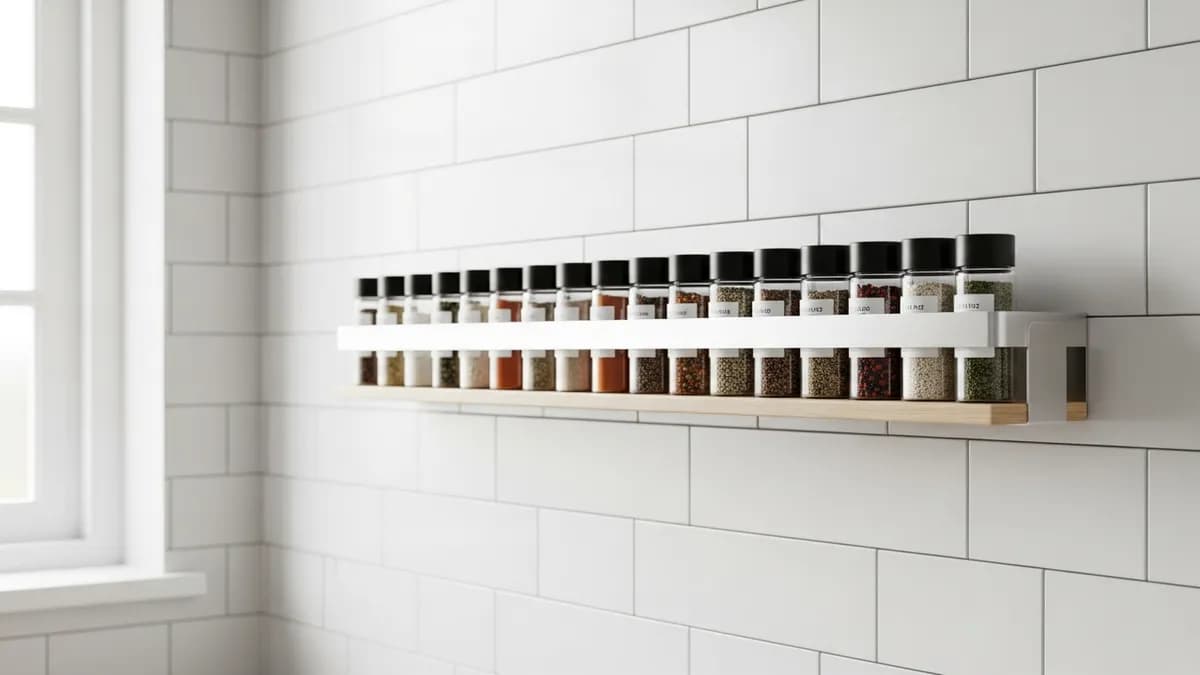
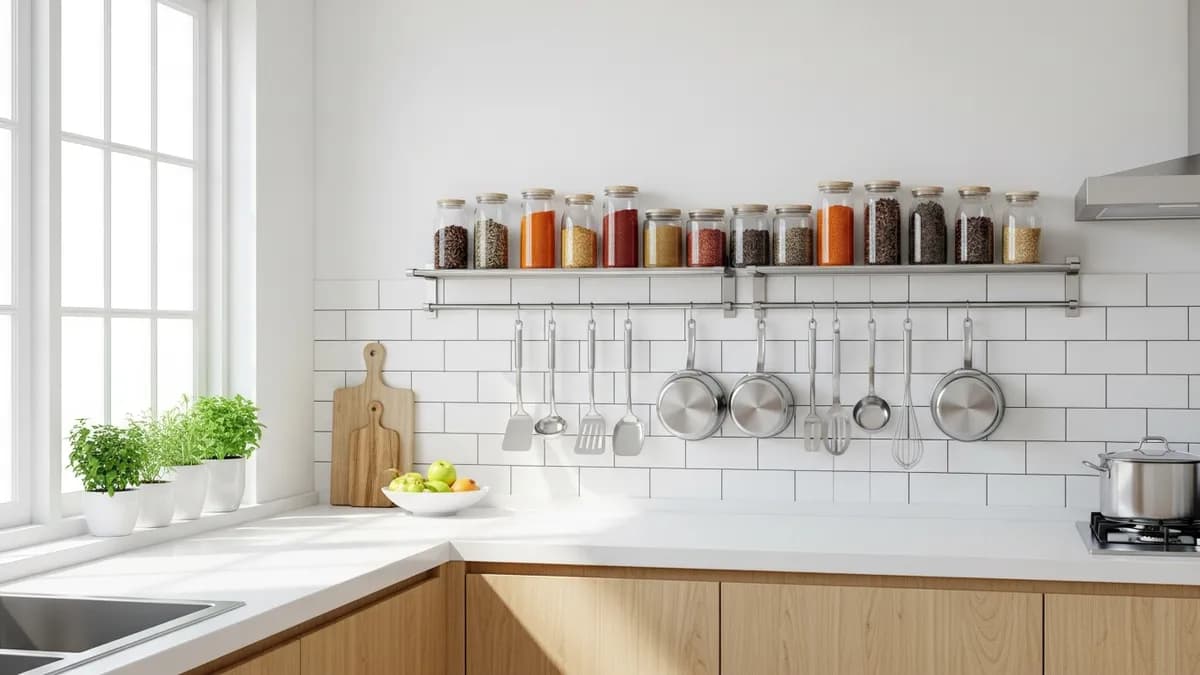
Cari wall mounted spice rack terbaik untuk dapur Anda? Panduan lengkap tips memilih, memasang, dan merawat rak bumbu dinding di 2026. Baca sekarang!
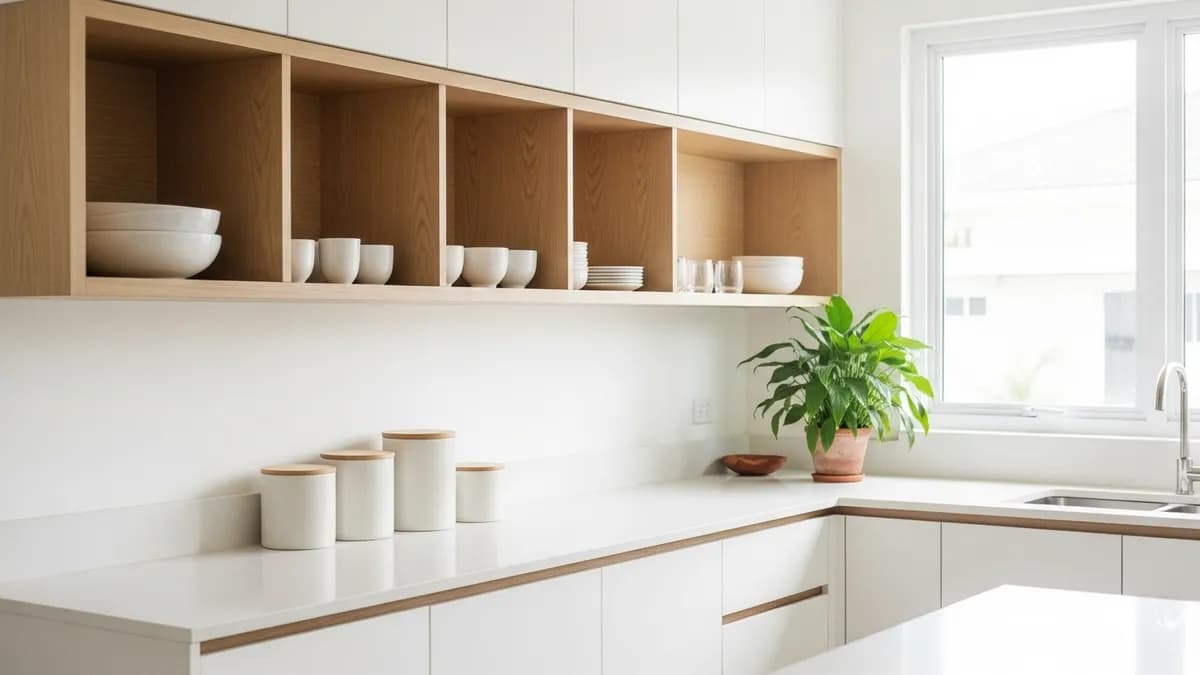
Discover 30+ minimalist kitchen inspiration ideas for modern homes in 2026. Design tips, organization, and product picks for a tidy, stylish kitchen.
The complete guide to choosing the best pantry storage rack for your kitchen. Practical tips, rack types, and 2026 recommendations.
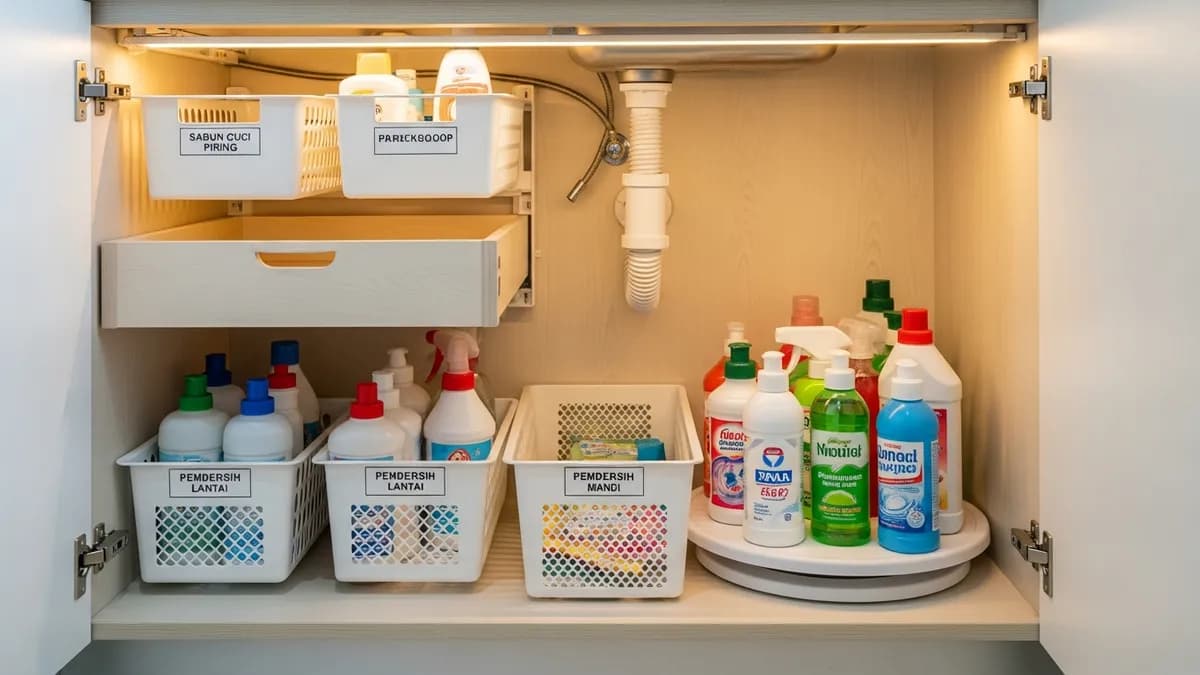
Discover 25+ under sink organizer ideas for your kitchen and bathroom. Practical tips, product picks, and space-saving solutions for 2026.
Learn how to keep your kitchen organized with practical tips, the right products, and simple systems you can set up in any home. Start today!
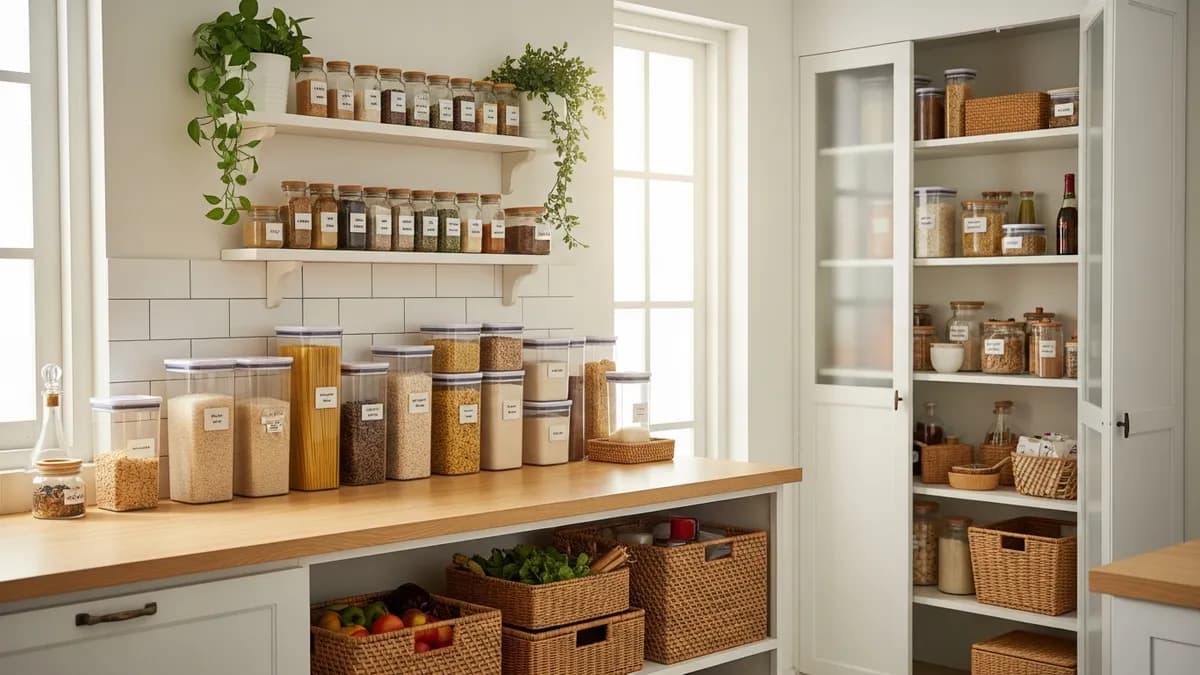
Discover 30+ of the best kitchen food storage ideas for 2026. Practical, space-saving, and guaranteed to make your kitchen tidier!
The complete 2026 guide to minimalist kitchen organization: tips to make your kitchen tidy, functional, and a joy to use every day.

Discover the best clothes storage organizer ideas for a tidy, well-ordered closet, plus practical tips to organize clothes at home. Start now!
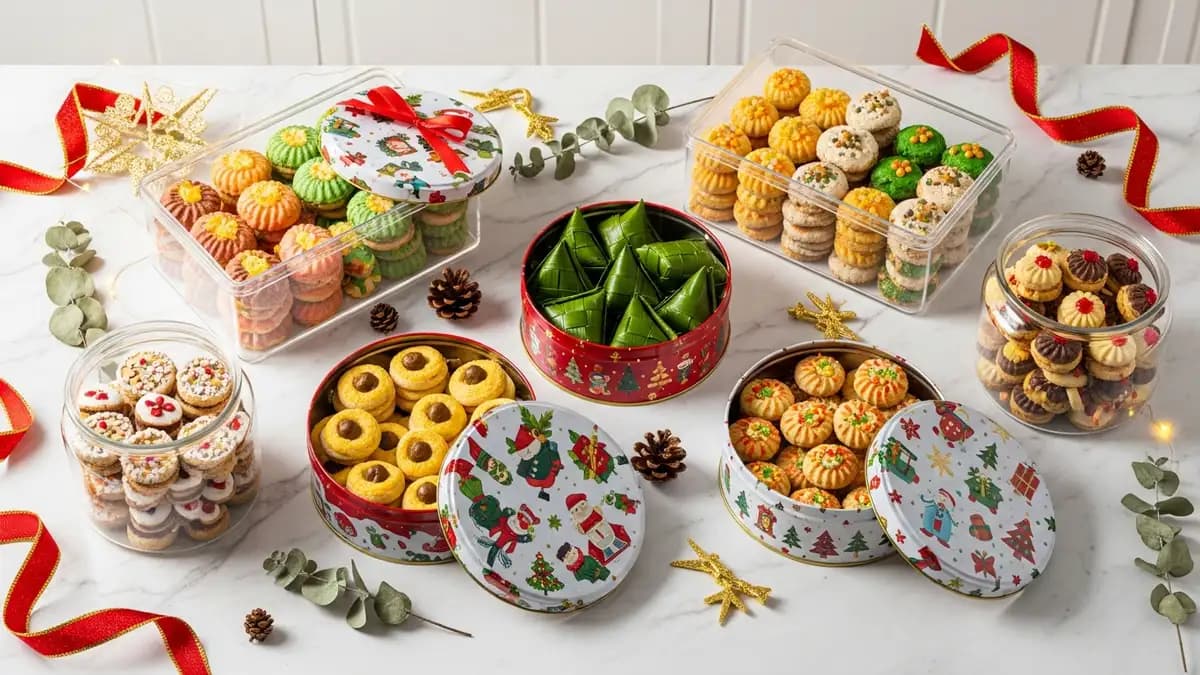
Find the best holiday cookie storage containers to keep cookies crisp and fresh. A complete 2026 guide to choosing cookie tins and jars.
A complete 2026 guide to the stainless steel kitchen rack: how to choose, install, and care for it so your kitchen stays tidy and lasts.

Learn how to organize a tiny kitchen with practical tips, the right products, and smart small-kitchen layout ideas to make it tidier and more efficient.
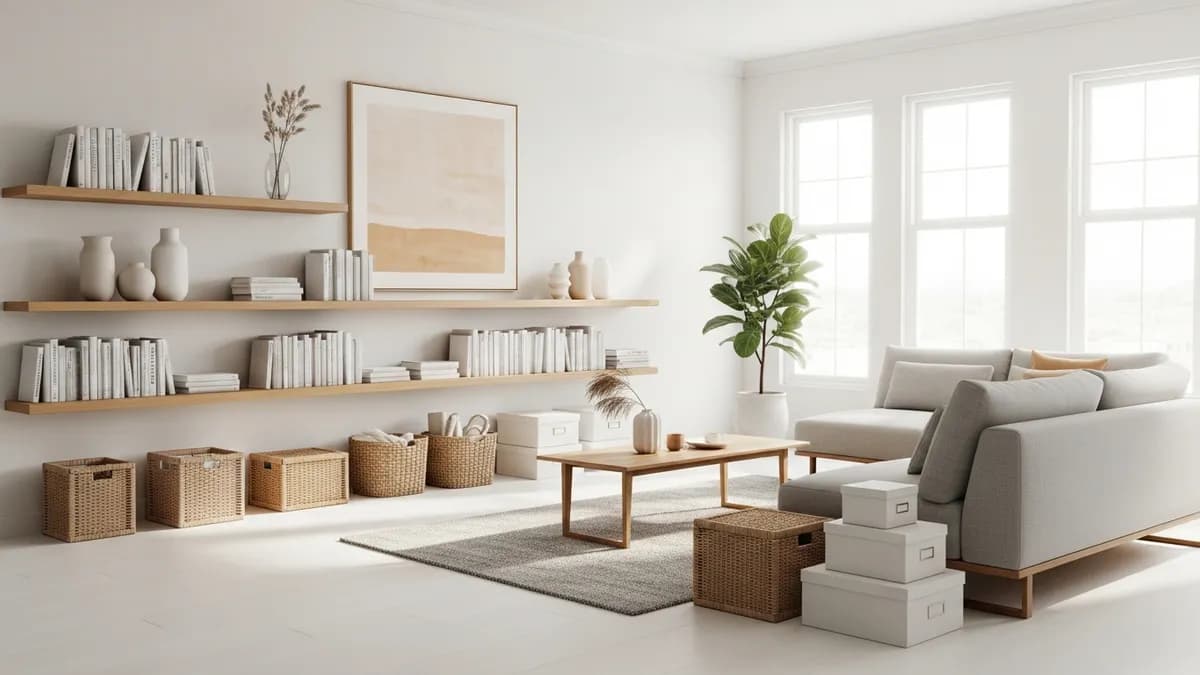
Discover the best minimalist home organization tips for 2026. Practical ideas to organize a minimalist home so it stays tidier and more comfortable.
A complete spring cleaning checklist for 2026. Practical, room-by-room steps to deep clean every corner of your home so it's tidier and more organized.
A complete aluminum kitchen rack guide for 2026: how to choose, install, and care for an aluminum kitchen rack so your kitchen stays tidy and efficient.
Discover 30+ creative storage shelving ideas for every room in your home. Practical, stylish, and space-saving. Click for the full inspiration!
Find the best wall mounted dish rack for your kitchen. A complete guide to choosing, installing, and caring for a wall dish rack so your kitchen stays tidy.
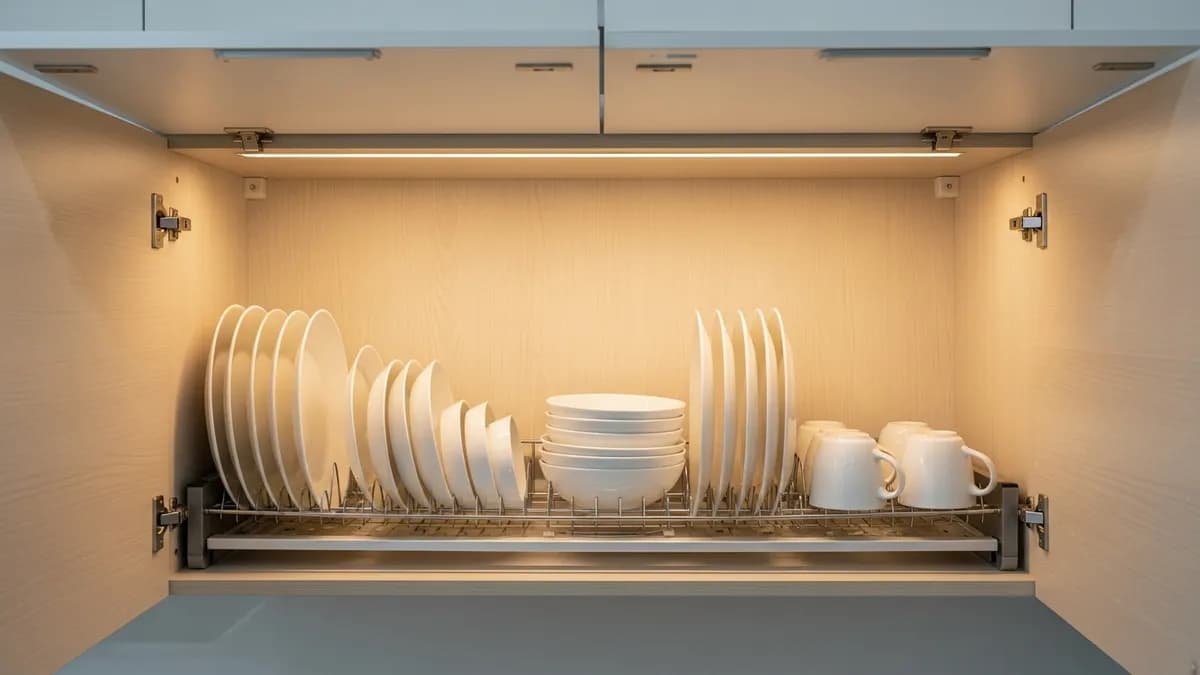
Find the best dish rack for kitchen cabinet setups. A complete guide to choosing, installing, and maintaining in-cabinet dish racks for a tidier kitchen.
Discover home storage solutions for every room. Follow practical tips to organize your home so it feels tidier, more functional, safer, and more comfortable.

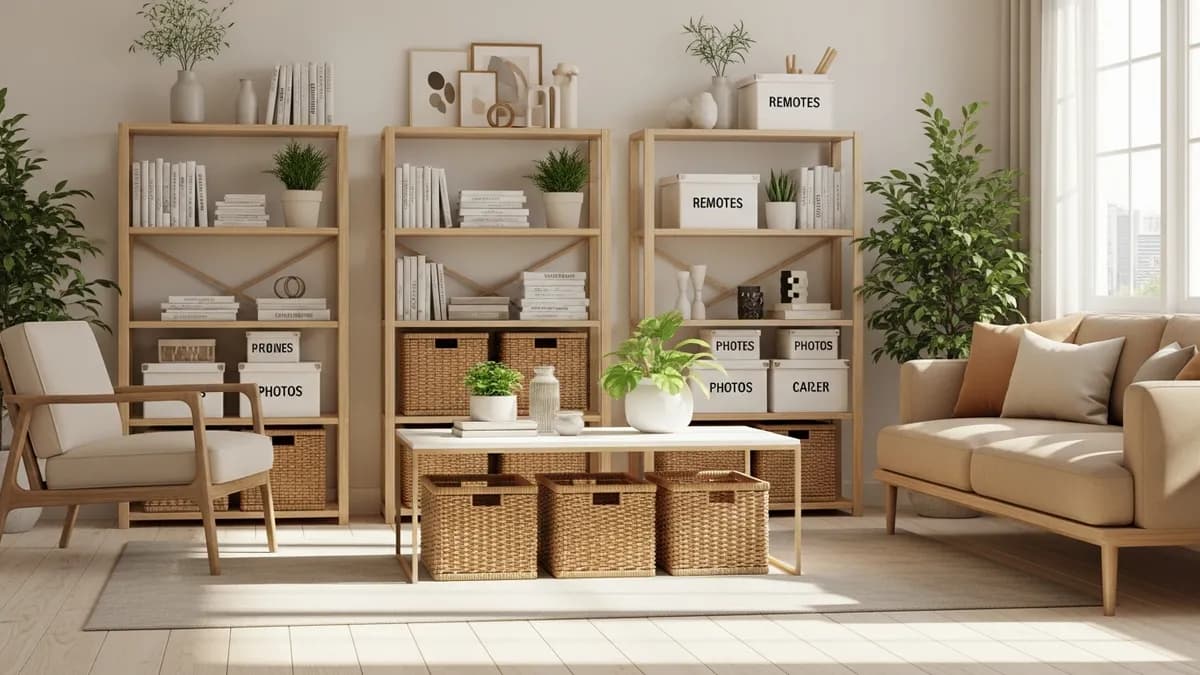
Discover 30+ storage organizer ideas for the kitchen, bedroom, living room, and bathroom. Practical tips for a tidier, safer, more comfortable home every day.

A stackable plastic spice rack guide for a tidy kitchen. Learn sizes, types, placement, care, and how to arrange your spice jars safely for everyday cooking.
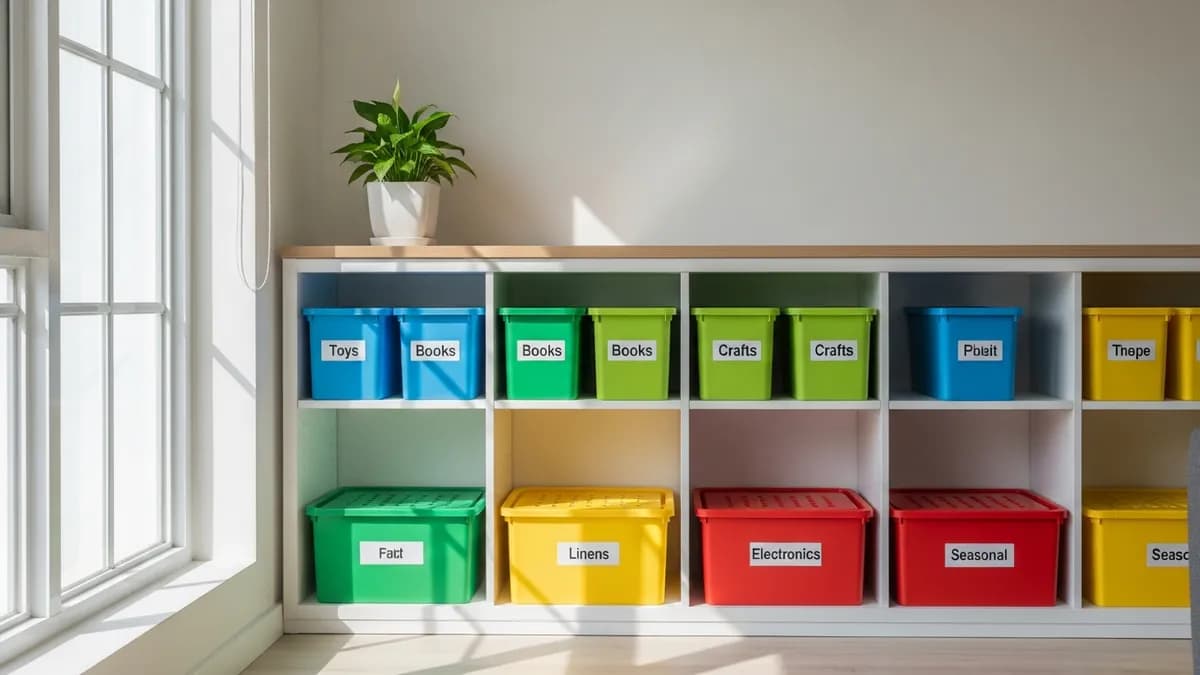
Learn how to choose and use storage bins with lids for a tidier home. Practical tips, stacking systems, labeling ideas, and the best picks for 2026.
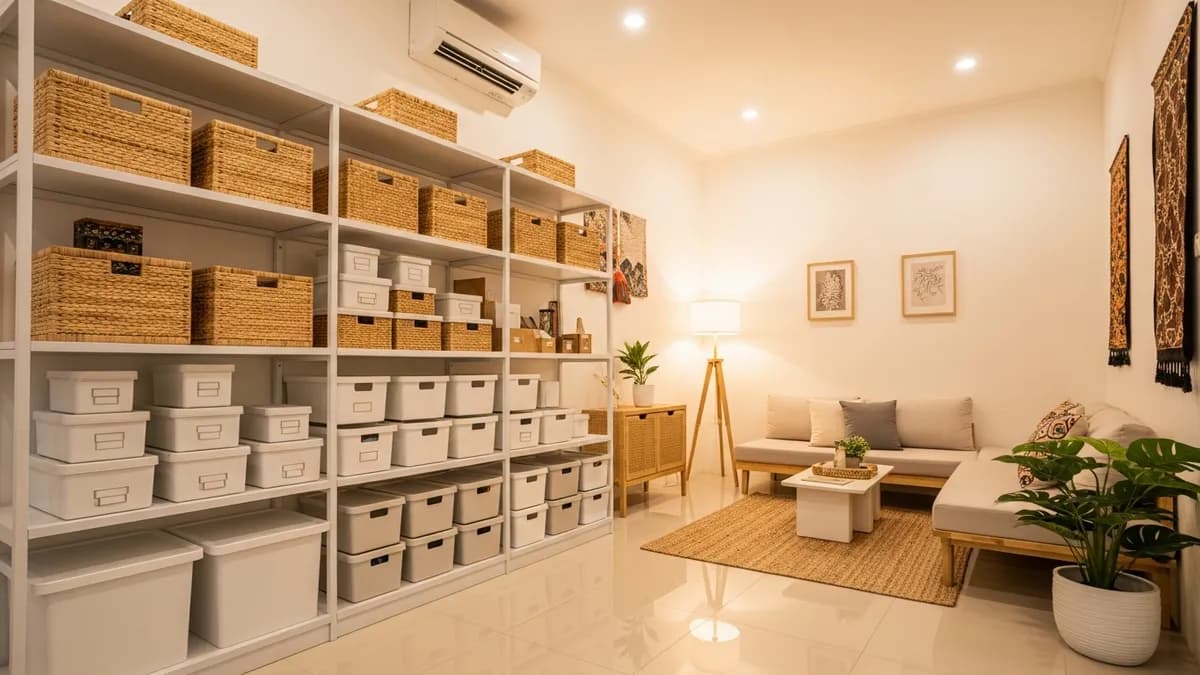
Find the best storage boxes for home and keep every room tidy. Learn how to choose sizes, materials, lids, and labels, plus safe stacking tips for 2026.
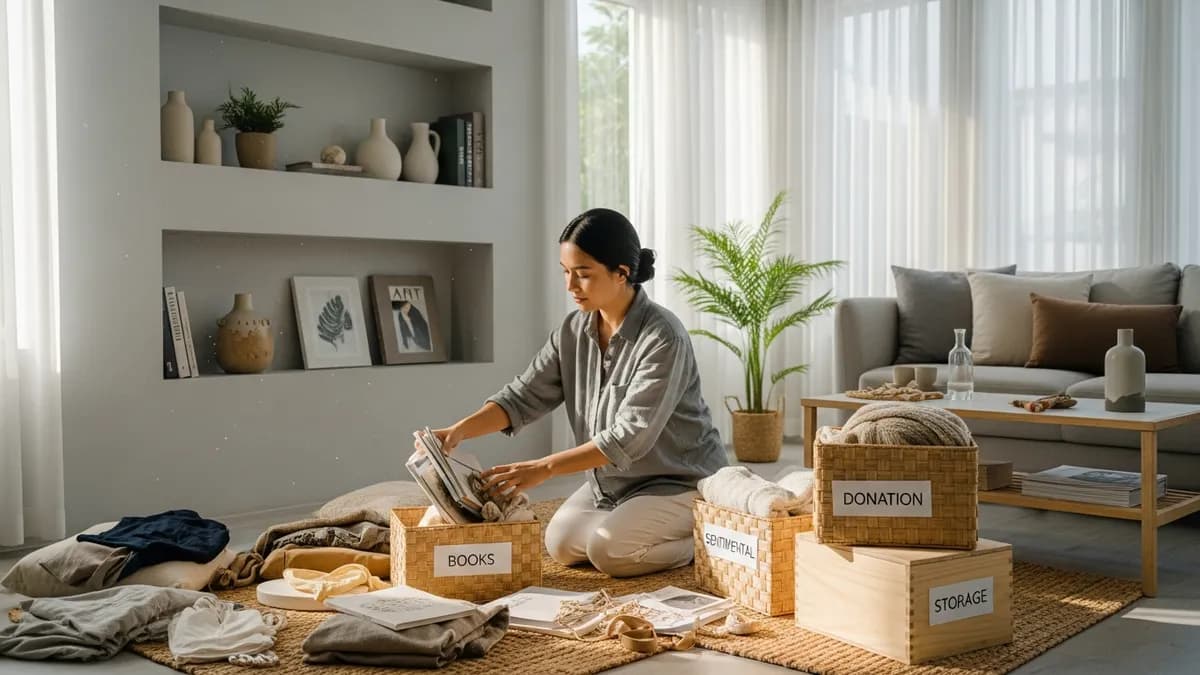
Learn how to declutter your home with practical steps, beginner tips, and smart storage solutions. Start building a tidier, calmer home today.
Subscribe to our newsletter to get the latest articles and tips delivered straight to your inbox.