
Pegboard Garage Organization: The Complete 2026 Guide to a Clutter-Free, Functional Garage
Master pegboard garage organization in 2026 with expert tips, setup ideas, and product picks. Transform your garage into a tidy, functional space today!
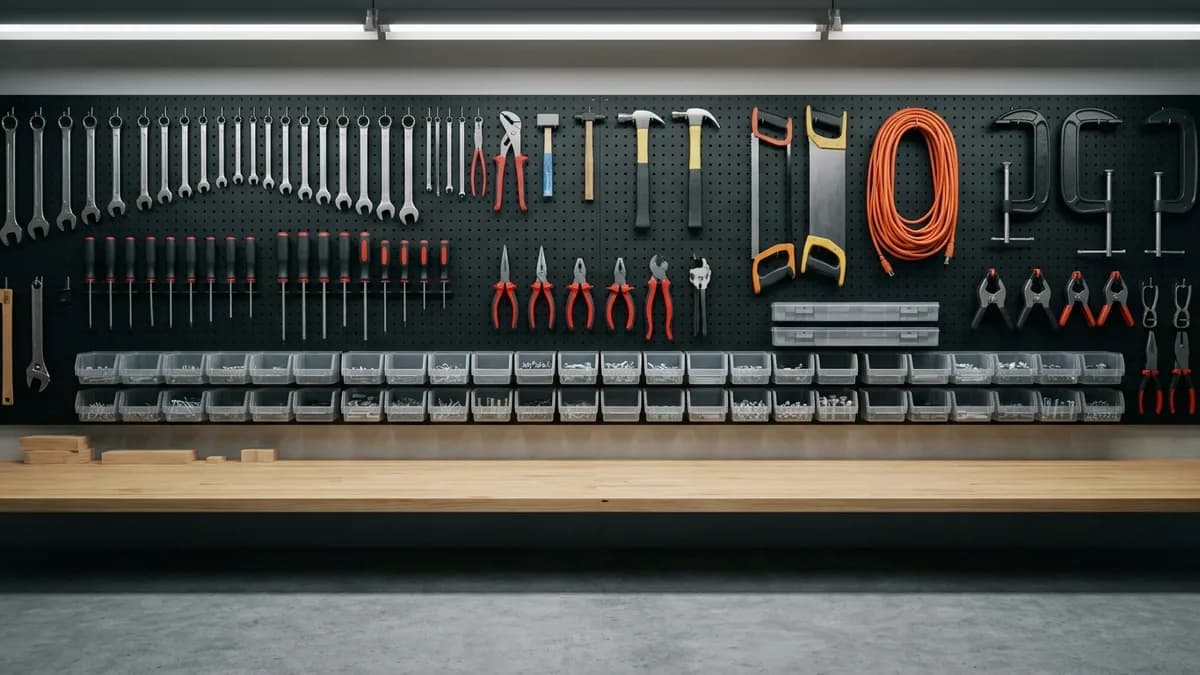
If your garage has turned into a dumping ground for tools, sports gear, garden supplies, and random household stuff, you are definitely not alone. The good news? Pegboard garage organization is one of the most affordable, flexible, and satisfying ways to take back control of your space in 2026. Whether you have a single-car garage or a three-bay workshop, mounting a pegboard system on your wall can completely transform how you store, find, and use your gear every single day. In this guide, I am walking you through everything you need to know, from choosing the right board to setting up zones and picking the best accessories.
Why Pegboard Garage Organization Is Worth Every Penny
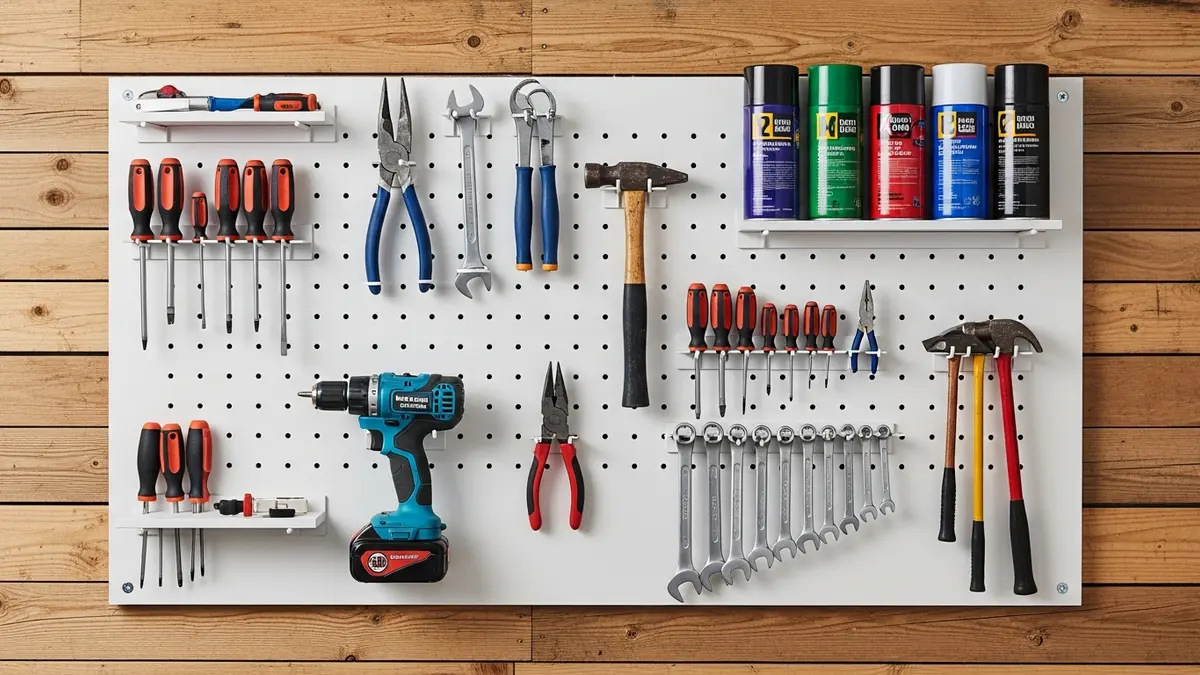
Pegboard has been a staple of American workshops and garages for decades, and for good reason. Bob Vila's pegboard ideas show how compatible hooks, shelves, and bins can turn a plain panel into a flexible storage wall. Planning tool groups before loading the board makes vertical storage easier to use, while the modular accessories can still be rearranged as your needs change.
Here is why so many homeowners are turning to pegboard in 2026:
- Maximum visibility - Every tool is visible at a glance, so you spend less time digging through drawers and boxes
- Customizable layout - Hooks, bins, shelves, and holders can be moved around in seconds to fit new tools or changing workflows
- Affordable investment - A standard 4-foot by 8-foot pegboard panel typically costs between US$20 and US$50 at most home improvement stores
- Scalable system - Start with one panel and expand as your collection grows
- Works for any tool type - From power drills and hand saws to garden trowels and extension cords, there is an accessory for almost everything
If you are already exploring best garage storage solutions, adding a pegboard wall is one of the smartest first steps you can take.
Choosing the Right Pegboard for Your Garage
Not all pegboards are created equal, and picking the right one will make a big difference in how well your pegboard garage organization system holds up over time. There are three main types to consider:
Hardboard (Tempered Masonite) Pegboard
This is the classic tan or brown pegboard you have probably seen in garages your whole life. It is affordable, lightweight, and widely available at home improvement stores in 4-foot by 8-foot sheets. The standard hole spacing is 1 inch on center, which is compatible with most pegboard accessories. The downside is that hardboard can absorb moisture over time, which can cause it to warp or soften, especially in humid garages. If your garage is climate-controlled or relatively dry, this is a solid budget-friendly choice.
Metal Pegboard
Steel or aluminum pegboard panels are the heavy-duty option for serious tool storage. They are rust-resistant, extremely durable, and can support significantly more weight than hardboard. Metal pegboards are ideal if you are hanging heavier tools like power drills, angle grinders, or full socket wrench sets. They tend to cost more, usually between US$40 and US$100 or more for a single panel depending on size, but they last much longer.
Plastic Pegboard
Plastic or PVC pegboard is a newer option that handles moisture extremely well, making it a great choice for garages in humid climates. It is lighter than metal and more moisture-resistant than hardboard. It may not hold as much weight as steel, but for lighter tools and accessories it performs very well.
Key specs to keep in mind when shopping:
- Standard hole size is 3/16 inch in diameter, compatible with most universal pegboard hooks
- Hole spacing of 1 inch on center is the most common and gives you the most accessory flexibility
- Panels are typically sold in 2-foot by 4-foot or 4-foot by 8-foot sizes
- For garage use, choose a panel at least 1/4 inch thick for better hook stability
How to Install a Pegboard in Your Garage: Step-by-Step
Installing a pegboard is a weekend project that most homeowners can tackle with basic tools. The most important thing to get right is mounting the board so there is a gap between the pegboard and the wall, which is essential for hooks to fit properly. Here is how I recommend doing it:
- Locate your wall studs using a stud finder. Standard stud spacing in US homes is 16 inches on center, which works perfectly for a 4-foot by 8-foot panel
- Cut furring strips (1-inch by 2-inch lumber) to match the height of your pegboard. These will serve as spacers between the wall and the board
- Screw the furring strips into the studs horizontally, positioning them at the top, middle, and bottom of where your board will sit. This creates the necessary gap, usually at least 1 inch, for hook clearance
- Lift your pegboard panel into position and fasten it through the board into the furring strips using wood screws or drywall screws
- Check for levelness with a spirit level before fully tightening all screws
- Add a trim or frame around the edges if you want a finished look. Simple 1-inch by 3-inch boards painted to match work great
Pro tip: Always leave at least 1 inch of space behind the pegboard. Without this gap, your hooks simply cannot seat properly and the whole system will not work.
For more inspiration on building your own storage structures, check out our guide on how to build DIY garage shelves to complement your pegboard setup.
Pegboard Accessories: Hooks, Bins, and Shelves Explained
The real magic of pegboard garage organization is the accessory ecosystem. Once your board is up, the combinations are almost endless. Here is a breakdown of the most useful categories:
Hooks
Hooks are the backbone of any pegboard system. They come in single-arm, double-arm, J-shaped, and L-shaped varieties. Single hooks are great for individual tools like hammers and pliers. Double hooks hold longer items like levels, saws, and rake handles. Look for hooks made from steel wire with a coating or vinyl tip, which grips tools without scratching them.
Bins and Baskets
Wire baskets and plastic bins that mount directly into pegboard holes are perfect for grouping smaller items like screws, nails, sandpaper, zip ties, and electrical tape. Many come in small, medium, and large sizes so you can organize by item type or project category.
Shelf Brackets
Pegboard shelf brackets let you add small horizontal shelves directly to the board. These are ideal for holding spray cans, bottles of lubricant, shop rags, or small power tool accessories. A 6-inch or 8-inch deep shelf is usually enough for most garage needs.
Specialized Holders
Beyond basic hooks, you can find pegboard-compatible holders for almost everything:
- Drill holders that cradle power drills at an angle
- Screwdriver racks that hold six to twelve screwdrivers in a row
- Wrench holders with individual slots sized for different wrench sizes
- Garden tool hangers with wide spacing for long-handled rakes, shovels, and brooms
- Cord winders for keeping extension cords and hoses tangle-free
Setting Up Zones on Your Pegboard Garage Organization System
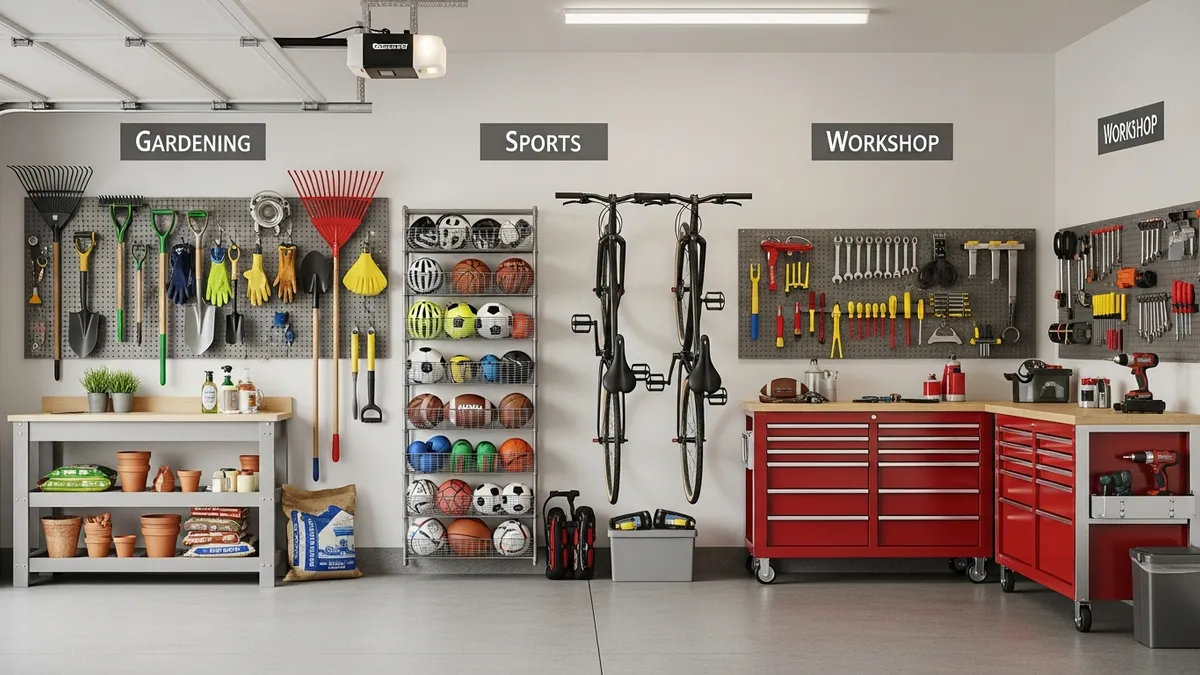
One of the biggest mistakes people make with pegboard is just randomly hanging things wherever there is a free hook. A much better approach is to divide your board into dedicated zones based on activity or tool type. This is the same principle that professional garage organizers and workshop designers use, and it makes a huge difference in how usable your system actually is day to day.
Here are some zone ideas that work well for most American garages:
Zone 1: Hand Tools
Dedicate one section of your pegboard to everyday hand tools. Group hammers, screwdrivers, pliers, wrenches, and utility knives together so they are always within arm's reach during a project. Using a marker or paint to outline each tool on the board (sometimes called a tool silhouette) makes it instantly obvious where each item belongs and when something is missing.
Zone 2: Power Tools and Cords
Hang your cordless drill, circular saw, and other power tools in a dedicated area, ideally near an outlet. Use cord winders and hook sets to keep cables and extension cords neatly looped rather than tangled on the floor. If your power tools are heavy, make sure you are using metal pegboard or reinforced hooks rated for the weight.
Zone 3: Automotive
If you work on your car, dedicate a section for automotive supplies: socket sets, torque wrenches, oil funnels, rags, and bottles of motor oil or brake fluid. Keeping these together means you always know where to go when you pop the hood.
Zone 4: Garden and Outdoor
Long-handled garden tools are perfect candidates for pegboard storage. Wide-gap hooks can hold rakes, shovels, hoes, and trowels vertically so they are easy to grab on your way out. Smaller bins can hold gloves, seed packets, plant ties, and pruners.
Zone 5: Sports and Recreation
Balls, helmets, and smaller sports accessories can all find a home on a well-planned pegboard. Deep wire baskets are great for balls, while specialized hooks can hold bicycle helmets, jump ropes, and resistance bands. For larger sports equipment, pair your pegboard with our garage bike storage ideas for a complete system.
Design and Aesthetic Tips for a Great-Looking Pegboard
A pegboard does not have to look industrial or utilitarian. In 2026, homeowners are treating their garages as extensions of their homes, and This Old House's garage storage plan recommends combining labeled drawers, bins, and wall-mounted organizers so frequently used tools stay easy to find. Here are some easy ways to elevate the look of your setup:
- Paint the board before installation. White, black, navy blue, and dark charcoal are all popular choices that make tools pop visually
- Add a wood frame around the perimeter to give the board a built-in, finished appearance
- Use matching accessories in a consistent finish (all black, all chrome, or all white) for a cohesive look
- Label your zones using printed or hand-lettered signs attached above each section
- Install strip lighting above or below the board to improve visibility and add a workshop-studio feel
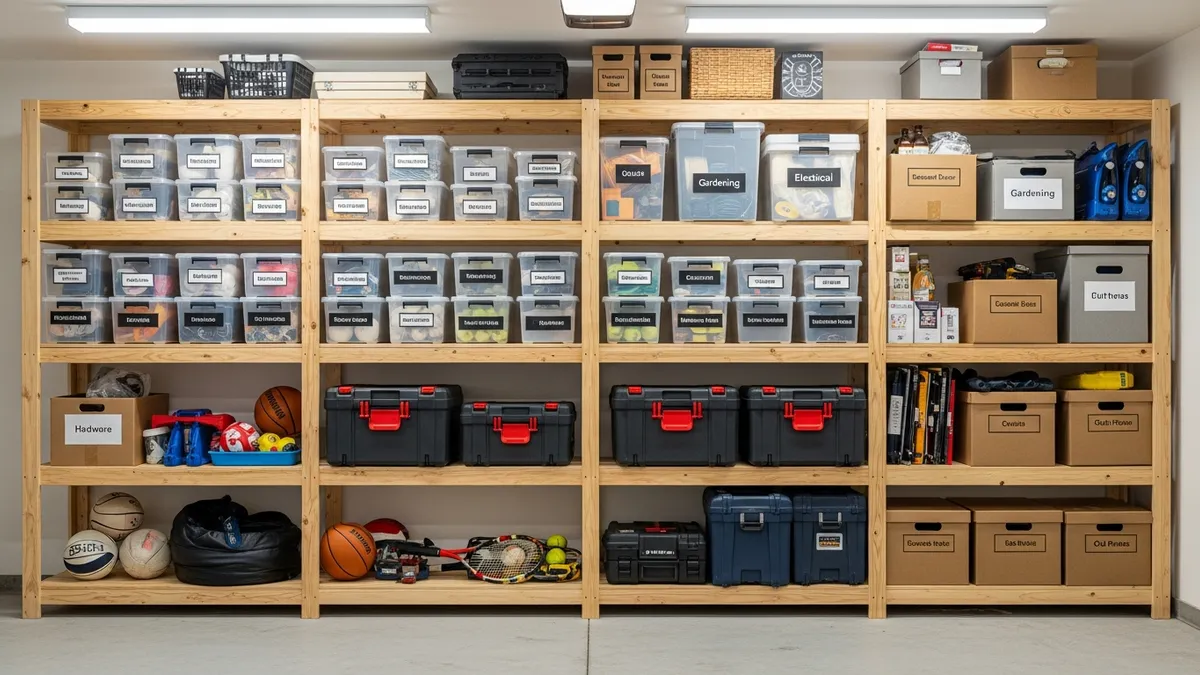
- Combine pegboard with open shelving below for a full floor-to-ceiling storage wall. Check out our garage wall shelf ideas for inspiration
A well-styled pegboard does double duty: it keeps your tools organized and makes your garage a space you actually enjoy spending time in.
Common Pegboard Garage Organization Mistakes to Avoid
I have seen a lot of garage pegboard setups over the years, and there are a few mistakes that come up again and again. Knowing what to watch out for will save you time, money, and frustration:
1. Skipping the spacer gap
This is the number one mistake. If your pegboard sits flush against the wall, hooks cannot engage the holes properly and will constantly fall out. Always use furring strips or standoffs to create at least 1 inch of clearance.
2. Overloading a single panel
Hardboard pegboard has weight limits. Spreading heavy tools across multiple hooks or using a metal panel for heavier items will prevent the board from sagging or the holes from enlarging over time.
3. Using mismatched hook sizes
Not all pegboard hooks are universal. Some are designed for 1/4-inch holes rather than the standard 3/16-inch size. Always check compatibility before buying a new batch of accessories.
4. Ignoring moisture
Garages can be damp environments. If you choose hardboard and your garage is not climate-controlled, apply a sealant to the back of the board before installation to reduce moisture absorption.
5. No system for returning tools
The outline method (tracing each tool's silhouette on the board) is the easiest habit-builder for keeping tools where they belong. Without it, things tend to end up in random spots and the system breaks down quickly.
For a full deep dive into decluttering before you set up any storage system, our home decluttering tips article is a great starting point.
Pegboard vs. Other Garage Wall Storage Options
It is worth knowing how pegboard compares to other popular garage wall storage systems so you can choose what works best for your situation.
Pegboard vs. Slatwall Panels
Slatwall panels use horizontal grooves to accept hooks and accessories, similar to pegboard. Slatwall tends to look more polished and is often used in retail environments. It is generally more expensive than pegboard but offers a wider variety of accessories. For most home garages, pegboard delivers comparable functionality at a fraction of the price.
Pegboard vs. Track Systems (French Cleats)
French cleat systems use angled wooden or metal strips mounted horizontally on the wall, and accessories hang from these cleats. They can support heavier loads than standard pegboard and offer great flexibility. Many serious woodworkers and mechanics prefer French cleats for heavy tool storage. A hybrid approach using both pegboard for lighter hand tools and French cleats for heavier equipment is a popular solution.
Pegboard vs. Magnetic Tool Strips
Magnetic strips are great for small metal tools like chisels, drill bits, and knives, but they are not practical for larger items. Pegboard wins for sheer versatility and the range of items it can hold.
The Family Handyman garage organization guide shows why combining wall systems works well: a pegboard keeps frequently used tools visible, while shelves and cabinets handle bulky or less-used items. That combination gives you a more flexible garage organization setup than relying on one storage type alone.
Related Products from Sesoris
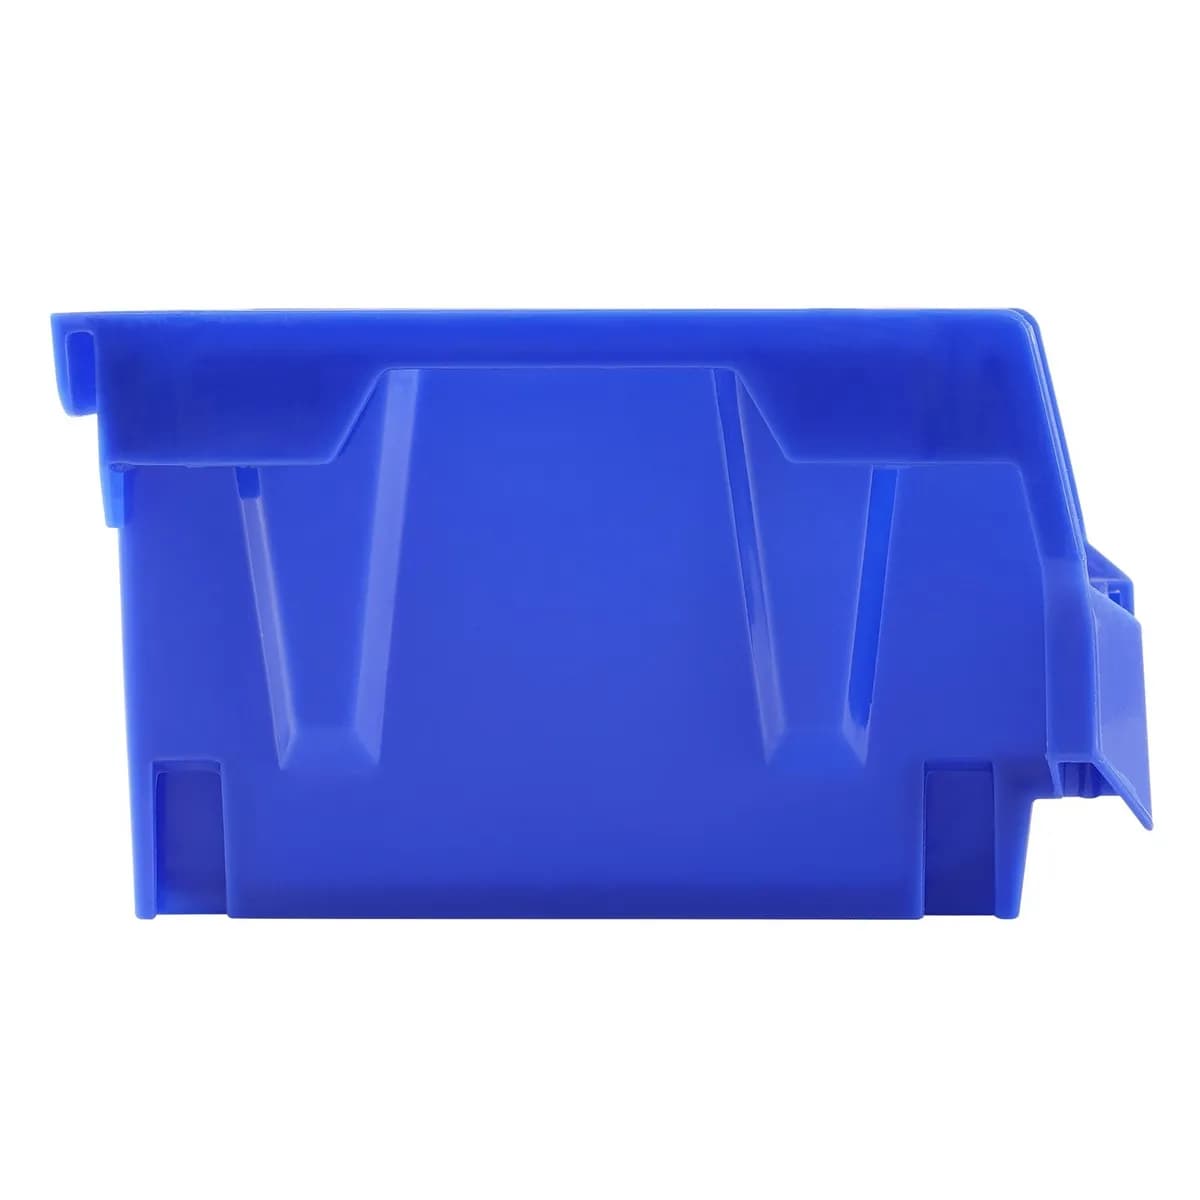
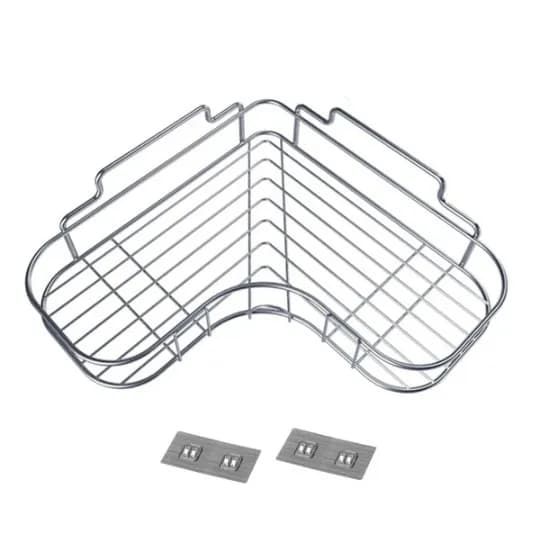
If you want to turn this guide into a real setup, start with Stackable Storage Bins, 24 Pack and Pull-Out Cabinet Organizer, 17 in. Wide. For broader options, browse the Home & Decor collection so the article journey does not stop at reading only.
Our practical rule: choose one product that solves the main clutter problem first, then add supporting organizers only when the daily workflow is already clear. This keeps the shopping path useful, not pushy.
FAQ: Frequently Asked Questions About Pegboard Garage Organization
How much weight can a pegboard hold?
This depends on the material and how it is mounted. A properly installed 1/4-inch hardboard panel supported by furring strips into wall studs can typically hold 100 pounds or more distributed across the board. Individual hooks are usually rated for 5 to 25 pounds each depending on size and material. For heavier tools, always use metal pegboard and heavy-duty steel hooks.
What size pegboard should I start with?
A 4-foot by 8-foot panel is the most popular starting size because it covers a large area, is easy to find at home improvement stores, and fits neatly between standard stud spacings. If you have a smaller wall or want to start smaller, a 2-foot by 4-foot panel is a great entry point.
Do I need to mount pegboard into studs?
For the best results, yes. Mounting your furring strips or direct mount brackets into wall studs gives you a much more secure installation that can hold real weight. If you cannot hit studs, use heavy-duty drywall anchors, but keep the total load lighter in those areas.
Can I paint my pegboard?
Absolutely. Painting pegboard is a great way to customize the look of your garage. Use a spray paint or roller with a semi-gloss or satin finish for easy cleaning. If you use latex paint, be careful not to fill in the holes. Paint the board before installation so you can easily clear any clogged holes.
How do I keep hooks from falling out?
This is a common frustration with pegboard. The simplest fix is to use hook lock clips, small plastic clips that snap around the hook leg and prevent it from being accidentally dislodged when you remove a tool. You can also use a small dab of hot glue at the back of a hook if you know it will always hold the same item.
How often should I reorganize my pegboard?
There is no set schedule, but I recommend reviewing your layout every six months or whenever you add significant new tools to your collection. The beauty of pegboard is that rearranging takes only a few minutes, so do not be afraid to experiment until the layout truly matches how you work.
Conclusion: Start Your Pegboard Garage Organization Project in 2026
Pegboard garage organization is one of those projects that delivers an outsized return on a modest investment of time and money. A single weekend of planning, installing, and setting up zones can completely transform a chaotic garage into a space that actually works for you, where every tool has a home, everything is visible, and cleanup takes minutes instead of hours. Whether you go with a simple hardboard panel for lighter tools or build out a full metal pegboard wall system for a serious workshop, the principles are the same: plan your zones, choose quality accessories, and build habits that keep things in their place.
Ready to take your home organization further? Explore the full range of home organization products at Sesoris and check out our best sellers for top-rated picks that make organizing every room easier. For more garage and workshop ideas, browse the Sesoris blog and discover practical guides designed to help you live more organized every single day.
Liked this guide?
Get new organizing guides and the occasional new product by email. No spam, unsubscribe anytime.
Related articles

Explore more articles
- Tips to Keep Your Kid's Room Tidy
- Bedroom Wall Shelf Ideas for Small Spaces
- 25+ Best Entryway Organization Ideas to Transform Your Home's First Impression in 2026
- IKEA Laundry Room Organization: Smart Ideas
- 35+ Brilliant IKEA Pantry Organization Ideas to Transform Your Kitchen Storage in 2026
- Container Storage Box: Best Space-Saving Solutions Guide 2026
- Refrigerator Organizer: How to Arrange Your Fridge Neatly and Save Electricity
- Ultimate Nursery Organization Guide: 35+ Creative Ideas to Transform Your Baby's Space in 2026