
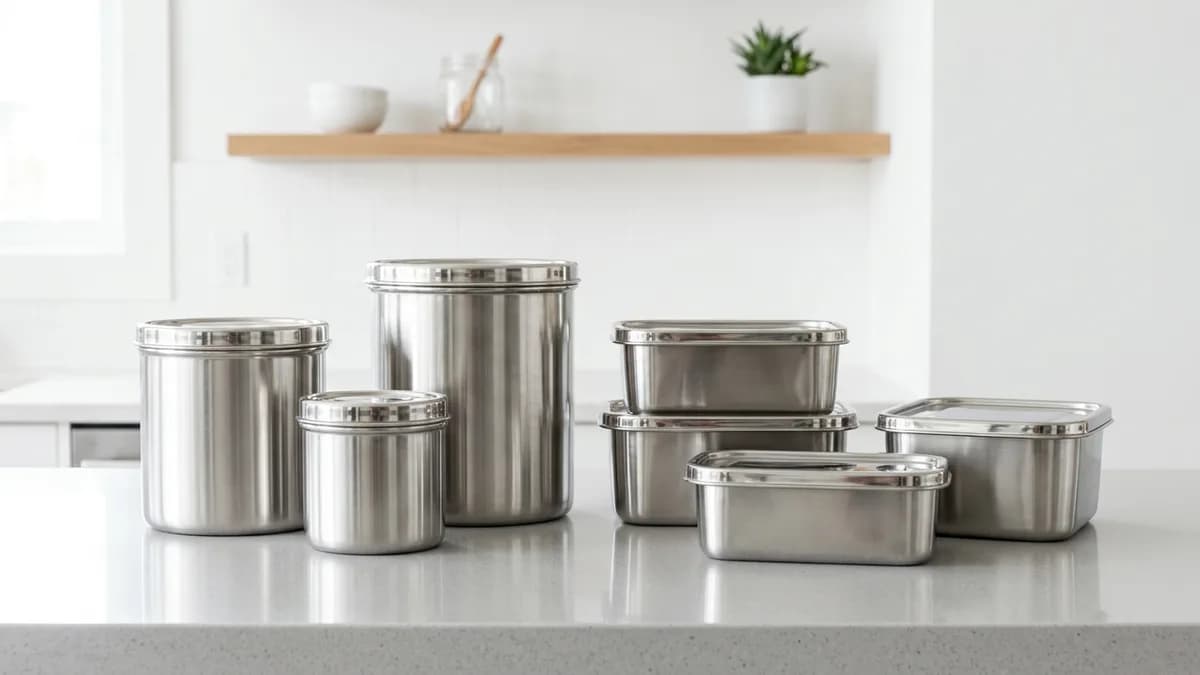
Stainless Steel Food Storage Containers: The Complete 2026 Tutorial Guide to Durable, Healthy Kitchen Organization
If you have been searching for a smarter, safer, and more sustainable way to store your meals, stainless steel food storage containers might be the best upgrade you can make in 2026. Durable, non-toxic, and incredibly versatile, these containers have exploded in popularity across American households, from busy weekday meal preppers to eco-conscious families looking to ditch single-use plastics for good. In this step-by-step tutorial, I will walk you through everything you need to know: how to choose the right containers, how to use them properly for different food types, how to organize them in your kitchen, and how to keep them in great shape for years to come. Whether you are a complete beginner or simply want to level up your kitchen organization game, this guide has you covered.
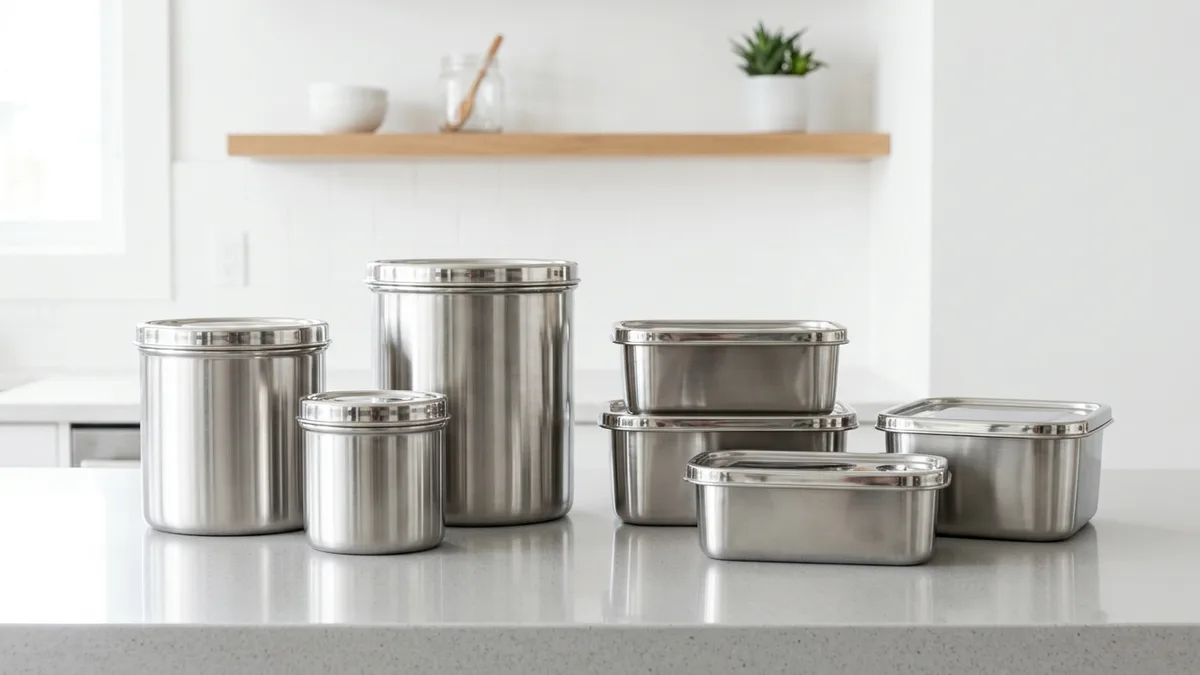
Why Stainless Steel Food Storage Containers Are Worth the Switch in 2026
Before diving into the how-to steps, it helps to understand why so many home cooks and health-conscious Americans are making the switch to stainless steel food storage containers right now. According to The Spruce, stainless steel is one of the most hygienic materials for food contact because it is non-porous, meaning bacteria and odors cannot seep into the surface the way they can with plastic. Here are the top reasons these containers stand out:
- No leaching chemicals. Unlike some plastic containers, stainless steel does not leach BPA, phthalates, or other potentially harmful chemicals into your food, even when holding acidic foods like tomato sauce or citrus.
- Incredible durability. A good set of stainless steel containers can last 10 to 20 years with proper care, making them far more cost-effective in the long run than disposable or thin plastic alternatives.
- Odor and stain resistant. Stainless steel does not absorb food odors or develop stubborn stains the way plastic does, so your containers always feel clean and fresh.
- Environmentally friendly. Swapping to stainless steel reduces single-use plastic waste significantly, a growing priority for eco-minded households in 2026.
- Lightweight and portable. Despite being metal, most stainless steel food containers are surprisingly light, making them great for packed lunches, picnics, and on-the-go meals.
- Versatile temperatures. Stainless steel handles cold foods in the fridge and freezer, though most are not designed for direct microwave use (more on that shortly).
If you are also exploring other sustainable kitchen solutions, check out our guide to BPA-Free Food Storage Containers: Your Complete Guide to Safe Food Storage in 2026 for a broader look at safe material options.
Step 1: How to Choose the Right Stainless Steel Food Storage Containers for Your Kitchen
The market for stainless steel food storage containers has grown significantly in 2026, which means you have more options than ever. Here is how to narrow down your choices and pick the set that truly works for your lifestyle.
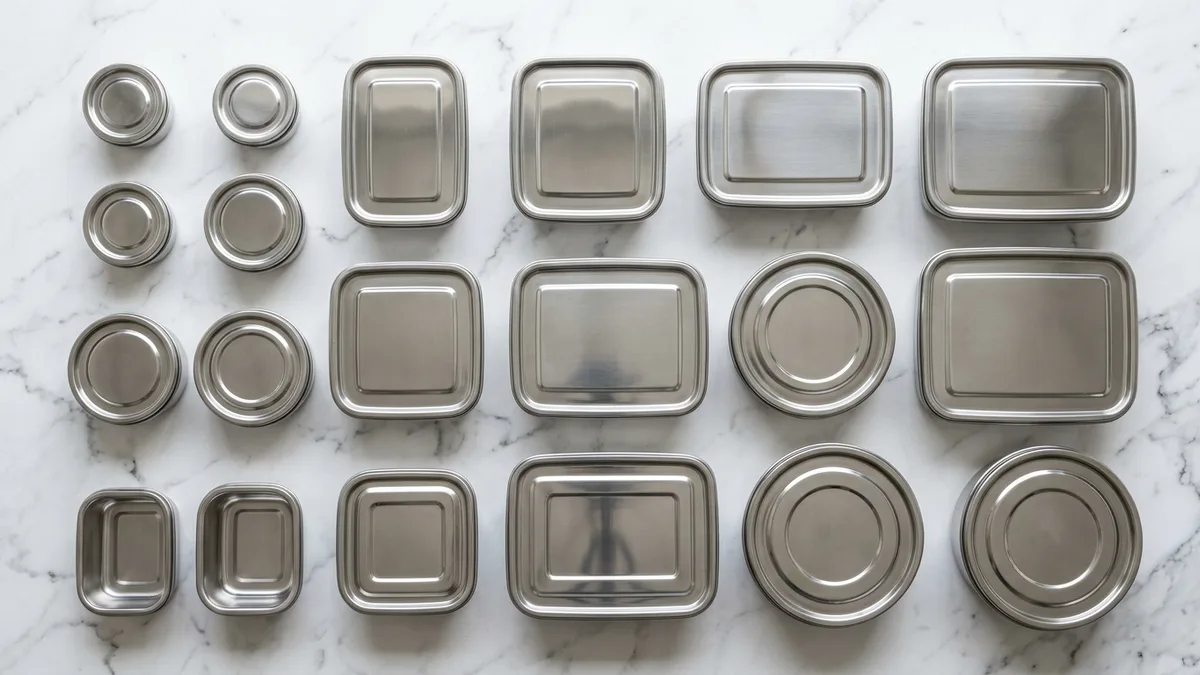
Understand the Grade of Stainless Steel
Not all stainless steel is created equal. The two most common grades you will see for food storage are 304 (also written as 18/8) and 316 stainless steel. For everyday kitchen use, 304-grade (18/8) stainless steel is the gold standard. It contains 18% chromium and 8% nickel, which gives it excellent rust resistance, durability, and food safety. Grade 316 is even more corrosion-resistant and is sometimes marketed as "marine grade," but for home food storage, 304 is perfectly sufficient and generally more affordable.
What to look for on labels:
- Look for "food-grade" or "18/8" stamped on the product or listed in the description.
- Avoid containers that do not specify the grade, as lower-quality steel can rust or corrode over time.
Choose the Right Sizes for Your Needs
Buying the wrong sizes is one of the most common mistakes people make. I recommend building a varied set that covers your most frequent storage tasks:
- Small containers (under 1 quart): Ideal for snacks, dips, cut fruit, nuts, or single-serve portions.
- Medium containers (1 to 2 quarts): Perfect for salads, sandwiches, leftovers from a single meal, or prepped ingredients.
- Large containers (3 quarts and above): Best for batch-cooked grains, soups, marinated proteins, or family-sized portions.
A starter set of two small, two medium, and one large container covers most household needs beautifully.
Evaluate the Lid Type
The lid makes or breaks your stainless steel food storage experience. Here are the most common options:
- Stainless steel lids: Sleek, durable, and fully metal, but they do not create an airtight seal, so they work best for dry foods or short-term storage.
- Silicone-sealed lids: These create a flexible, airtight seal that locks in freshness. Look for BPA-free silicone specifically.
- Plastic snap-on lids: Affordable and airtight, but choose BPA-free versions to keep things safe.
- Beeswax wrap or reusable covers: Some zero-waste enthusiasts use these, but they are less practical for liquid-heavy foods.
For most home cooks, a silicone-sealed or BPA-free plastic airtight lid is the most practical choice. You can pair your containers with tips from our Air Tight Food Storage Containers: Ultimate Guide to Keeping Food Fresh in 2026 to maximize freshness.
Consider Stackability and Shape
If pantry and fridge space is at a premium in your home, prioritize containers that are designed to stack cleanly. Rectangular and square shapes are far more space-efficient than round ones, and they fit better in refrigerator drawers and pantry shelves. Look for sets where the lids nest inside each other when not in use to save even more storage space.
Step 2: How to Use Stainless Steel Food Storage Containers Correctly
Once you have your containers, using them the right way ensures both food safety and container longevity. This is where most people skip important details, so I will cover everything step by step.
What You Can (and Cannot) Store in Stainless Steel
Stainless steel is remarkably versatile, but there are a few important rules to keep in mind:
Great for stainless steel containers:
- Cooked grains (rice, quinoa, pasta)
- Sliced vegetables and fresh fruit
- Baked goods and snacks
- Salads and grain bowls
- Marinated meats and proteins (short-term)
- Sandwiches and wraps
- Dry pantry goods like nuts, seeds, and granola
Use with caution:
- Highly acidic foods (tomatoes, citrus, vinegar-based dishes): Prolonged contact with high-acid foods can cause minor pitting or discoloration in lower-quality steel. With 18/8 food-grade steel this risk is minimal, but I recommend not storing acidic foods for more than 2 to 3 days.
- Salty foods: Similar reasoning applies. High-sodium foods stored long-term may affect the finish of lower-grade containers.
Never use stainless steel containers for:
- Microwave heating: Metal should never go in a microwave. Transfer food to a microwave-safe dish before reheating.
- Cooking directly on a stovetop (if not designed for it): Most food storage containers are not the same as cookware, so do not place them over direct heat.
Pro Tip: If you need to reheat food stored in a stainless steel container, transfer the contents to a ceramic or glass bowl for the microwave. It takes 30 extra seconds but protects both your container and your microwave.
Step-by-Step: Loading Your Containers for Fridge Storage
- Let hot food cool first. Never seal a container while food is still steaming. Doing so traps condensation inside, which speeds up spoilage. Let hot dishes cool to room temperature (no longer than 2 hours, per food safety guidelines) before sealing and refrigerating.
- Fill without overpacking. Leave about a half-inch of space at the top. This allows for slight expansion (especially with liquid-based foods) and makes sealing easier.
- Seal the lid securely. Press around all edges of a silicone-sealed lid to ensure a complete seal. For snap lids, click all four sides.
- Label with the date. This is a habit that pays off. Use a piece of masking tape and a marker, or invest in reusable silicone labels. Write the contents and the date packed.
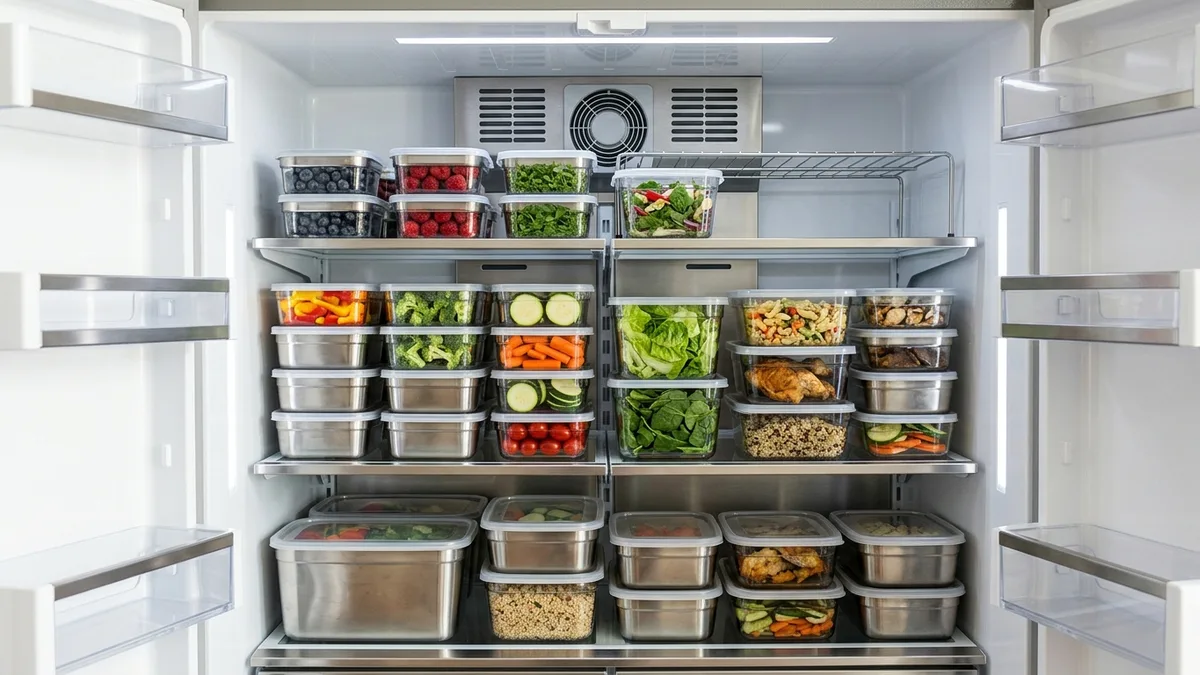
- Stack strategically in the fridge. Place larger, heavier containers on lower shelves. Stack smaller containers on top to maximize vertical fridge space.
Step-by-Step: Using Stainless Steel Containers for Meal Prep
Stainless steel containers are a meal-prepper's best friend. Here is how to set up a simple weekly meal prep system:
- Plan your meals for the week before shopping. Decide which ingredients you will prep in bulk (grains, roasted vegetables, proteins).
- Cook in batches on Sunday (or your chosen prep day). Use your largest stainless steel containers for batch items like a big pot of rice or roasted chicken.
- Portion into individual medium containers for grab-and-go lunches or quick weeknight dinners.
- Store dressings, sauces, and dips separately in small containers to prevent sogginess.
- Arrange your fridge by meal type so everything for Monday's lunch is together, Tuesday's dinner is together, and so on. This cuts down on decision fatigue during a busy week.
For more meal prep inspiration, our Kitchen Food Storage Ideas for a Tidy 2026 article has plenty of creative approaches.
Step 3: How to Organize Stainless Steel Food Storage Containers in Your Kitchen
Owning great containers is only half the battle. Storing them so they are easy to access and do not create cabinet chaos is just as important.
Organize Containers in Cabinets
The classic problem: container lids end up scattered, the containers fall out every time you open a cabinet, and finding the right lid feels like a minor catastrophe. Here is how to solve it:
- Separate containers from lids. Stack the containers nested inside each other in one area of the cabinet. Store lids vertically in a lid organizer rack, a tension rod system, or a deep drawer divider.
- Group by size. Keep all small containers together, mediums together, and larges together. This makes grabbing the right size intuitive.
- Use a deep drawer if you have one. Deep kitchen drawers are ideal for stainless steel containers because you can lay everything flat and see all sizes at a glance.
- Install a pull-out shelf in lower cabinets if you have the space. Pull-out organizers make accessing containers at the back of a deep cabinet much easier.
Organize Containers in the Fridge
- Dedicate one full shelf or drawer to meal-prepped containers. Consistency is key.
- Use a small lazy Susan on a fridge shelf for round containers so you can spin to find what you need.
- Keep the most frequently accessed items at eye level and less-used items on lower or higher shelves.
- Our Refrigerator Organization: The Complete 2026 Guide to a Cleaner, Smarter Fridge is packed with additional fridge organization strategies that work brilliantly with stainless steel containers.
Organize Containers in the Pantry
Stainless steel containers are also excellent for dry pantry storage. Use them for:
- Bulk grains and legumes: Oats, lentils, rice, and flour stay fresher in airtight stainless steel than in flimsy bags.
- Baking ingredients: Sugar, baking soda, and similar items do well in stainless containers with tight lids.
- Snack station: A row of small stainless containers filled with trail mix, nuts, or dried fruit makes healthy snacking easy and beautiful.
Label everything clearly. Chalkboard labels or white label tape and a marker look clean and professional on the smooth steel surface.
Step 4: How to Care for and Clean Stainless Steel Food Storage Containers
Proper care dramatically extends the life of your stainless steel containers and keeps them looking their best. Follow these steps and yours should last for many years.
Daily Cleaning Routine
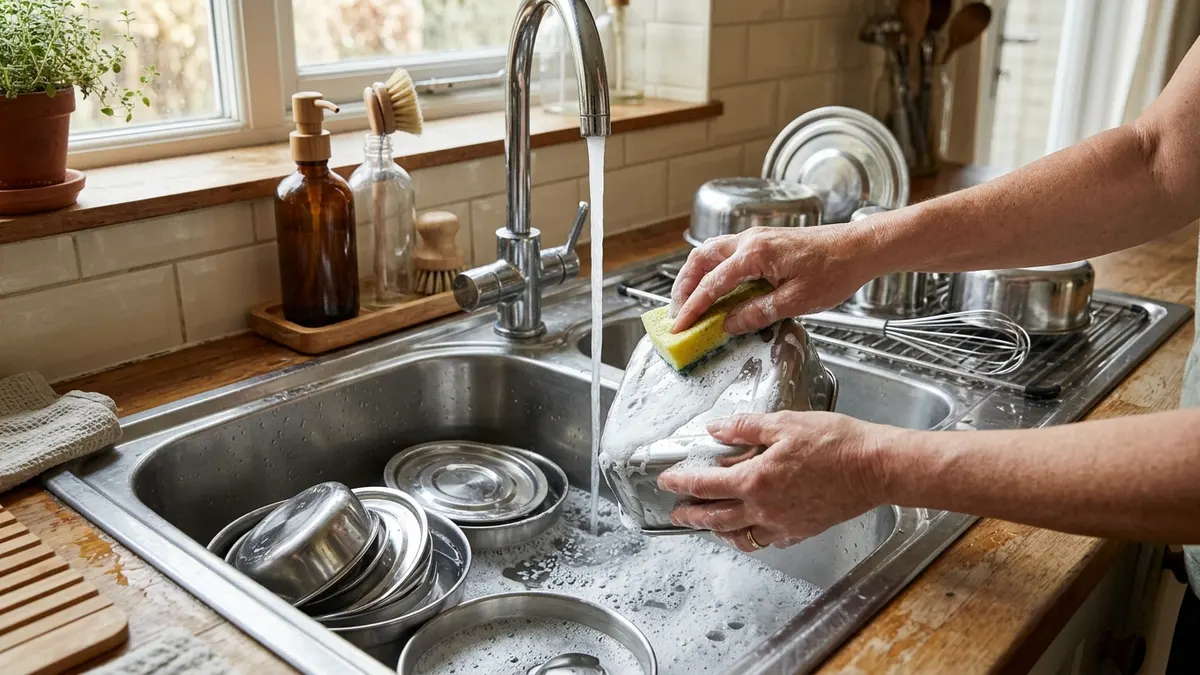
- Rinse immediately after use if you cannot wash right away. This prevents food from drying and sticking, which makes cleaning much harder.
- Wash with warm soapy water using a soft sponge or cloth. Avoid steel wool or abrasive scrubbers, which can scratch the surface.
- Pay attention to the lid. If your lid has a silicone gasket or seal, remove it (if possible) and wash it separately to prevent mold or odor buildup in the crevice.
- Rinse thoroughly to remove all soap residue.
- Dry completely before stacking or storing. Trapped moisture, especially around lids or rims, is the main cause of water spots and, in extreme cases, minor surface rust on lower-quality steel.
Dishwasher Use
Most food-grade stainless steel containers are dishwasher-safe, but always check the manufacturer's instructions. If dishwasher-safe, place them on the top rack away from the heating element. Note that frequent dishwasher cycles can dull the finish over time, so hand-washing is preferable if you want to keep your containers looking polished.
Removing Stubborn Stains and Odors
- Water spots: Wipe with a cloth dampened with white vinegar, then rinse and dry.
- Food stains or discoloration: Make a paste of baking soda and water, apply to the stained area, let it sit for 15 to 20 minutes, then scrub gently with a soft sponge and rinse.
- Persistent odors: Fill the container with warm water and add 2 tablespoons of baking soda. Let it soak for an hour, then rinse thoroughly.
- Minor surface rust spots: These can happen if containers are left wet for long periods. Rub the spot with a cloth dampened in white vinegar or a paste of baking soda and lemon juice. This should lift the rust without damaging the underlying steel.
Long-Term Storage and Maintenance
- Store containers with lids slightly ajar (not fully sealed) to allow air circulation and prevent any musty odors from developing inside.
- Avoid storing containers near cleaning chemicals or strongly scented items, as the environment around them can sometimes leave odors.
- Inspect silicone seals and gaskets periodically. Replace them if they crack, warp, or lose their flexibility.
Step 5: How to Use Stainless Steel Food Storage Containers Beyond the Kitchen
One of the best things about stainless steel food storage containers is how far their usefulness extends beyond your refrigerator. Here are some everyday uses that make them incredibly versatile:
As a Lunchbox
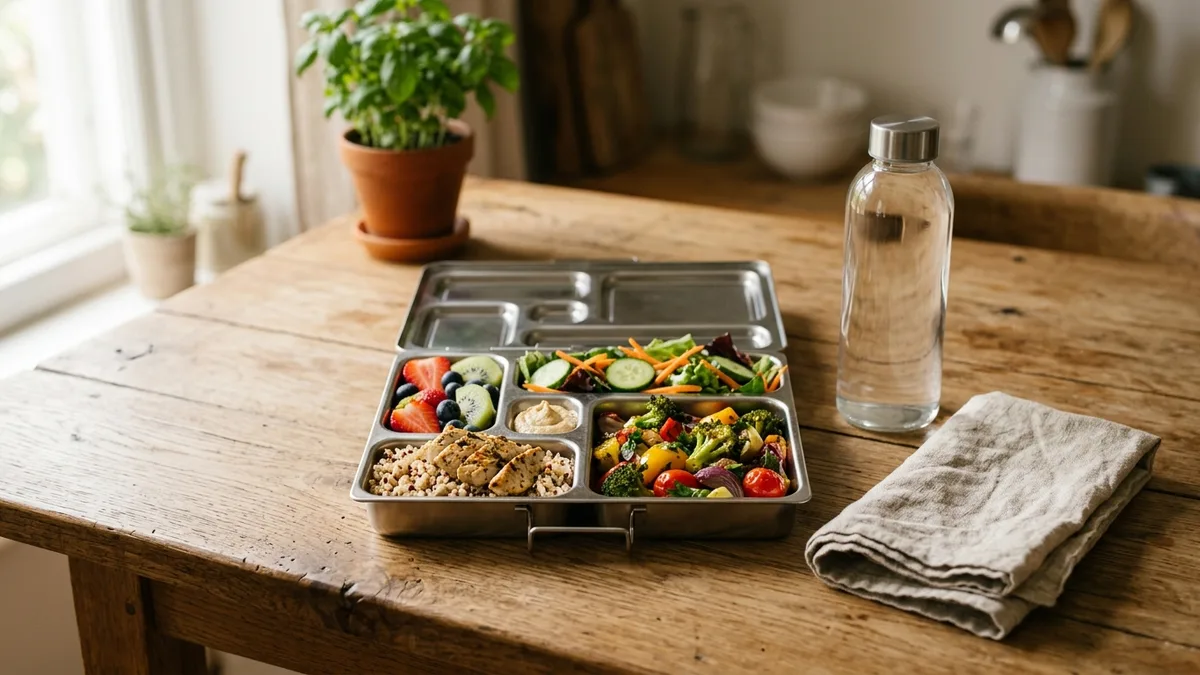
A medium stainless steel container with a tight-sealing lid makes an outstanding lunchbox for adults and older kids. It keeps food at a safe temperature for a reasonable period, does not absorb odors, and eliminates the need for disposable plastic bags or containers entirely. Pair it with a small insulated bag for even better temperature retention.
For Outdoor Activities
Camping, hiking, picnics, and beach days are all great occasions to bring stainless steel containers. Unlike glass, they will not shatter if dropped. Unlike plastic, they will not warp in a hot car. Pack snacks, sandwiches, or pre-cooked meals and you are set for the day.
Pantry Organization
As mentioned earlier, stainless steel containers shine in the pantry for bulk dry goods. According to Real Simple, using uniform, labeled containers in your pantry is one of the most effective ways to maintain long-term organization because everything has a designated home.
Travel and On-the-Go Meals
Stainless steel containers slip easily into a bag or backpack. For anyone who meal-preps lunches for the workweek, having a reliable container that can handle a commute, a tossed bag, and still keep food fresh is invaluable. Many people find they save money on eating out simply because they have a reliable, appealing container to bring food from home.
For more ways to keep your whole kitchen and pantry organized in 2026, explore the full range of organization solutions at Sesoris.
Common Mistakes to Avoid with Stainless Steel Food Storage Containers
Even with great containers, a few common missteps can reduce their effectiveness or lifespan. Here is what to watch out for:
- Putting them in the microwave. This is the number-one mistake. Metal and microwaves do not mix. Always transfer food to a microwave-safe dish before heating.
- Skipping the drying step. Storing containers while still damp is the fastest route to water spots and, over time, minor corrosion. Always dry completely.
- Buying mismatched lids. Not all lids fit all containers, even from the same brand. Build your collection from matching sets to avoid the "lid lottery" problem.
- Ignoring the steel grade. Bargain containers made from unknown or low-grade steel may look identical to quality ones but can rust or react with foods over time. Spend a little more for verified 18/8 food-grade steel.
- Using metal utensils to scrape. Metal on metal scratches the interior surface. Use silicone, wood, or plastic utensils when scooping food from your containers.
- Storing raw marinated meat too long. While stainless steel handles marinating well for short periods, leaving raw meat stored for more than 48 hours is a food safety concern regardless of container material.
Remember: Great containers are only as effective as the habits around them. Building simple routines like labeling with dates and drying before storing makes all the difference.
Related Products from Sesoris
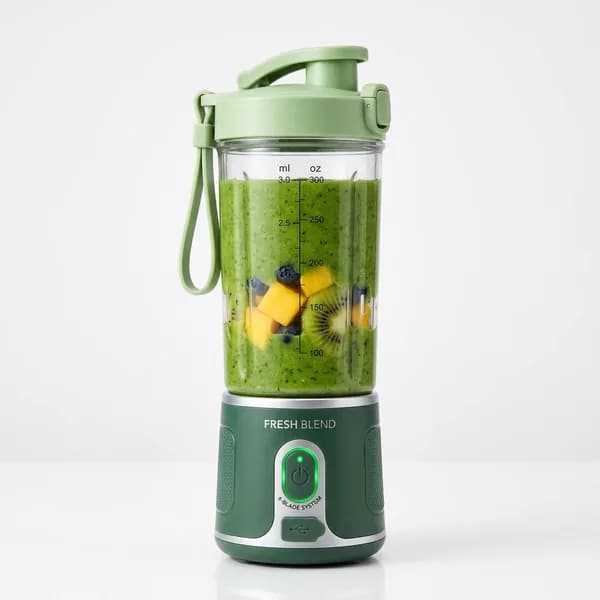
If you want to turn this guide into a real setup, start with Stainless Steel 2-Tier Dish Rack and Portable Blender. For broader options, browse the Kitchen & Dining collection so the article journey does not stop at reading only.
Our practical rule: choose one product that solves the main clutter problem first, then add supporting organizers only when the daily workflow is already clear. This keeps the shopping path useful, not pushy.
FAQ: Frequently Asked Questions About Stainless Steel Food Storage Containers
Q: Are stainless steel food storage containers safe for acidic foods like tomatoes or citrus?
Yes, with high-quality 18/8 food-grade stainless steel. The chromium in the steel creates a passive oxide layer that resists corrosion from mild acids. For short-term storage (1 to 3 days), acidic foods are perfectly fine. For longer storage, you may notice very minor surface changes with lower-grade steel, so stick to quality containers.
Q: Can I freeze food in stainless steel containers?
Absolutely. Stainless steel handles freezer temperatures very well. Just leave a little room at the top of the container when freezing liquids or soups, since liquid expands as it freezes. Make sure lids are tightly secured before placing in the freezer.
Q: How long do stainless steel food storage containers last?
With proper care, a quality set of 18/8 stainless steel containers can easily last 10 to 20 years or more. The containers themselves rarely wear out; it is usually the lids (especially silicone seals and plastic snap components) that need occasional replacement.
Q: Are stainless steel containers better than glass?
Both are excellent non-toxic options, and the best choice depends on your lifestyle. Glass is microwave-safe and completely see-through (helpful for identifying contents at a glance), but it is heavier and breakable. Stainless steel is lighter, virtually unbreakable, and great for on-the-go use, but it cannot go in the microwave and you cannot see the contents inside. Many households use both. For a deep comparison, check out our Best Food Storage Containers Glass: Ultimate Guide to Premium Kitchen Organization in 2026.
Q: Do stainless steel containers keep food warm?
Standard stainless steel food storage containers (not insulated thermoses or bento boxes) are not designed to maintain food temperature for extended periods. They will keep cold food cold in a fridge and will carry room-temperature food, but for true temperature retention you need a double-walled, vacuum-insulated container.
Q: How do I get rid of a metallic taste from a new stainless steel container?
Wash new containers thoroughly with warm soapy water and rinse well before first use. If you still notice a faint metallic taste, fill the container with a solution of water and 2 tablespoons of white vinegar, let it sit for 30 minutes, then rinse and wash again. This typically resolves any initial taste concerns.
Q: What is the best way to organize a large collection of stainless steel food storage containers?
The most effective system is to separate containers from lids, stack containers nested by size, and store lids vertically in a designated drawer divider or rack. Group everything by size so finding the right container is always quick and effortless.
Conclusion
Switching to stainless steel food storage containers is one of the most practical, health-forward, and eco-friendly upgrades you can make to your kitchen in 2026. From selecting the right grade and size to mastering proper use, organization, and care, following the steps in this tutorial sets you up for a kitchen that is genuinely more organized, sustainable, and enjoyable to cook in every day. The initial investment pays off quickly when you consider the durability, the reduction in plastic waste, and the simple pleasure of a clean, well-organized kitchen. Ready to find the perfect set to get started? Browse the full collection of kitchen organization essentials at Sesoris and explore our Best Sellers and New Arrivals to discover everything you need to live more organized, every single day.
Weekly Home Tips
Get home organization ideas, product picks, and exclusive deals delivered weekly.
No spam. Unsubscribe anytime.


Explore More Articles
- Meal Prep Containers for Beginners: Safe and Simple
- Wardrobe Organizer Guide: How to Organize Your Closet
- 20+ Brilliant Storage Space Ideas for Small Bedrooms: Maximize Every Inch in 2026
- 35+ Brilliant IKEA Pantry Organization Ideas to Transform Your Kitchen Storage in 2026
- Foldable Storage Box Guide: Space-Saving Solutions 2026
- Blanket Storage Ideas for the Living Room
- Multi-Purpose Spice Racks: Ultimate Guide to Versatile Kitchen Storage Solutions in 2026
- Aluminum Dish Cabinets: Strength Meets Style in Modern Kitchen Storage