
DIY Room Divider Ideas: 20+ Creative Ways to Split Your Space in 2026
Discover 20+ stunning DIY room divider ideas to define your space on a budget. Practical tips, materials, and step-by-step inspiration for every home style.
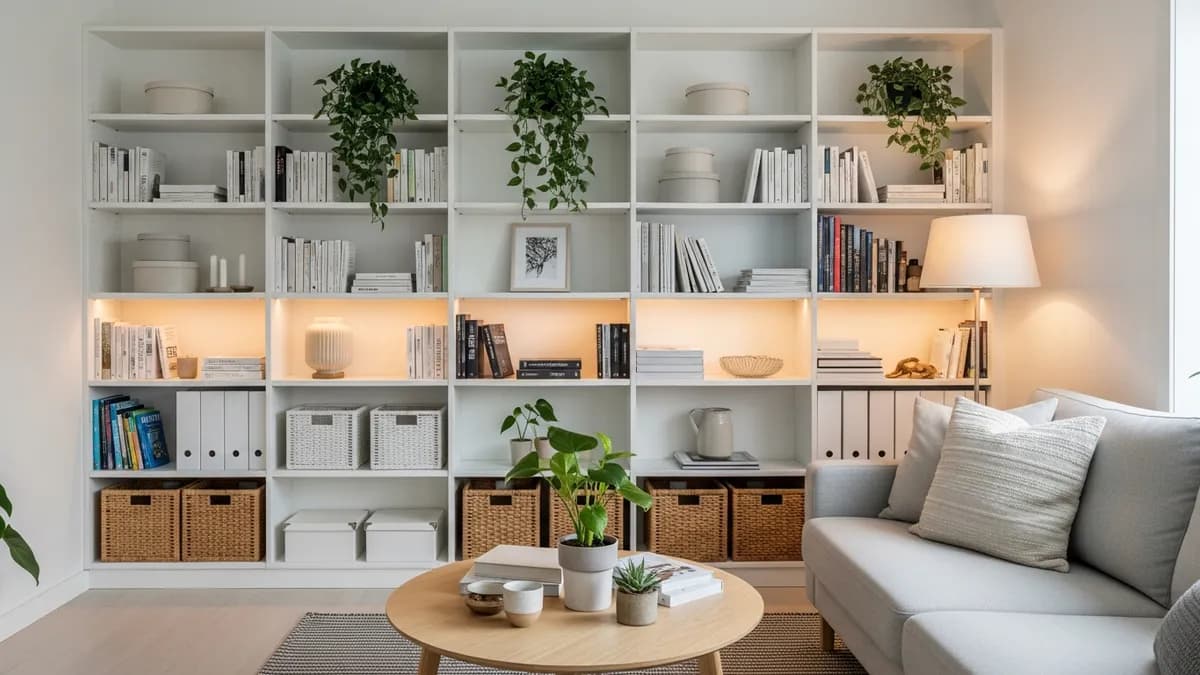
If you have ever wished your open-plan living space could feel a little more intentional, a DIY room divider might be exactly what you need. Whether you are carving out a home office corner, giving a shared bedroom more privacy, or simply adding some visual structure to a studio apartment, building your own room divider is one of the most satisfying and budget-friendly home projects you can tackle in 2026. In this guide, I am walking you through more than 20 creative ideas, practical tips on materials and tools, and everything you need to know to build a divider that actually works for your space and style.
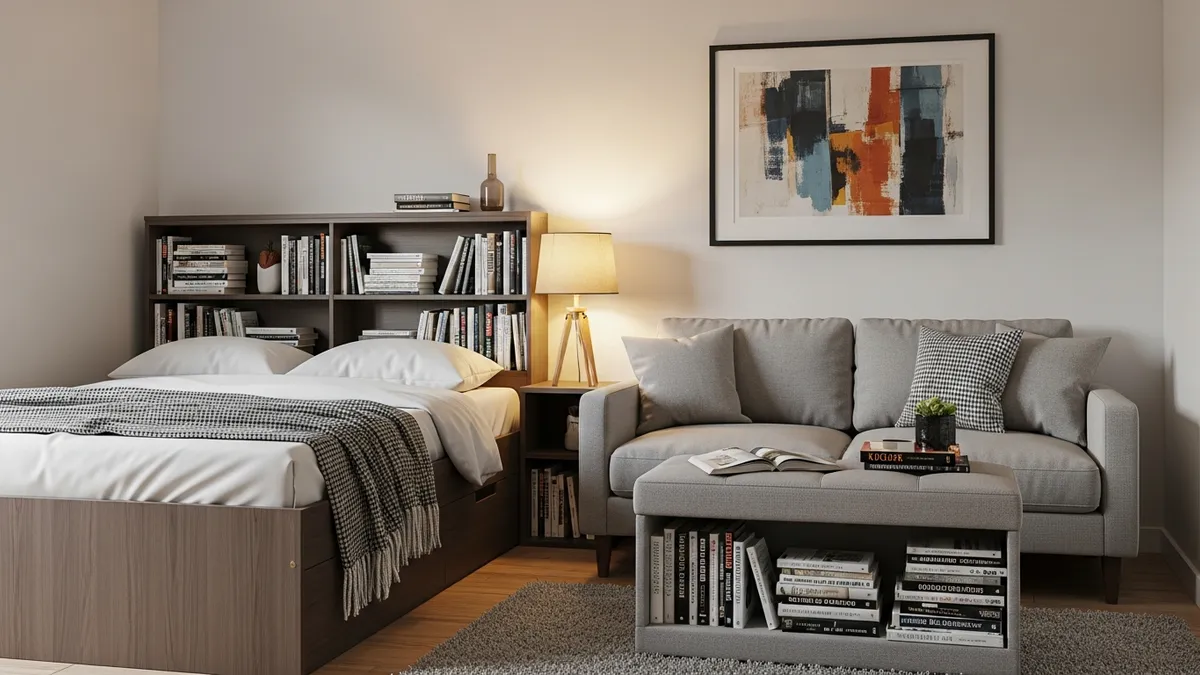

Why a DIY Room Divider Is the Smartest Home Upgrade You Can Make
Open floor plans are everywhere in American homes right now, and while they feel airy and social, they can also make it tough to define separate zones for work, rest, and play. A DIY room divider solves this problem without the cost or permanence of adding a wall. You get all the visual separation you need while keeping the space flexible enough to rearrange whenever you want.
According to Houzz, one of the top trends in home design is creating multi-functional rooms, especially as more Americans work from home. A custom room divider lets you tailor the solution to your exact square footage, ceiling height, and design taste without paying a contractor.
Here is why I love this project so much:
- Cost-effective: Most DIY dividers can be built for a fraction of what a custom partition wall would cost
- Renter-friendly: Many designs require zero permanent wall modifications
- Fully customizable: You choose the height, width, material, and finish
- Doubles as decor: A well-designed divider adds personality to your room
- Reversible: You can move or remove it whenever your needs change
The Best Materials for a DIY Room Divider
Choosing the right material is the first real decision you will make, and it shapes everything from the look and weight of your divider to how easy it is to build. Here is a breakdown of the most popular options for a DIY room divider in 2026:
Wood
Wood is the most classic and versatile choice. You can use dimensional lumber, dowels, plywood panels, shiplap boards, or even reclaimed pallet wood. Pine is affordable and easy to cut. Oak and walnut are more expensive but give a premium finish. A basic frame of 2x4 lumber is sturdy enough to support heavier additions like shelving or pegboard.
Approximate cost: $20 to $80 per sheet or per linear foot, depending on species and grade.
PVC Pipe
Surprisingly stylish when spray-painted, PVC pipe can be assembled into geometric frames without any special tools. It is lightweight, easy to cut with a hacksaw, and perfect for hanging fabric or macrame panels.
Approximate cost: Under $30 for a basic frame.
Fabric and Curtains
Curtain panels hung from a ceiling-mounted rod or tension rod create an instant, soft room divider. Linen, velvet, and canvas all work beautifully. This is one of the easiest and most renter-friendly options.
Approximate cost: $15 to $60 for panels and a rod, depending on size.
Wire Grid and Pegboard
Metal wire grids (the kind often used for closet organization) and pegboard sheets can be attached to a wooden frame to create a functional and decorative divider. You can hang plants, baskets, and hooks on either side.
Approximate cost: $20 to $50 for the panel materials.
Rope and Macrame
Bohemian-style dividers made from knotted rope or macrame cord add warmth and texture. They are lightweight, let light through, and feel very on-trend for 2026 interiors.
Approximate cost: $15 to $40 for cord, depending on thickness and length.
20+ DIY Room Divider Ideas to Inspire Your Build
Now let us get into the actual ideas. I have organized these from simplest to most complex so you can find the right fit for your skill level and time budget.
1. Bookshelf Room Divider
An open-back bookshelf is probably the most functional DIY room divider you can build. Construct a simple frame from 3/4-inch plywood, add horizontal shelves every 12 to 14 inches, and finish with paint or stain. Load it up with books, decorative baskets, and trailing plants. It defines the space, adds storage, and looks intentional rather than improvised.
Skill level: Intermediate | Estimated time: 1 weekend | Approximate cost: $80 to $150
You can find great shelving organization tips in our guide to home storage solutions over at Sesoris.
2. Curtain Panel Divider
Mount a ceiling-mounted curtain track or a tension rod between two walls and hang long linen panels. This works especially well in studio apartments where you want to separate a sleeping area from a living area. Choose blackout fabric for bedroom privacy or sheer linen for a soft, airy look.
Skill level: Beginner | Estimated time: 1 to 2 hours | Approximate cost: $30 to $70
3. Wooden Dowel Hanging Divider
This is one of the most eye-catching options. Suspend wooden dowels horizontally from a ceiling-mounted rod using rope or leather cord, spacing them at varying heights for a sculptural effect. You can weave yarn, hang plants, or leave them bare for a minimalist look.
Skill level: Beginner | Estimated time: 2 to 3 hours | Approximate cost: $25 to $50
4. Pallet Wood Divider
Reclaimed wood pallets can be sanded, painted, and stood upright on hairpin legs or caster wheels to create a rustic partition. Two or three pallets connected side by side make a sturdy freestanding divider. Add string lights or small potted plants for extra charm.
Skill level: Beginner to Intermediate | Estimated time: Half a day | Approximate cost: $20 to $60 (pallets are often free)
5. Pegboard Room Divider
Build a wooden frame and mount a sheet of pegboard inside it. Stand it upright with L-bracket feet or furniture legs. On one side you can set up a home office tool wall; on the other side, a kitchen herb display or art gallery. This idea is especially useful if you are organizing your home office.
Skill level: Intermediate | Estimated time: 4 to 6 hours | Approximate cost: $40 to $90
6. Macrame Fiber Art Divider
Knot thick cotton rope in a macrame pattern and hang the finished piece from a wooden dowel suspended from the ceiling. Macrame dividers are inherently open, so they separate the visual space without blocking light or airflow. Perfect for boho and coastal interiors.
Skill level: Intermediate (requires basic macrame knots) | Estimated time: 4 to 8 hours | Approximate cost: $20 to $45
7. Shiplap Panel Divider
Build a rectangular wooden frame and fill it with horizontal shiplap boards, leaving small gaps between each board for airflow and light. Paint it white for a classic farmhouse look or leave it natural for a warm wood aesthetic. Mount it on furniture casters so you can roll it out of the way.
Skill level: Intermediate | Estimated time: 1 weekend | Approximate cost: $60 to $130
8. Geometric Pipe Divider
Use 3/4-inch copper or black steel pipe fittings to assemble a geometric frame. Fill the openings with fabric panels, string art, or wired glass. The industrial look pairs beautifully with mid-century modern and urban loft aesthetics. This style is covered in Homes & Gardens' room divider ideas for modern spaces.
Skill level: Intermediate | Estimated time: 4 to 6 hours | Approximate cost: $50 to $100
9. Plant Wall Divider
Build or buy a simple ladder-style frame and fill every rung with trailing and standing houseplants. A living plant divider adds oxygen, color, and life to your space. Pair it with a storage rack from Sesoris for the base to hold extra planters and supplies neatly.
Skill level: Beginner | Estimated time: 1 to 2 hours | Approximate cost: $30 to $80 plus plants
10. Lattice Panel Divider
Garden lattice panels from the hardware store are inexpensive and easy to frame. Paint them in a bold color or wrap them in climbing fake vines. They cast beautiful shadow patterns in sunlit rooms and feel much more curated than they look to build.
Skill level: Beginner | Estimated time: 2 to 3 hours | Approximate cost: $20 to $50
11. Washi Tape and Dowel Hanging Art
Create colorful, patterned fabric strips using canvas scraps and washi tape, then hang them from a ceiling-mounted dowel. This budget option is perfect for a kids' room or a playful studio apartment. It is also one of the easiest ideas to swap out seasonally.
Skill level: Beginner | Estimated time: 1 hour | Approximate cost: Under $15
12. Sliding Barn Door Divider
A DIY sliding barn door on a wall-mounted track is one of the most dramatic room divider options. Use a single panel or a double-door setup. This works especially well between a living room and a home office. It requires more tools and slightly more skill, but the result is stunning.
Skill level: Advanced | Estimated time: Full weekend | Approximate cost: $100 to $250
13. Wire Grid Gallery Divider
Metal wire grid panels (often sold as closet organizer components) can be zip-tied together and set in a wooden base frame. Hang small plants, art prints, and clipboards from S-hooks to fill the grid. This creates a functional, Pinterest-worthy divider that is easy to reconfigure.

Skill level: Beginner | Estimated time: 1 to 2 hours | Approximate cost: $25 to $55
14. Stacked Crate Divider
Wooden crates stacked and secured with brackets make a charming and storage-friendly room divider. Arrange them in a staggered pattern for visual interest. You can fill some cubbies with books, baskets, or decorative objects. Check out our box storage solutions guide for ideas on what to store inside.
Skill level: Beginner | Estimated time: 1 to 2 hours | Approximate cost: $40 to $80
15. Bamboo Pole Divider
Vertical bamboo poles anchored between a floor plate and a ceiling clamp create a natural, airy partition. Leave gaps between poles for light and airflow. This works especially well in coastal, Japanese-inspired, or biophilic interior styles.
Skill level: Beginner to Intermediate | Estimated time: 2 to 4 hours | Approximate cost: $30 to $70
16. Framed Fabric Panel Divider
Build simple rectangular frames from 1x2 lumber and stretch fabric across them like a canvas. Make three or four panels and connect them with piano hinges so they fold accordion-style. This classic folding screen style is flexible, easy to store, and endlessly customizable.
Skill level: Intermediate | Estimated time: 4 to 6 hours | Approximate cost: $40 to $90
17. Hanging Bead or Chain Curtain
String beads, driftwood pieces, or lengths of chain on individual cords and hang them side by side from a wooden dowel. This creates a dramatic curtain effect that lets light and airflow pass freely while visually marking where one space ends and another begins.
Skill level: Beginner | Estimated time: 1 to 3 hours | Approximate cost: $20 to $50
18. Chalkboard Panel Divider
Paint one side of a plywood panel with chalkboard paint and the other side with a bold color or wallpaper. Mount it on casters. Now you have a functional divider that doubles as a message board, meal-planning wall, or kids' art surface.
Skill level: Beginner to Intermediate | Estimated time: Half a day plus drying time | Approximate cost: $30 to $70
19. Metal Pipe and Wood Shelf Divider
Combine a galvanized pipe frame with wooden shelf boards for an industrial-style divider. The pipe acts as the structural uprights and you slot in wood shelves at varying heights. The open design makes it feel light while still providing real storage.
Skill level: Intermediate | Estimated time: 4 to 6 hours | Approximate cost: $70 to $150
20. Wicker or Rattan Panel Divider
Wicker and rattan panels, often sold as headboards or decorative screens, can be framed and stood upright on wooden feet to create a warm, textured divider. They are lightweight, easy to move, and feel very on-trend for the natural material moment happening in American interiors right now.
Skill level: Beginner | Estimated time: 1 to 2 hours | Approximate cost: $40 to $90
21. Mirror Panel Divider
Build a frame and insert lightweight acrylic mirror panels. A mirrored divider makes small spaces feel larger and brighter. Position it to reflect your best natural light source for the most dramatic effect.
Skill level: Intermediate | Estimated time: 4 to 6 hours | Approximate cost: $60 to $120
How to Plan Your DIY Room Divider Project
Before you pick up a single tool, a little planning goes a long way. Here is the process I recommend for every DIY room divider project:
Step 1: Measure Your Space
Measure the width of the area you want to divide and the ceiling height. For a freestanding divider, you typically want it to be at least 5 feet 6 inches tall to feel effective, but not so tall that it destabilizes. For a hung divider, floor-to-ceiling coverage (usually 8 to 9 feet in most American homes) is ideal.
Step 2: Define Your Goals
Ask yourself: Do I need full visual privacy, or just a suggestion of separation? Do I want the divider to add storage? Should it be permanent or easy to move? Your answers will narrow down which style and material make the most sense.
Step 3: Set a Budget
Most of the ideas in this list can be completed for between $20 and $150 in materials. Set a realistic number before you shop so you are not tempted to overcomplicate the build.
Step 4: Gather Tools
Depending on your chosen design, you may need a miter saw or circular saw, a drill, a level, a tape measure, sandpaper, and paint supplies. For more layout inspiration before you start building, see Homes & Gardens' room divider guide.
Step 5: Build, Finish, and Style
Assemble your divider, sand any rough edges, apply your chosen finish, and then style it with plants, baskets, art, or whatever fits your space. A great-looking divider is one that looks like it belongs in the room, not like an afterthought.
DIY Room Divider Tips for Small Spaces and Apartments
If you are working with a smaller footprint or a rental, here are some extra tips to keep your project practical:
- Go vertical: Tall, narrow dividers take up less floor space than wide, squat ones
- Choose open designs: Wire grids, dowels, and open shelves let light through and keep the room feeling spacious
- Use casters: Putting your divider on wheels makes it easy to move for cleaning or reconfiguring your layout
- Avoid wall anchors: Freestanding and ceiling-hung options are best for renters
- Keep it light: Avoid heavy materials like solid concrete or thick stone panels in apartments where floor weight matters
- Double up on function: A divider that also holds books, plants, or office supplies is always more valuable than one that only looks pretty
For more ideas on making small spaces work harder, take a look at our small home organization ideas article.
A great DIY room divider does not just split a space. It defines it, decorates it, and makes it feel purposefully designed.
Finishing and Styling Your DIY Room Divider
Once your divider is built, the styling phase is where the real magic happens. Here are some ways to make it look polished:
- Paint it to match or contrast your walls: A divider that blends in feels architectural; one that contrasts becomes a focal point
- Add plants: Trailing pothos, small succulents, or a fiddle-leaf fig beside the divider softens the structure
- Use baskets and bins: Tucking storage bins into shelf cubbies keeps things tidy and adds texture
- Hang art: Treat one face of a solid panel divider like a gallery wall
- Layer lighting: A small floor lamp or string lights near the divider add warmth and help define the zone at night
- Label and organize: If your divider doubles as storage, use labels and consistent containers to keep it looking curated rather than cluttered. Our label organizer guide has some great tips
Related Products from Sesoris
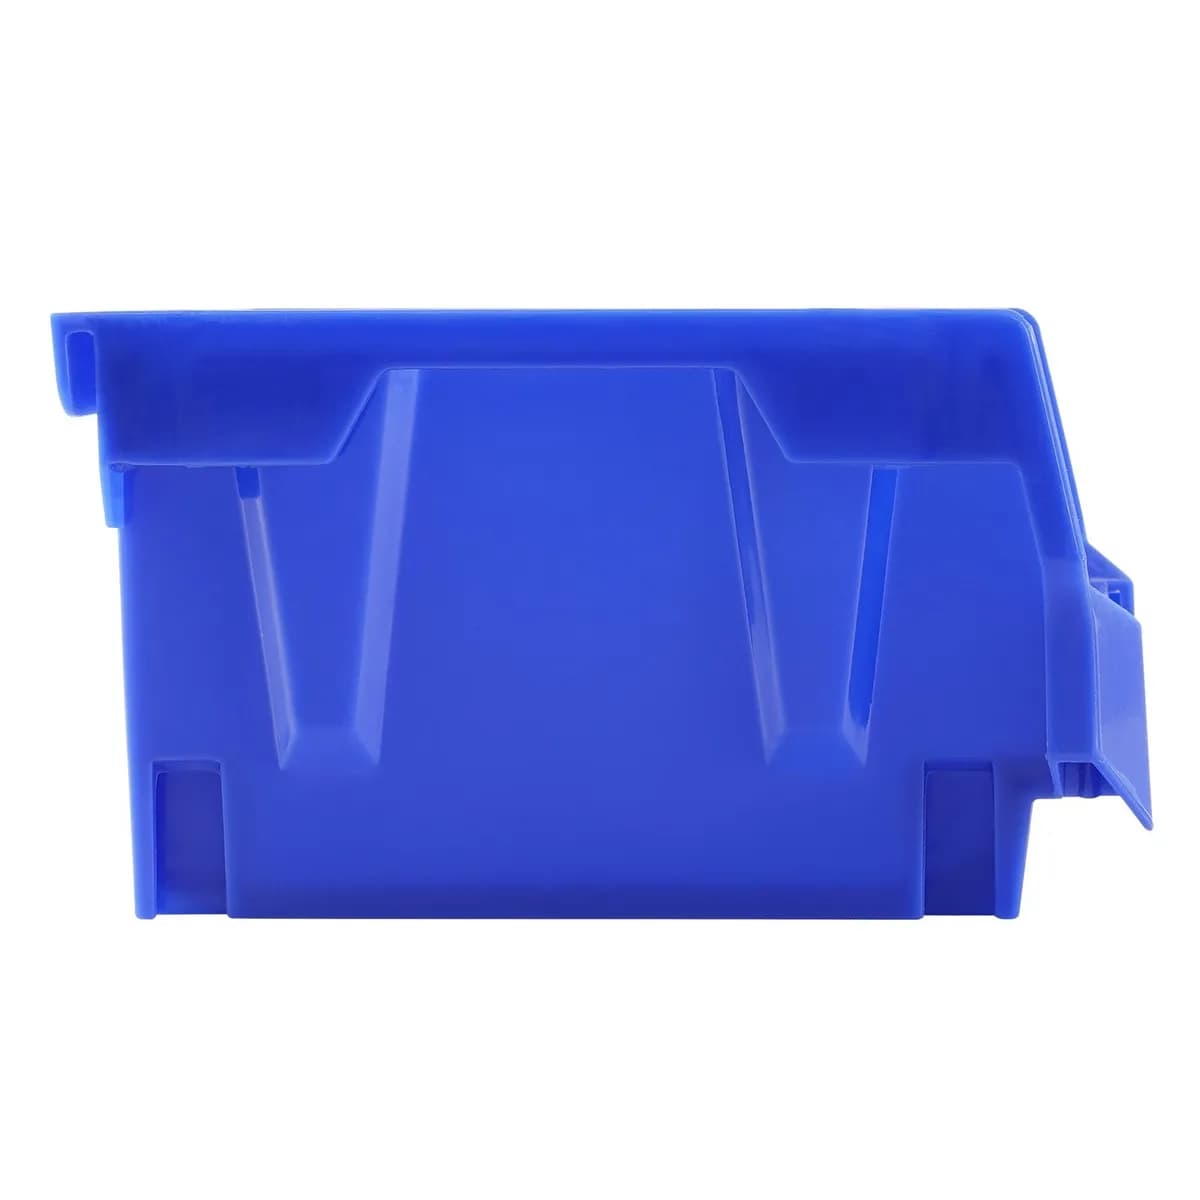
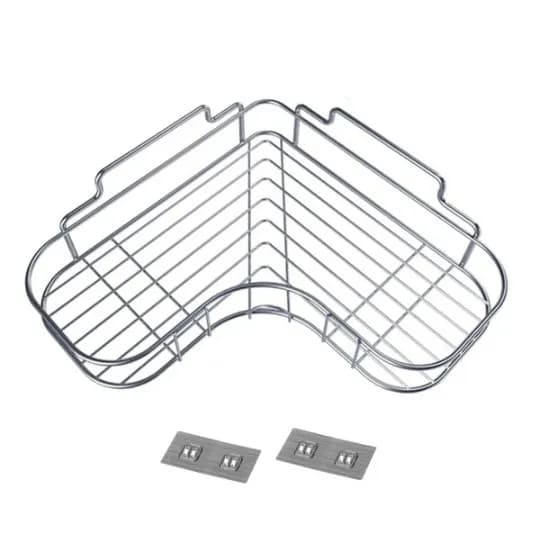
If you want to turn this guide into a real setup, start with Stackable Storage Bins, 24 Pack and Pull-Out Cabinet Organizer, 17 in. Wide. For broader options, browse the Home & Decor collection so the article journey does not stop at reading only.
Our practical rule: choose one product that solves the main clutter problem first, then add supporting organizers only when the daily workflow is already clear. This keeps the shopping path useful, not pushy.
FAQ: Frequently Asked Questions About DIY Room Dividers
Q: How tall should a DIY room divider be?
Most room dividers work best between 5 feet 6 inches and 6 feet 6 inches tall. This height provides meaningful visual separation without making a room feel chopped up or dark. For studio apartments where you want to hide a sleeping area entirely, going floor-to-ceiling with a curtain is the most effective approach.
Q: Can I build a DIY room divider without any power tools?
Absolutely. Curtain dividers, hanging dowel screens, macrame panels, stacked crate dividers, and bead curtains all require no power tools at all. Even lattice panel dividers can be assembled with just a handsaw and a screwdriver if needed.
Q: What is the cheapest DIY room divider option?
A curtain panel hung from a tension rod or a ceiling-mounted track is typically the most affordable option, often coming in under $30 for the full setup. Macrame and wooden dowel designs are also very budget-friendly if you shop for materials at craft stores or online.
Q: How do I keep a freestanding room divider from tipping over?
The best approach is to add weight to the base. You can do this by attaching a wide wooden foot plate, adding furniture casters with locking brakes, or anchoring one end to a wall with a small L-bracket. For taller dividers, make sure the base is at least one-third as wide as the divider is tall.
Q: Are DIY room dividers safe for homes with kids or pets?
Yes, as long as you build them with stability in mind. Avoid top-heavy designs and always secure tall dividers to the floor or wall if there are young children or large dogs in the home. Choose non-toxic finishes and avoid small decorative pieces that could be a choking hazard.
Q: Can I use a DIY room divider outside?
Some materials work well outdoors, including bamboo, treated wood, and weather-resistant fabric. If you plan to use a divider on a covered patio or porch, make sure to use exterior-grade paint, stain, or sealer on any wood components to protect against moisture.
Conclusion: Start Your DIY Room Divider Project Today
A DIY room divider is one of those rare home projects that delivers a huge visual and functional impact for a relatively small investment of time and money. Whether you go with a sleek bookshelf build, a breezy curtain drop, a geometric pipe frame, or a boho macrame creation, you will end up with a space that feels more intentional, more private, and more uniquely you.
The key is to match your divider to your goals: think about how much light you want to preserve, how permanent you need the solution to be, and how much storage you want to incorporate. Then choose your materials, set a weekend aside, and enjoy the process.
For all the organizational extras you need to style your finished divider beautifully, from labeled storage bins and baskets to shelving accessories and containers, head over to Sesoris and explore our full collection of home organization essentials. We are here to help you live more organized, one creative project at a time.
Liked this guide?
Get new organizing guides and the occasional new product by email. No spam, unsubscribe anytime.
Related articles
Explore more articles
- 30+ Best Bathroom Organization Ideas to Maximize Every Inch in 2026
- 30+ Best Small Walk In Closet Ideas to Maximize Every Inch of Your Space in 2026
- Mail Organization Ideas for Paper Clutter
- 20+ Best Desk Cable Management Ideas to Build a Clean, Productive Workspace in 2026
- Winter Hat and Glove Storage Ideas
- 30+ Best Office Desk Setup Ideas to Build a Productive Workspace in 2026
- 40+ Best Home Storage Ideas to Organize Every Room in 2026
- 35+ Best Small Home Organization Ideas to Maximize Every Inch in 2026