
How to Set Up an Indoor Plant Watering Station: Complete Step-by-Step Tutorial for 2026
Learn how to build a functional indoor plant watering station in 2026. Step-by-step tutorial with tools, storage tips, and product picks.
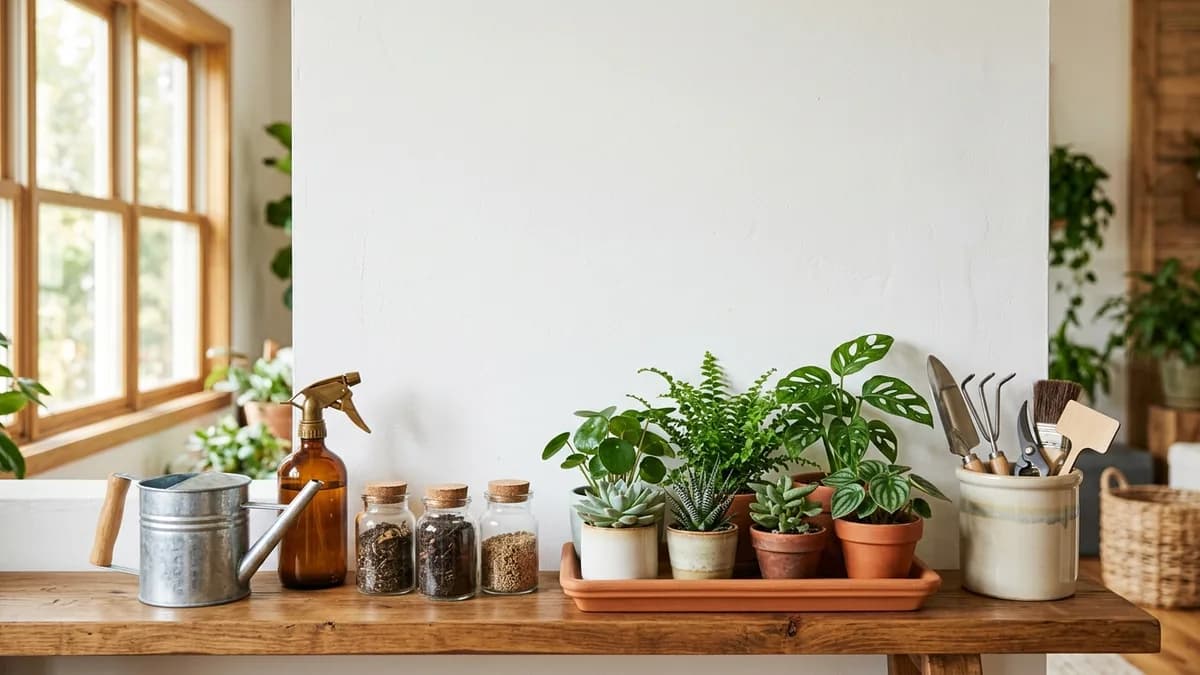
If you have more than a handful of houseplants, you already know the struggle: the watering can lives in the kitchen, the fertilizer is somewhere in the garage, the moisture meter has gone missing again, and every watering session turns into a scavenger hunt. Setting up a dedicated indoor plant watering station solves all of that in one organized step. This complete step-by-step tutorial walks you through exactly how to plan, build, and stock a functional plant care station at home in 2026, whether you have a single windowsill of succulents or an entire room full of tropical foliage.
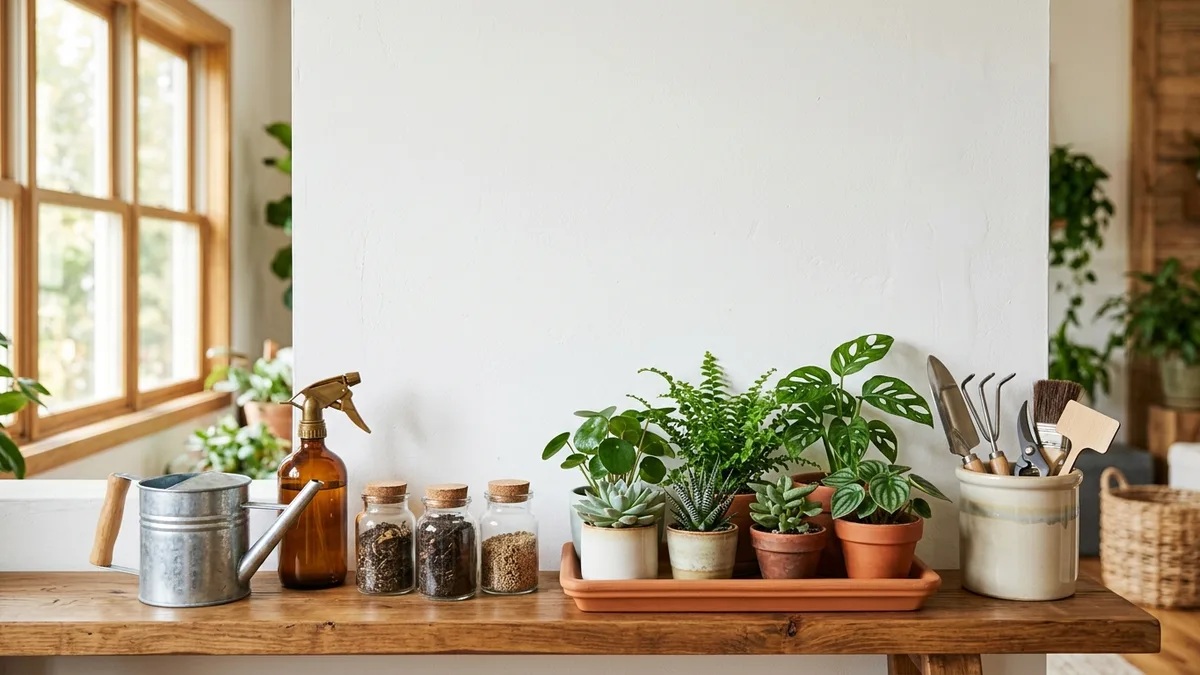
Why Every Plant Parent Needs an Indoor Plant Watering Station
A dedicated plant watering station is more than a pretty shelf. It is a system that keeps every tool, supply, and piece of information exactly where you need it, every single time. When your supplies are organized, you water consistently, fertilize on schedule, and catch early signs of trouble before a plant declines.
Consistency is one of the most important factors in plant health. The Spruce's houseplant care guides consistently point out that irregular watering is among the top reasons houseplants fail. A centralized station eliminates the guesswork and the forgotten weeks.
Beyond plant health, a well-organized station also protects your home. Drips, soil spills, and fertilizer residue can damage floors and furniture. Containing everything in a single, purposefully designed area keeps your living space tidy and prevents accidental messes from spreading room to room.
If you already love browsing indoor plant shelf ideas or indoor plant stand ideas, this tutorial is the natural next step: turning decorative plant displays into a fully functional care system.
Step 1: Choose the Right Location for Your Plant Watering Station
Before you buy a single shelf or container, spend time finding the right spot. The location you choose shapes every other decision in this tutorial.
What to Look for in a Location
- Proximity to water: A spot within 10 to 15 feet of a sink or utility faucet saves you from hauling a heavy watering can across the house every session.
- Waterproof or easy-to-clean flooring: Tile, vinyl, or sealed concrete is ideal. If your best option is hardwood or carpet, plan to use a large waterproof mat or tray beneath the station.
- Natural light access: If you store plants directly at the station, a window with bright indirect light is ideal. For a purely supply-storage station, natural light is a bonus but not required.
- Temperature stability: Avoid spots directly in front of heating vents or exterior doors. Drafts and extreme temperature swings stress plants and can affect liquid fertilizers stored at the station.
- Enough floor or shelf space: A functional station needs room for at least a watering can, a spray bottle, a tray, and a small supply of consumables. Aim for a minimum footprint of about 2 feet wide by 18 inches deep.
Popular locations in US homes include a laundry room corner, a mudroom shelf, a kitchen island end, a bathroom with a window, or a dedicated plant room. Even a hallway closet with the door left open can work well.
Step 2: Gather Your Tools and Supplies
A great indoor plant watering station tutorial is only as useful as the supply list behind it. Here is everything you need to stock a complete, functional station.
Use this quick checklist to decide what your watering station really needs on day one and what can wait until the routine is working.
| Supply | What it does at the station | Must-have or nice-to-have |
|---|---|---|
| Watering can with a narrow spout | Puts water at the soil line instead of on leaves and shelves | Must-have |
| Waterproof trays or saucers | Catch runoff so shelves and floors stay dry | Must-have |
| Labeled bins for fertilizer and tools | Keep small supplies in one place and out of the way | Must-have |
| Spray bottle or mister | Rinses dust and helps humidity-loving plants | Nice-to-have |
| Moisture meter | Tells you when deep soil is dry before you water | Nice-to-have |
| Small towel or absorbent mat | Wipes drips right away so the area stays tidy | Must-have |
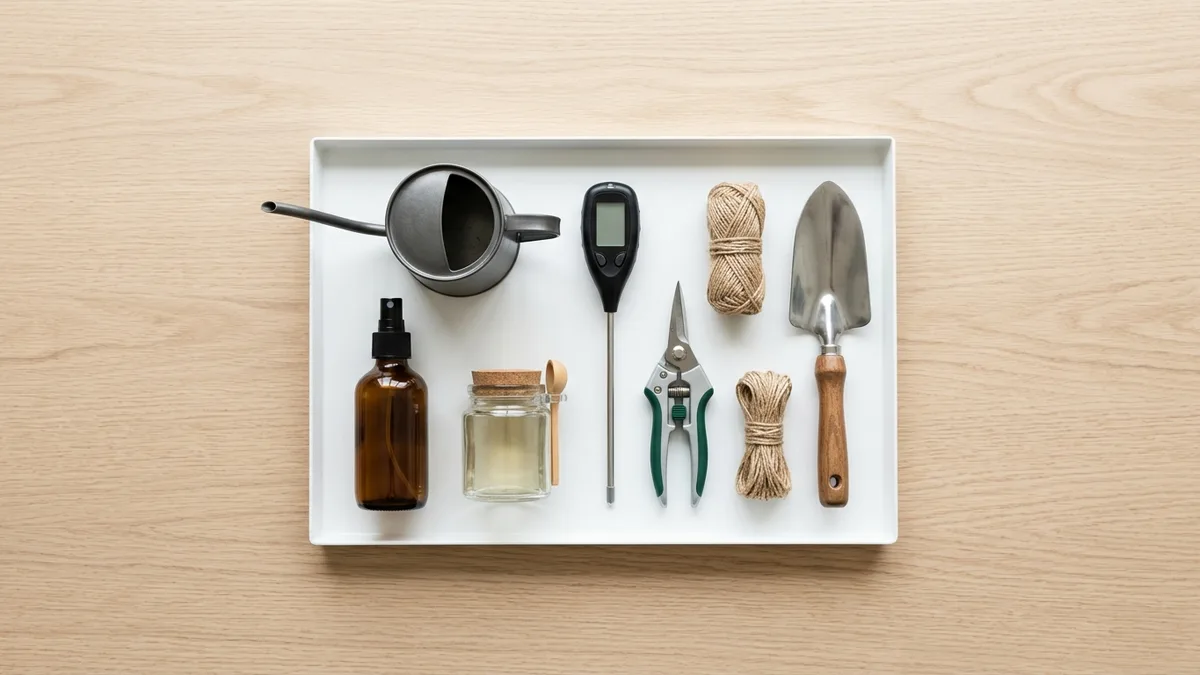
Essential Watering Tools
- Long-spout watering can (1 to 2 quart capacity): A narrow spout lets you water at the soil level without wetting leaves, which helps prevent fungal issues. According to the University of Minnesota Extension, consistently wet foliage is a primary driver of fungal leaf spot on houseplants, so directed watering matters.
- Misting spray bottle: Essential for humidity-loving tropicals like ferns, calatheas, and orchids. A glass or stainless steel bottle resists staining and odor better than basic plastic.
- Moisture meter: A simple probe meter (typically US$8 to US$20) removes guesswork entirely. You push the probe into the soil and read whether it is dry, moist, or wet before you decide to water.
- Small funnel: Makes pouring liquid fertilizer concentrates into a watering can accurate and drip-free.
- Measuring spoons or a small measuring cup: Dedicated to plant fertilizer only, since measuring spoons used for both cooking and fertilizer create a cross-contamination risk. Keep these clearly labeled and stored only at the plant station.
Supply Consumables to Stock
- Liquid all-purpose houseplant fertilizer
- Slow-release fertilizer granules (for low-maintenance plants)
- Perlite or coarse sand (for mixing into soil when repotting)
- A small bag of fresh potting mix
- Plant ties or soft twist ties for training vines
- A small pair of pruning snips or scissors
- Sticky insect traps (a preventive measure against fungus gnats, which the University of California IPM program notes are attracted to moist potting soil)
Organization Containers
- A waterproof tray (at least 12 by 18 inches) for the base of the station
- Small airtight glass or BPA-free plastic containers for fertilizer granules, perlite, and soil amendments
- A tall ceramic crock or metal bin to hold long-handled tools upright
- A small caddy or basket for spray bottles and smaller items
If you need inspiration for the right containers, our guide to best indoor plant pots and planters for home organization covers material choices and sizing in detail.
Step 3: Build and Arrange Your Plant Watering Station Shelf
Now that you have your location and your supplies, it is time to build the physical station. You have two main options: use a freestanding shelf unit or mount a wall shelf system. Both work well. The right choice depends on whether you rent or own, how much floor space you have, and how much weight you are planning to store.
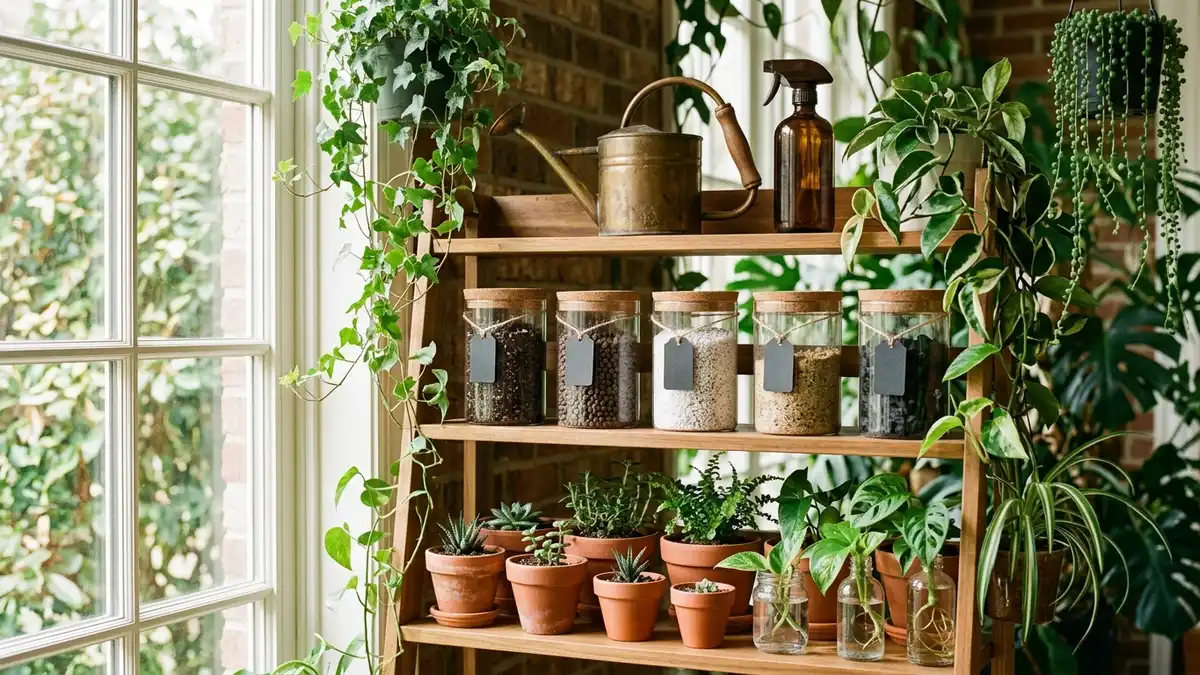
Option A: Freestanding Shelf Unit
A three-tier freestanding rack (typically 36 inches tall, 24 inches wide, and 12 inches deep) gives you enough vertical space to separate tools, supplies, and plants across dedicated levels. Look for a unit with a powder-coated steel or bamboo frame, since these materials handle humidity and occasional water drips better than raw wood or particleboard.
Suggested shelf layout from top to bottom:
- Top shelf: Watering can, spray bottle, and moisture meter. These are your most-used tools and benefit from easy grab-and-go access.
- Middle shelf: Labeled containers of fertilizer, perlite, and soil amendments. Placing these at eye level makes it easy to check stock and avoid running out.
- Bottom shelf: Larger items like a small bag of potting mix, a drip tray for repotting, or a caddy with pruning snips and plant ties.
If you have a small space, our DIY plant stand ideas article has some creative builds that double as both display and supply storage.
Option B: Wall-Mounted Shelf System
Wall mounting keeps your floor clear, which is a real advantage in compact spaces. A pair of floating shelves at 48 inches and 60 inches off the floor gives you two dedicated levels without taking up any footprint. Make sure wall anchors are rated for at least 30 pounds per shelf, since a full watering can, containers, and tools add up quickly.
For renters, damage-free adhesive shelf mounting systems rated for 20 to 25 pounds per bracket are widely available at US hardware stores in the US$15 to US$35 range. Always check the manufacturer's weight rating before loading a shelf.
Setting a Waterproof Base
Regardless of which shelf option you choose, place a waterproof tray or a silicone mat underneath the entire station footprint. A tray with at least 1-inch raised edges catches drips and spills before they reach your floor. This is the single most important protective step, especially if your station sits on hardwood or a finished floor.
Step 4: Label Everything for Long-Term Organization
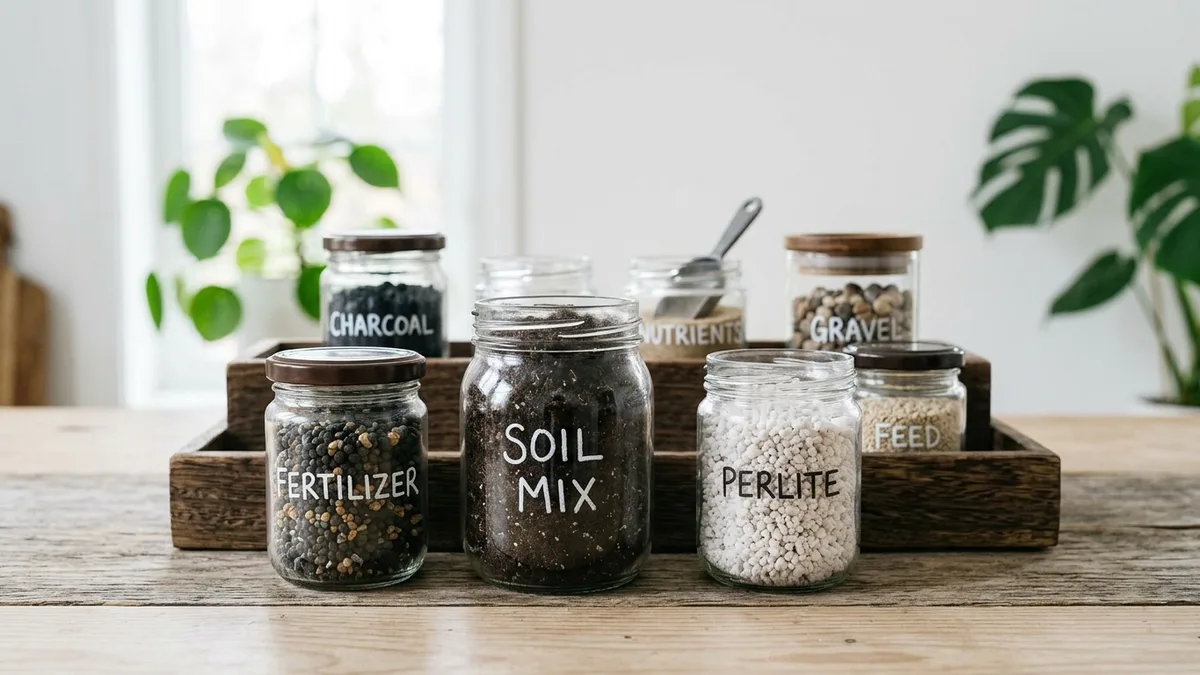
Labeling is the step most people skip, and it is the reason most plant stations slowly collapse into chaos after a few months. Clear, consistent labels keep every container recognizable at a glance, especially when you are in a hurry or someone else in your household is helping water.
What to Label
- Every supply container (fertilizer type, dilution rate, and whether it is liquid or granule)
- The watering can (if you store water pre-measured for convenience)
- Any dedicated measuring spoons
- Shelf levels or zones (for example, a small tag that says "Watering Tools" on the top shelf edge)
Best Labeling Methods for a Plant Station
Chalk labels work well on glass jars because they are easy to update when you switch fertilizer brands or soil mixes.
Waterproof adhesive labels printed on a home label maker hold up better in humid spots like a laundry room or bathroom.
Clip-on plant tags are useful for marking individual plants at the station with their last watered date, a trick that dramatically reduces both over-watering and under-watering.
Our full guide on label organizers and smart labeling systems for the home walks through the best labeling tools and methods if you want to go deeper.
Step 5: Set Up a Drainage and Drip Management System
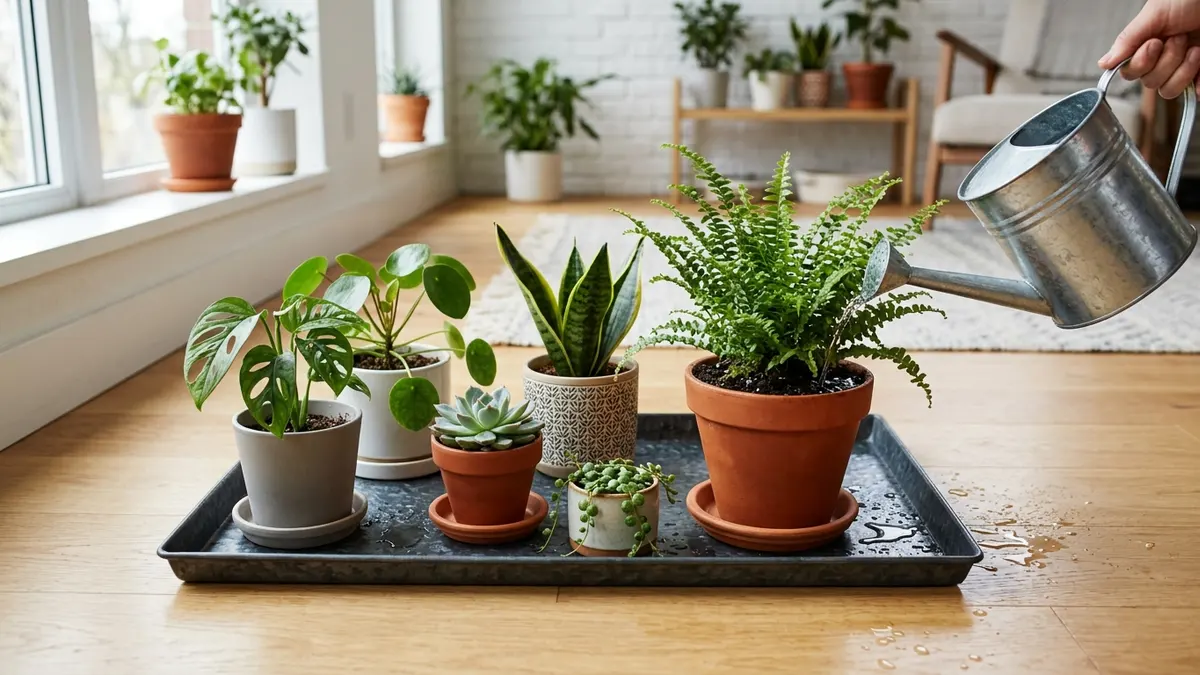
One of the most overlooked parts of building an indoor plant watering station is planning for drainage. Water that sits in saucers under pots is one of the main causes of root rot. According to the USDA Forest Service's urban forestry resources, poor drainage and over-watering are among the leading preventable causes of indoor plant decline.
Practical Drainage Steps
- Use pots with drainage holes. This is non-negotiable for most houseplants. If you love a decorative pot without a hole, use it as a cachepot and place the nursery pot inside it.
- Empty saucers 30 minutes after watering. Water left standing in a saucer for more than a few hours creates the waterlogged conditions that cause root rot. Build the habit of returning to each plant about 30 minutes post-watering to tip out any excess.
- Use a turkey baster or small syringe to remove saucer water. This is much more precise than tipping heavy pots, especially for large planters.
- Line your station base tray with a layer of pebbles. If you display plants directly at the station, a layer of pebbles about half an inch deep in the base tray allows water to drain below the pot bottoms while still raising ambient humidity slightly.
- Keep a small towel or absorbent mat at the station. A dedicated cloth for wiping drips prevents water from migrating across your floor during watering sessions.
Step 6: Create a Watering and Fertilizing Schedule Card
Your plant watering station is fully functional now, but the last piece that transforms it from a collection of tools into a real system is a schedule. A simple reference card keeps you consistent without relying entirely on memory.
How to Build a Simple Schedule Card
Write or print a card with two columns: plant name and watering frequency. You can add a third column for fertilizing frequency. Keep it short and practical. A typical US home plant collection might look like this:
- Succulents and cacti: Water every 14 to 21 days in 2026's typical heated-home winter conditions; every 7 to 10 days in summer
- Tropical foliage (pothos, philodendron): Water when the top inch of soil feels dry, roughly every 7 to 10 days
- Ferns and moisture-lovers: Water when the top half-inch of soil feels dry, roughly every 5 to 7 days
- Orchids: Water once per week by soaking the pot in room-temperature water for 15 minutes, then draining completely
Laminate the card or slip it into a small frame and hang it near the station at eye level. Update it each season, since watering needs shift significantly between summer and winter in most US climates.
A consistent routine matters more than a perfect one. A simple schedule card at your plant watering station turns good intentions into real plant-care habits.
Step 7: Maintain Your Plant Watering Station Monthly
Building the station is the fun part. Keeping it functional takes just a few minutes each month. Schedule a monthly reset alongside another regular home task, like your first-of-the-month grocery run or your Sunday reset routine.
Monthly Maintenance Checklist
- Wipe down shelves and the base tray with a damp cloth to remove soil dust, fertilizer residue, and water mineral deposits.
- Check supply levels. Fertilizer, perlite, and potting mix should be restocked before they run out completely. An empty container discovered mid-repotting is frustrating.
- Inspect tools. Check that the moisture meter battery is working, the spray bottle nozzle is clear, and pruning snips are clean and sharp.
- Review your schedule card. As plants grow, some will need to move to a new watering frequency category. Update the card when you notice consistent over-dryness or over-wetness.
- Declutter. Remove any supplies that are expired, empty, or no longer relevant. An organized station stays useful only if it is not cluttered with things you are not using.
For broader home maintenance rhythm ideas, our home decluttering tips guide has a practical room-by-room framework that pairs well with station upkeep.
Budget Guide: How Much Does an Indoor Plant Watering Station Cost in 2026?
One of the great things about this project is that it scales to almost any budget. Here is a realistic cost breakdown for three different build levels.
Budget Build (Under US$50)
- Repurpose an existing shelf or bookcase: US$0
- Basic plastic watering can (1 quart): US$8 to US$12
- Spray bottle (2-pack): US$6 to US$10
- Basic moisture meter: US$8 to US$12
- Waterproof drip tray (12 by 18 inches): US$6 to US$10
- Small glass jars for supplies (4-pack): US$8 to US$12
Total: approximately US$36 to US$56
Mid-Range Build (US$75 to US$150)
- Three-tier freestanding steel rack: US$35 to US$60
- Long-spout stainless or copper-finish watering can: US$20 to US$35
- Glass misting spray bottle: US$12 to US$18
- Digital moisture and light meter combo: US$18 to US$25
- Silicone waterproof base mat: US$12 to US$18
- Set of airtight glass jars for supplies (6-pack): US$15 to US$22
Total: approximately US$112 to US$178
Premium Build (US$200 and up)
- Custom floating wall shelves with brass brackets: US$60 to US$120
- Hand-thrown ceramic watering can: US$45 to US$80
- Blown glass misting bottle: US$25 to US$40
- Wi-Fi plant moisture sensor with app integration: US$30 to US$60
- Marble or teak drip tray: US$30 to US$55
- Matching labeled ceramic supply canisters (set of 4): US$40 to US$70
Total: approximately US$230 to US$425
All three builds deliver the same organizational benefit. The difference is primarily aesthetic and material durability. Start with a budget build if you are new to plant care, and upgrade individual pieces over time as you identify what you actually use most.
Related Products from Sesoris
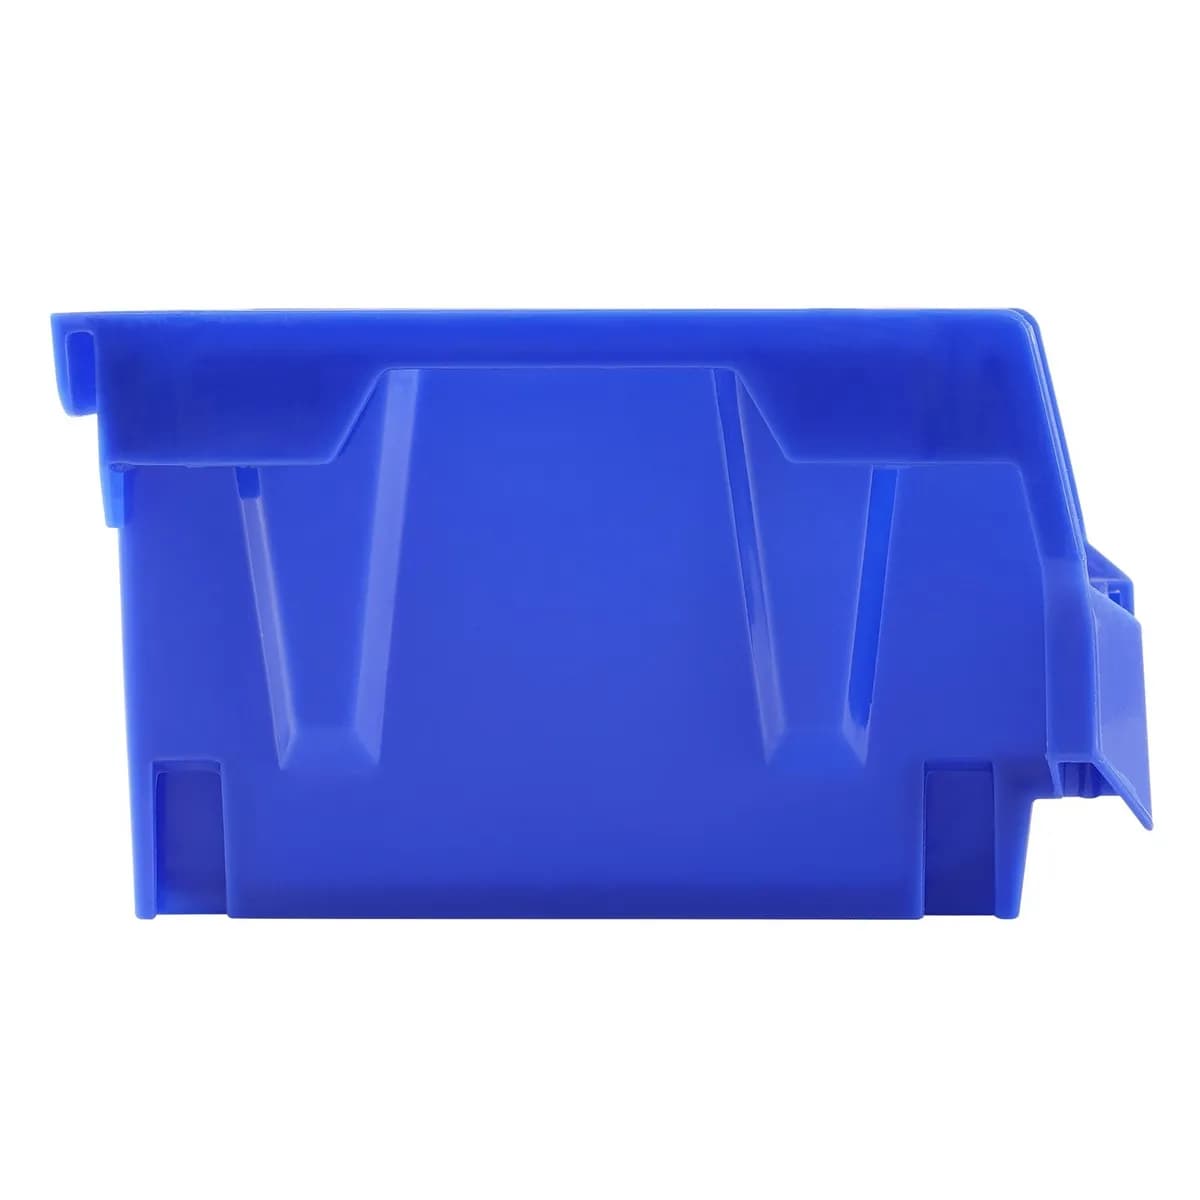
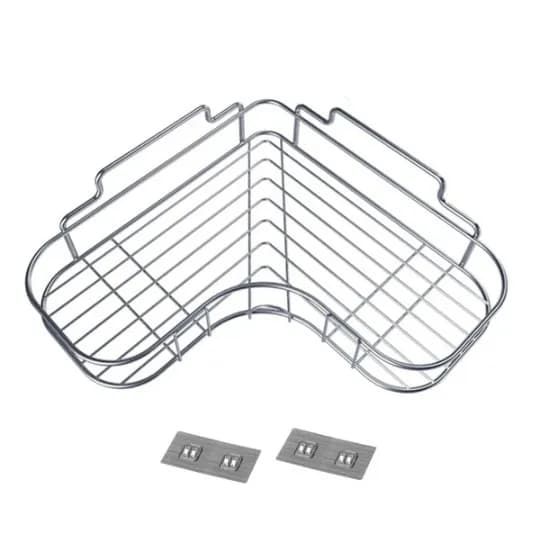
If you want to turn this guide into a real setup, start with Stackable Storage Bins, 24 Pack and Pull-Out Cabinet Organizer, 17 in. Wide. For broader options, browse the Home & Decor collection so the article journey does not stop at reading only.
Our practical rule: choose one product that solves the main clutter problem first, then add supporting organizers only when the daily workflow is already clear. This keeps the shopping path useful, not pushy.
FAQ: Frequently Asked Questions About Indoor Plant Watering Stations
Q: How much space do I need for an indoor plant watering station?
A functional station can fit in as little as 18 by 24 inches of floor space, roughly the size of a small stool. If you plan to store plants at the station as well as supplies, aim for at least 36 by 24 inches. Wall-mounted setups can reduce the floor footprint to near zero.
Q: Can I set up a plant watering station in an apartment?
Absolutely. A damage-free floating shelf pair, a slim caddy with a watering can and spray bottle, and a silicone mat on a windowsill is a complete apartment-friendly station. Focus on vertical organization and removable mounting hardware to stay within rental agreements.
Q: How do I prevent fertilizer from spilling or staining my shelf?
Store all liquid fertilizers in a secondary container, like a small zip-lock bag or a silicone bin liner, inside the shelf. Wipe bottles down after every use and store them upright. Granule fertilizers should always go into sealed airtight containers. Keeping a dedicated paper towel roll at the station for quick clean-ups also helps significantly.
Q: What is the best material for an indoor plant watering station shelf?
Powder-coated steel, bamboo, teak, and sealed hardwood all hold up well in the humidity typical of a plant care area. Avoid raw wood, particleboard, or laminate without a sealed edge, since these swell and warp when exposed to repeated moisture. For wall shelves, solid wood brackets with a polyurethane or oil finish are durable choices.
Q: How do I keep my plant watering station from smelling musty?
Musty odors usually come from standing water in the drip tray, wet soil tracked onto shelves, or a fertilizer spill that was not fully cleaned. Empty the drip tray regularly, wipe shelves down monthly, and store potting mix in a sealed container. A small bag of activated charcoal placed discreetly at the back of a shelf absorbs ambient moisture and odor effectively.
Q: Do I need a special water source at the station?
Not at all. Most plant parents fill their watering can at the nearest sink and carry it to the station. If you want to take the convenience further, some households keep a large covered pitcher of room-temperature water at the station overnight, since room-temperature water is gentler on tropical plants than cold tap water straight from the faucet.
Q: How often should I reset my indoor plant watering station?
A quick five-minute tidy after each watering day keeps the station usable: empty trays, wipe the shelf, and return tools to their bins. Once a month, check supplies, throw out anything expired or crusted, and rinse saucers so mineral residue does not build up.
Q: Can kids or pets safely be around a plant watering station?
Keep fertilizers, pesticides, and sharp tools in a closed or high bin, and read each product label for its storage and safety directions. Some common houseplants are not safe for pets, so check the ASPCA toxic and non-toxic plants list before placing plants where animals can reach them.
Conclusion: Your Organized Indoor Plant Watering Station Starts Today
Building a dedicated indoor plant watering station is one of the highest-return organization projects you can tackle in 2026. In just an afternoon, you can transform a scattered collection of tools and half-empty bottles into a cohesive, purposeful system that makes plant care faster, more consistent, and genuinely enjoyable. Every step in this tutorial, from choosing the right location to labeling your supplies and setting a schedule card, is designed to be practical and achievable for any home, apartment, or budget level.
The best part is that you do not need to do it all at once. Start with a drip tray, a good watering can, and a moisture meter. Add labeled containers and a schedule card next weekend. Build from there at whatever pace fits your life. Small, consistent steps are exactly how organized homes are built.
Ready to find the right planters, trays, and storage containers to bring your station together? Browse the full Sesoris collection at sesoris.com and check out our best sellers for community-favorite picks that real plant lovers rely on every day. Your plants, and your floors, will thank you.
Liked this guide?
Get new organizing guides and the occasional new product by email. No spam, unsubscribe anytime.
Related articles
Explore more articles
- 25+ Best Car Organization Ideas to Keep Your Vehicle Tidy in 2026
- 25+ Best Home Gym Organization Ideas to Build a Functional Workout Space in 2026
- 25+ Best Bathroom Storage Cabinet Ideas to Maximize Every Inch in 2026
- 30+ Best Kids Room Organization Ideas to Create a Fun, Tidy Space in 2026
- 30+ Best Small Kitchen Organization Ideas to Maximize Every Inch in 2026
- 25+ Best Indoor Plant Shelf Ideas to Greenify Your Home in 2026
- 25+ Best Stationery Organizer Ideas to Transform Your Desk in 2026
- How to Store Food to Last Longer: Complete 2026 Guide