
Kitchen Island Organizer Ideas: What to Store on Every Side
Kitchen island organizer ideas for drawers, cabinets, the countertop, end caps and the seating side, with zone planning and NKBA clearance guidelines.
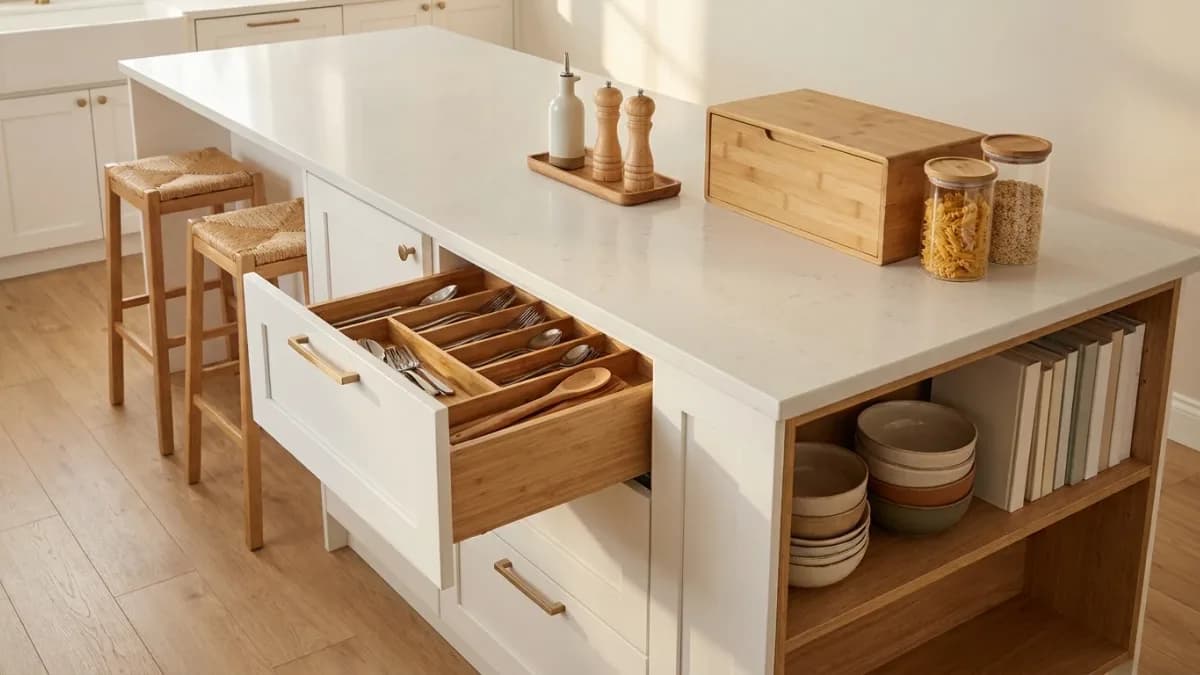
The most useful kitchen island organizer ideas follow one rule: store each item on the side of the island where you use it. Prep tools go in drawers facing the sink, pots and pans in deep drawers facing the cooktop, food containers and snacks toward the fridge, and nothing bulky on the seating side where knees need room. Keep the countertop to one tray of daily items, use the end cap for open shelves, and add pull-outs, dividers and bins inside the cabinets so the island works as hard as the rest of the kitchen.
An island is often the biggest single piece of storage in a kitchen, and also the surface that collects the most clutter: mail, keys, chargers, fruit, school papers. This guide covers how to map an island into zones, how to organize drawers and cabinets on each side, what belongs on the countertop, how to use the end caps, and how to keep the seating side comfortable. If you are still choosing an island, our guide to minimalist kitchen islands covers design and size.
Start With How You Move Around the Island
An island sits in the middle of the work. Before you add a single organizer, watch how you move: where you stand to chop, which way you turn to reach the stove, where people sit, and which side becomes a walkway when the dishwasher is open.
Clearance matters as much as storage. The National Kitchen and Bath Association (NKBA) recommends work aisles of at least 42 in. for one cook and 48 in. for two or more, and walkways of at least 36 in., as summarized by Fine Homebuilding. Those numbers tell you how far open drawers and pull-outs can extend before they block someone. A pull-out trash bin that opens into a tight aisle is a daily annoyance.
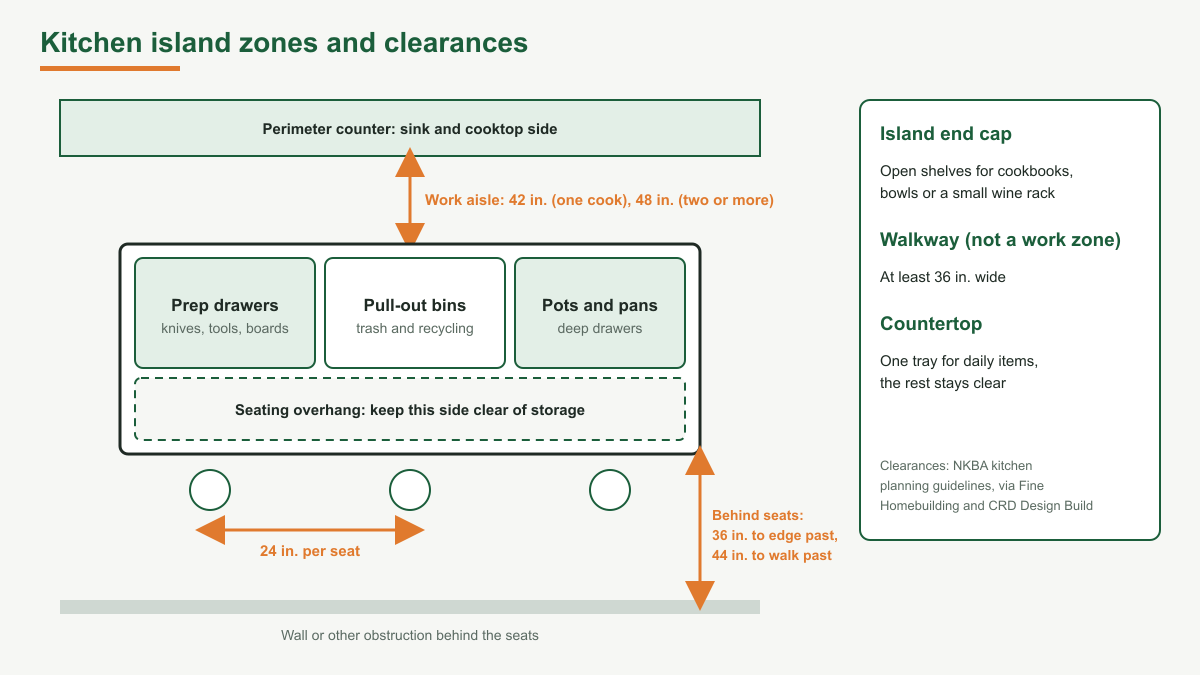
If your island is already in place, these guidelines are not a reason to remodel. Use them to decide which side of the island should hold the storage you open most often: usually the side facing the main work aisle, not the side people walk past.
Map the Island Into Zones
Every side of an island faces a different part of the kitchen, so every side should hold different things. Think of the island as four small storage areas rather than one big one.
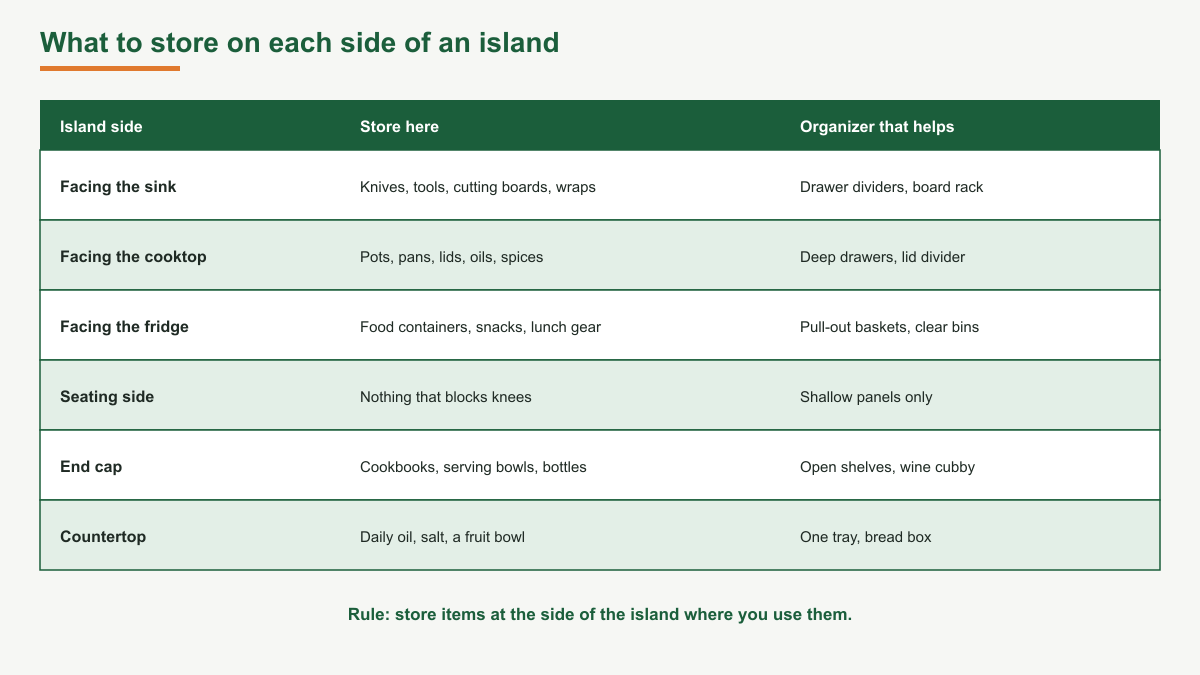
| Island side | What to store | Organizer that helps |
|---|---|---|
| Facing the sink | Knives, prep tools, cutting boards, wraps and foil | Drawer dividers, upright board rack |
| Facing the cooktop | Pots, pans, lids, oils and spices | Deep drawers, lid divider, pull-out spice rack |
| Facing the fridge | Food storage containers, snacks, lunch gear | Pull-out baskets, clear bins |
| Facing the dishwasher | Everyday plates, bowls, glasses and cutlery | Peg board base, cutlery tray |
| Seating side | Nothing that needs knee space | Shallow panels or nothing |
| End cap | Cookbooks, serving bowls, a few bottles | Open shelves, wine cubby |
| Countertop | Daily oil, salt, a fruit bowl, bread | One tray, a bread box |
Most islands only have storage on one or two sides, so you will not fill every row. Use the table to decide priorities: the side you work from gets the things you reach for while cooking.
Drawer Organizer Ideas for the Prep Side
The prep side of the island is where you chop, mix and measure, so its top drawer should hold the tools you use with a knife in your hand. Divide it with adjustable dividers or trays: knives in a knife block insert, everyday utensils in one row, measuring cups and spoons in another, and peelers, graters and openers in small compartments.
The second drawer can hold wraps, foil, zip bags and dish towels. Store boxes of wraps on their sides so you can read the labels from above. Cutting boards are easiest to grab when they stand upright, either in a narrow drawer with a divider or in a slim cabinet next to the drawers.
Our kitchen drawer organizer ideas and kitchen drawer organizer for large utensils go deeper on drawer layouts if your island has a full stack of drawers.
Cookware Storage on the Cooktop Side
If the island faces the range, its deep drawers are prime storage for cookware. Nest pots by size, file lids upright in a divider and stand frying pans in a vertical rack so you can pull one out without lifting the others. Keep the heaviest pieces low and toward the back of the drawer.
Oils, vinegars and spices also belong on this side. A pull-out spice rack or a tiered insert keeps bottles upright and visible. Our full guide to deep kitchen drawer organizer ideas covers measuring and zoning cookware drawers step by step, and our guide on how to organize a spice drawer covers the small stuff.
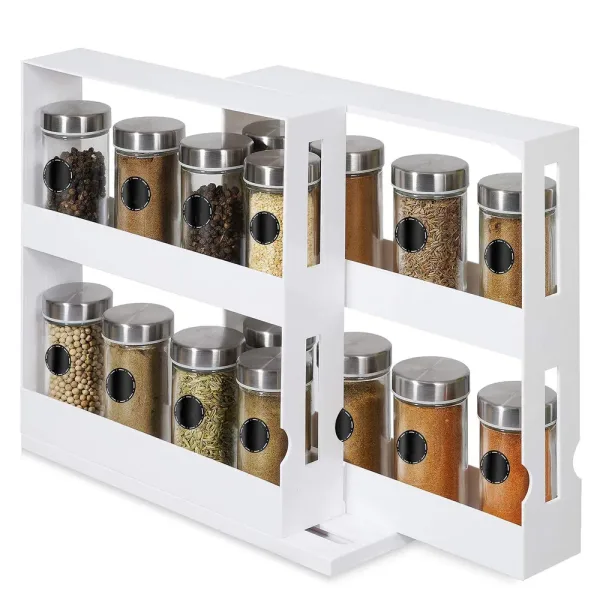
For an island cabinet with doors rather than drawers, the Swivel Cabinet Spice Rack, Holds 20 Bottles is one option. Its listing describes two 2-tier racks, a front rack that pulls out and swivels 90 degrees, room for up to 20 bottles up to 1.8 in. wide, and no tools or mounting. That makes it easy to move if your island layout changes.
Inside the Island Cabinets
Island cabinets tend to be deep, and things vanish at the back. Three fixes work well:
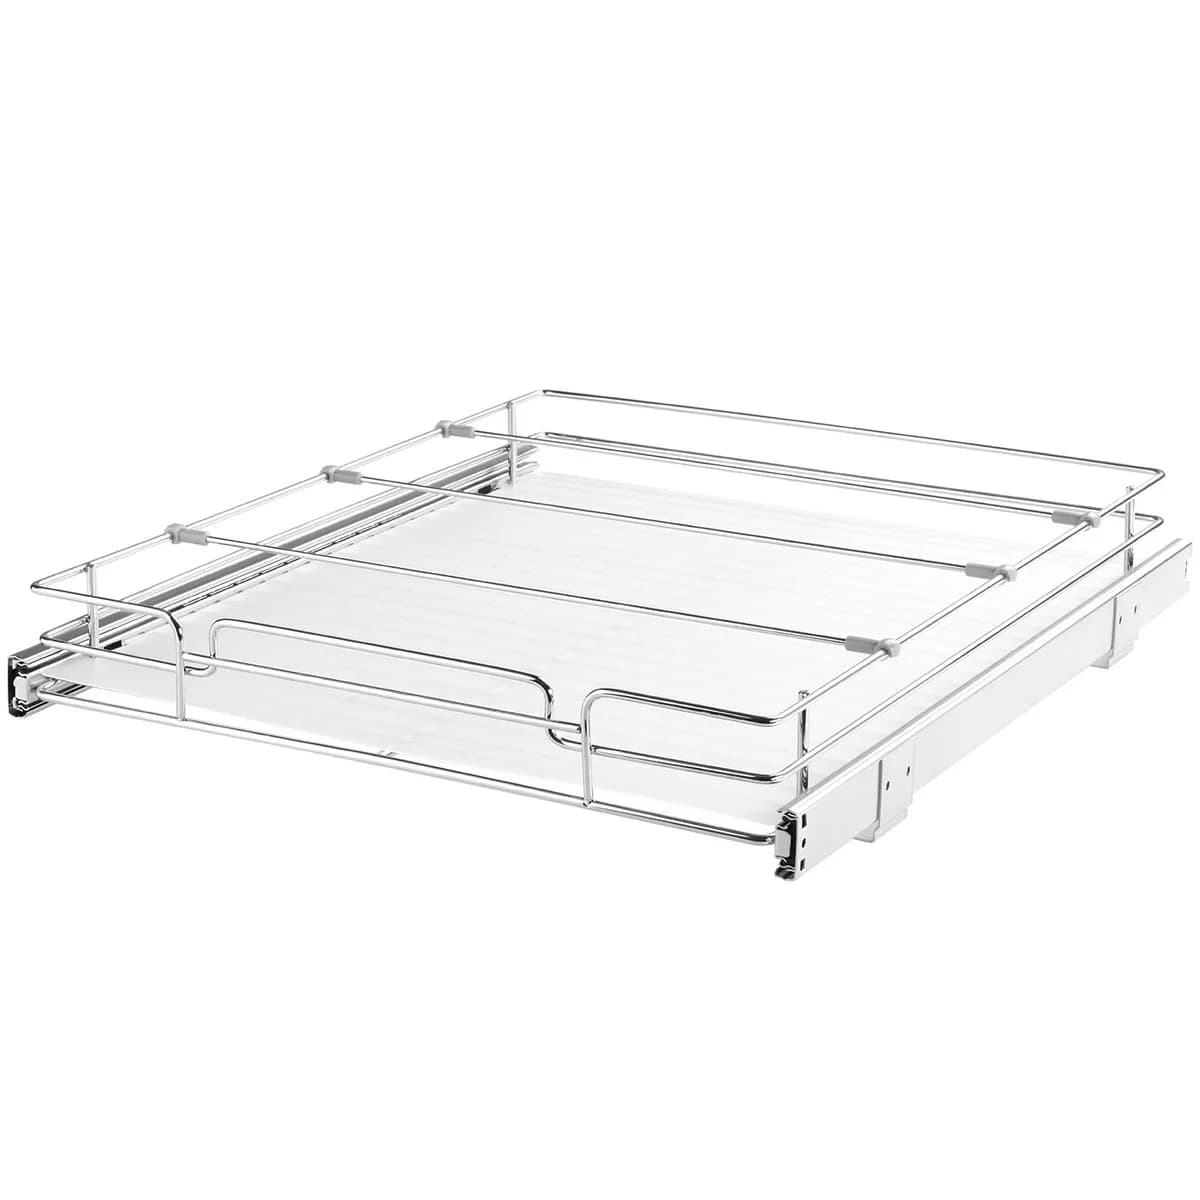
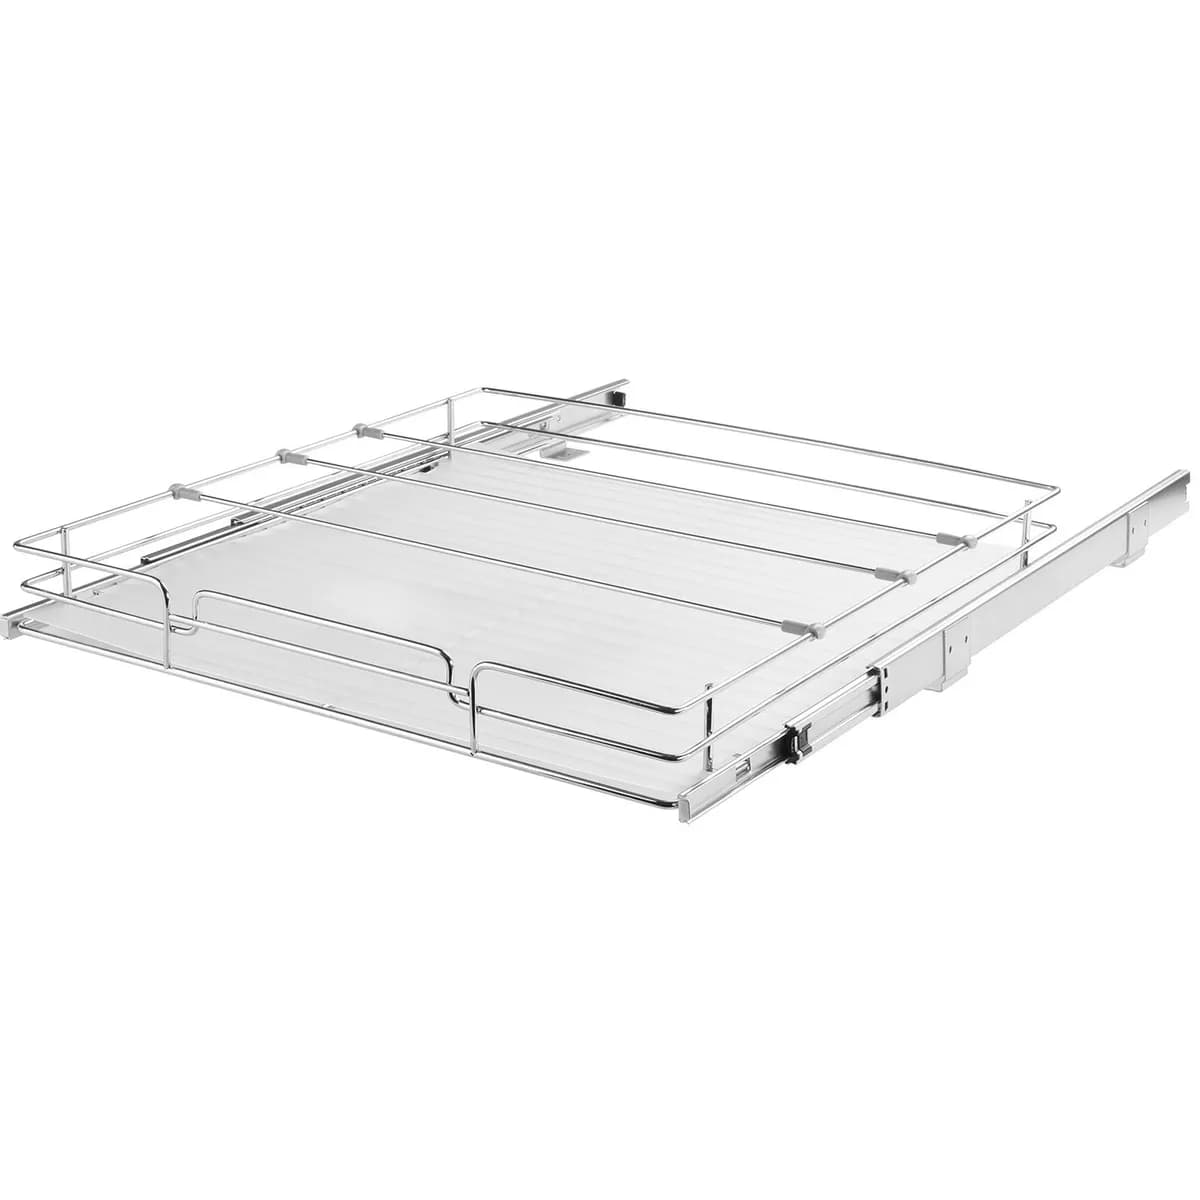
- Pull-out baskets or trays. They bring the back of the cabinet to you. Measure the opening, including hinges and face frames, before buying.
- Stacking shelves. A second level doubles the usable surface for bowls, small appliances or pantry items.
- Bins by category. One bin for baking supplies, one for snacks, one for lunch containers. Pull the bin out instead of reaching around it.
For stacking, the Expandable Stacking Cabinet Shelves are listed with a width that expands from 16 to 25.6 in., four height settings from 3.9 to 7.1 in., and a rating of 22.05 lbs per shelf. Expandable widths are useful in islands because cabinet interiors vary more than standard base runs.
If the island houses the trash, give it a pull-out cabinet near the prep side so scraps go straight from the cutting board to the bin. Our kitchen cabinet organizer ideas and pantry cabinet ideas have more layouts for deep cabinets.
Keep the Countertop Mostly Clear
The island countertop is the best prep surface in the kitchen, which is exactly why it should hold very little. Pick a small set of daily items and corral them on one tray: olive oil, salt and pepper, maybe a utensil crock. Everything else lives in a drawer.
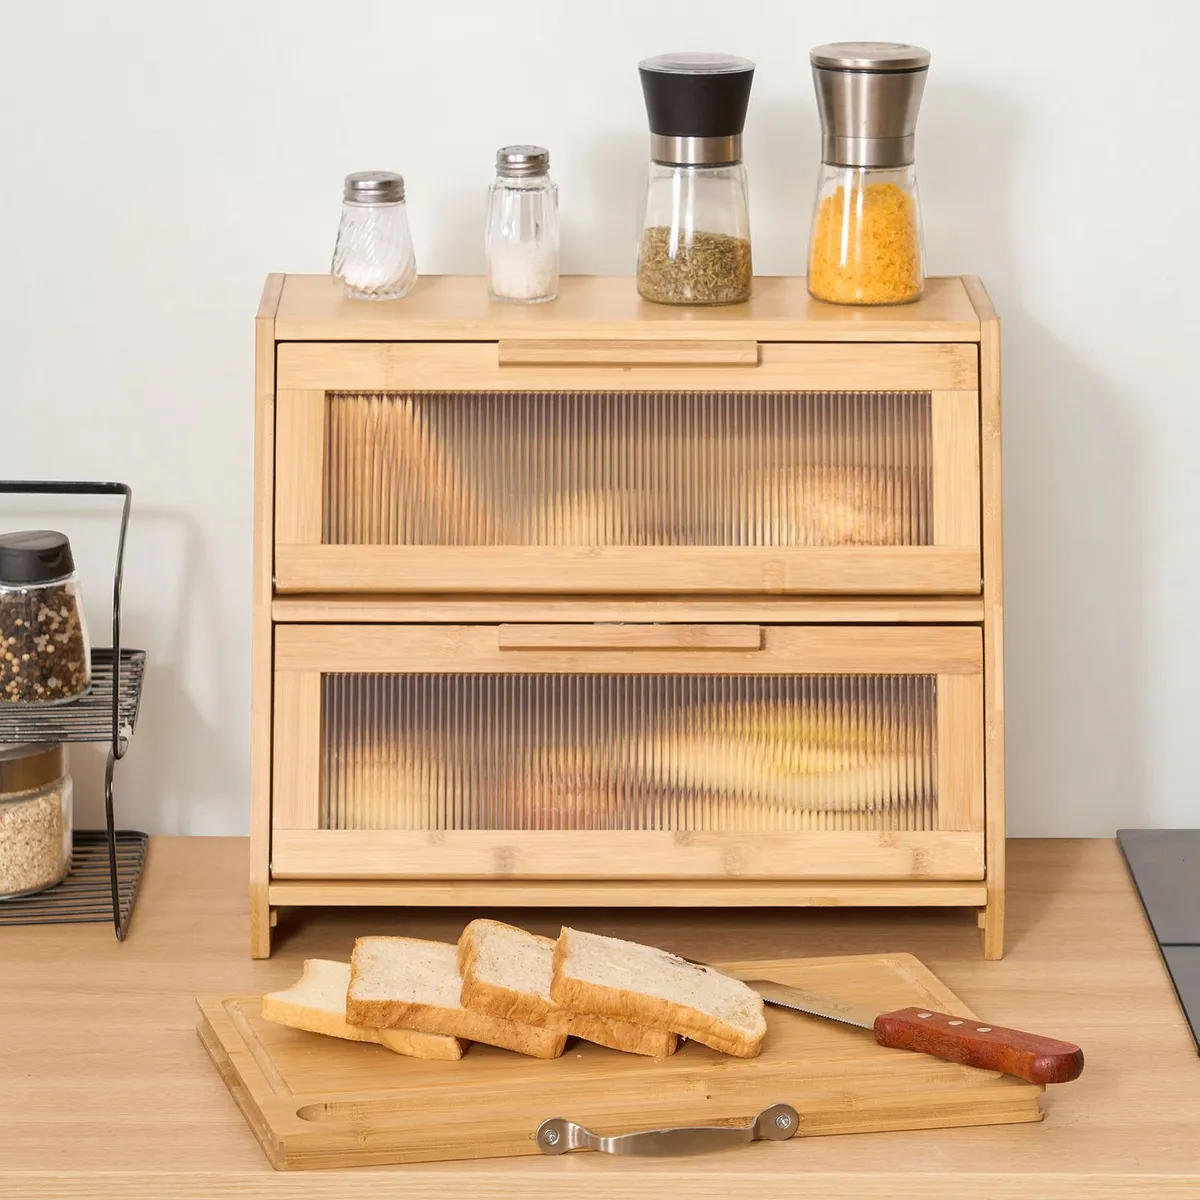
Bread and fruit are the two exceptions most families make. A bread box keeps loaves together and out of sight. The Double-Layer Bamboo Bread Box is listed with two compartments, ribbed acrylic flip-open doors, ventilation holes in the back panel, and an included bamboo cutting board and bread knife. Place it at the end of the island, away from the main prep area, so it does not eat into your chopping space.
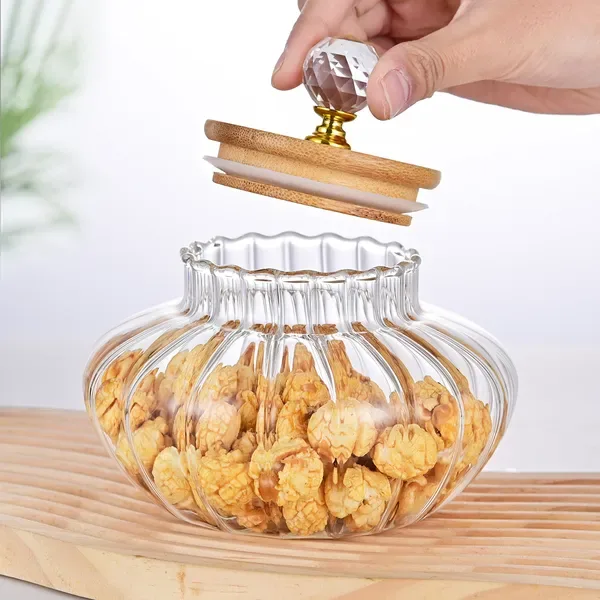
Clear jars work for snacks or ingredients you use every day, because you can see when they run low. The Ribbed Glass Storage Jar with Wooden Lid has a borosilicate glass body and a wooden lid with a gasket ring, according to its listing. One or two jars look intentional; a row of eight starts to look like clutter again.
For more countertop strategies, see our kitchen counter organization ideas and kitchen counter organizer ideas.
Make the Most of the Island End Caps
The short ends of an island are often wasted. An end cap with open shelves is a natural home for cookbooks, a stack of serving bowls or a fruit basket. Keep it tidy by limiting each shelf to one category and leaving some space empty.
End caps also suit bottle storage. A small cubby or rack keeps a few bottles of wine or oil within reach of the dining side. Our kitchen wine rack ideas show island racks and how to keep bottles away from heat.
If the end cap faces a walkway, use it for things that are grabbed and put back quickly. Deep shelves on a busy corner tend to collect bags and mail.
Keep the Seating Side Comfortable
It is tempting to add shelves under the overhang, but seated guests need room for their knees. According to the NKBA guidelines summarized by CRD Design Build, each seat needs at least 24 in. of counter width, with at least 15 in. of clear knee space at a 36 in. high counter and 12 in. at a 42 in. high counter. The same source notes that if traffic passes behind the seated diner, you should allow at least 36 in. to edge past or 44 in. to walk past.
If the overhang is deeper than the knee space your stools need, a shallow panel or a narrow magazine rack at the very back can work. Anything that pushes knees out or forces stools back into the walkway costs more than it stores.
Clutter Control: Mail, Keys and Chargers
Islands attract everything that comes through the door. Give that clutter its own home somewhere else, or it will keep landing on the counter. A wall organizer near the entry for mail and keys, and a single charging spot away from the prep zone, solve most of the problem. Our guides to small kitchen organization ideas and minimalist kitchen organization cover habits that keep surfaces clear.
Set a nightly reset: clear the island before bed, return anything that belongs elsewhere, and wipe the counter. Two minutes a day is what keeps an organized island organized.
Island Organizing Mistakes to Avoid
- Filling the countertop with decor. A few pieces look good; a crowd of objects leaves no room to cook.
- Storing rarely used items in prime drawers. Holiday platters and specialty gadgets belong in a high cabinet or the pantry.
- Pull-outs that block the aisle. Check how far each drawer and pull-out extends before you choose where it goes.
- Ignoring the seating side. Storage that forces stools out of position makes the island less useful, not more.
- Organizing before decluttering. Remove duplicates and broken tools before buying organizers.
If your kitchen also uses open storage, our open shelving kitchen ideas explain how to keep shelves from turning into a second countertop.
A Simple Plan to Organize Your Island This Weekend
- Clear the countertop completely and wipe it down.
- Empty the island drawers and cabinets onto a table.
- Sort into categories: prep tools, cookware, food storage, dishes, pantry, other.
- Decide which side of the island each category belongs on, based on where you use it.
- Declutter duplicates, broken items and anything you have not used in a long time.
- Measure drawers and cabinet openings, then choose dividers, pull-outs and bins.
- Put back only the daily items on the countertop tray.
- Set a nightly two-minute reset.
Related Products from Sesoris
To put these kitchen island organizer ideas into practice, start with the Double-Layer Bamboo Bread Box for the countertop, the Swivel Cabinet Spice Rack and Expandable Stacking Cabinet Shelves for island cabinets, and a Ribbed Glass Storage Jar for snacks. Browse more options in our Kitchen & Dining collection.
Frequently Asked Questions About Kitchen Island Organization
What should I store in my kitchen island?
Store items on the side of the island where you use them: prep tools facing the sink, pots and pans facing the cooktop, food containers facing the fridge, and everyday dishes near the dishwasher. Keep the seating side clear for knees.
How do I keep my kitchen island countertop clutter free?
Limit it to one tray of daily items such as oil, salt and pepper, give mail and keys a home elsewhere, and do a two-minute reset every night.
Should I put the trash can in the island?
It often works well if the island is your main prep area. Place a pull-out trash cabinet on the prep side so scraps go straight from the cutting board into the bin, and check that it does not block the aisle when open.
How much clearance do I need around a kitchen island?
The NKBA recommends work aisles of at least 42 in. for one cook and 48 in. for two or more, and walkways of at least 36 in. Those figures help you plan how far drawers and pull-outs can open.
How much space does each stool need at an island?
NKBA guidelines call for at least 24 in. of counter width per seat, plus clear knee space of at least 15 in. at a 36 in. counter or 12 in. at a 42 in. counter.
How do I organize deep island cabinets?
Add pull-out baskets or trays so the back of the cabinet slides forward, use stacking shelves to create a second level, and group items in bins by category. Measure the opening, including hinges and face frames, before buying.
What can I put on the end of a kitchen island?
Open shelves for cookbooks, serving bowls or a fruit basket, or a small cubby for wine and oil bottles. Keep each shelf to one category so it does not turn into a drop zone.
Can I add storage under the island overhang?
Only if the overhang is deeper than the knee space your stools need. A shallow panel or narrow rack at the back can work, but anything that pushes knees or stools into the walkway is not worth it.
Conclusion: An Island That Works From Every Side
A well-organized island starts with how you move around it. Store each item on the side where you use it, keep the countertop to one tray, use the end caps for open shelves and leave the seating side clear. With drawer dividers, pull-outs and a few well-chosen containers, these kitchen island organizer ideas turn the busiest surface in your kitchen into its most useful storage.
Liked this guide?
Get new organizing guides and the occasional new product by email. No spam, unsubscribe anytime.
Related articles
Explore more articles
- Packing Cubes: Efficient Packing Method That Transforms Your Travel Style (2026)
- Glasslock Food Storage Containers: Complete Guide to Premium Glass Storage Solutions in 2026
- Minimalist House Paint Colors: 25+ Best Ideas for Modern Homes 2026
- Deep Kitchen Drawer Organizer Ideas for Pots, Pans, Lids and Dishes
- Utility Closet Organization Ideas: A Practical Plan for Tools, Supplies and Safety
- Kitchen Pot Rack Ideas: Ceiling, Wall and Cabinet Options Compared
- Dining Room Wall Shelf Ideas: Layouts, Styling and Storage That Works
- Floating Shelf TV Wall Ideas: 18 Layouts That Look Clean and Hold Up